
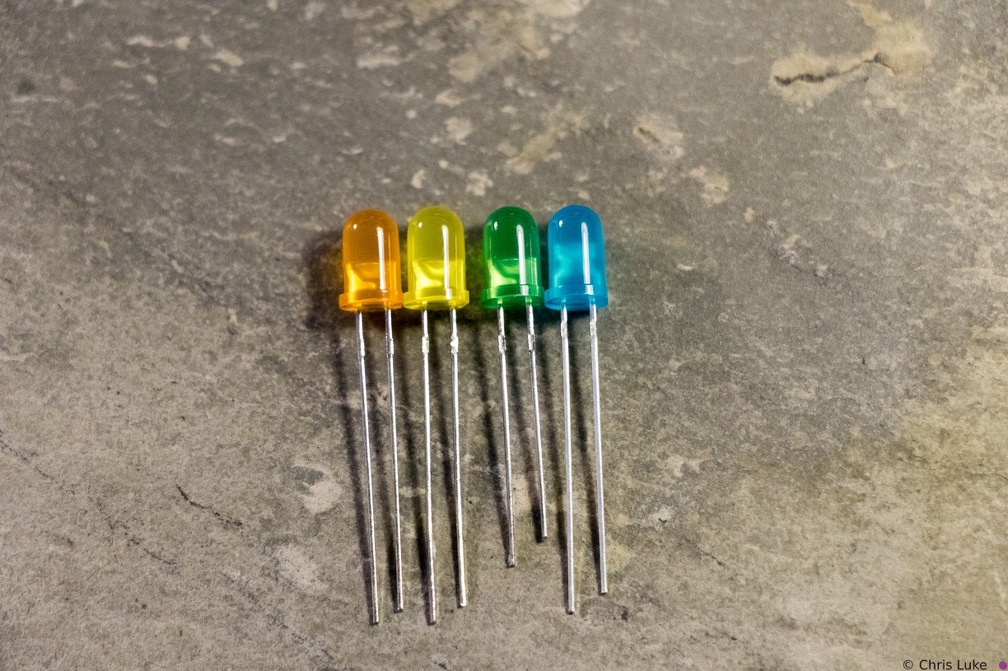
 Stockton STEM Badge LEDs
Notice how the LEDs typically have one leg longer than the other; this is called the "anode". The colored case also has one flat side, opposite the longer leg; the leg on this side is called the "cathode". Also, note the distinctive shape of what is inside the colored case; this can also be used to help determine its orientation. The gap at the top of the metal surface is always on the anode side. LEDs can only be used the right way round so determining orientation is important.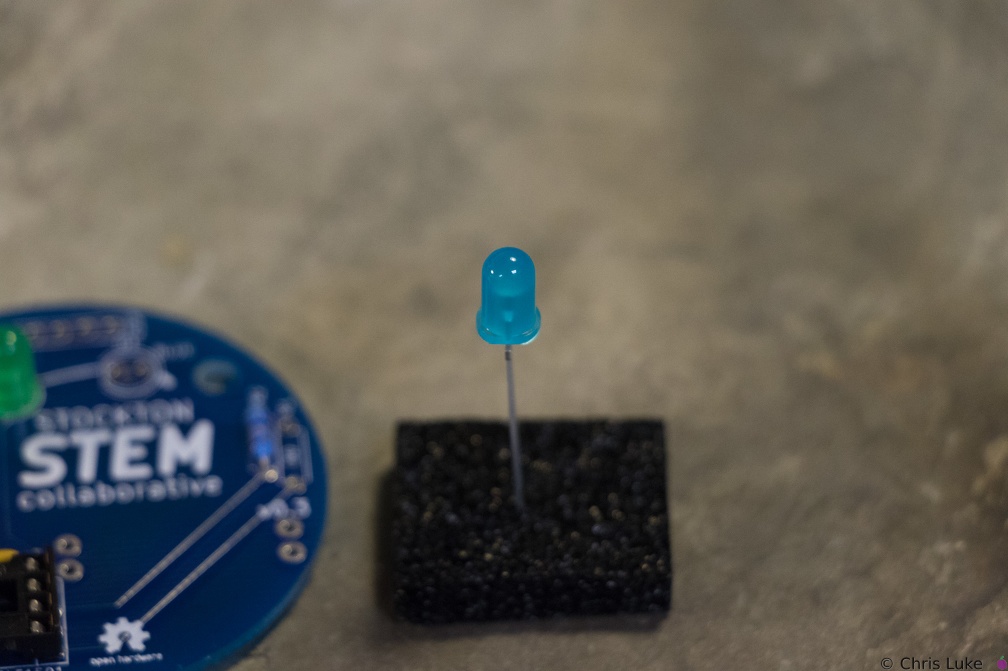 Stockton STEM Badge LEDs
The case of an LED can crack if the legs are bent too close to it; even after placing the LED on the board, only bend the legs slightly to hold it in place.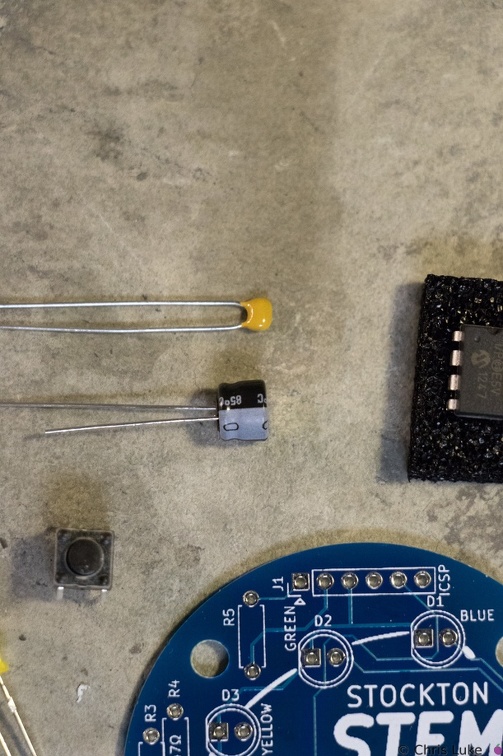 Stockton STEM Badge capacitors
The capacitors smooth the power on the badge. The top capacitor, is not polarity sensitive; that is, it can be used either way round. The other capacitor must be used only the correct way round; the case has a "-" symbol printed on it.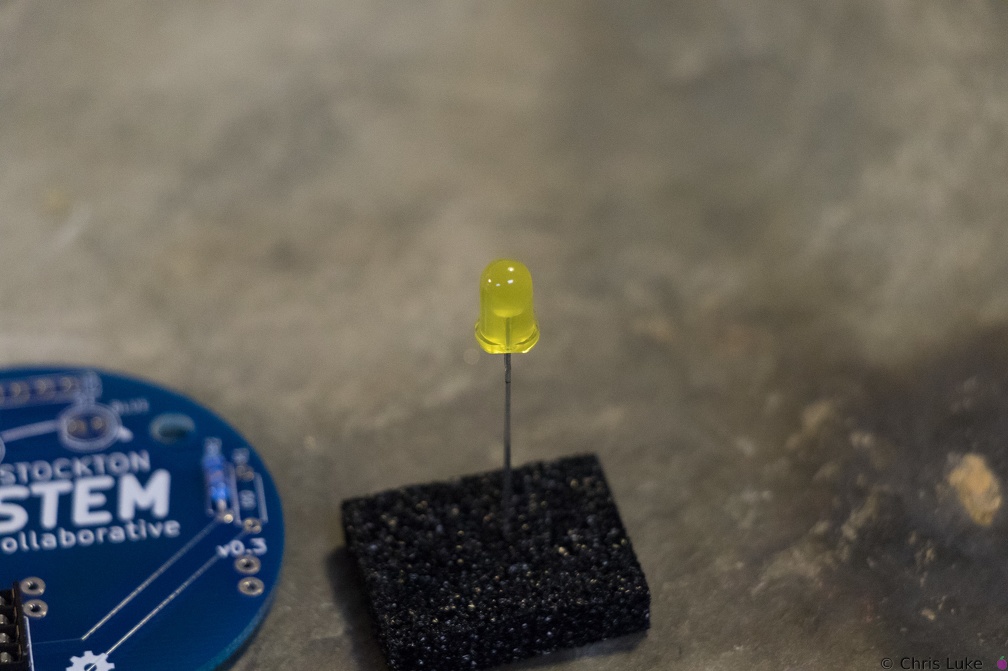 Stockton STEM Badge LEDs
While all components can be destroyed with an excess of heat during soldering, LEDs are especially susceptible to this.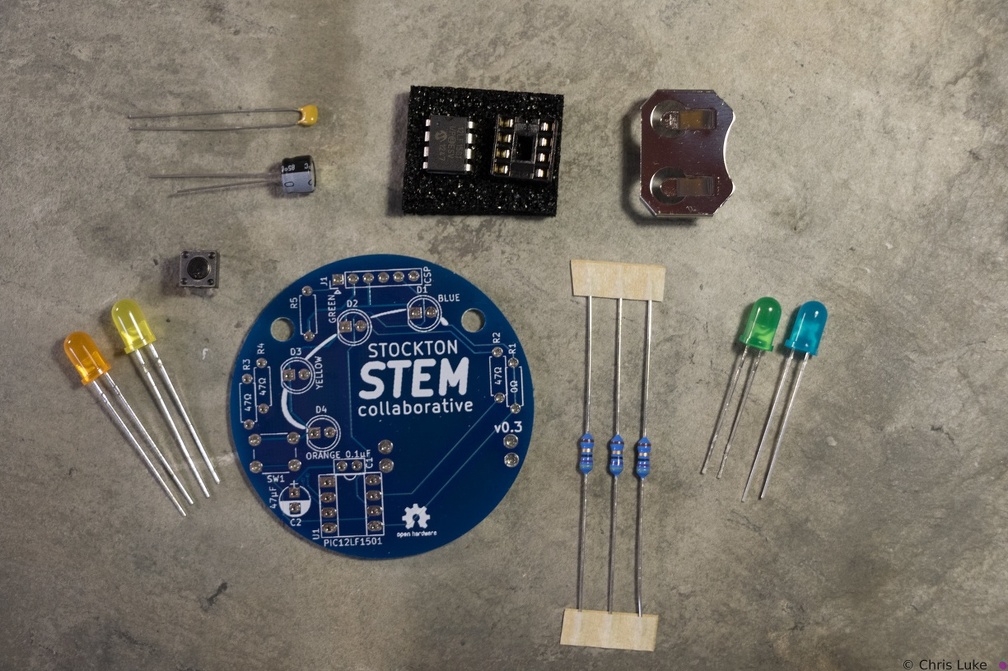 Stockton STEM Badge components
The badge consists of a handful of electronic components. Components R1, R5 and J1 are not normally populated.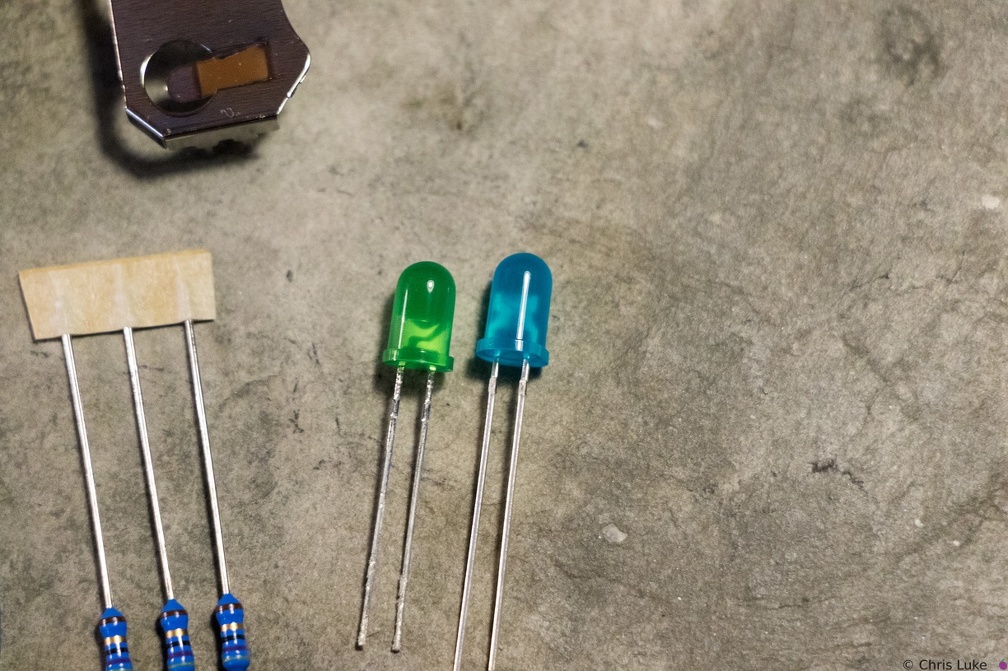 Stockton STEM Badge LEDs
Green and blue LEDs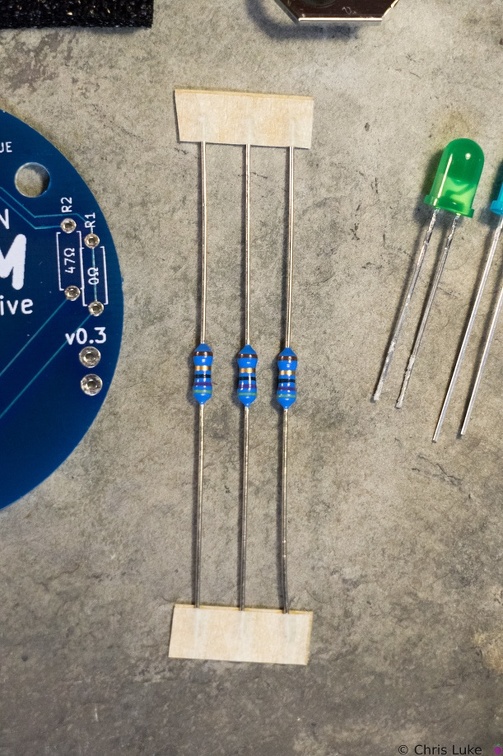 Stockton STEM Badge resistors
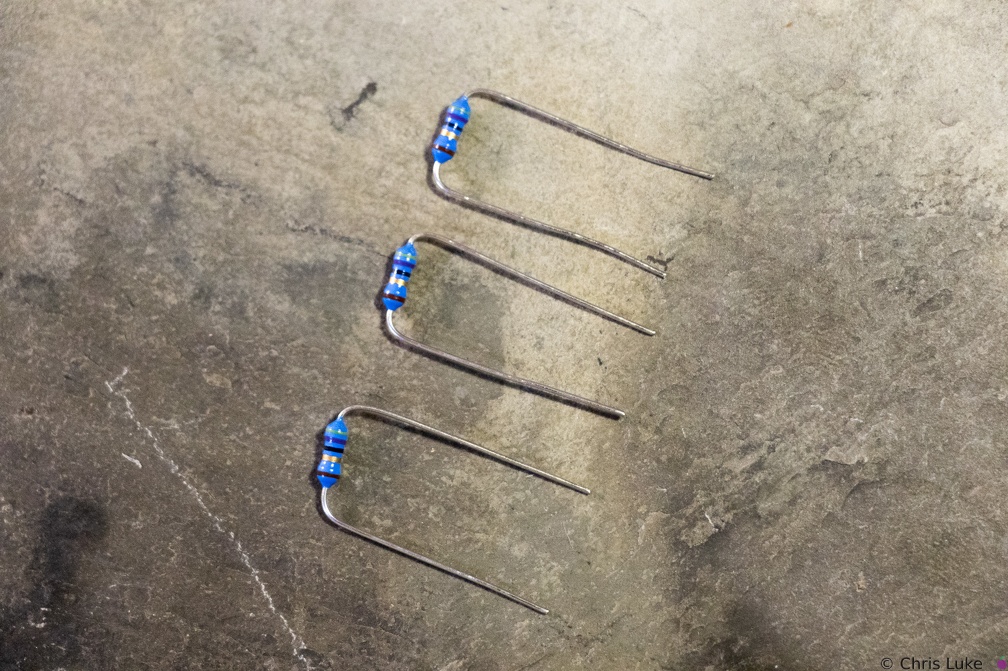
These are 47 ohm resistors; they limit the current supplied to the orange, yellow and green LEDs. The blue LED does not require one.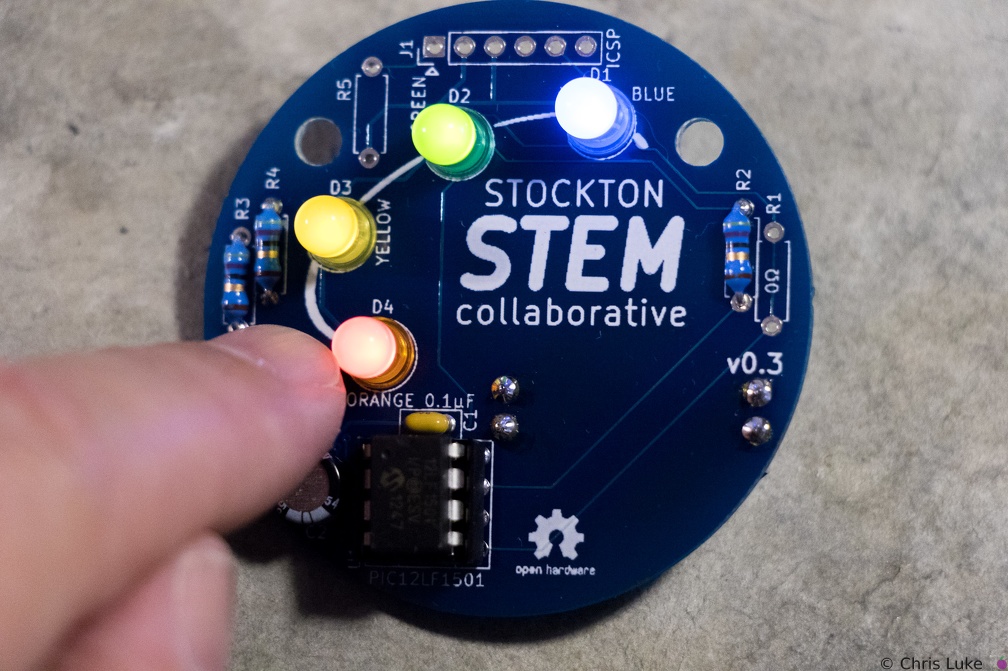 Stockton STEM Badge completed
Press the button to start the lights!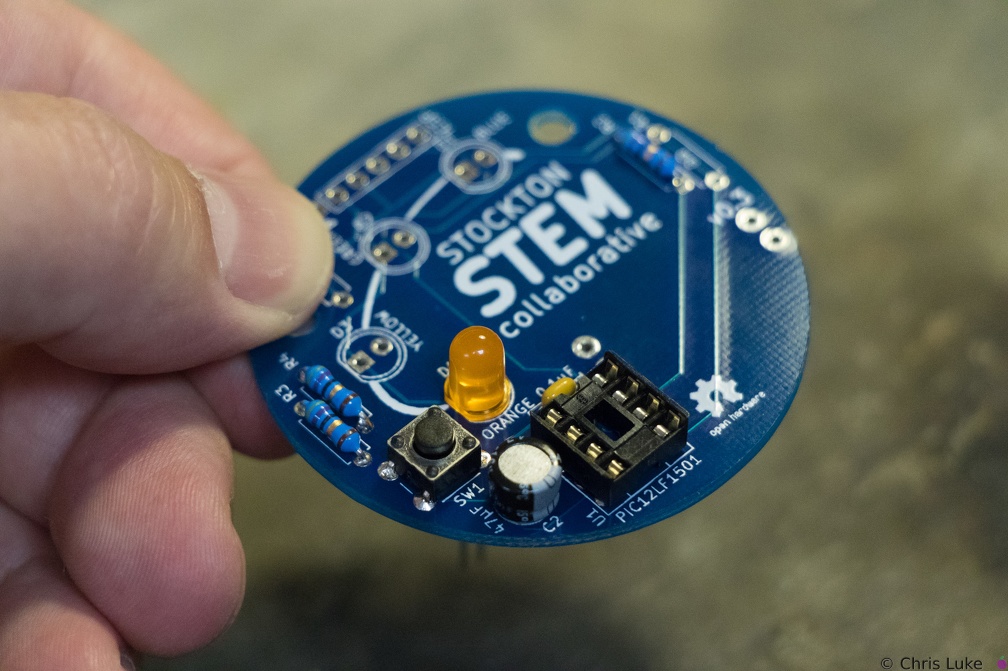 Stockton STEM Badge LEDs
The footprint for the LEDs also shows a flat edge; orientation of the LEDs needs to match that of the board.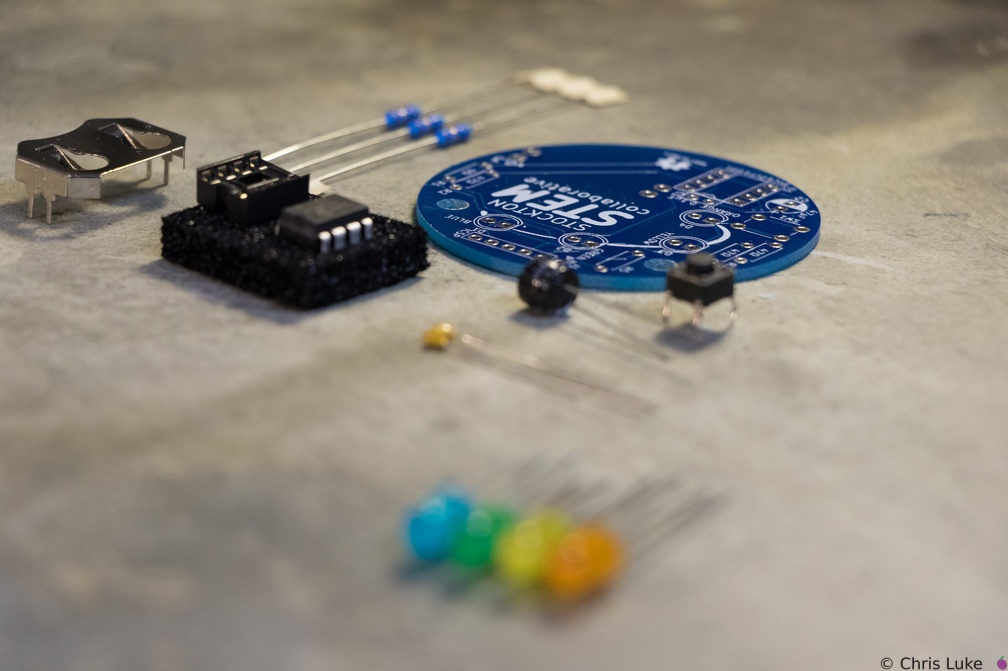 Stockton STEM Badge components
 Stockton STEM Badge IC
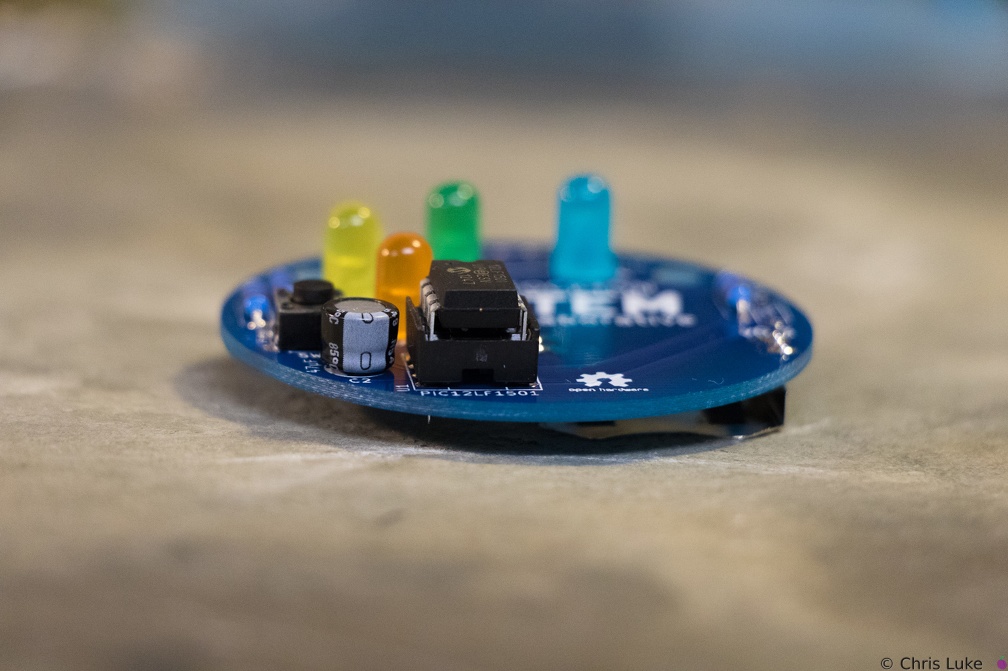
Once pushed all the way in, the IC may sit above the socket, but it will be parallel to it.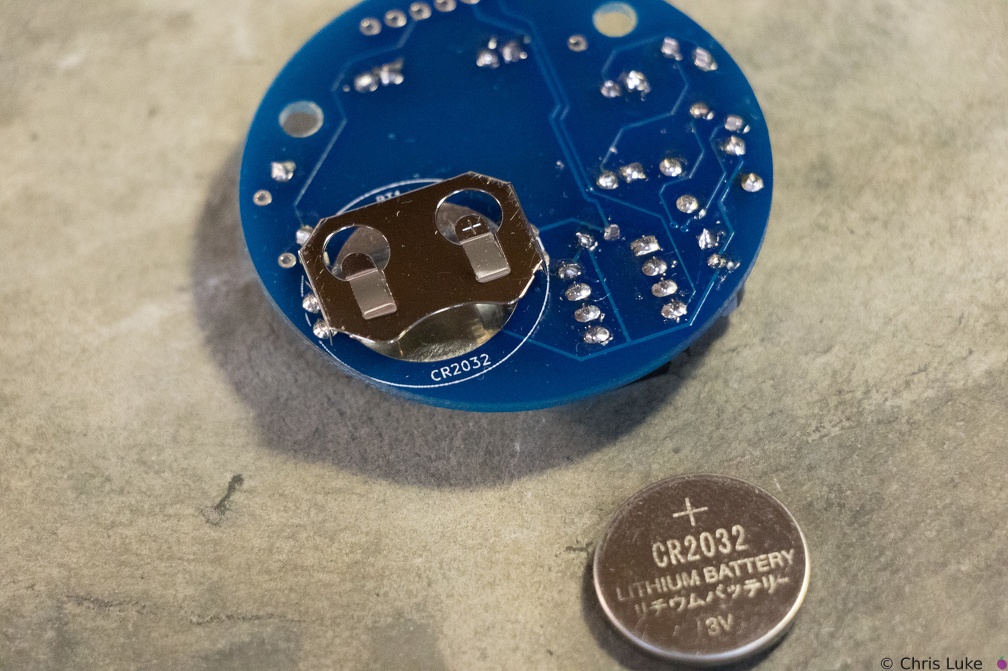 Stockton STEM Badge battery
The battery is a typical CR2032 button cell. Notice which side the "+" is on.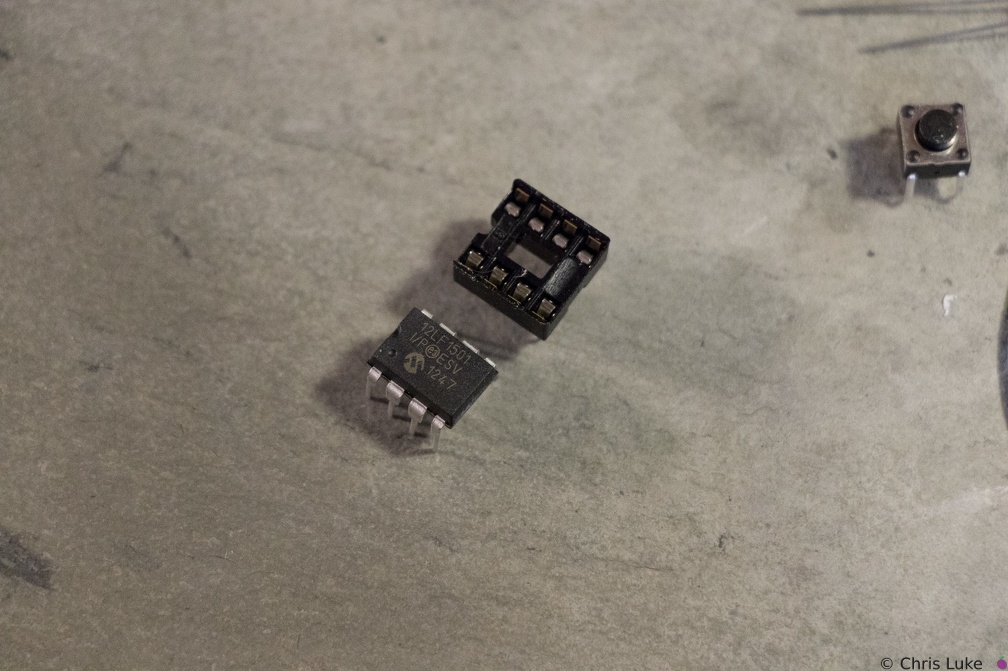 Stockton STEM Badge IC and socket
The chip, an integrated circuit, or IC, must also be used the correct way round. Both the chip and its socket have a notch at one end to identify its orientation.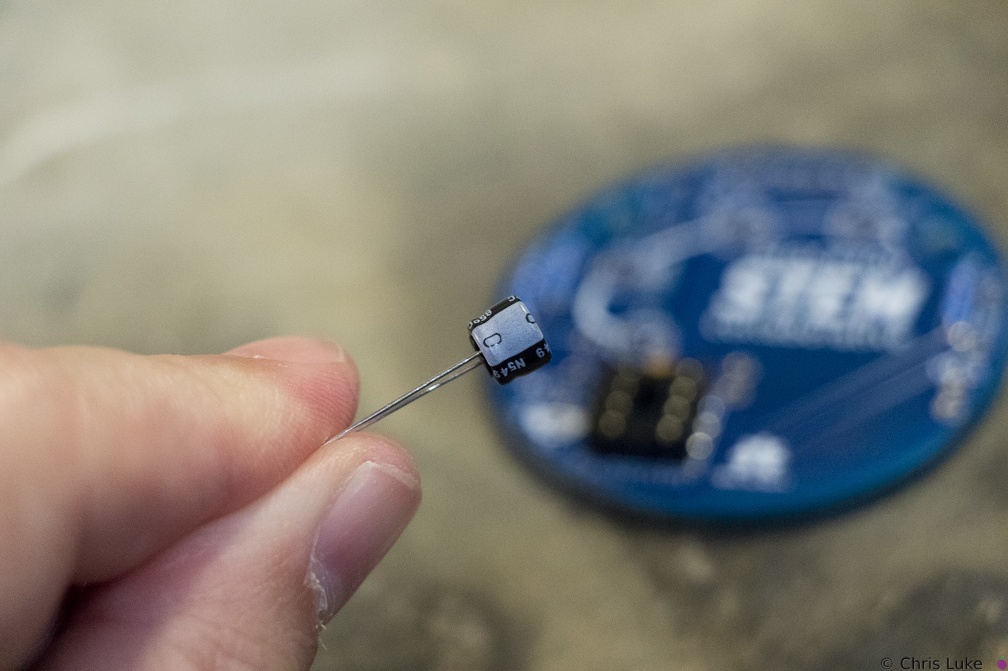 Stockton STEM Badge electrolytic capacitor
Electrolytic capacitors are polarity sensitive; note the "-" symbol on one side of the capacitor package. These capacitors typically have a larger capacity than their ceramic counterparts and are used for bulk storage; this one is used to assist the battery when the LEDs turn on. This is necessary because button cell batteries are not designed to provide as much power as the LEDs can demand.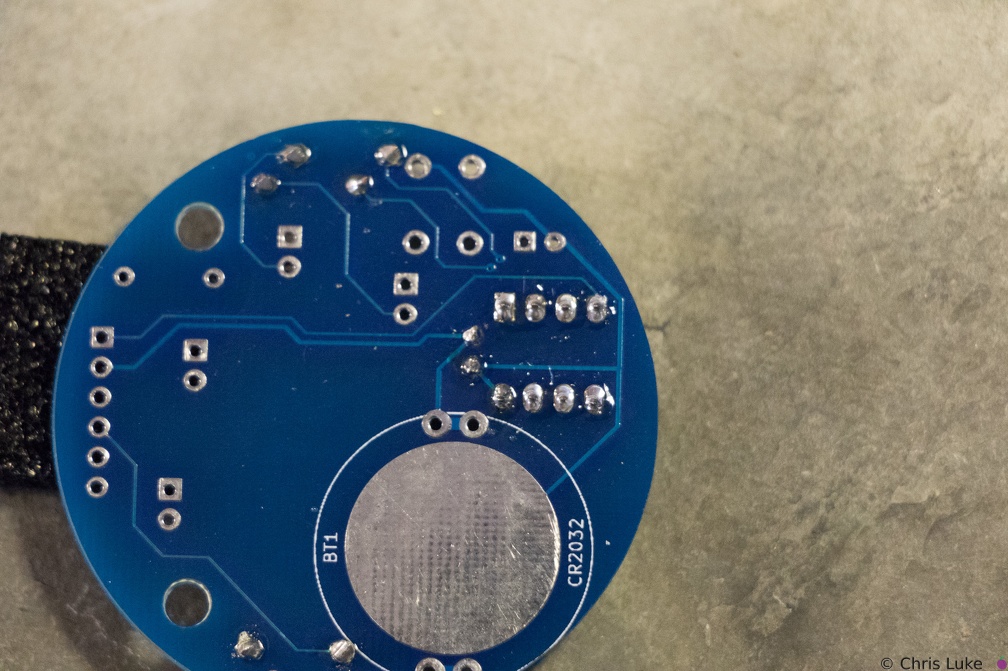 Stockton STEM Badge IC socket
Soldered legs.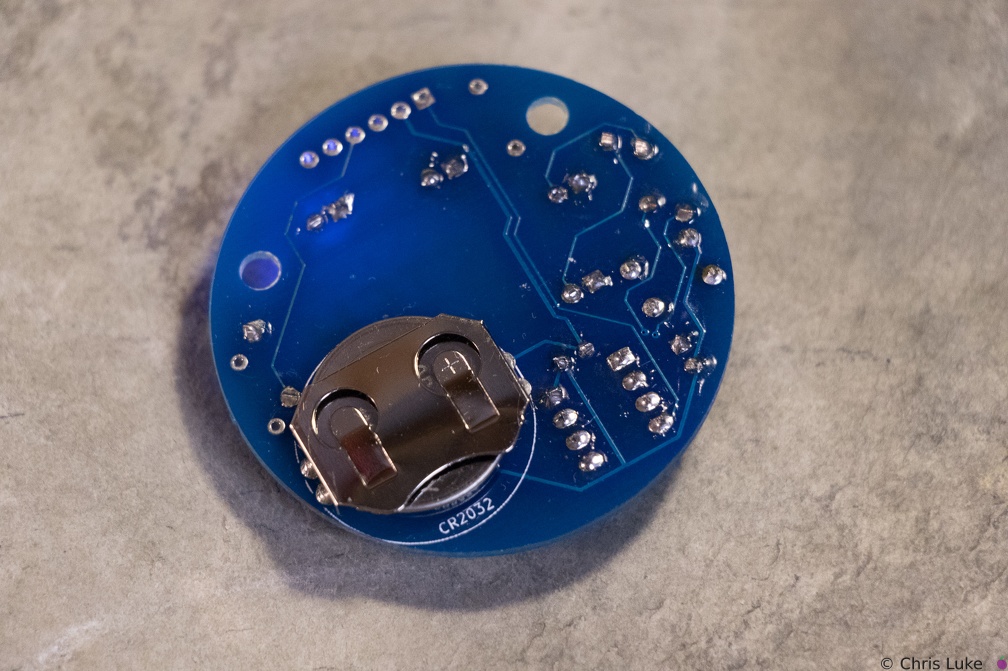 Stockton STEM Badge battery
The battery should sit snugly under the holder.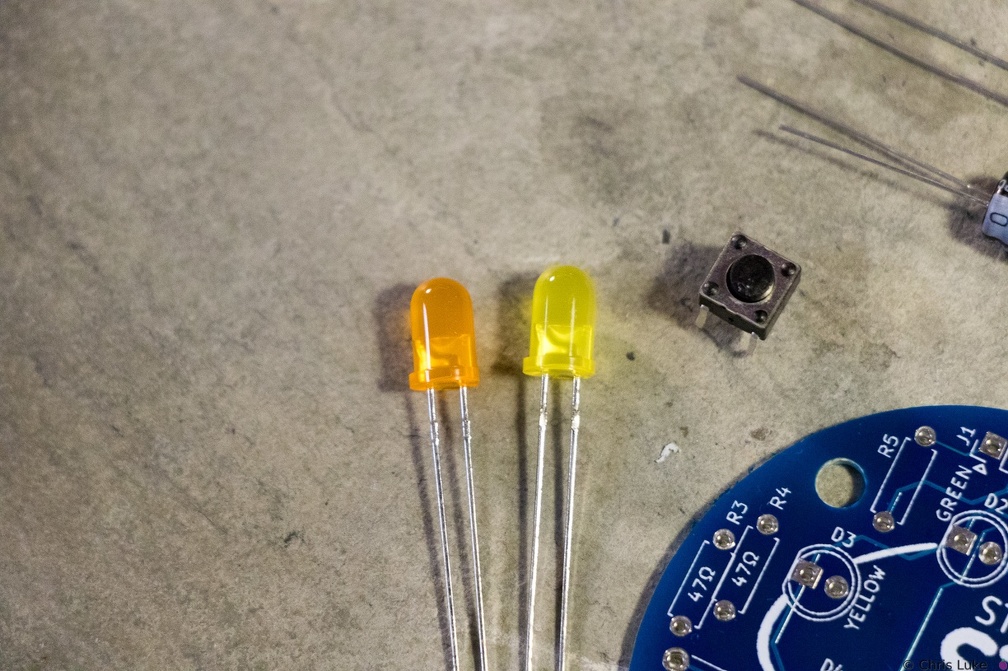 Stockton STEM Badge LEDs and button
Orange and yellow LEDS. The pushbutton switch allows a person to control the badge.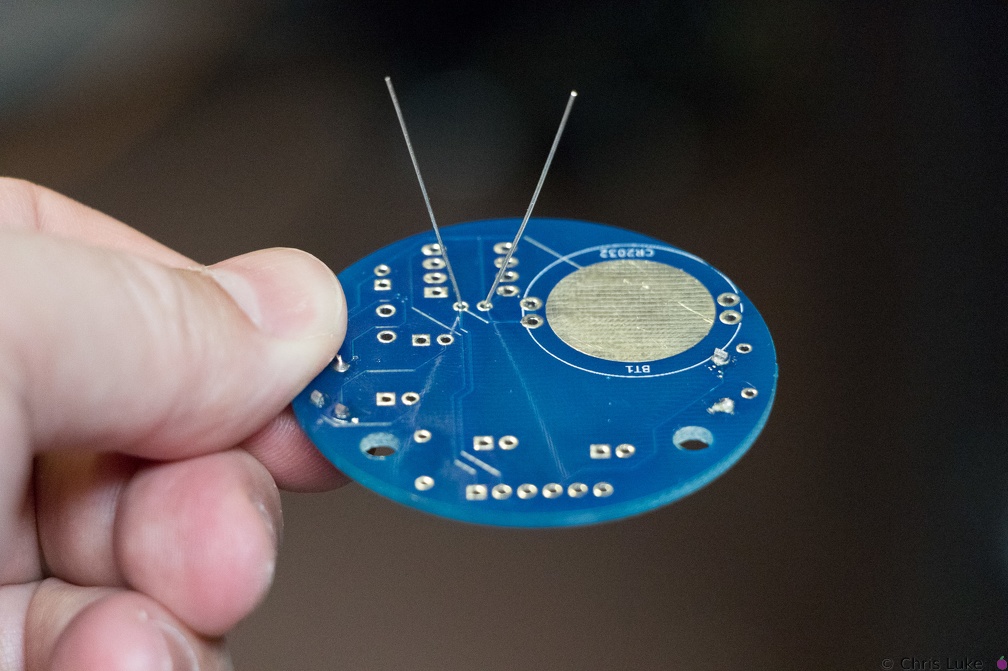 Stockton STEM Badge decoupling capacitor
As with the resistors, the legs should be splayed a little to help hold it in place for soldering.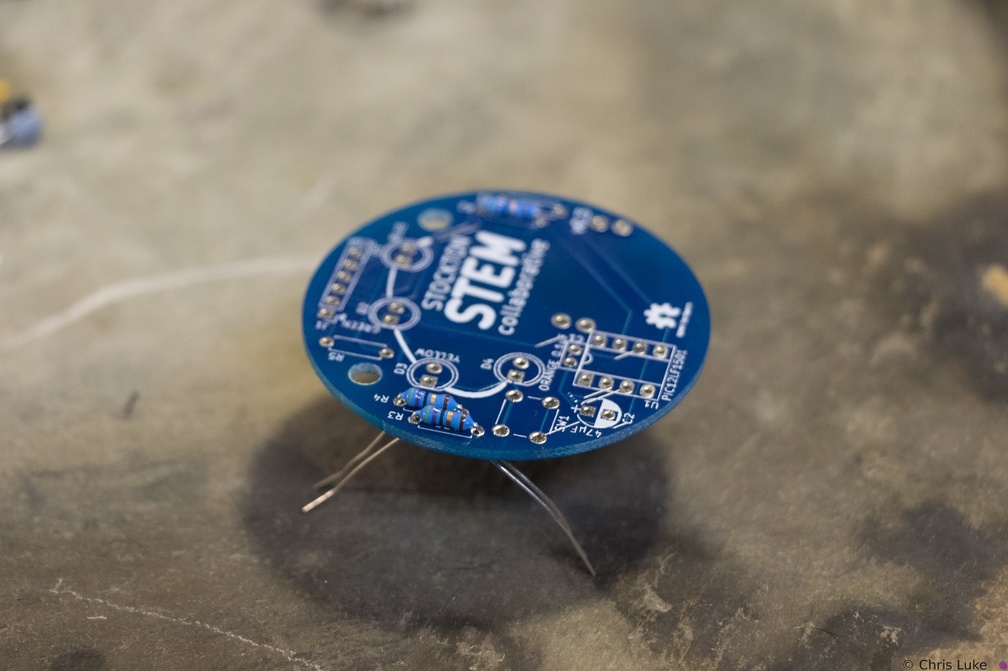 Stockton STEM Badge resistor legs
The legs are then carefully bent to about 45 degrees to hold the resistor in place for soldering.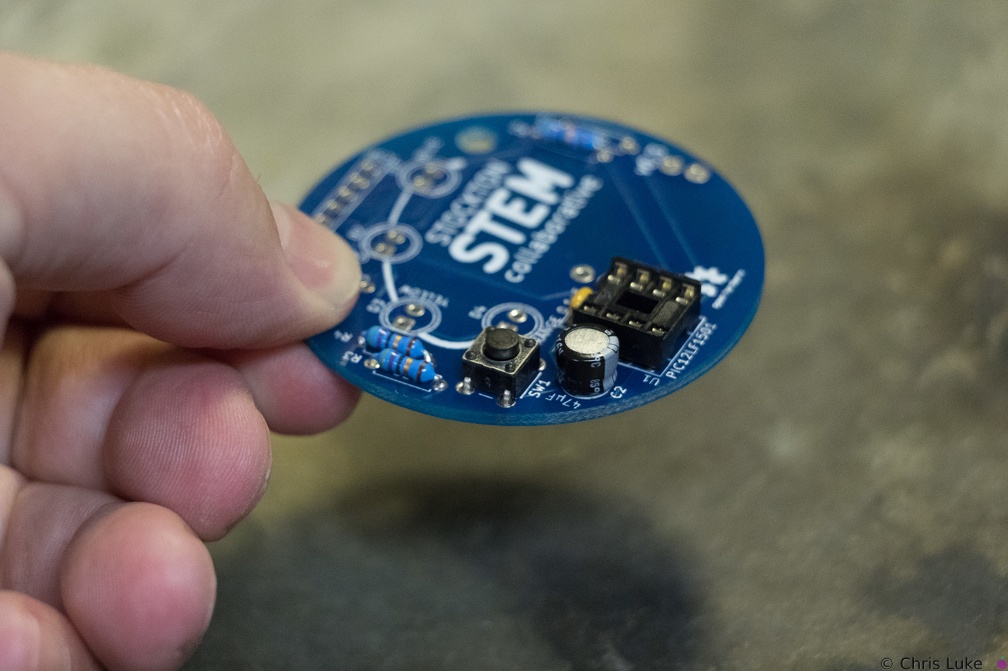 Stockton STEM Badge button
The push-button switch will fit two ways. Orientation does not matter.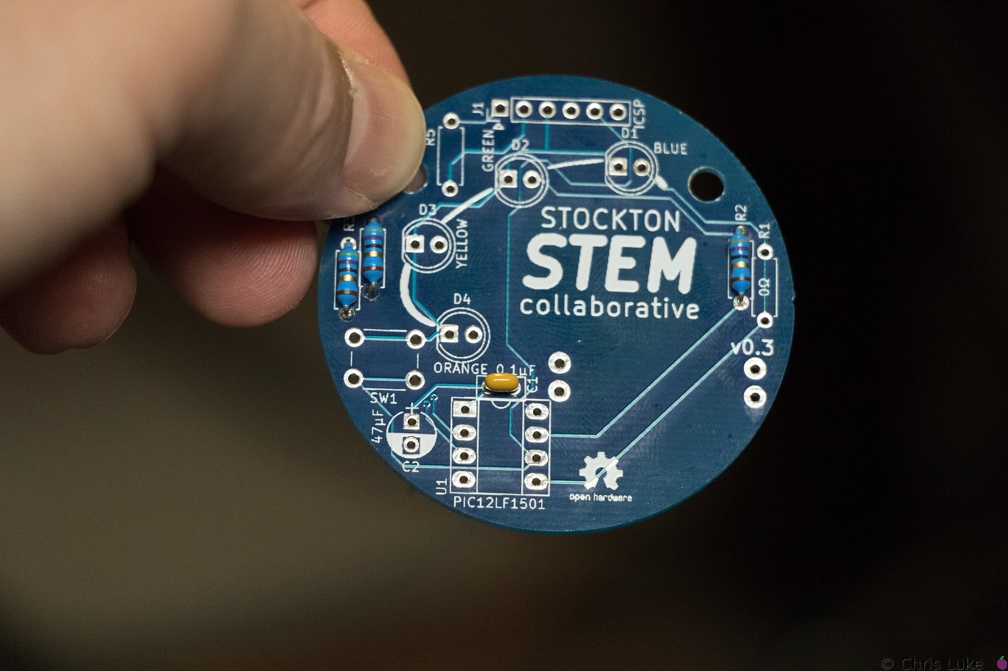 Stockton STEM Badge decoupling capacitor
The capacitor should sit flush with the board.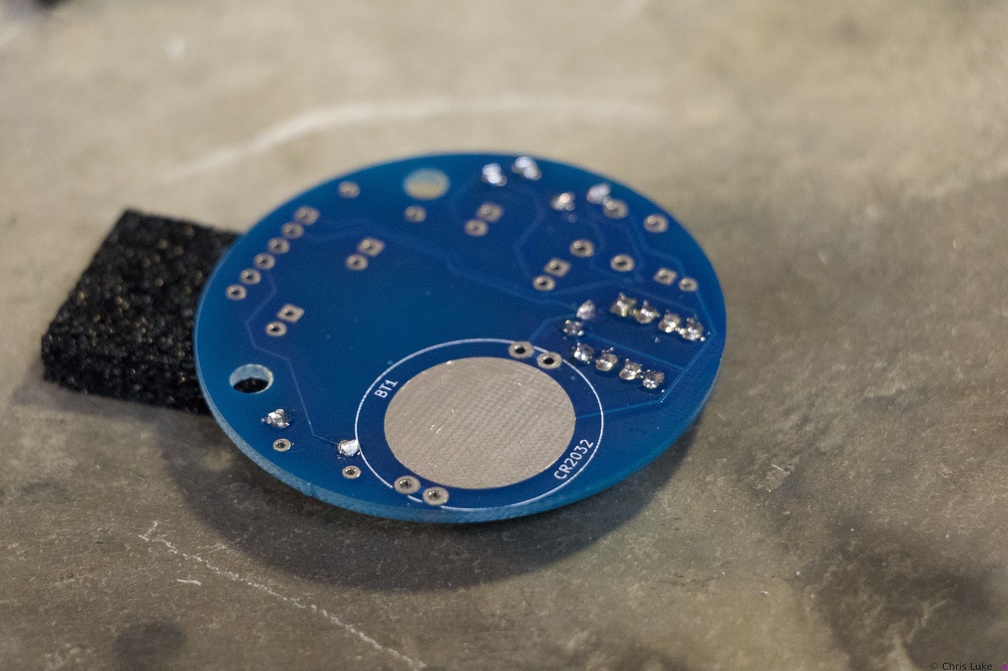 Stockton STEM Badge IC socket
Soldering one leg first and checking that the socket is flat against the board avoids a simple mistake. If it is not flat, or otherwise misaligned simply re-heating the leg will help correct the issue. Once orientation and alignment is verified, solder the remaining legs. Sometimes a small shim, such as the black foam here, can help keep the board level and simplifies the task.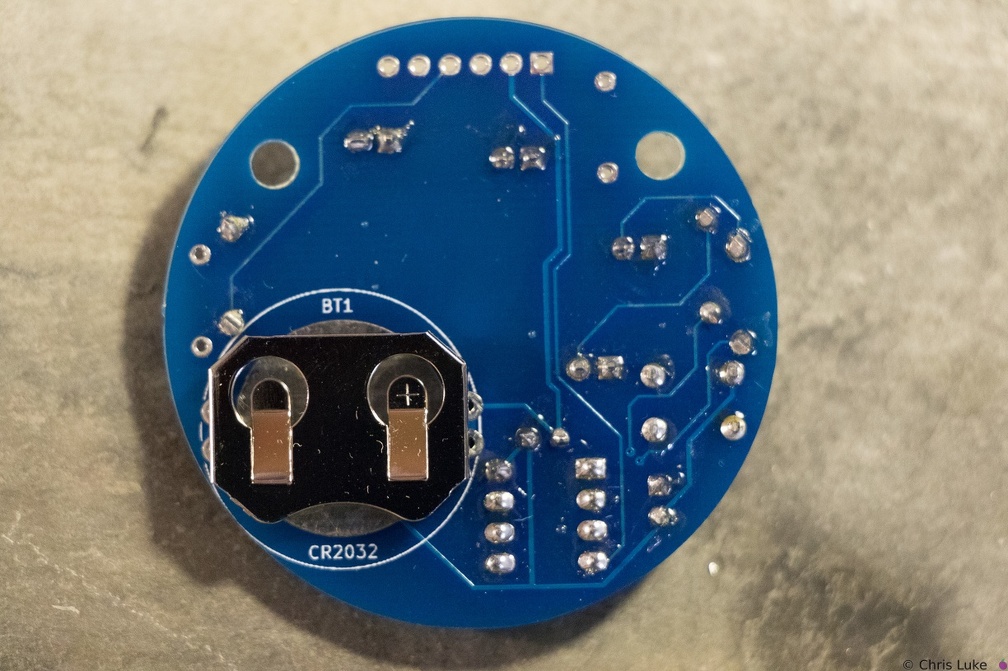 Stockton STEM Badge battery
Note the orientation of the holder; reversing it will make it difficult to insert the battery later.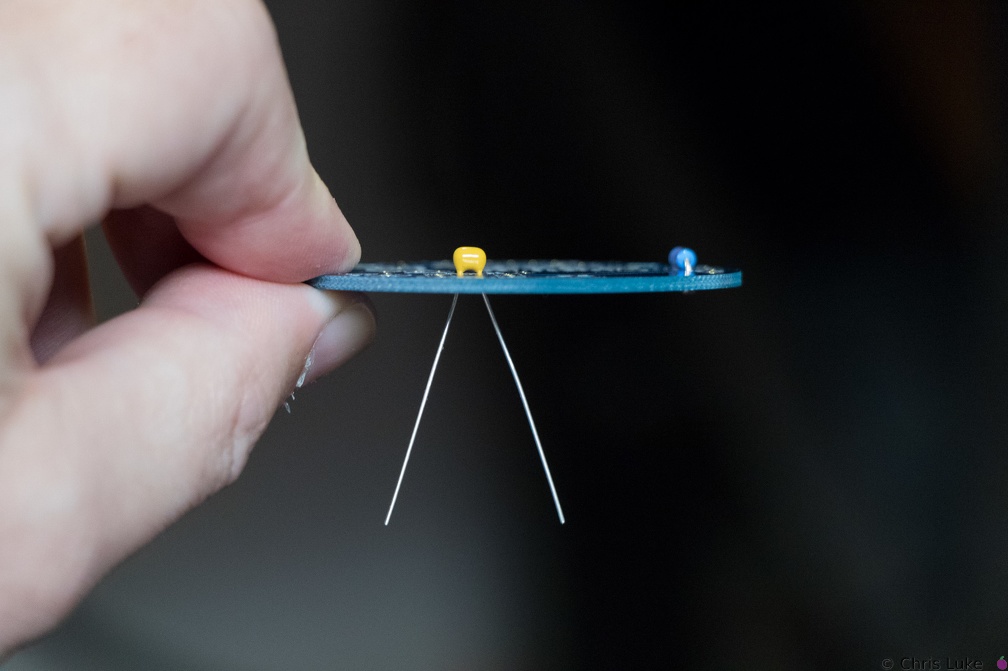 Stockton STEM Badge decoupling capacitor
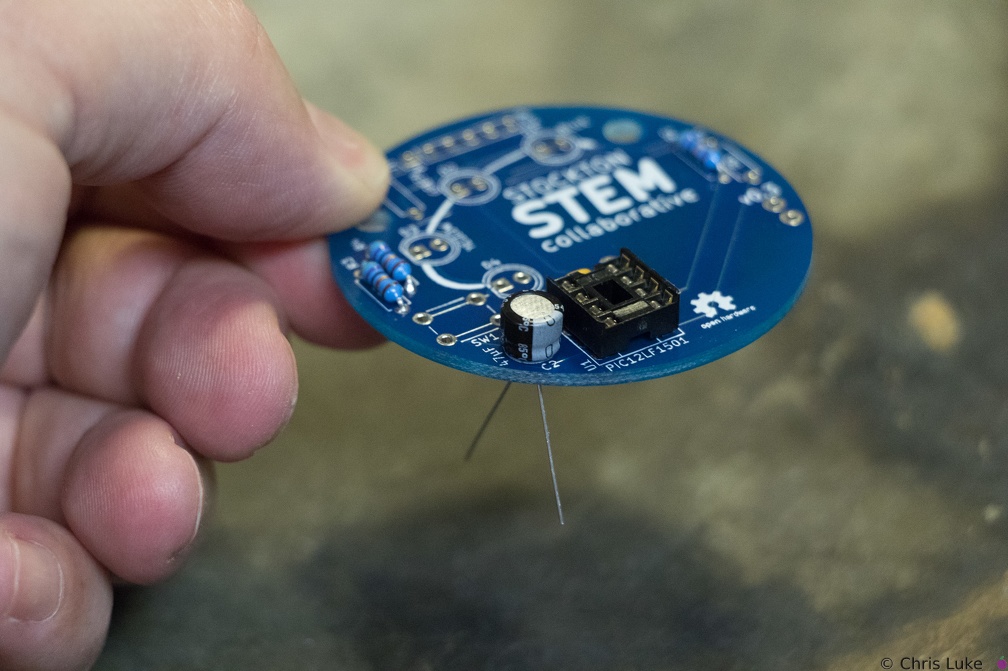
This ceramic capacitor is not orientation sensitive. Decoupling means it absorbs electrical noise and is used to filter the power feeding the microcontroller.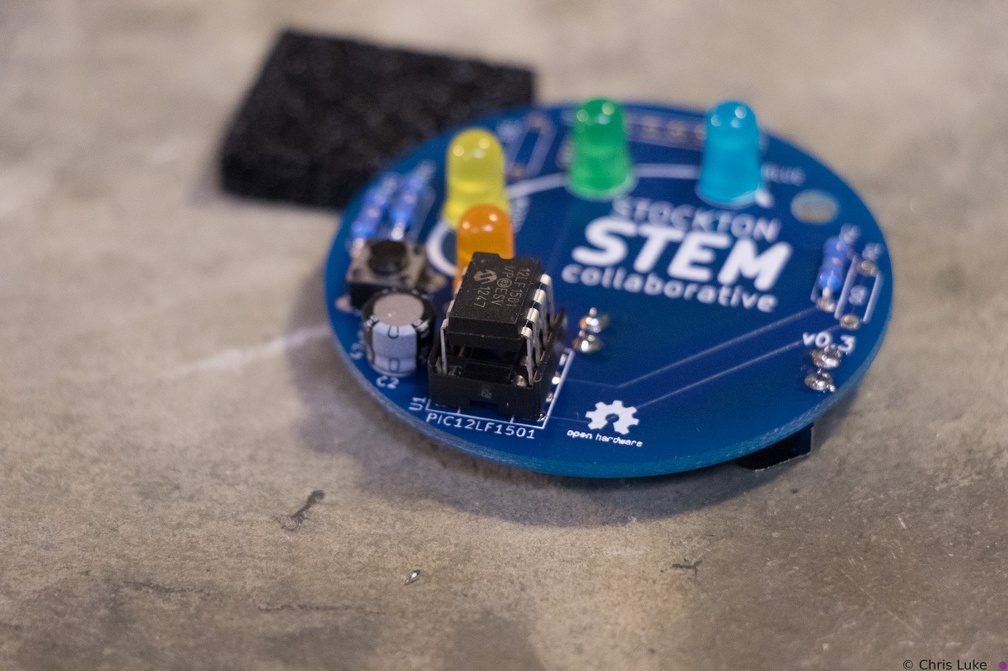 Stockton STEM Badge IC
The IC pins need to be straight and line up with their receptacles in the socket.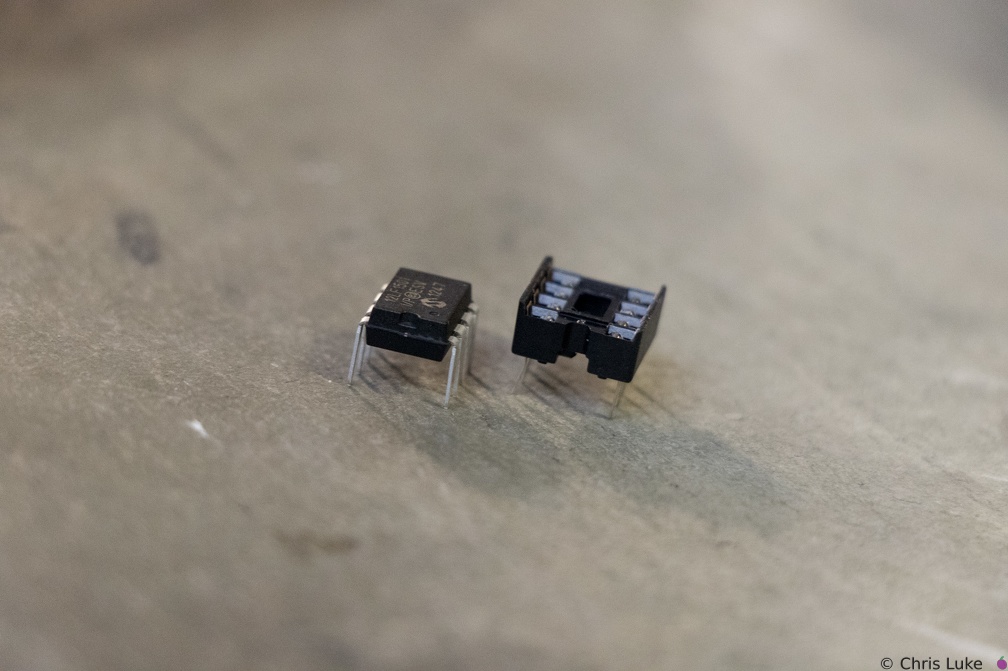 Stockton STEM Badge IC and socket
The legs of the chip need to be straight otherwise they will not properly insert into their positions in the socket. It is easy to bend or break the legs if care is not taken.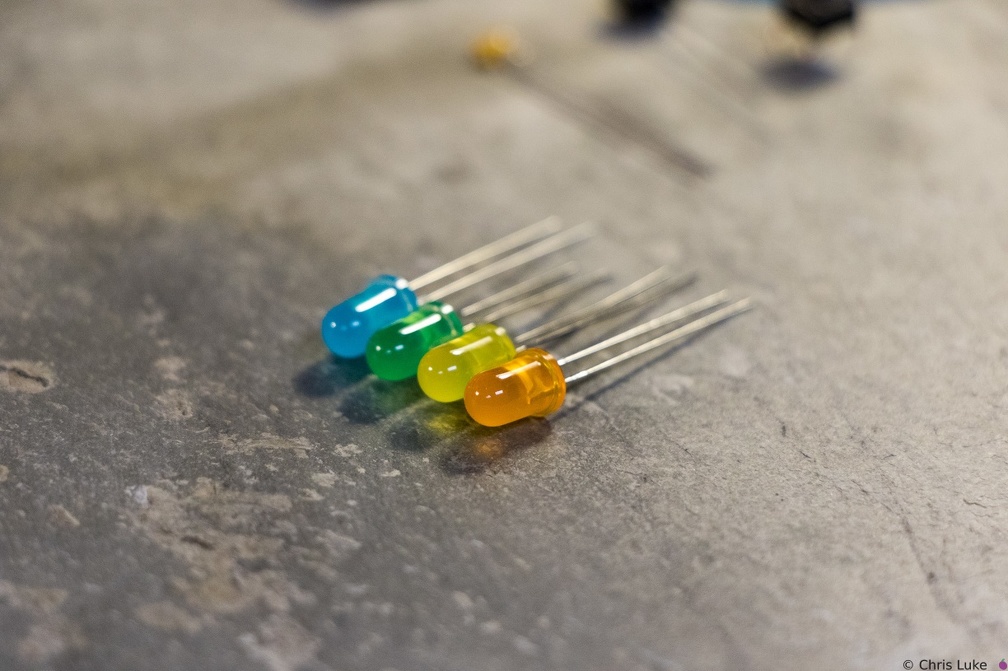 Stockton STEM Badge LEDs
 Stockton STEM Badge electrolytic capacitor
Orientation of this capacitor is important. There is a "+" symbol in the footprint of the component printed on the board; the "-" of the capacitor should be on the opposite side.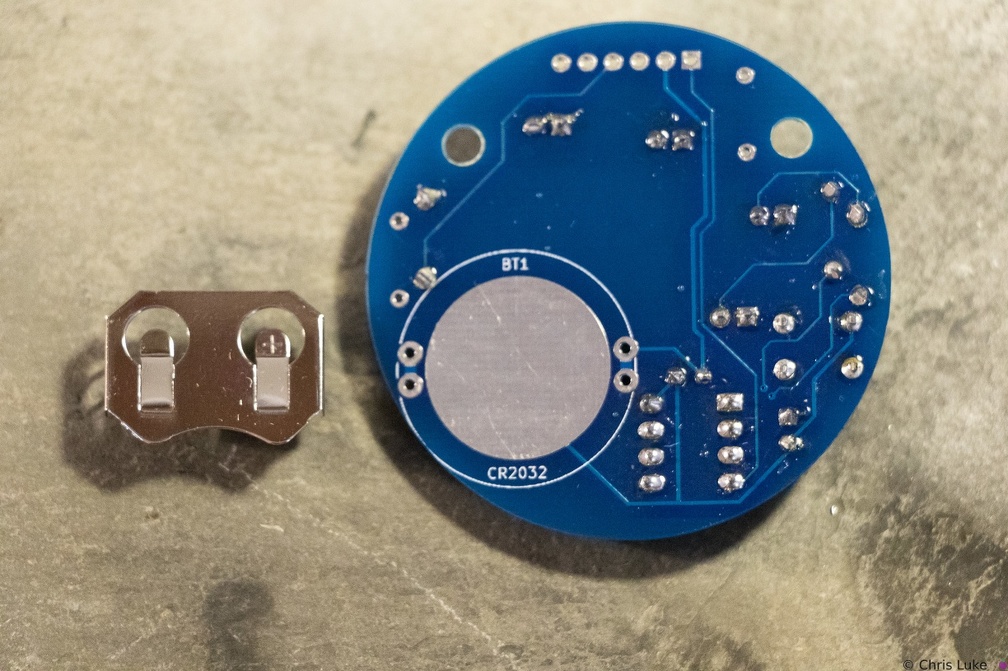 Stockton STEM Badge battery
The battery holder is a simple metal cage that solders to the underside of the board.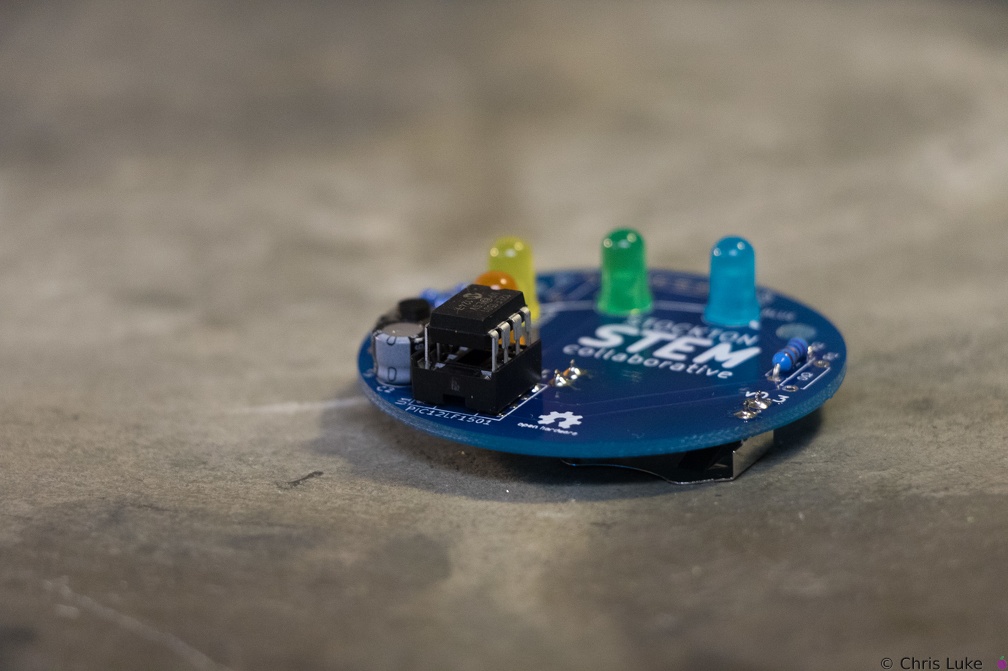 Stockton STEM Badge IC
When inserting the IC, firm but controlled pressure is needed to avoid bending the pins.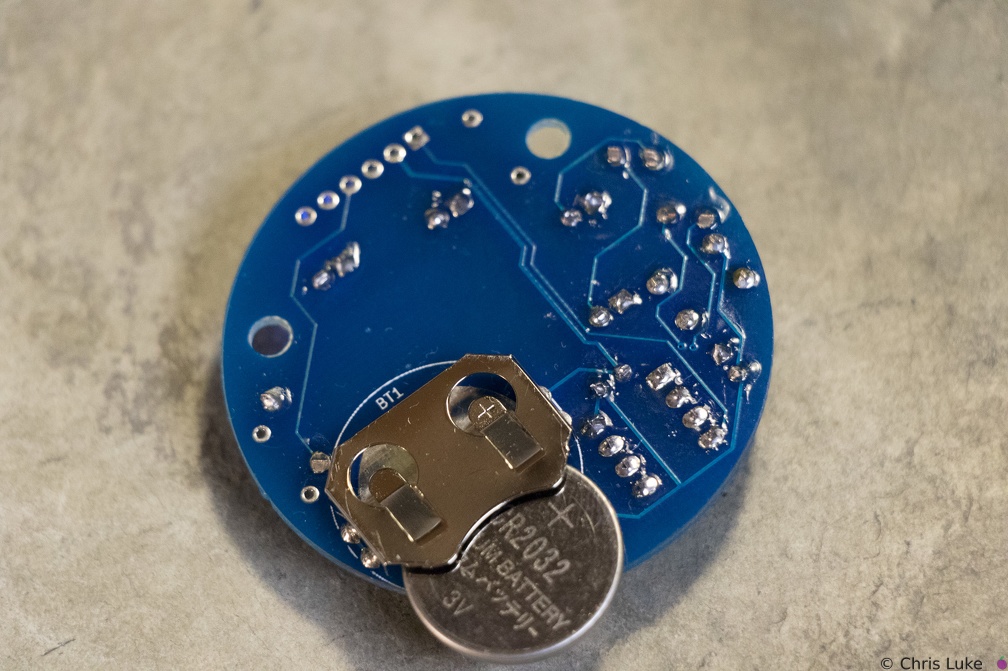 Stockton STEM Badge battery
Note the orientation of the battery. The "+" side contacts the battery holder.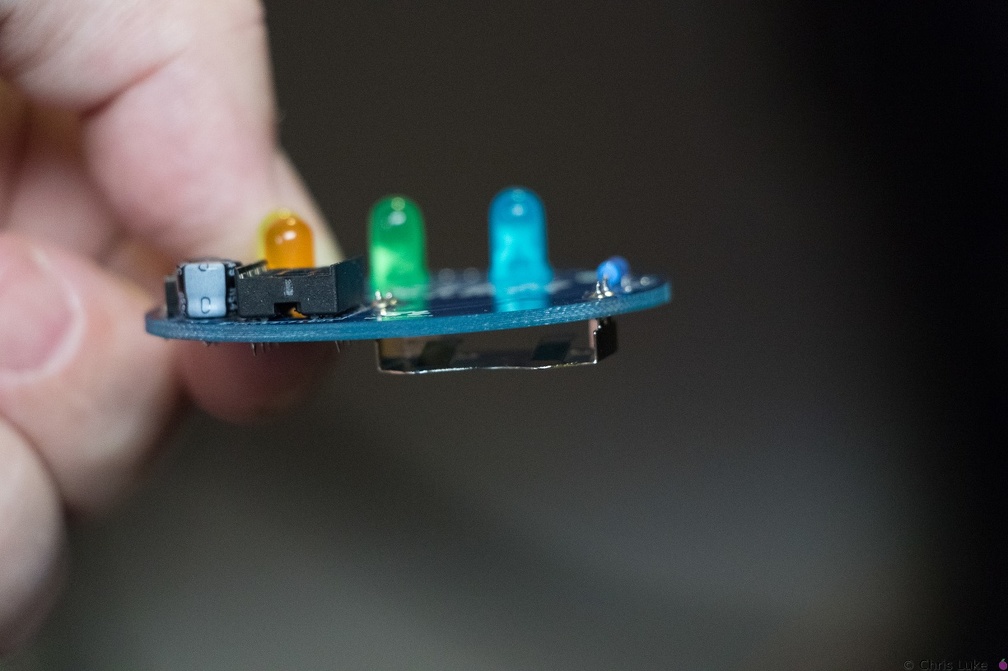 Stockton STEM Badge battery
It is possible for the holder to become hot during soldering; be careful when handling immediately after soldering.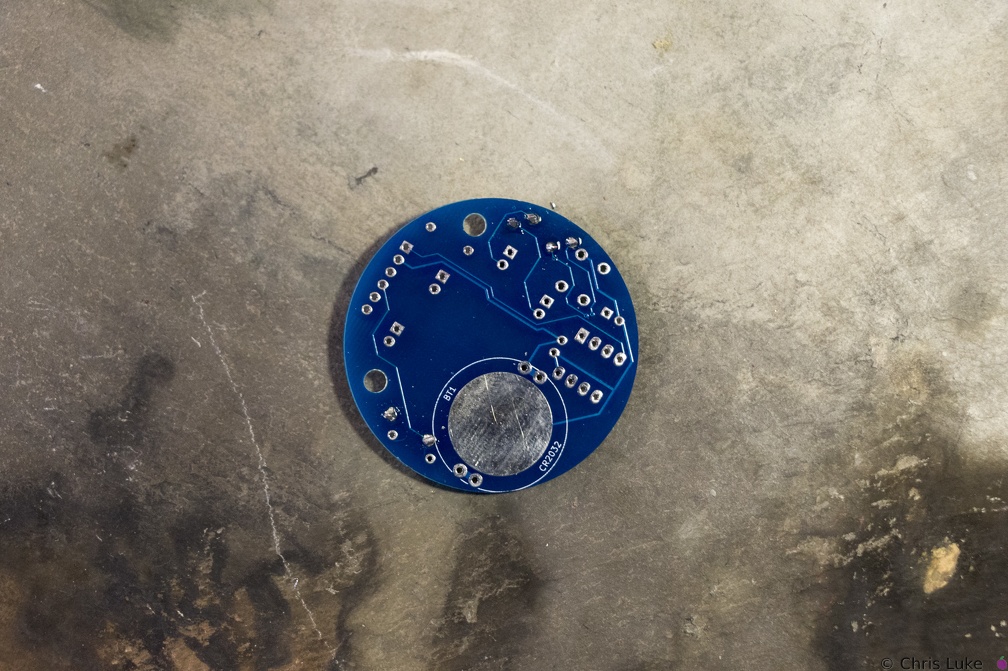 Stockton STEM Badge resistor legs
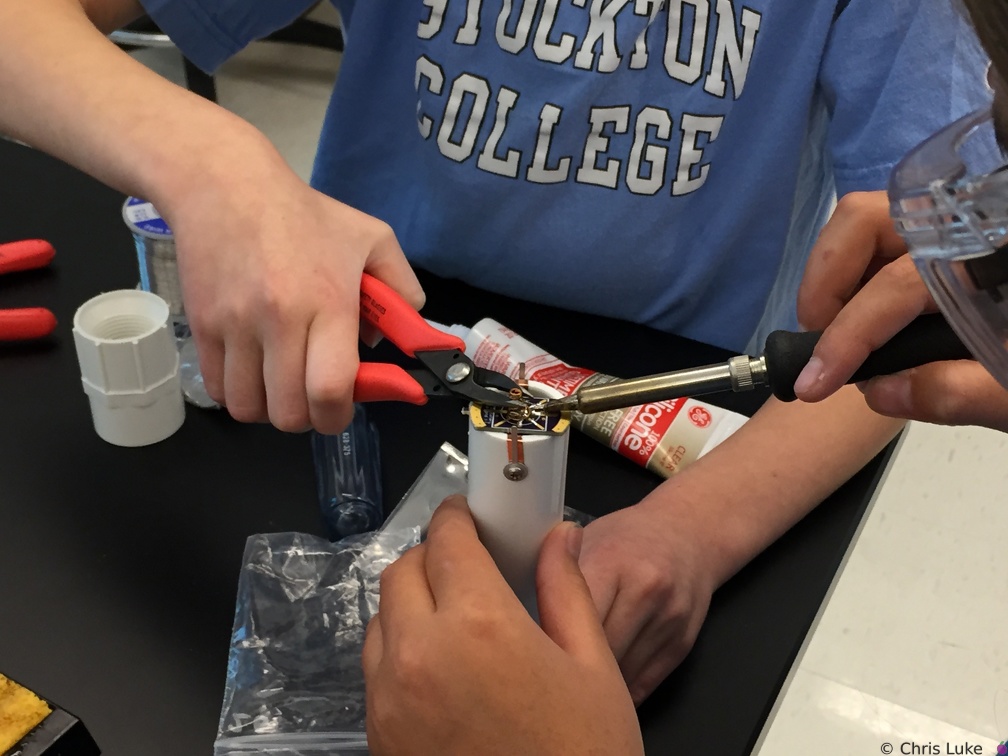
The legs are trimmed, the excess removed with side-cutters.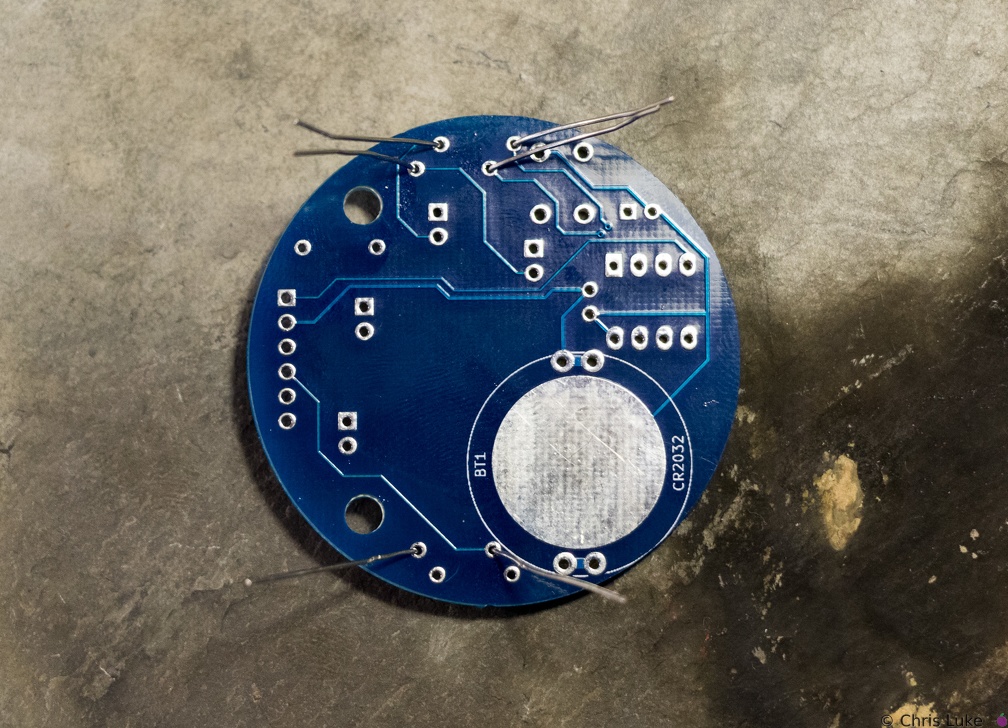 Stockton STEM Badge resistor legs
The legs are passed through the board holes; they may need pulling firmly, but not too firmly, with pliers to pull the resistor body flush with the board.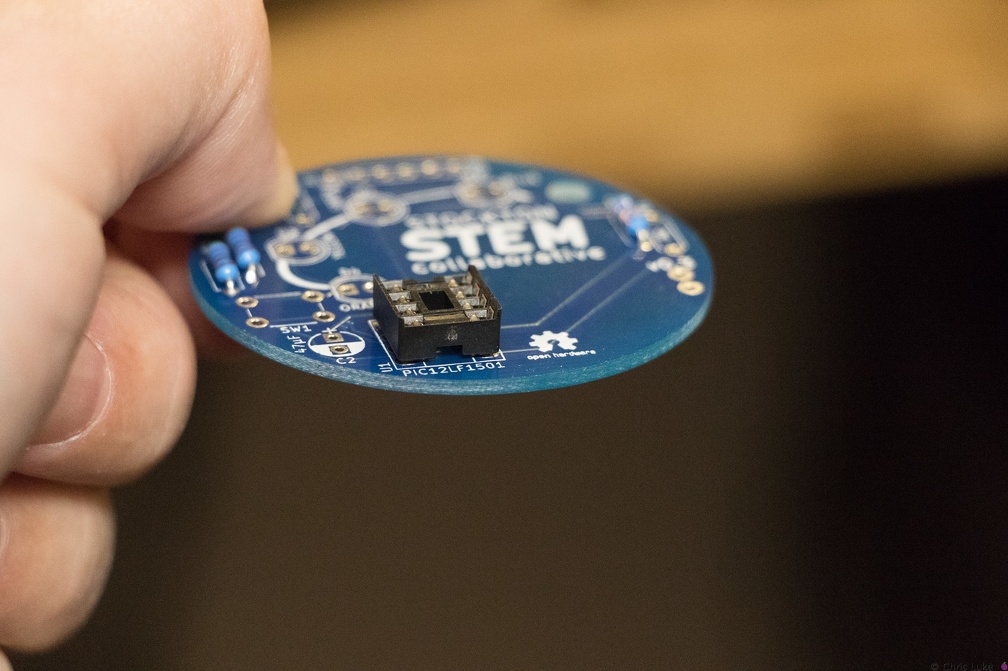 Stockton STEM Badge IC socket
The IC socket should lay flat against the board.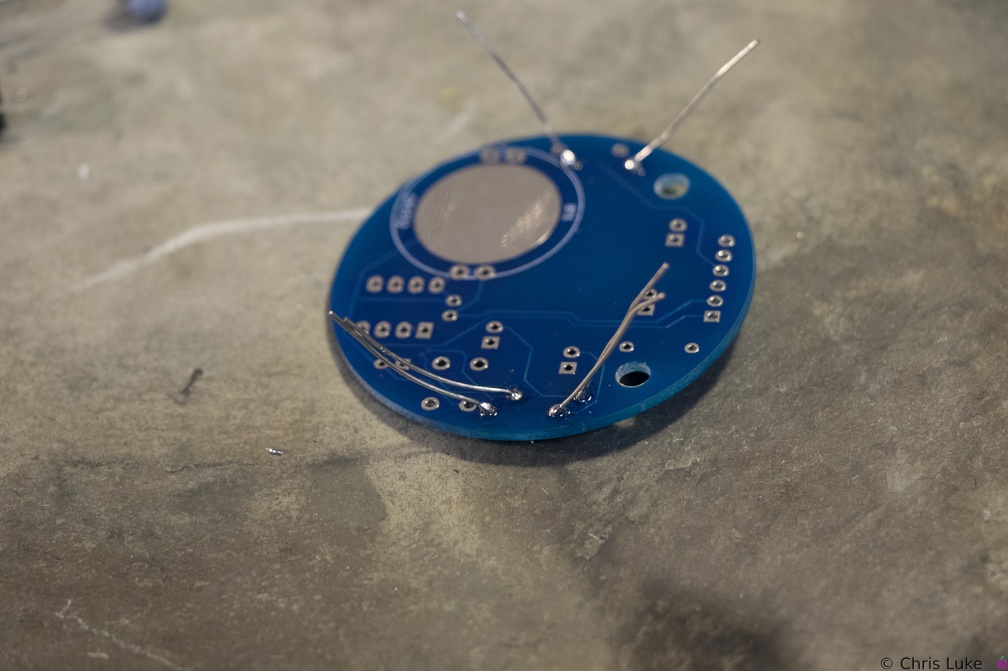 Stockton STEM Badge resistor legs
Soldered legs; only a small amount of solder is needed and it heat should be applied only briefly.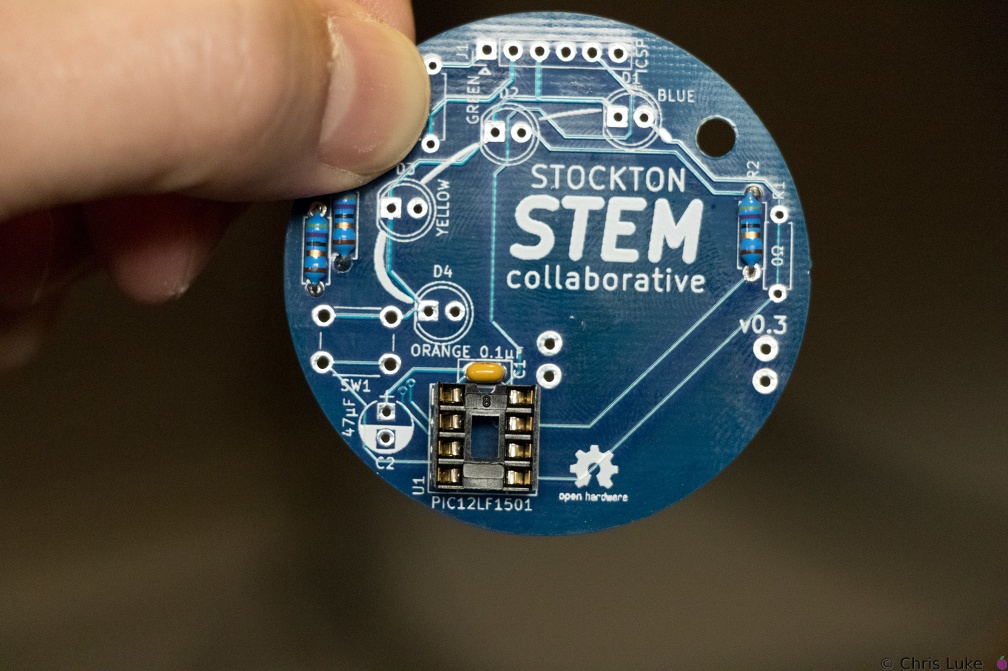 Stockton STEM Badge IC socket
Note the orientation of the indent at the upper edge of the IC socket.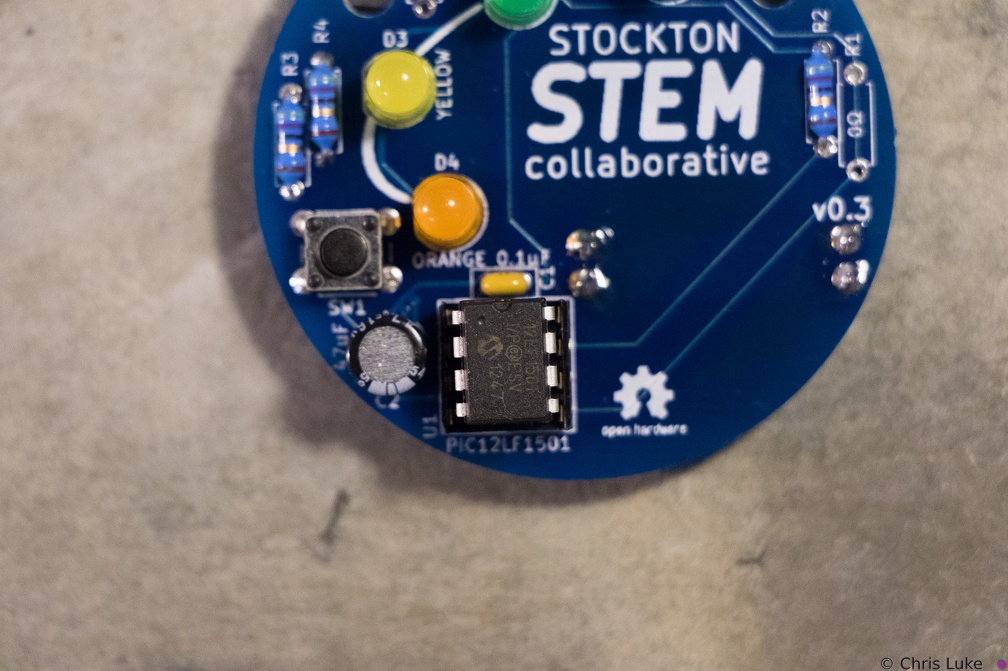 Stockton STEM Badge IC
Make sure the IC is correctly aligned before pushing it in.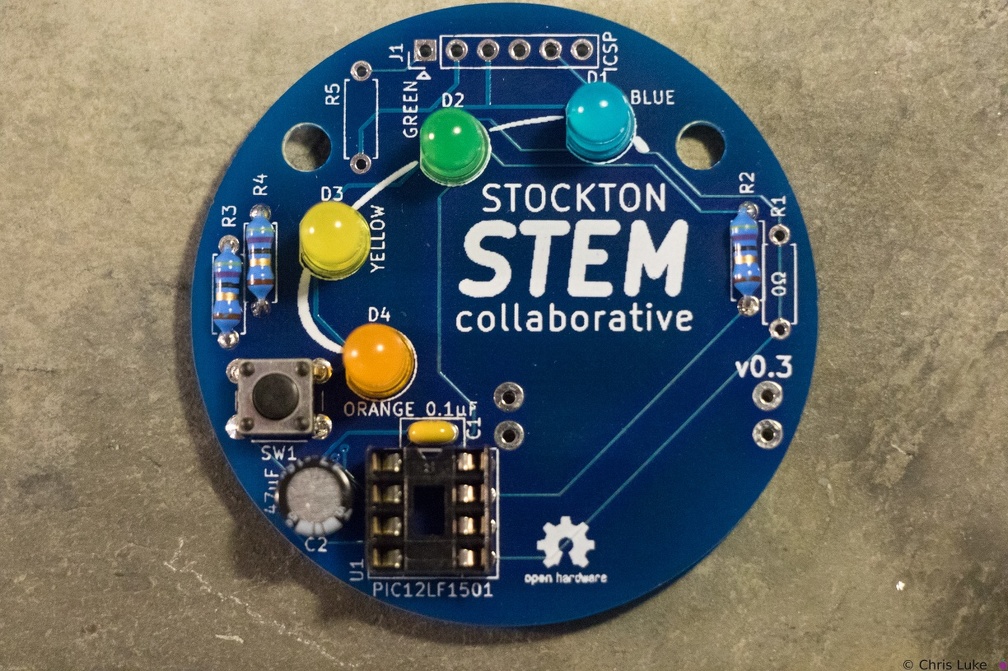 Stockton STEM Badge LEDs
All the LEDs have been soldered. Notice that they all have the same orientation; the flat edge is to the left.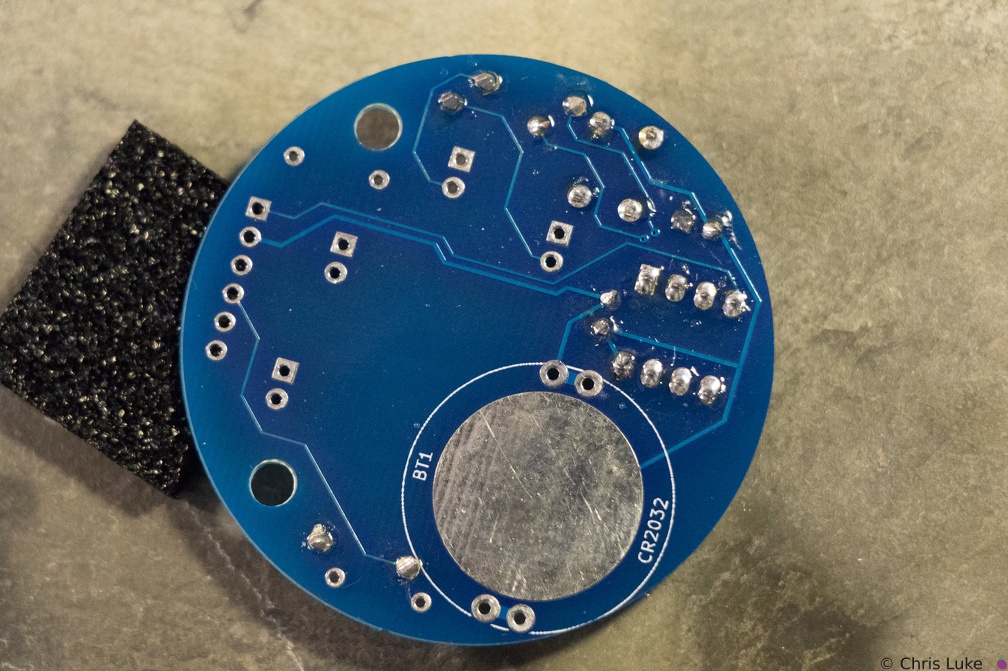 Stockton STEM Badge button
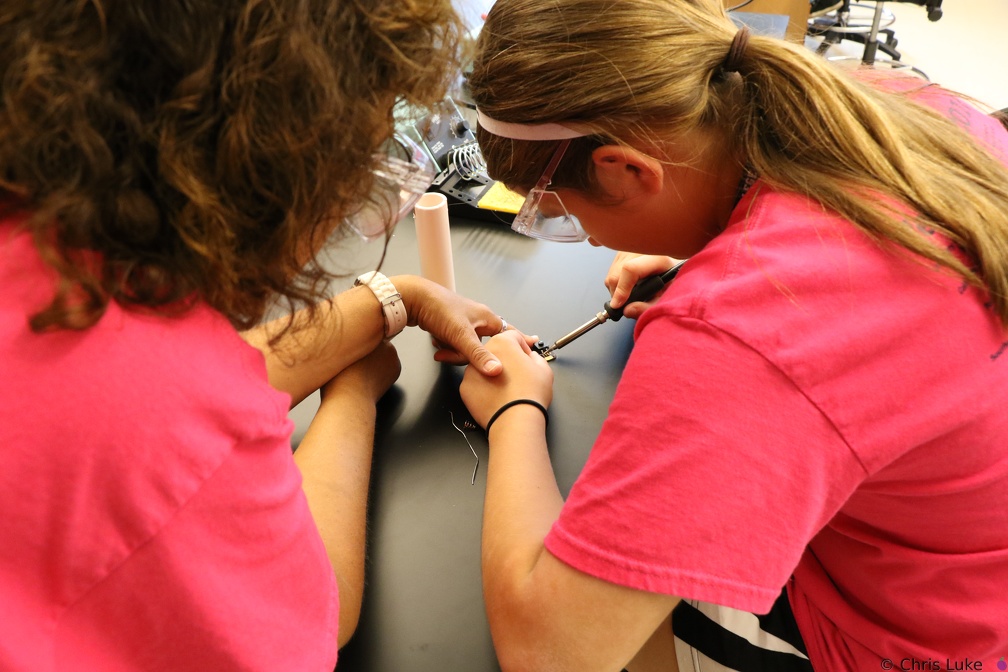
As with the IC socket, soldering one leg first and verifying component alignment will help prevent easy mistakes.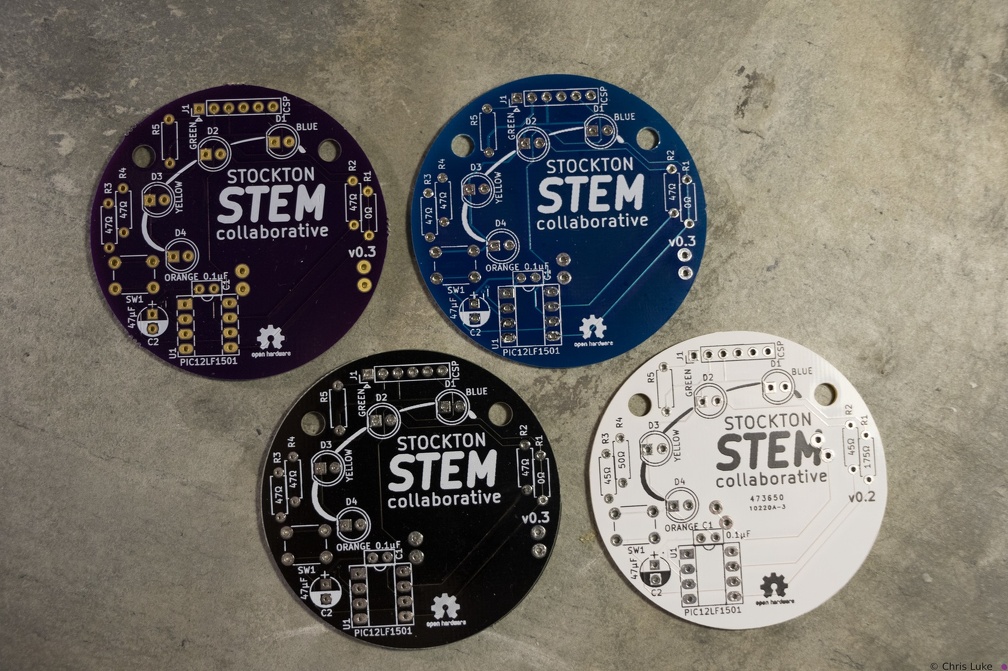 Stockton STEM Badge boards
The badge printed circuit board (PCB) comes in several colors.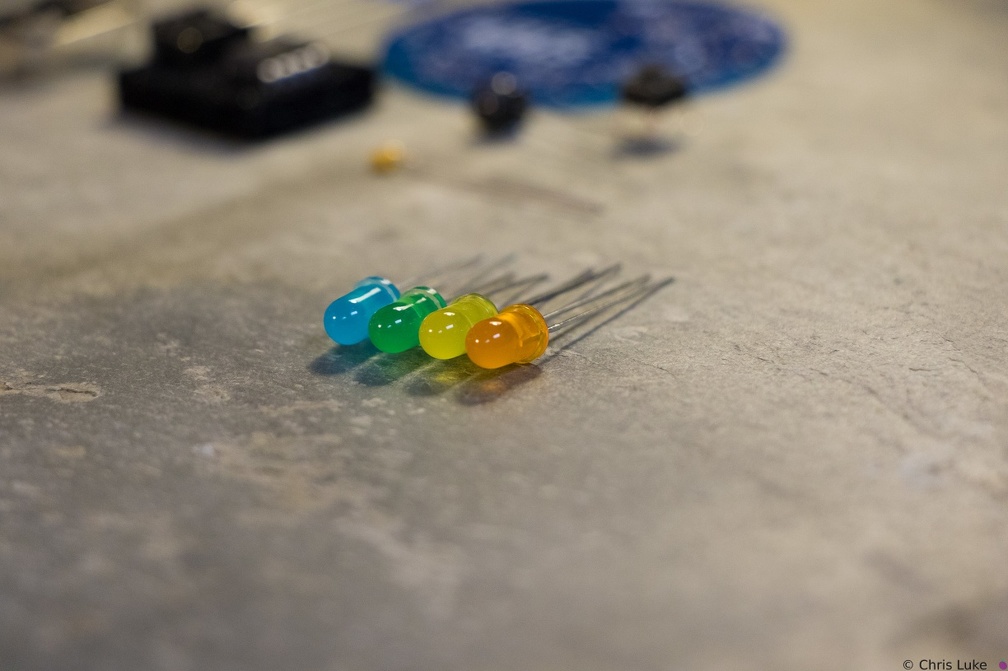 Stockton STEM Badge LEDs
 Stockton STEM Badge resistor legs
The resistor legs need to be bent in order to insert them into the board.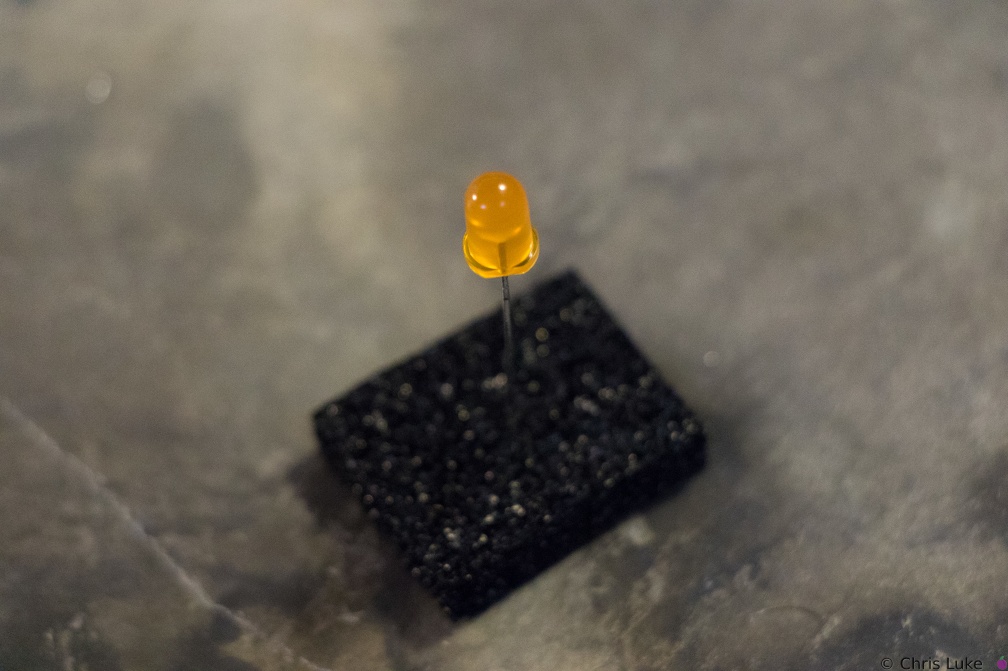 Stockton STEM Badge LEDs
LEDs have a flat edge on one side of their case.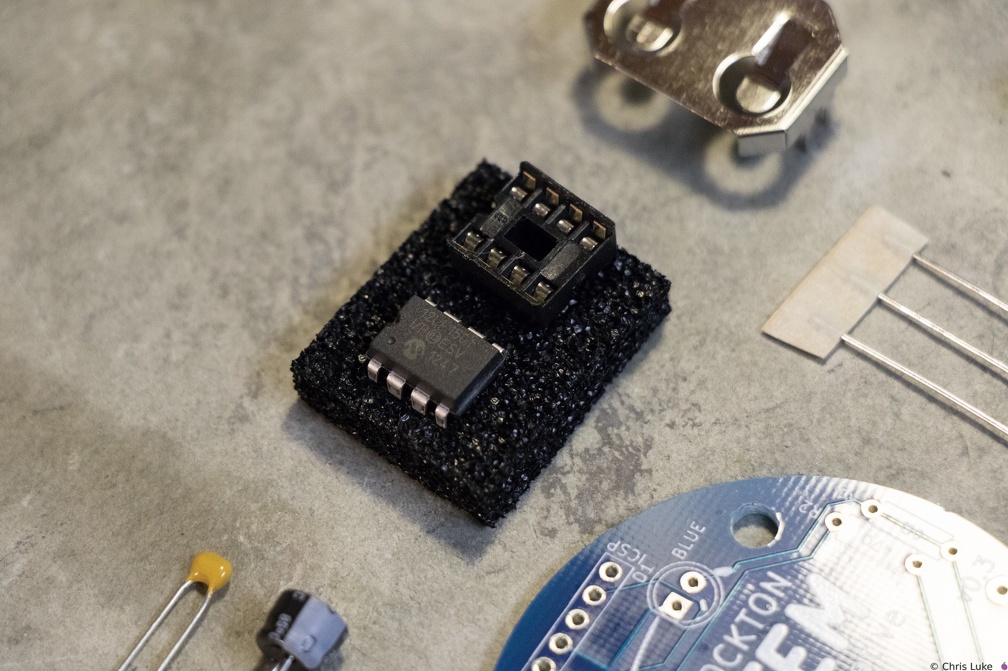 Stockton STEM Badge microcontroller
The chip is an inexpensive "PIC" microcontroller; this runs a program that controls the LEDs.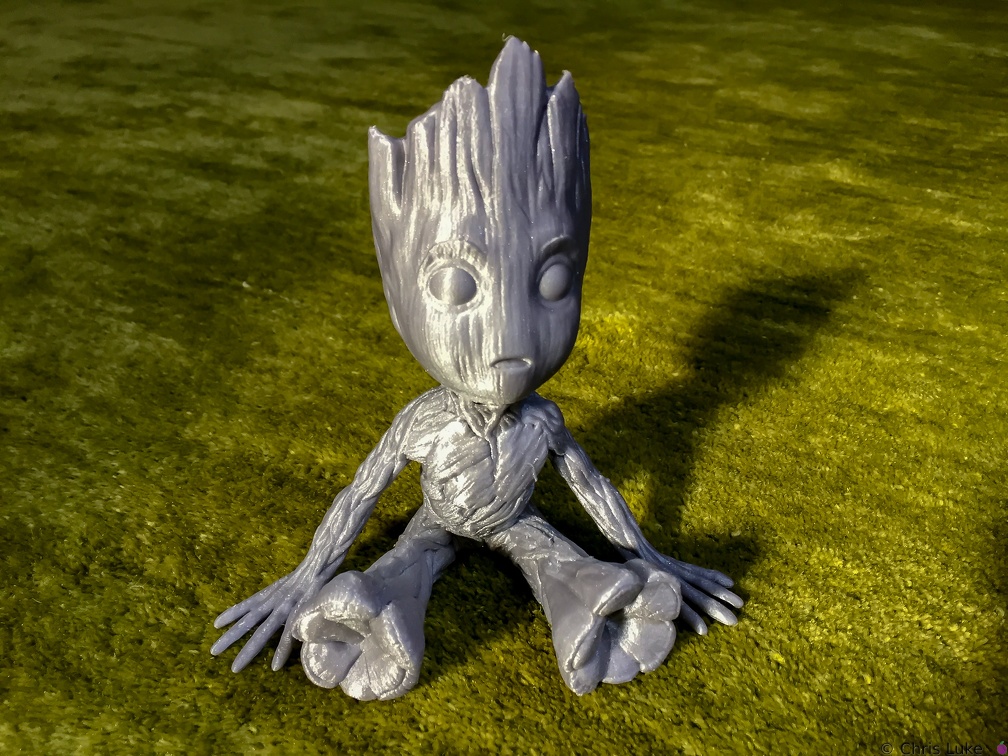 Baby Groot
 Treefrog
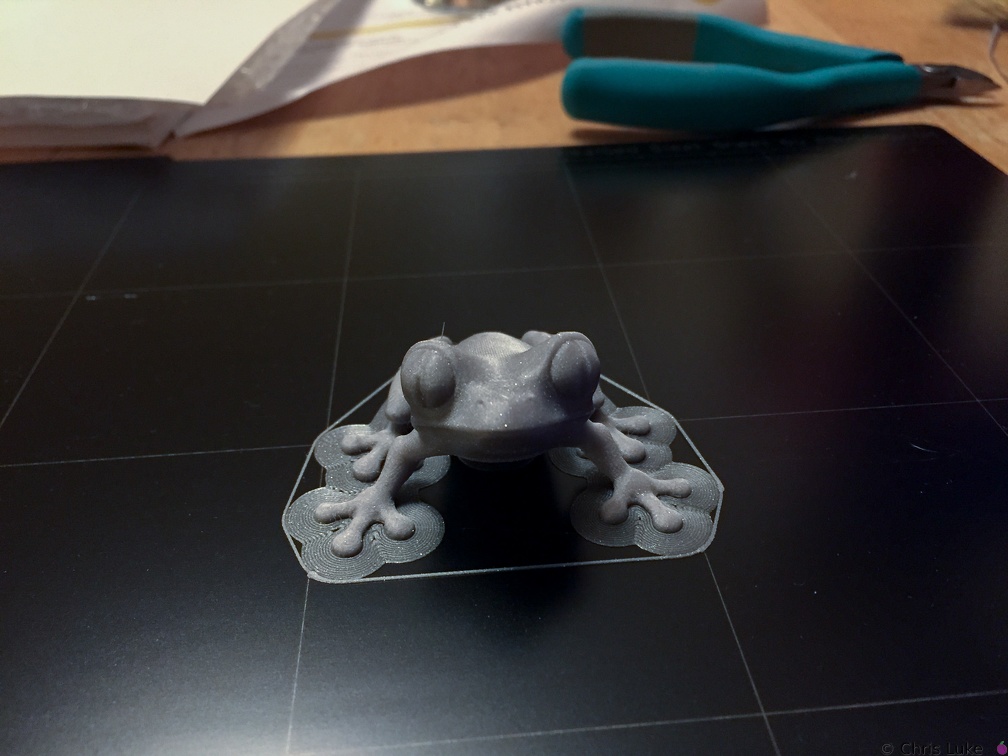
 Cables everywhere
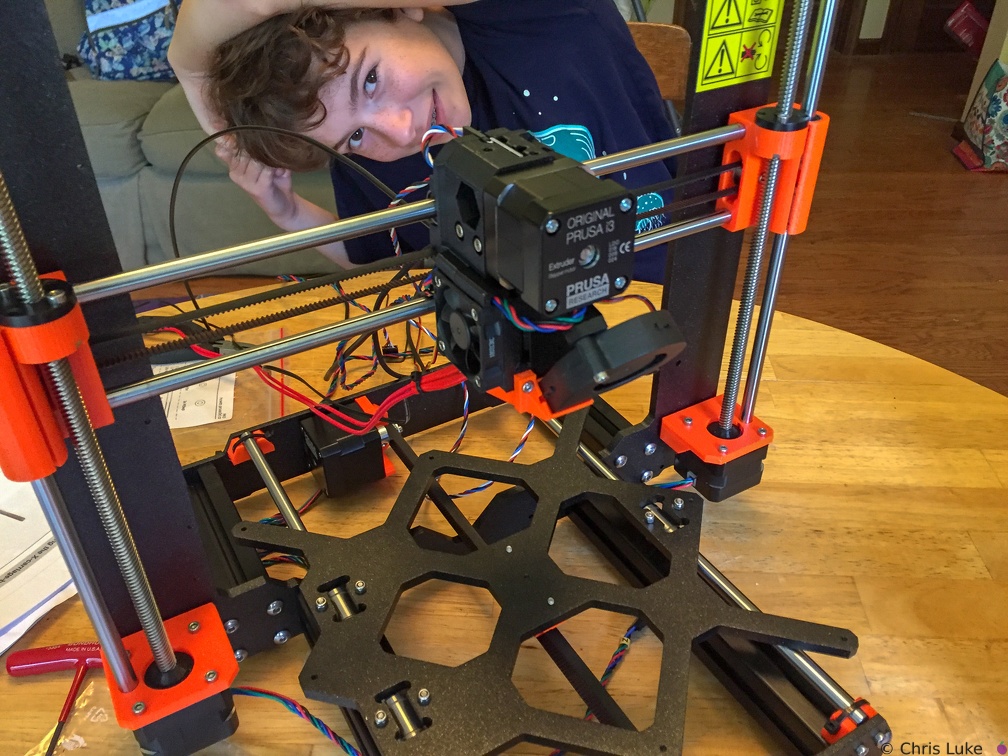
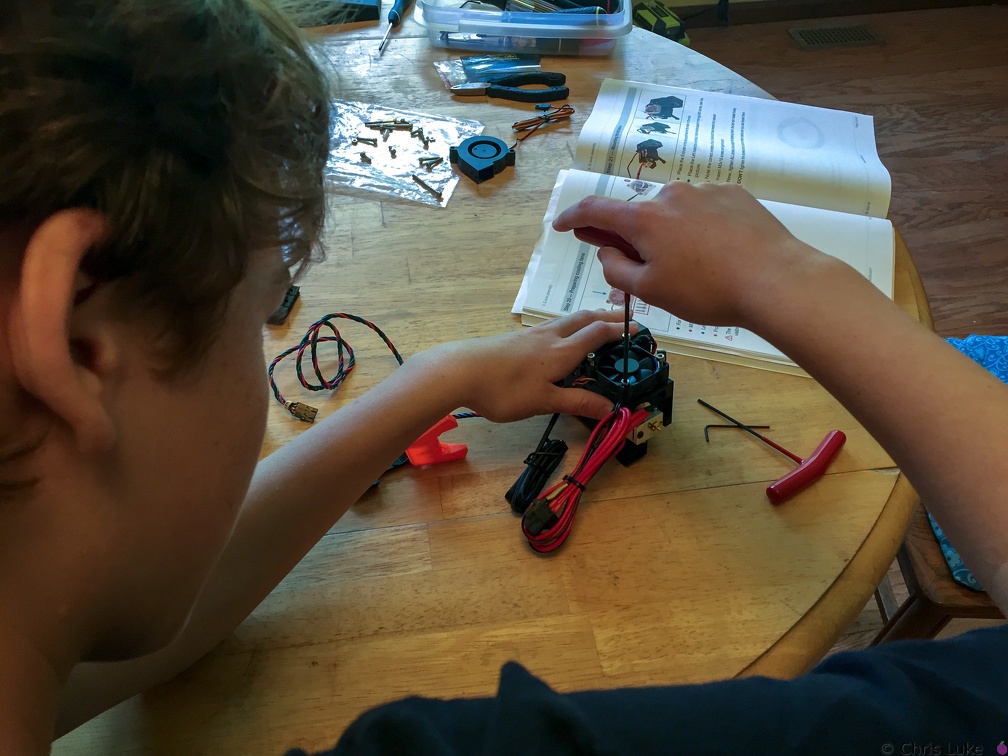 Hotend fan
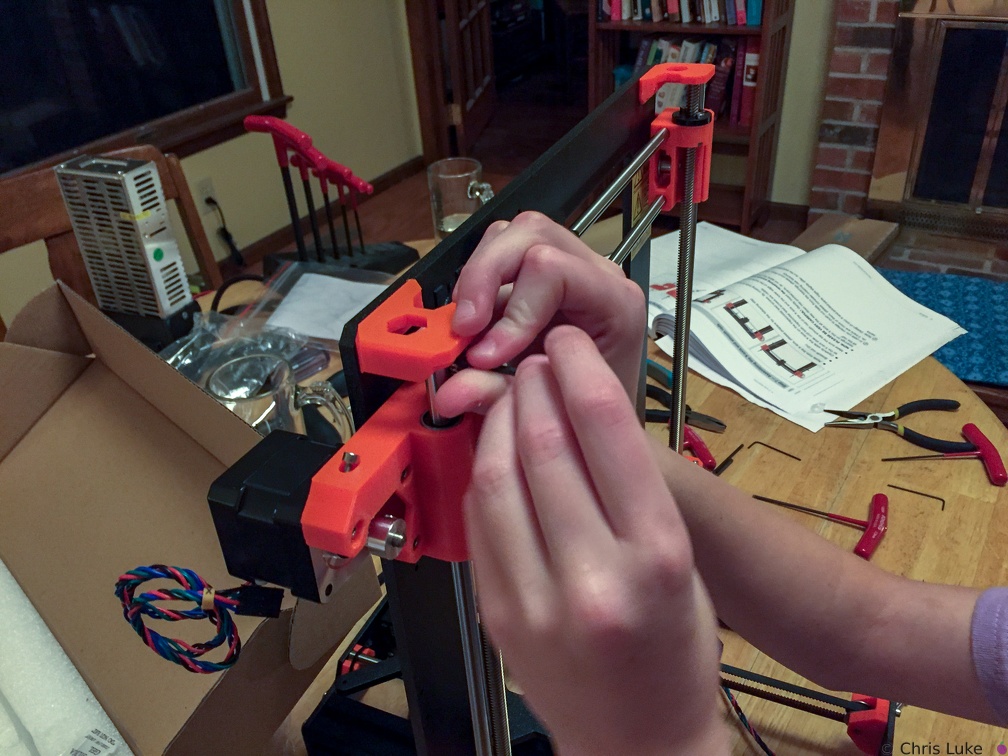 X and Z axis
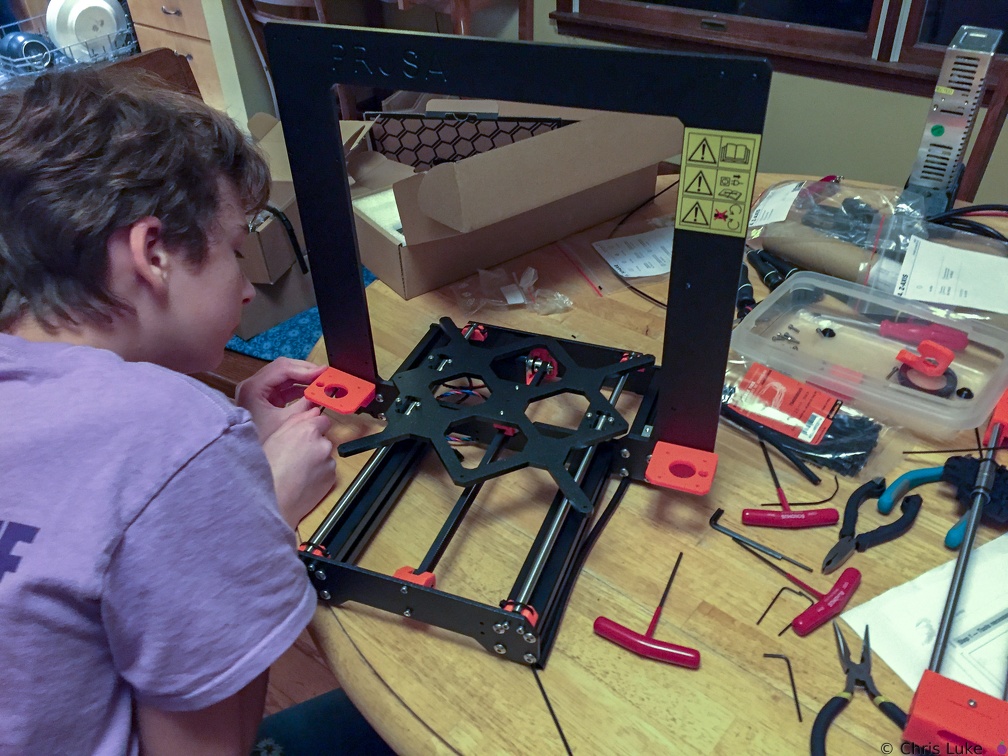 Z-axis motor mounts
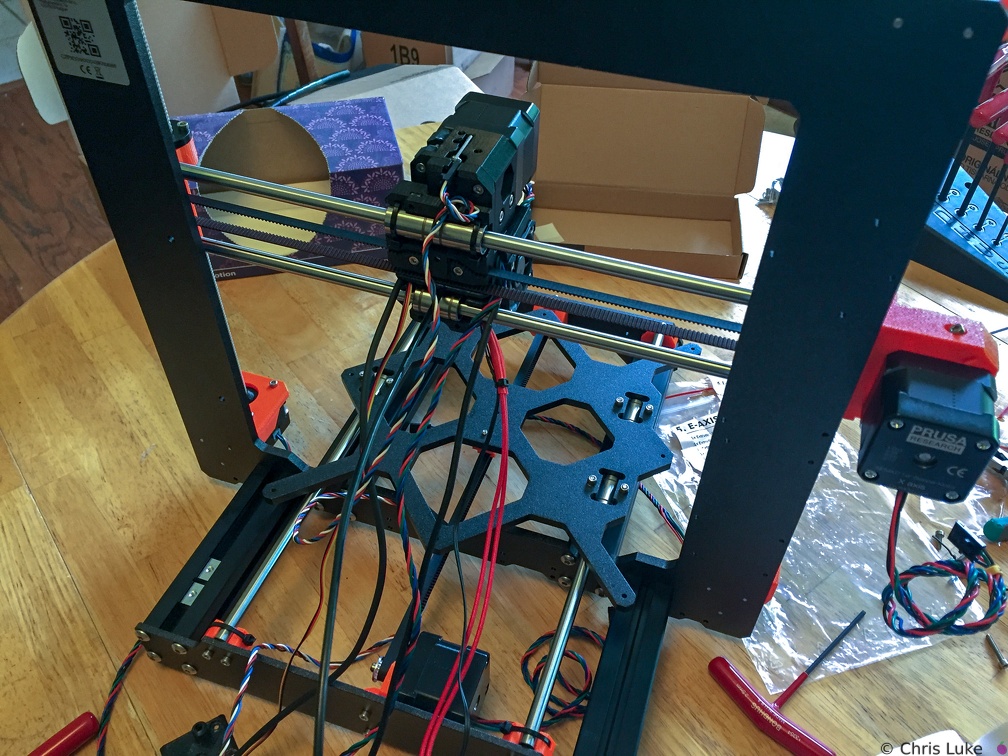 Print head cables
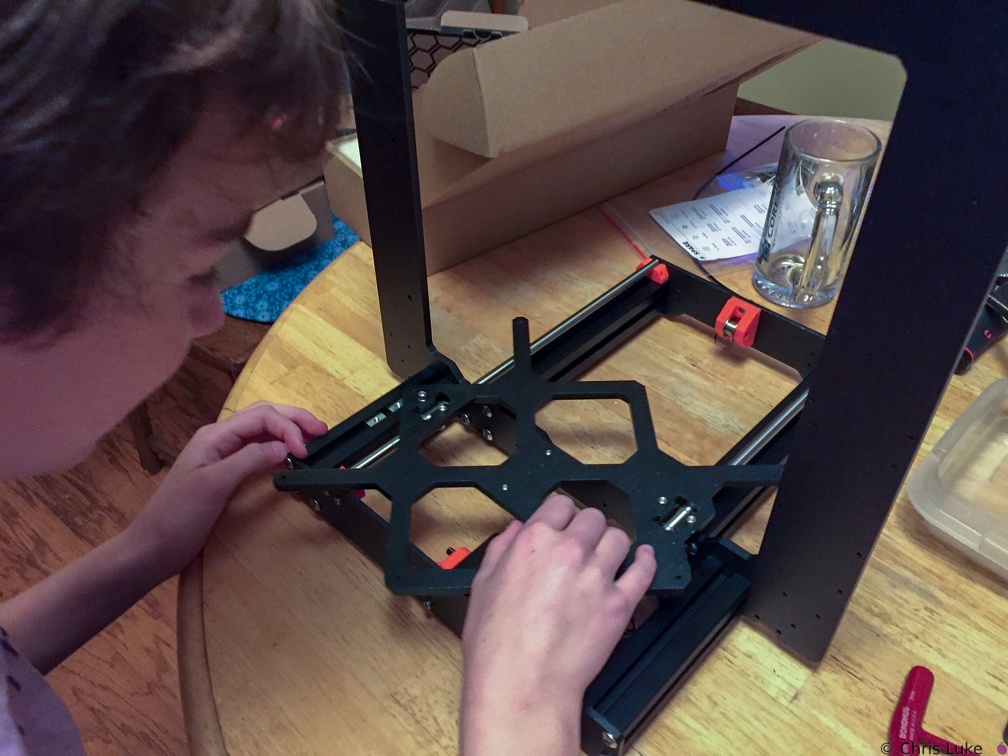 Testing the slide of the bed
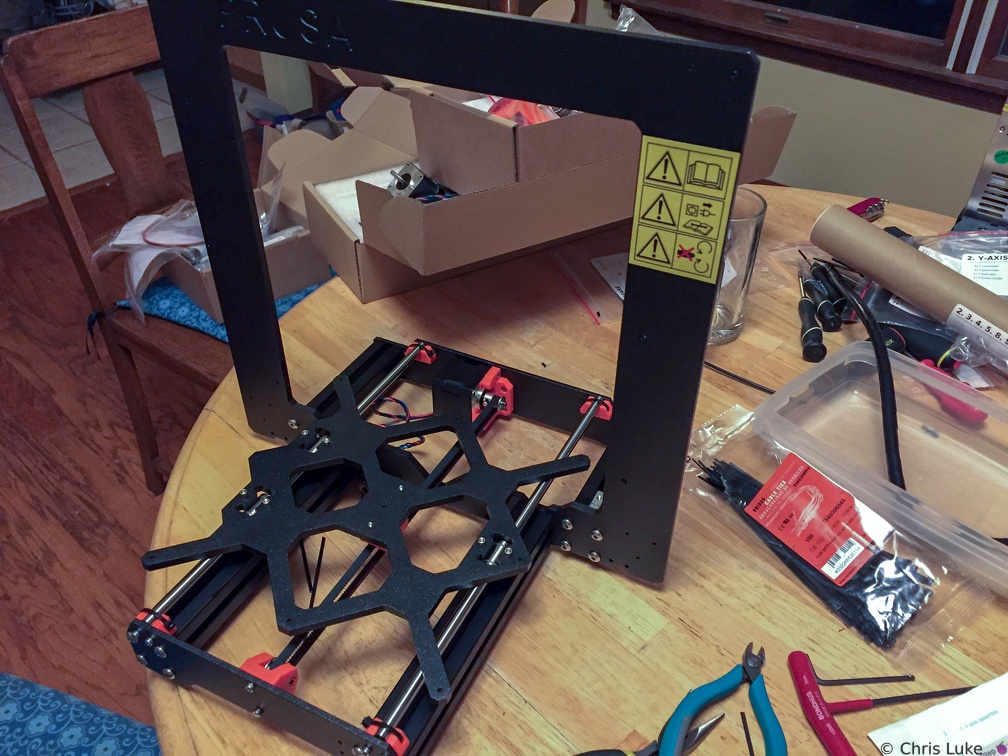 Taking shape
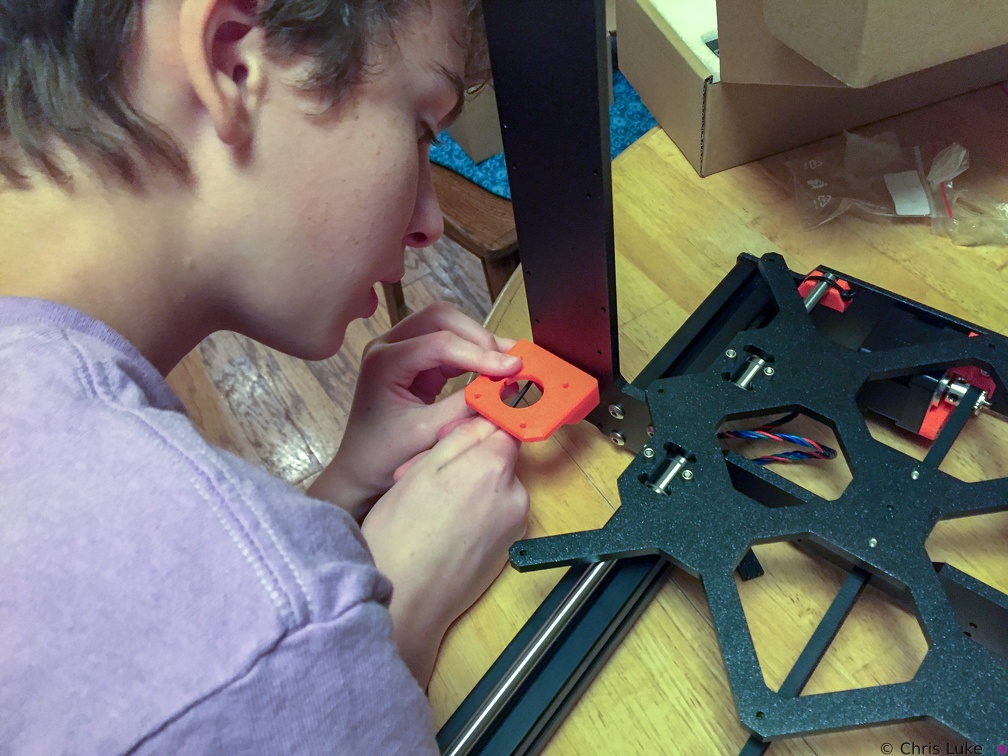 Z-axis motor mounts
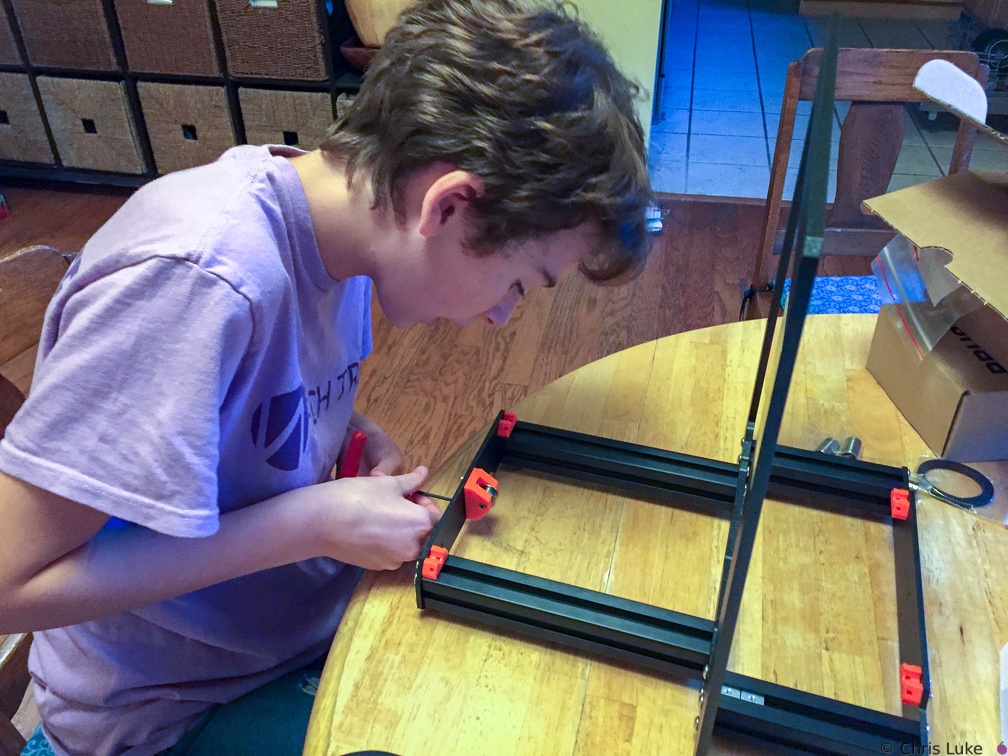 Y-axle idler pulley
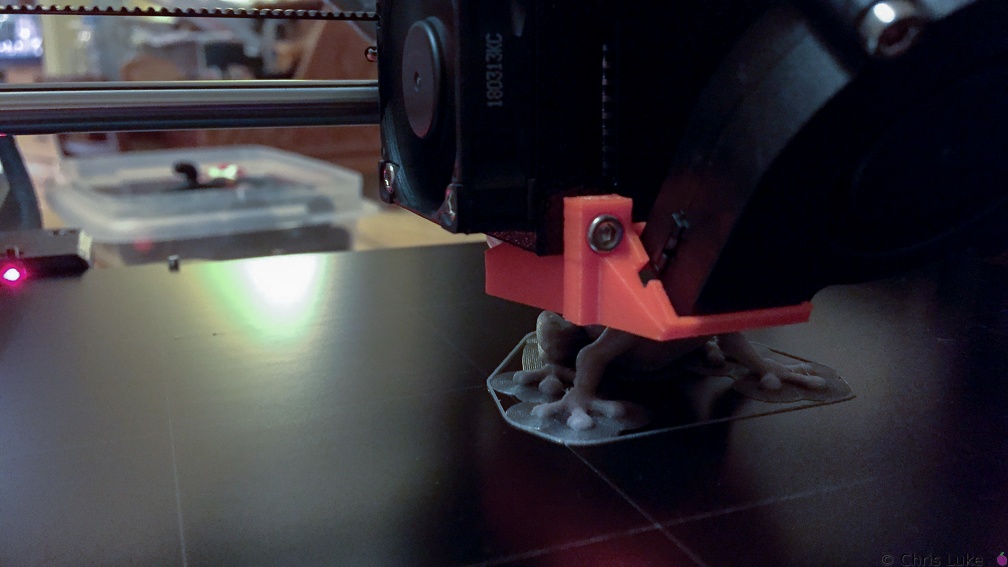 First print in progress
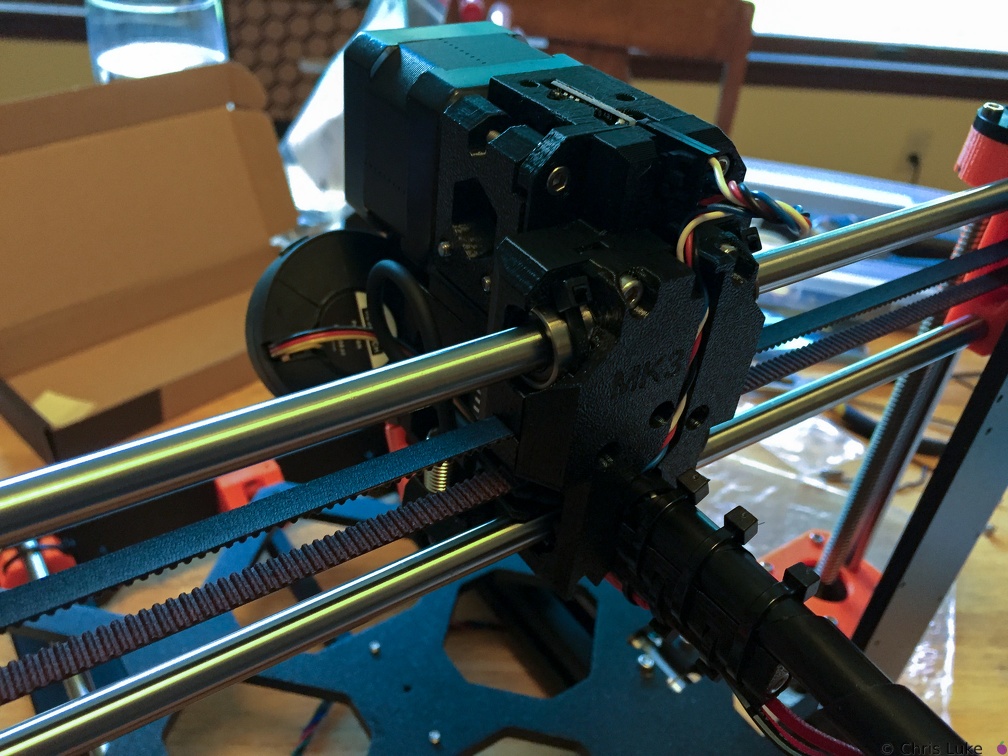 Printhead rear
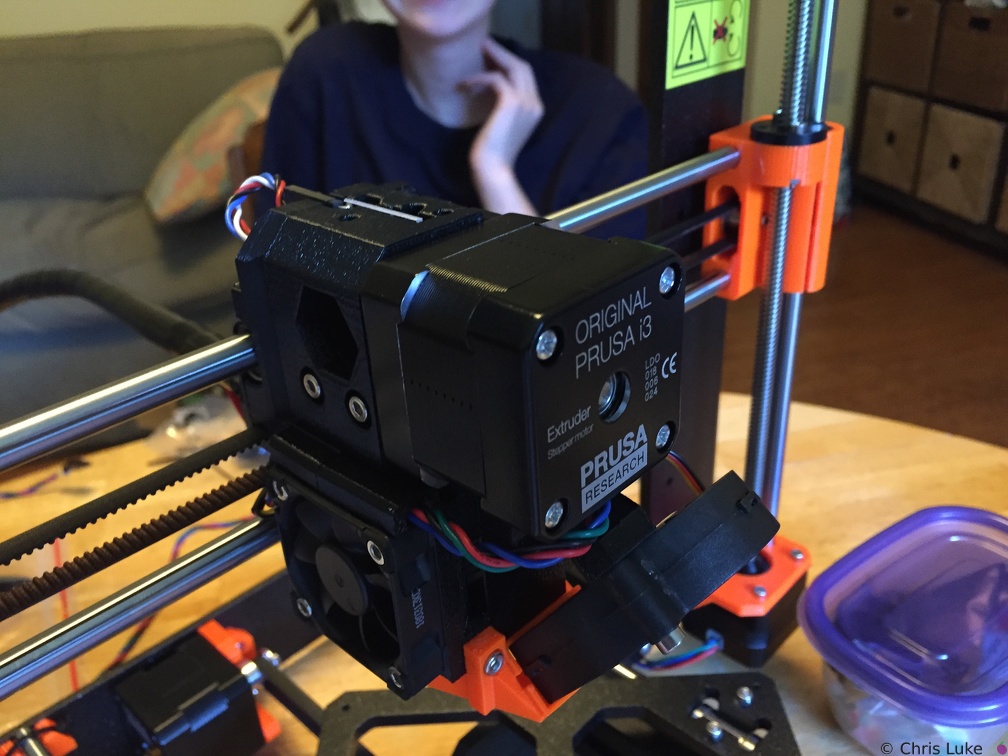 Printhead front
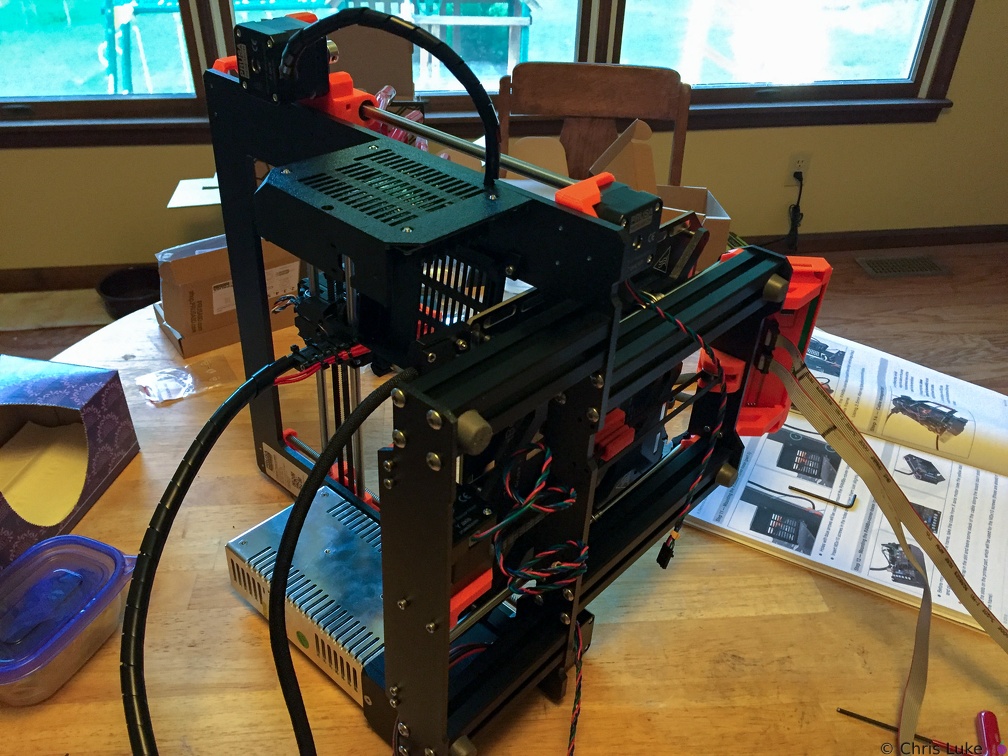 The cables have to go somewhere
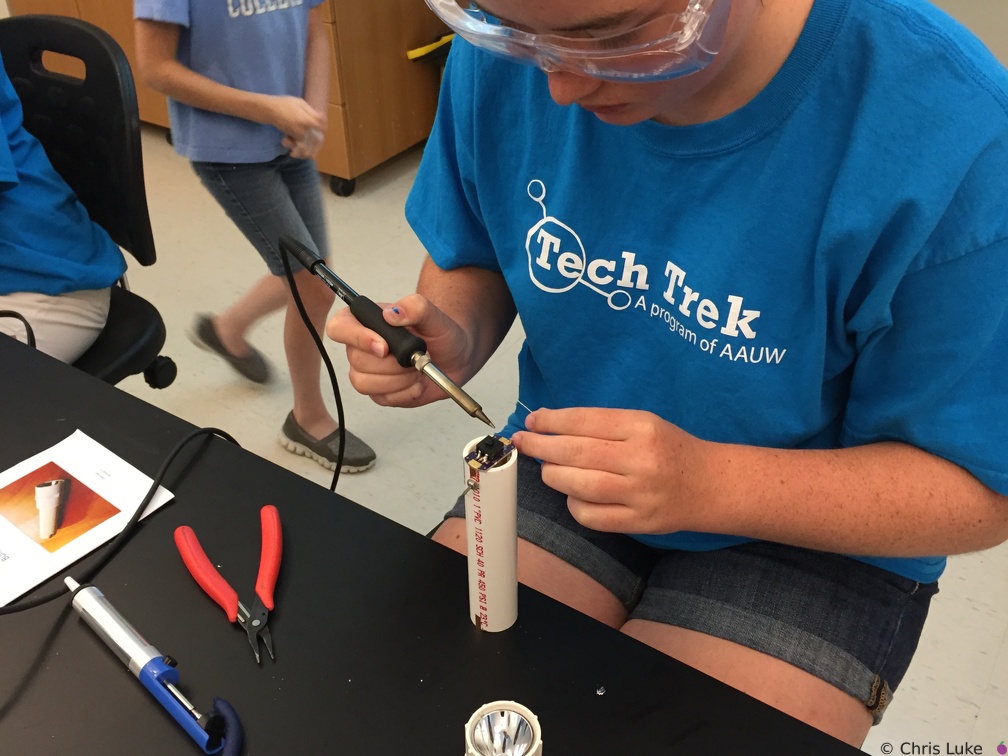 IMG 4168
 DSC00198
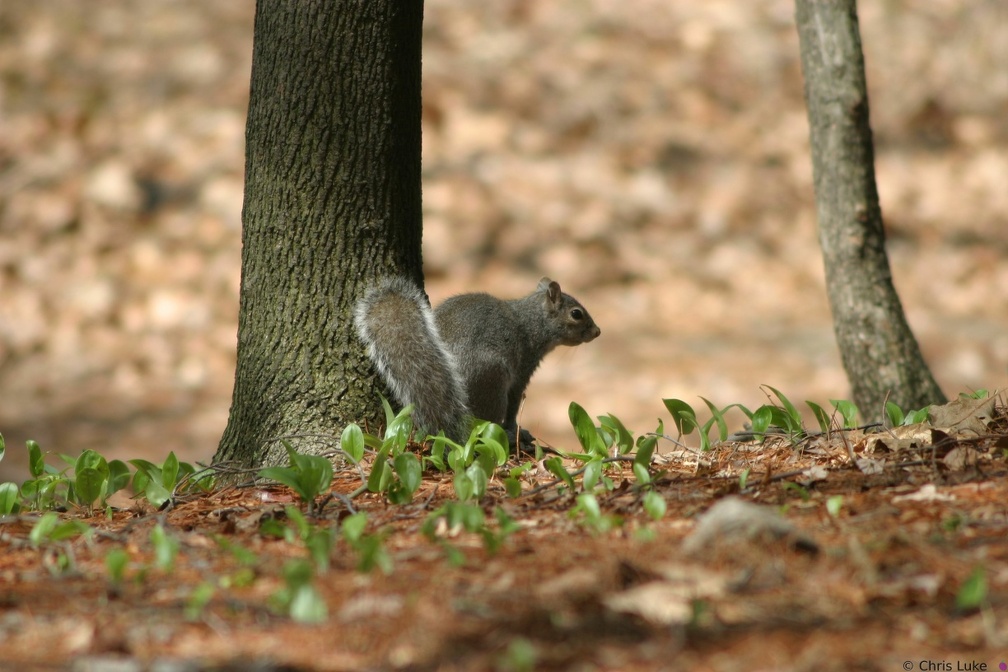
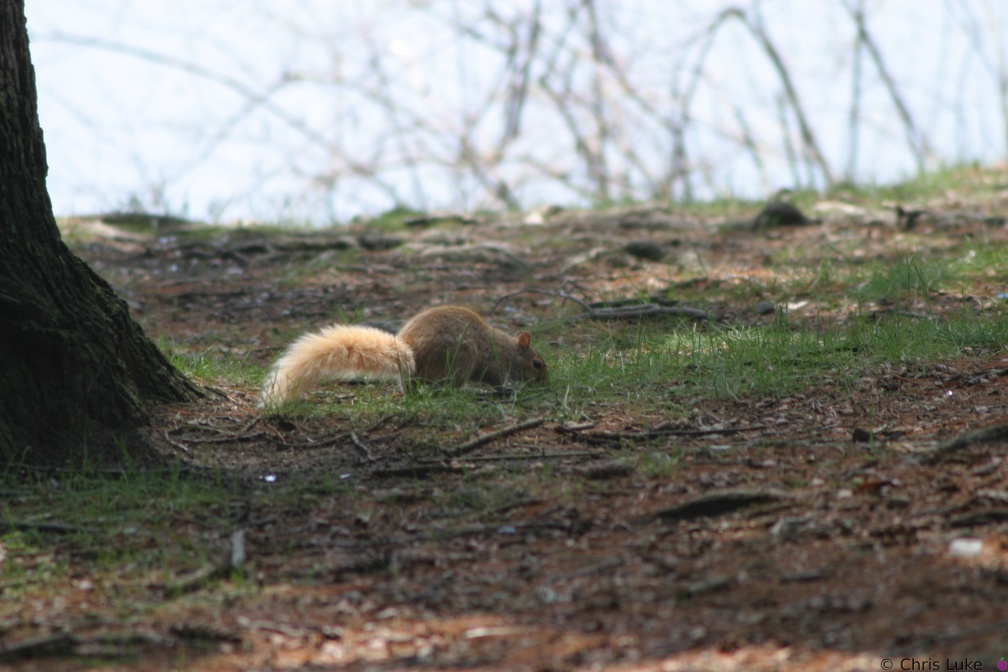
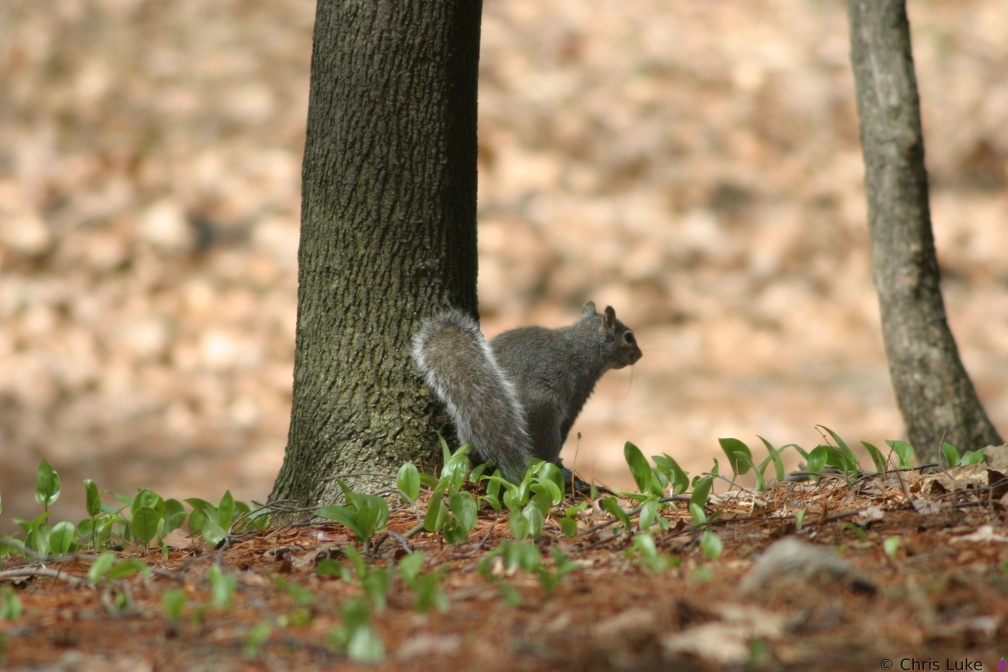
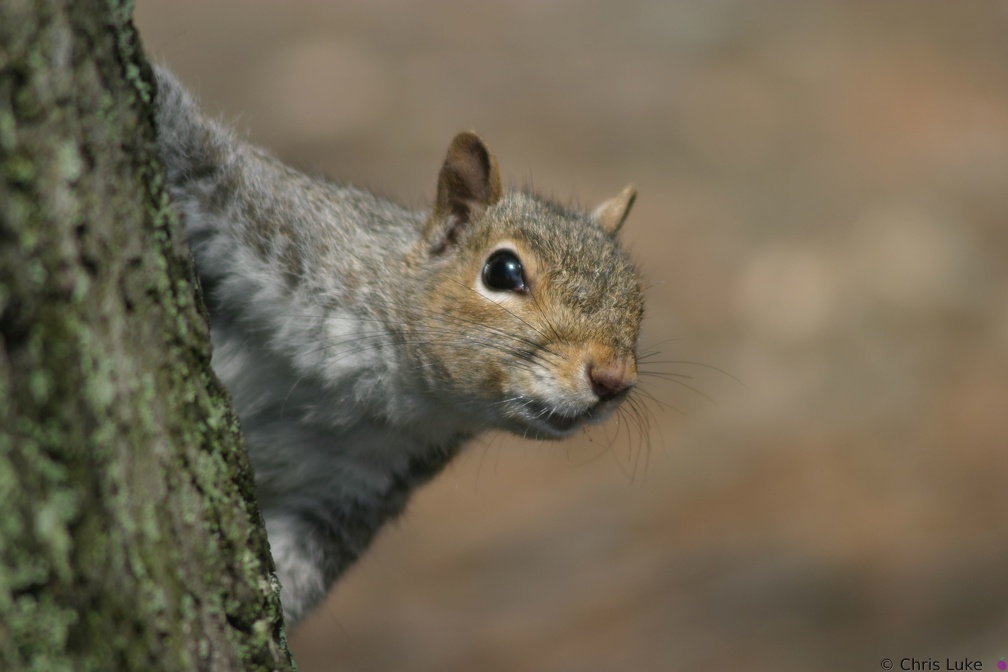
Merlin and the Squirrels again 2002-04-28 Merlin
 114 1492
 114 1486
 IMG 4161
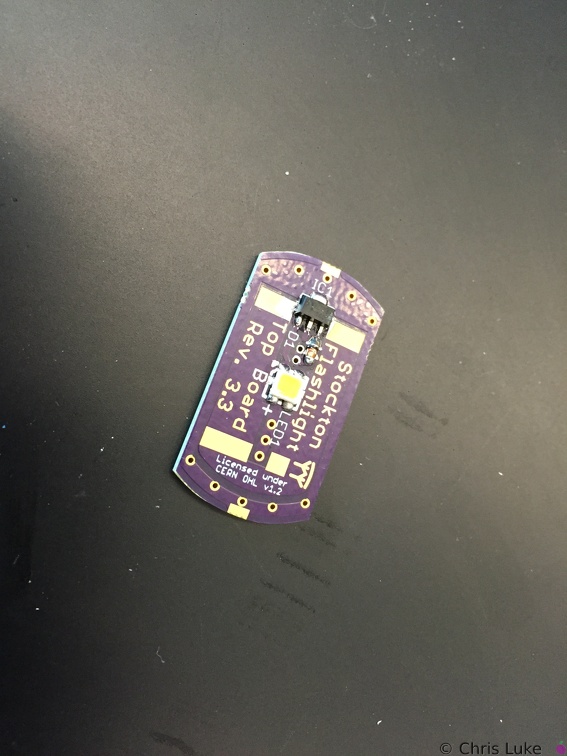
Spot the OSH Park board! 114 1493
 114 1491
 IMG 6861
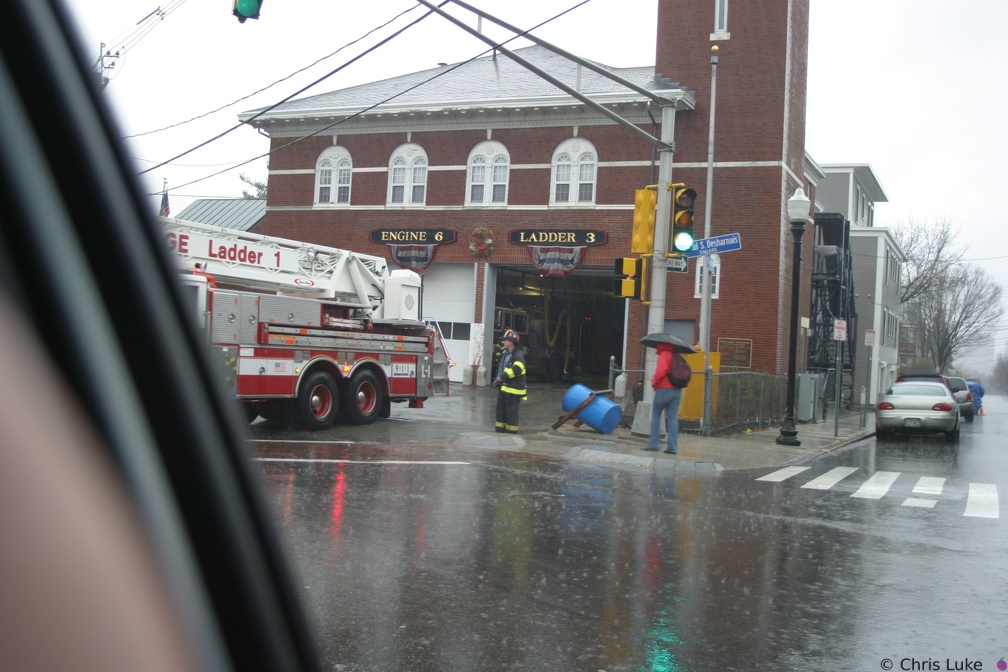
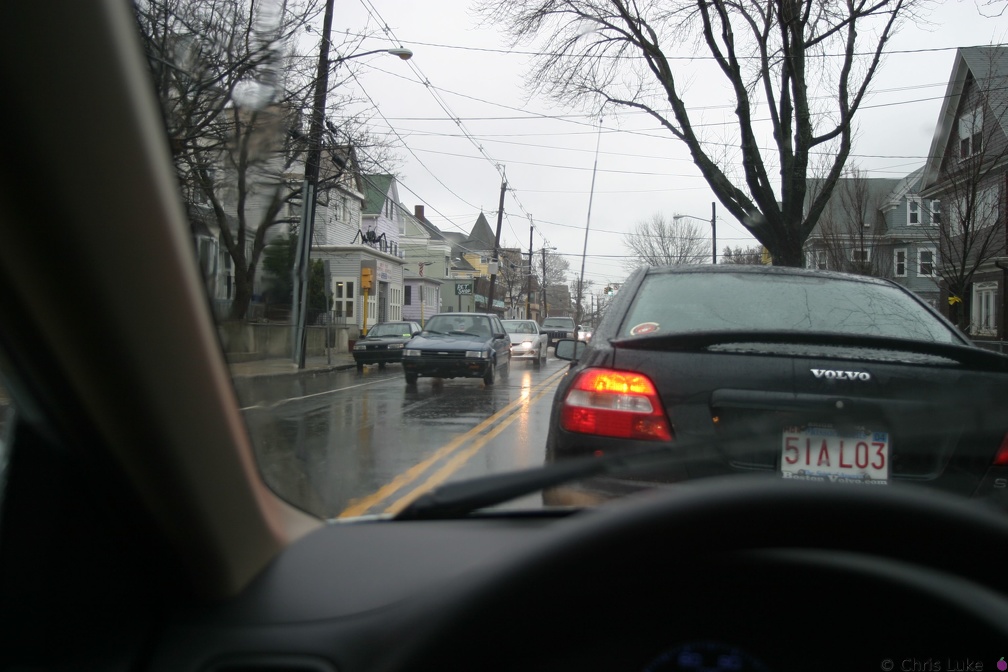
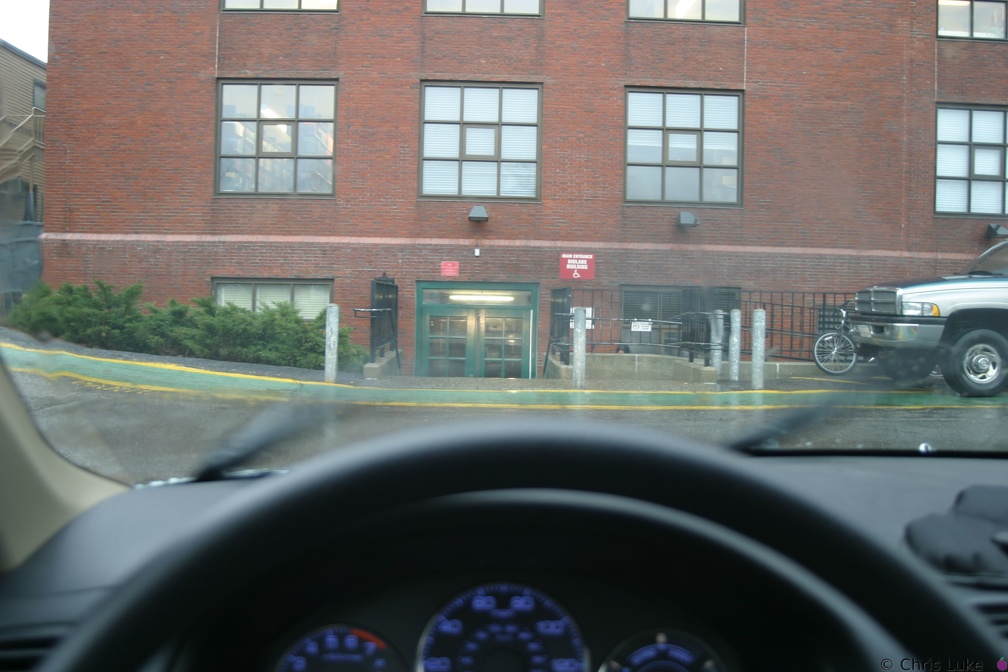
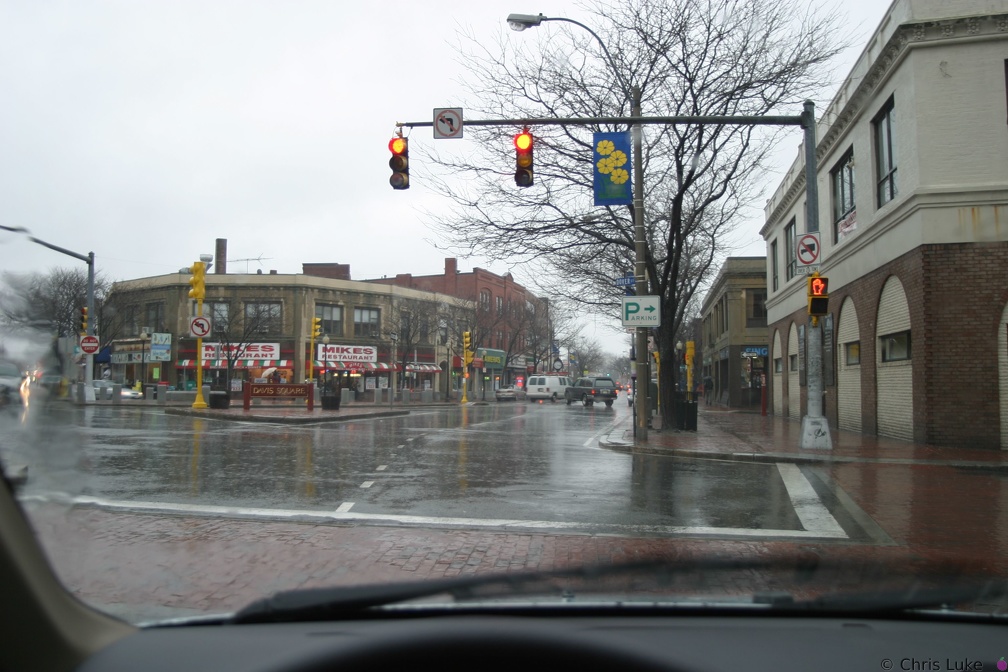
Tokina 19-35mm An exceptionally rainy day. Picture taken from inside the car!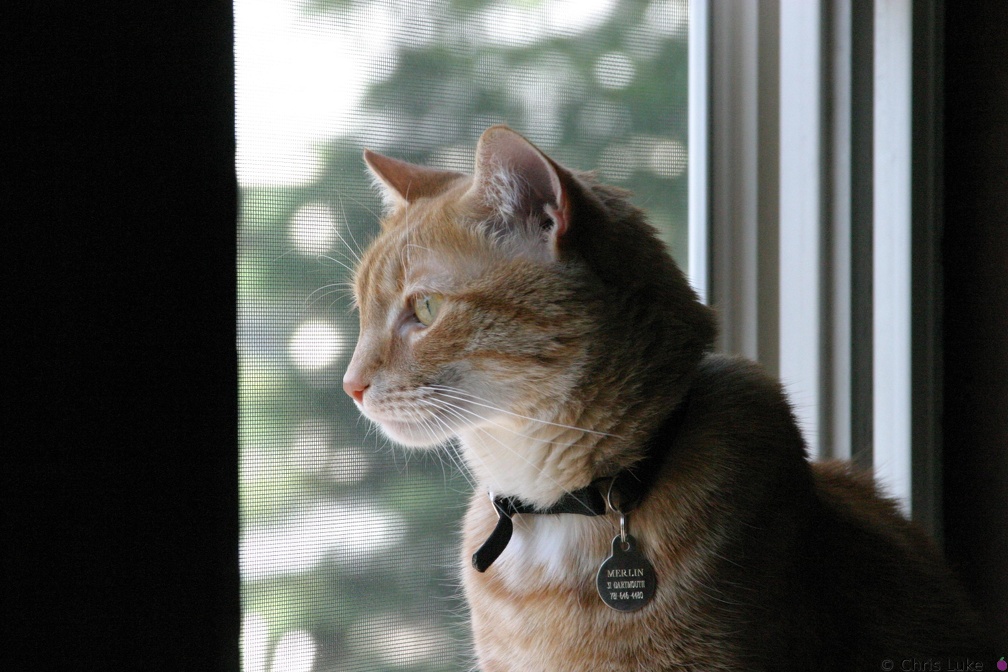 114 1499
 DSC00199
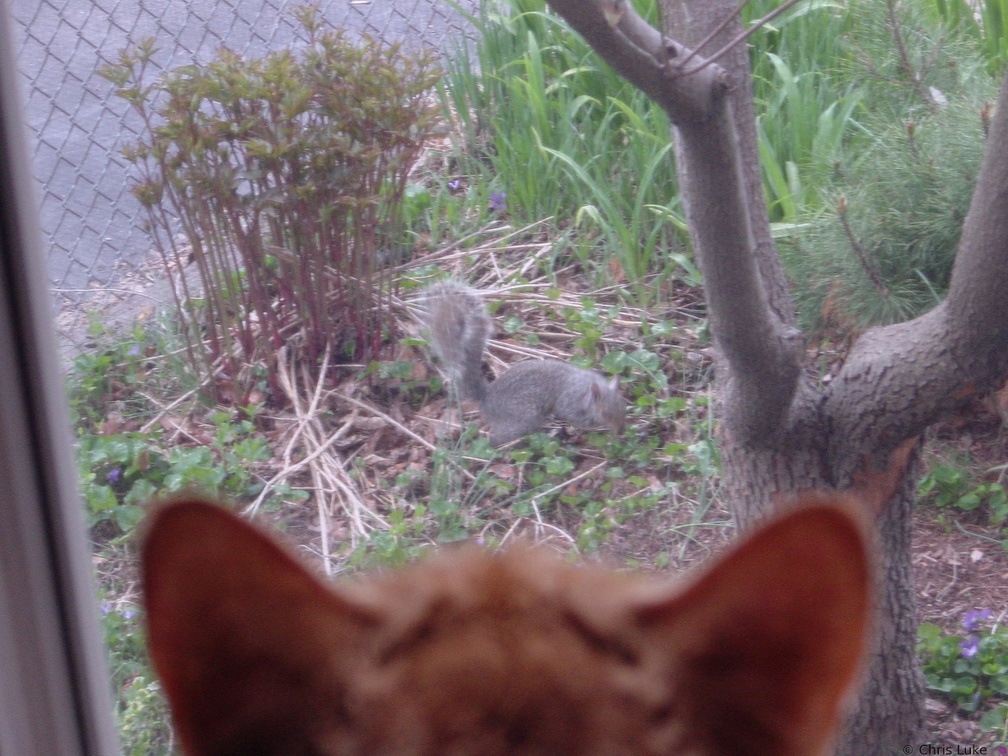
Merlin and the Squirrels again #2 2002-04-28 IMG 5927
 114 1494
 114 1487
 114 1488
 IMG 5932
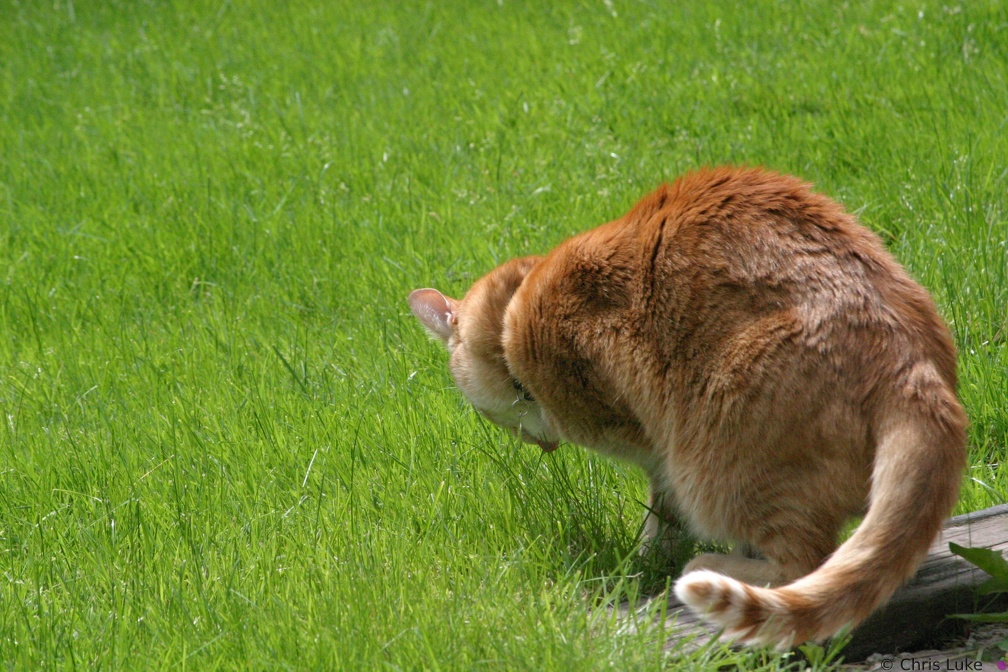 114 1495
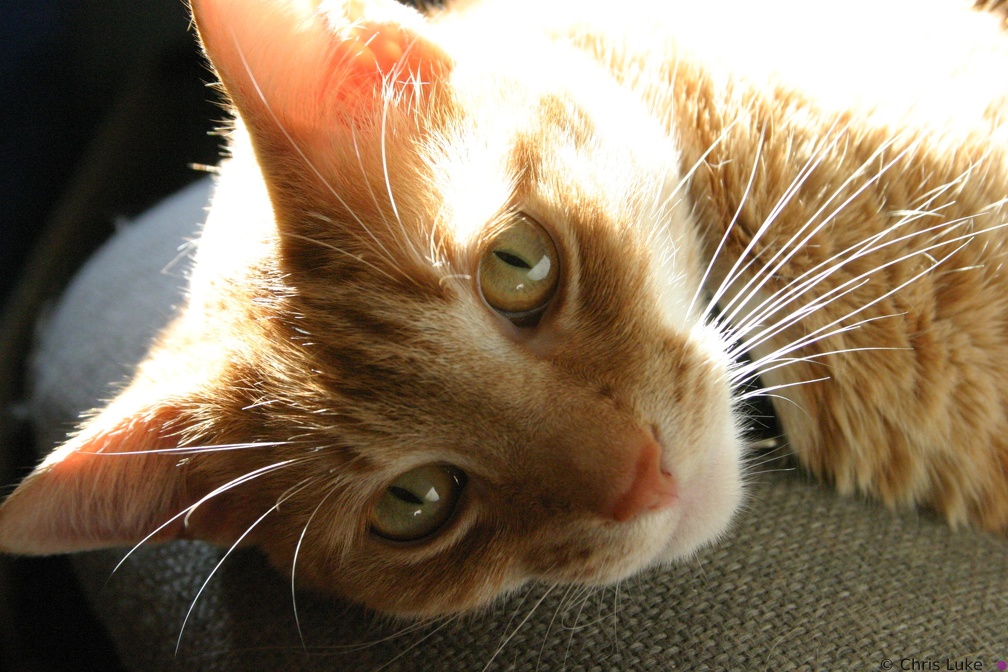 119 1939
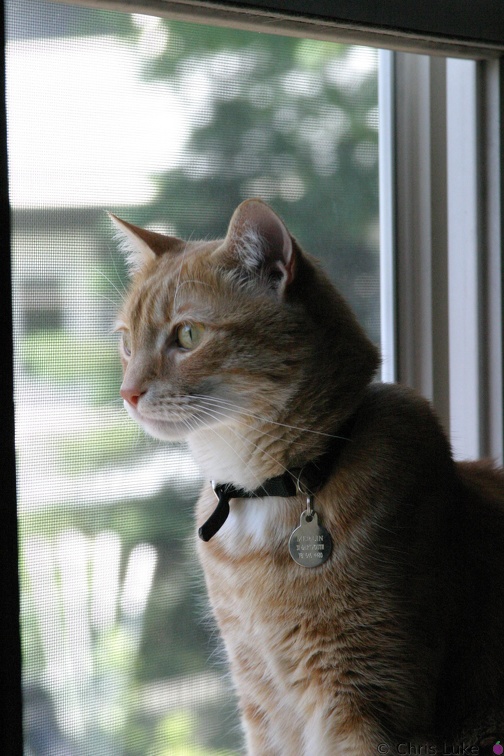 114 1500
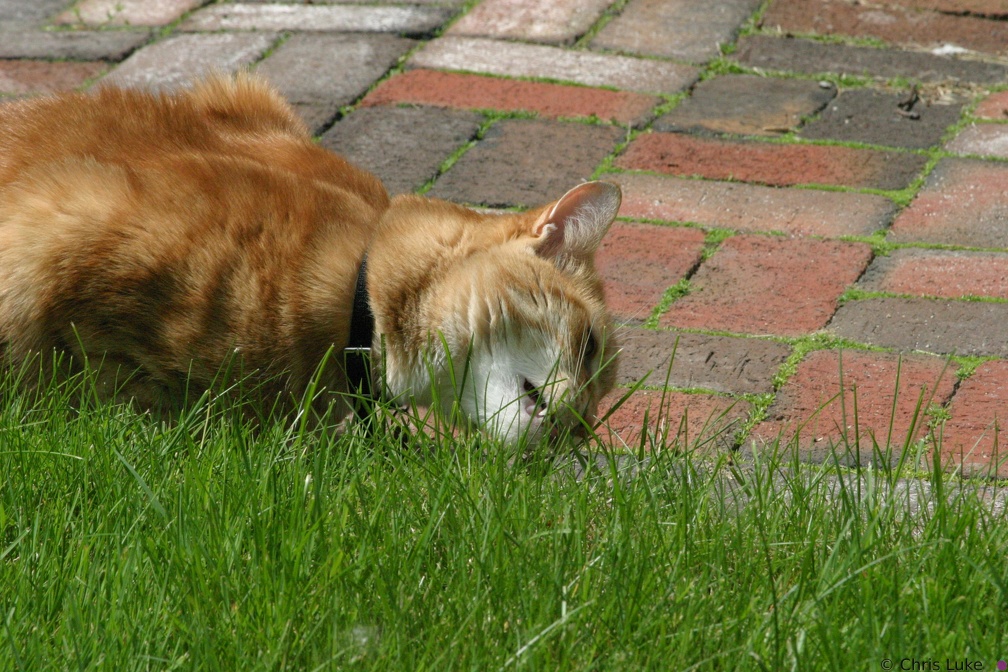 114 1490
 IMG 5926
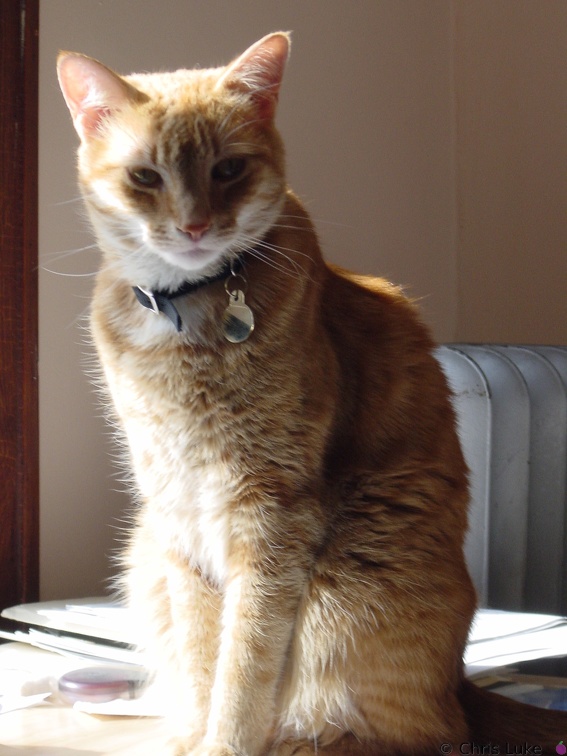 DSC00305
What do you want?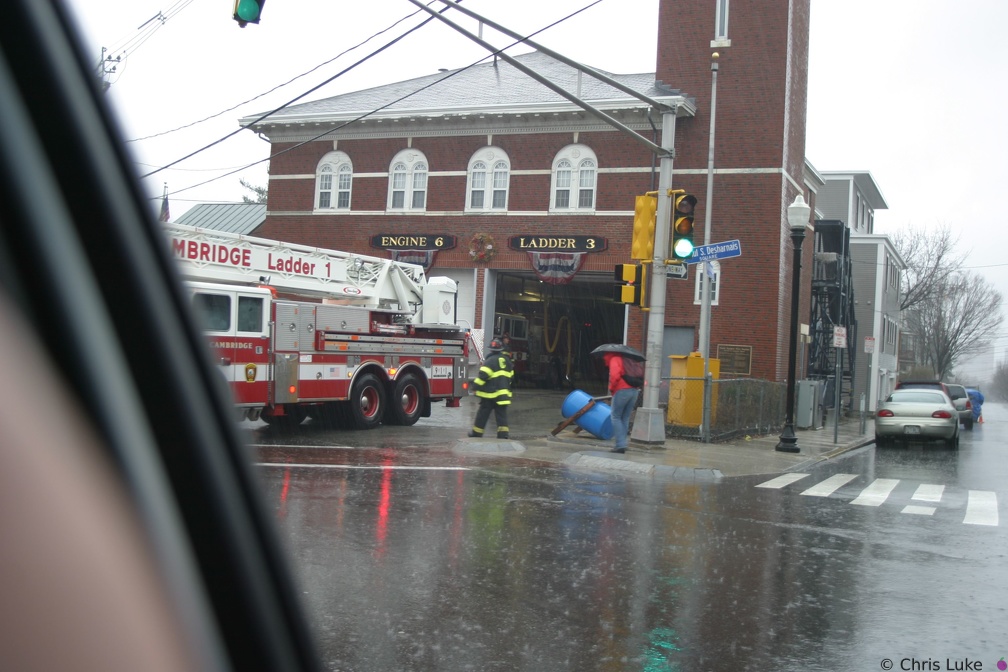 IMG 6862
Tokina 19-35mm An exceptionally rainy day. Picture taken from inside the car! DSC00620
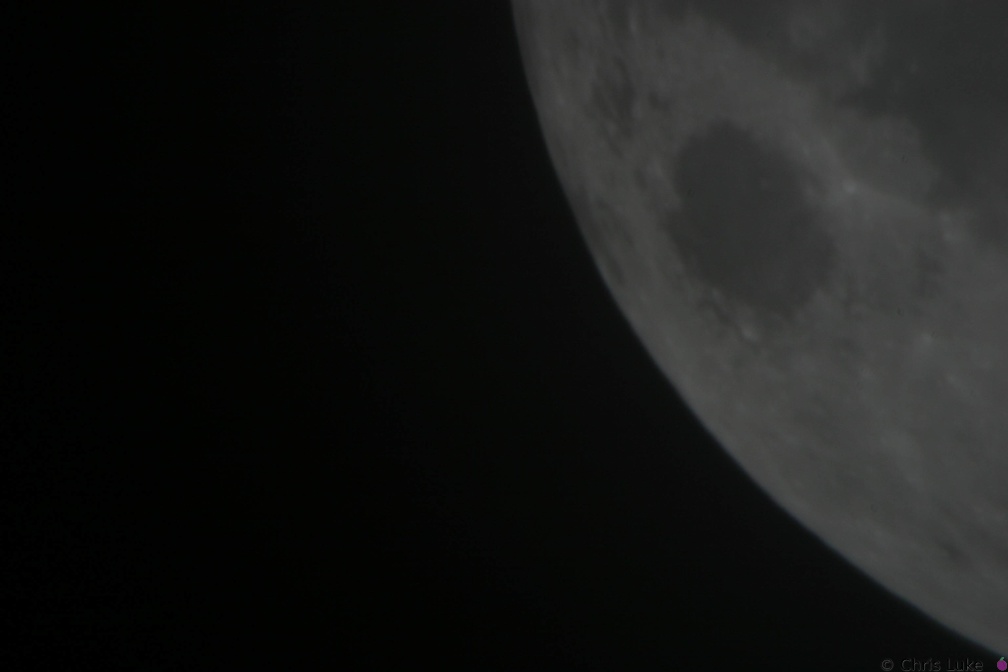
Jupiter Meade 10" Newtonian, Sony DSC-P1, TeleVue zoom @8mm.
Conditions were not good enough for my ordinary digital camera to see the satellites, though they were plainly visible with the human eye.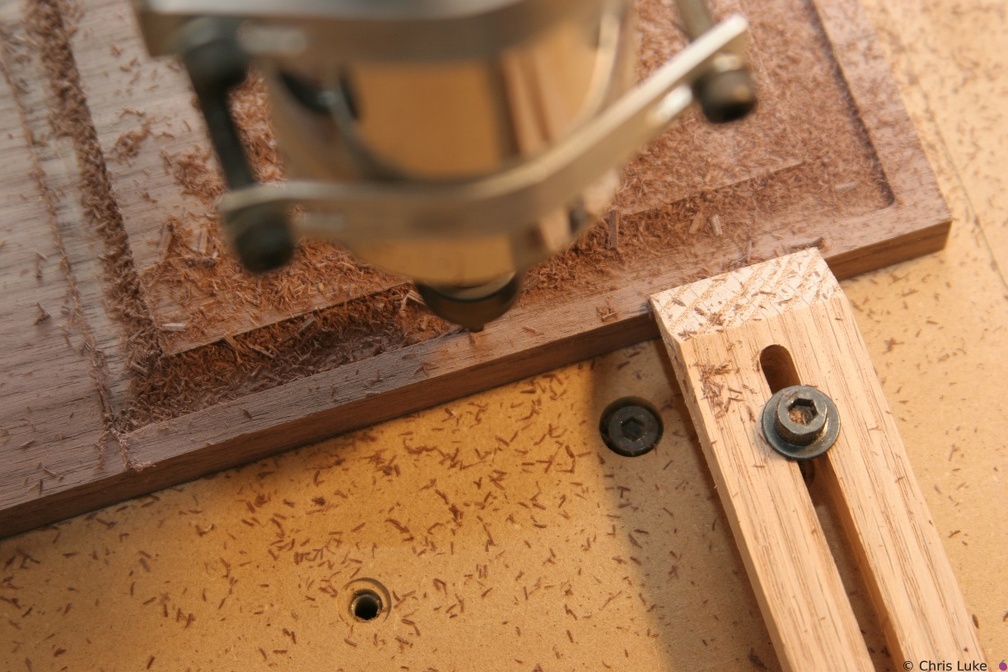 IMG 5931
 IMG 5933
 IMG 5937
 DSC00337
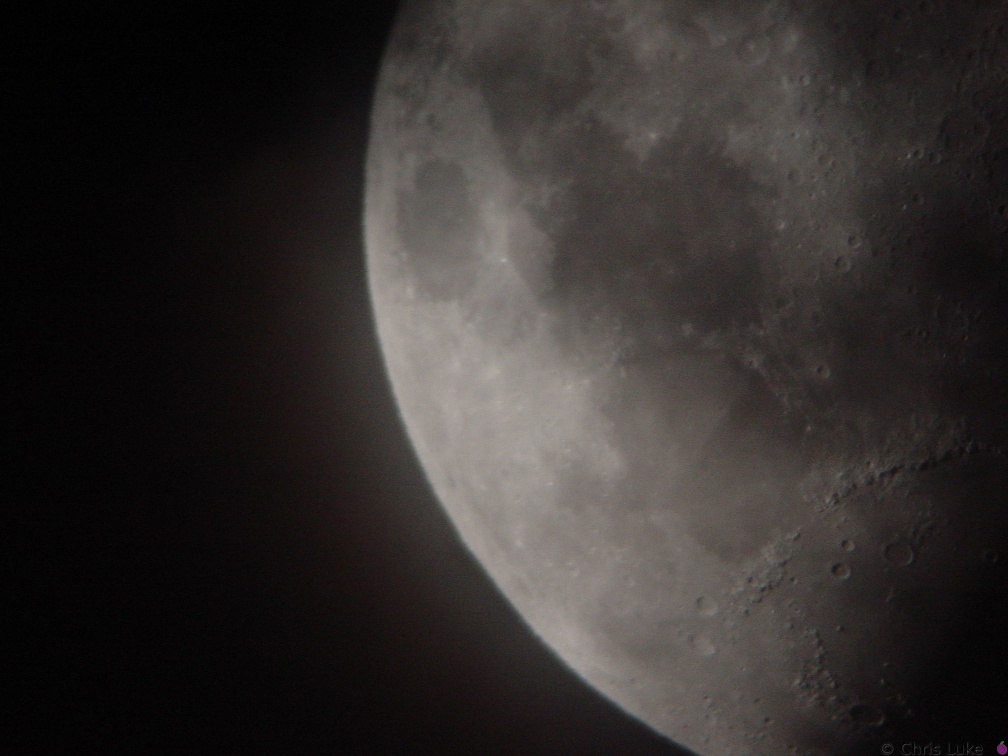
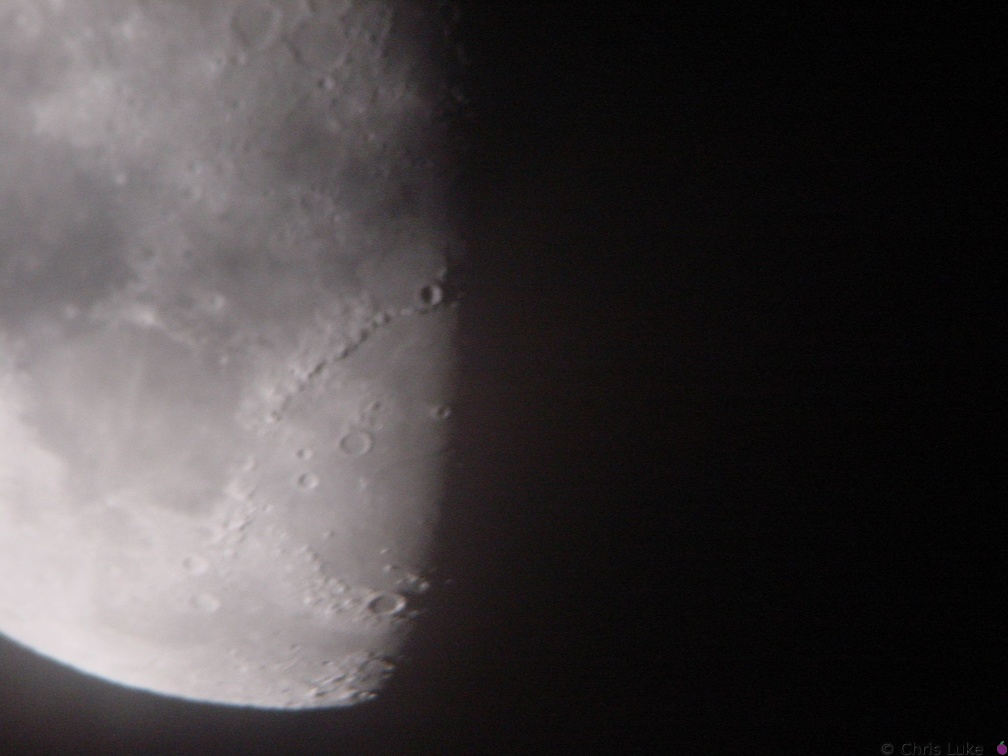
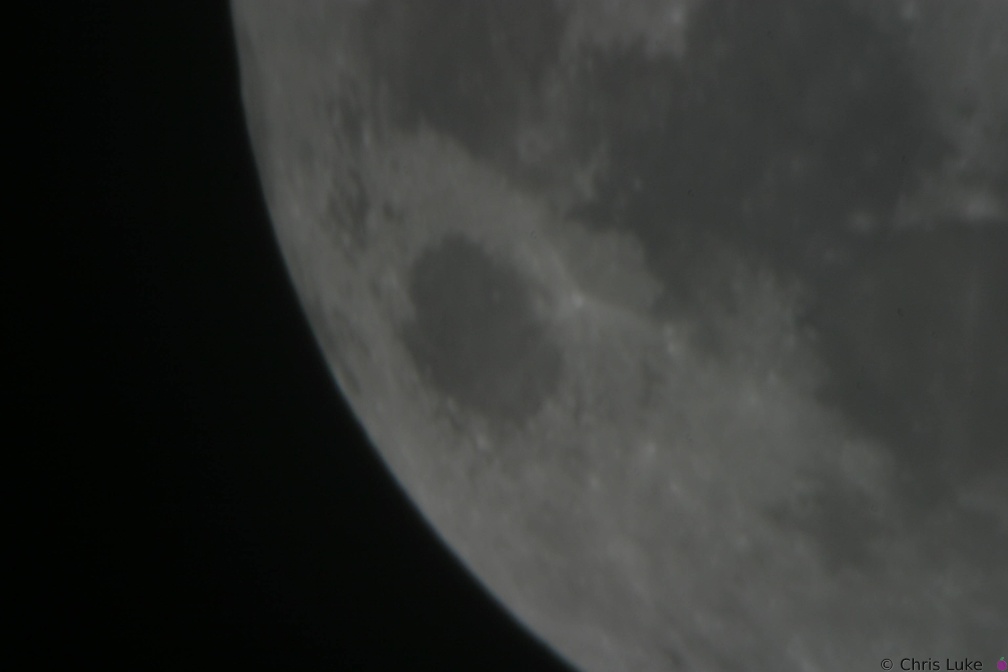
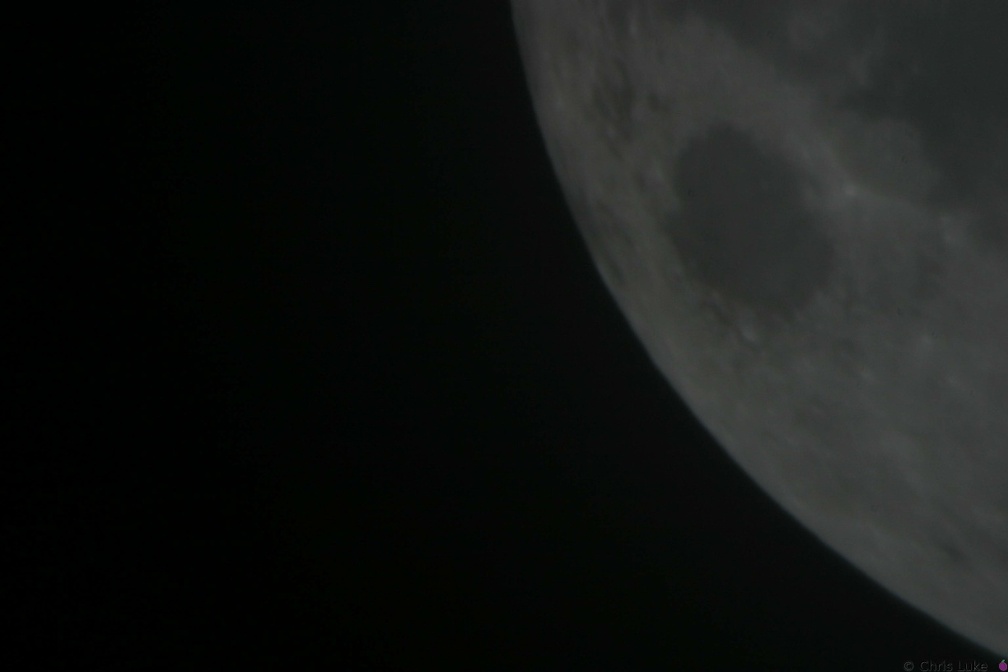
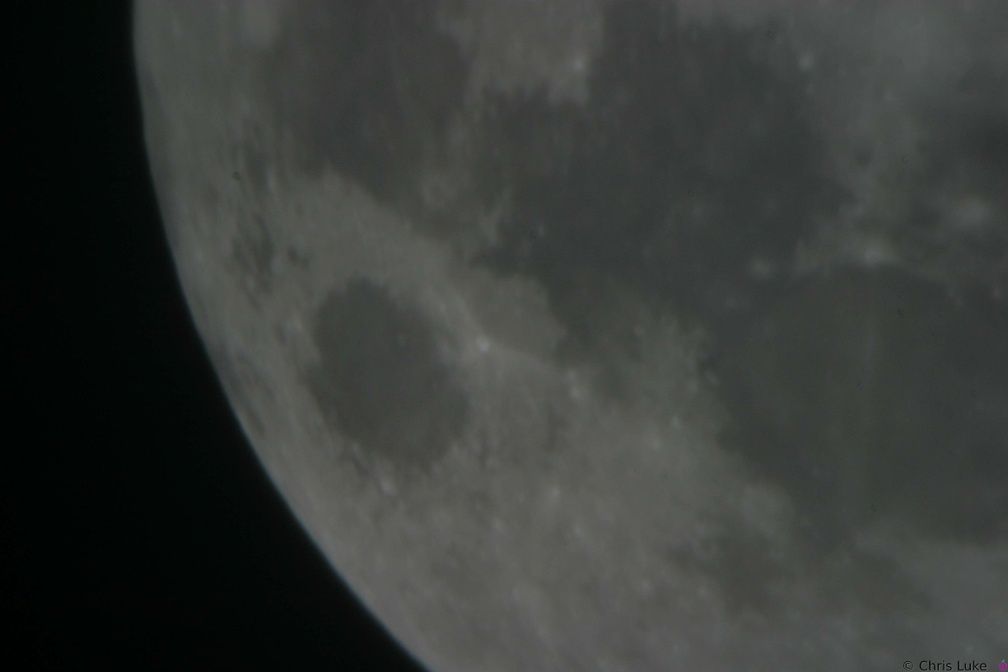
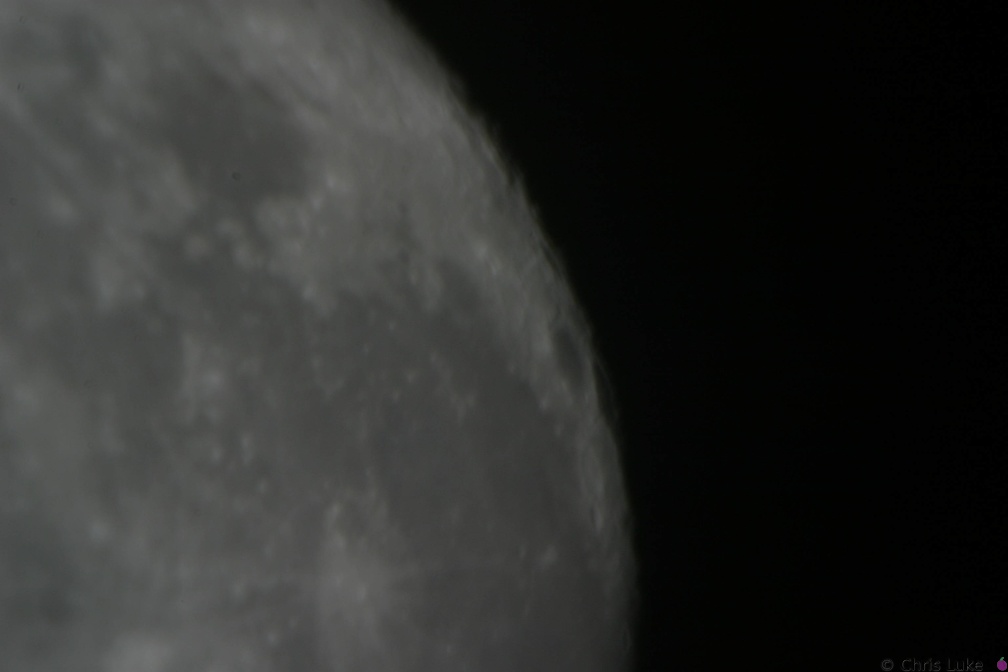
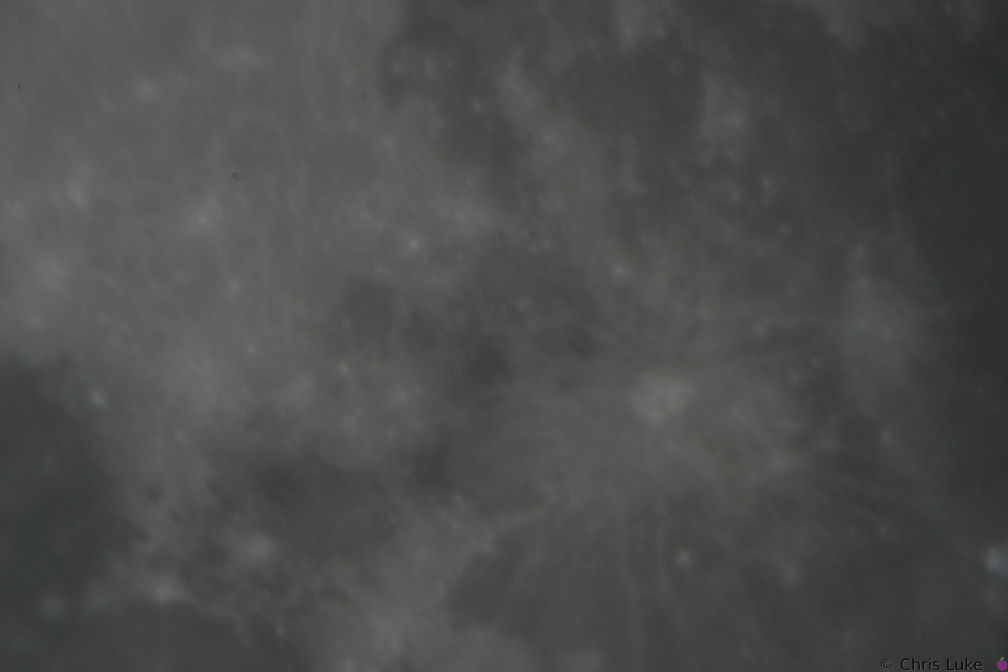
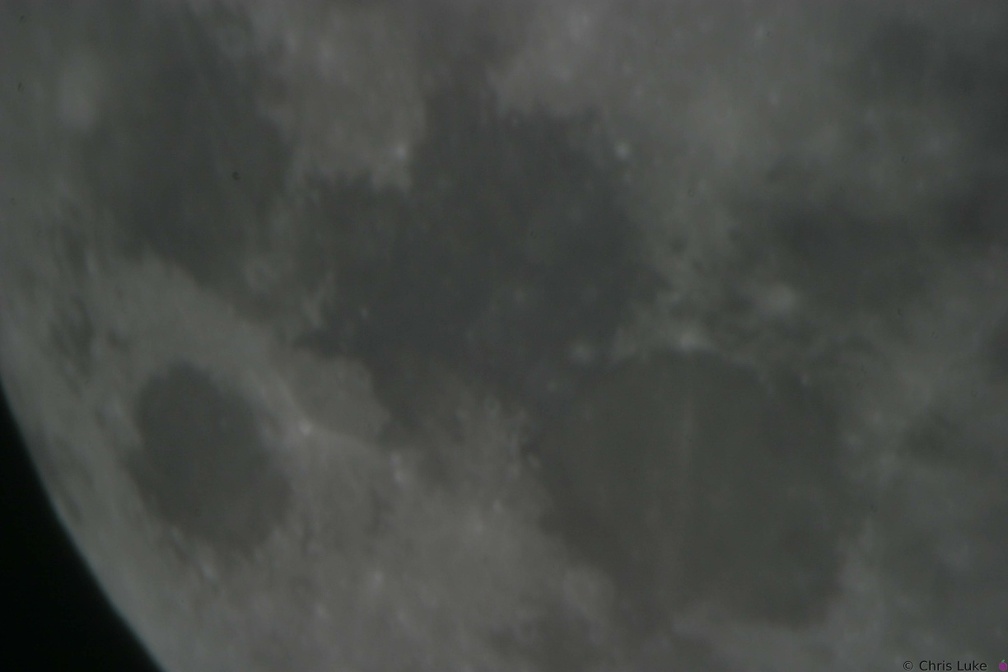
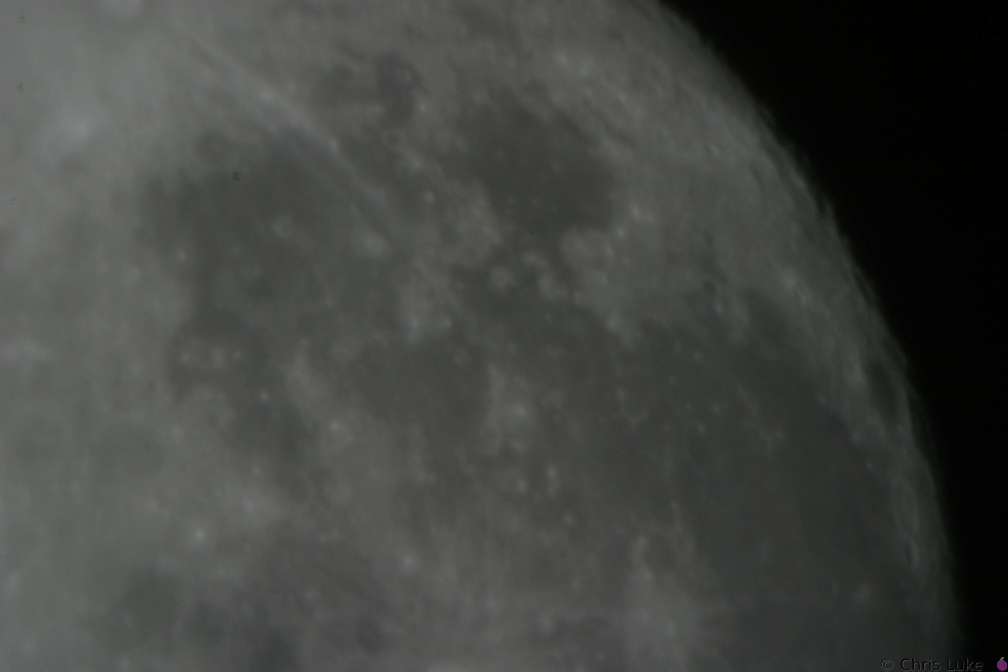
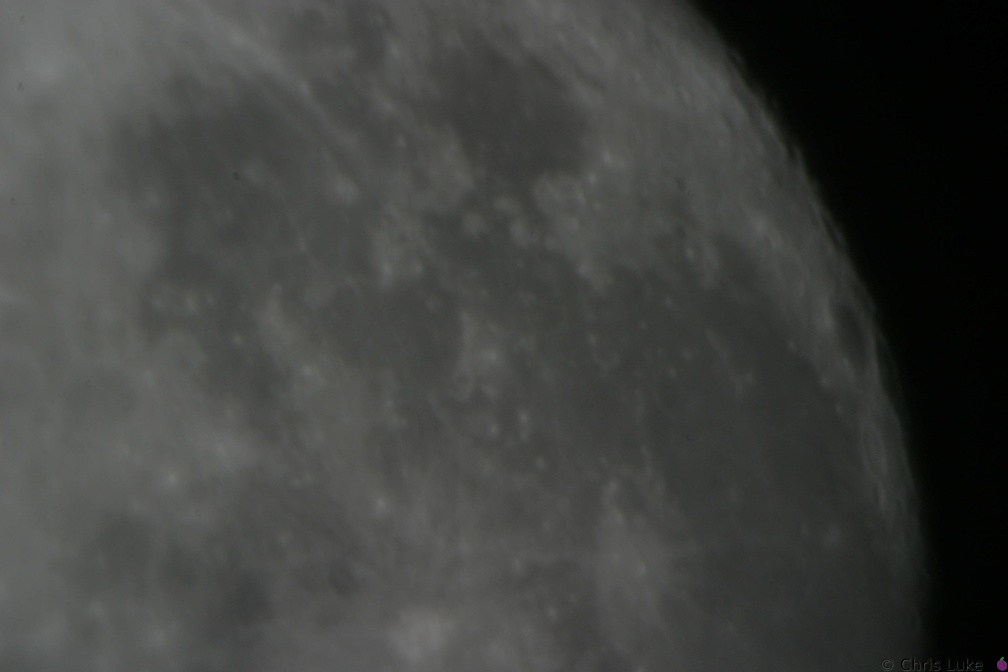
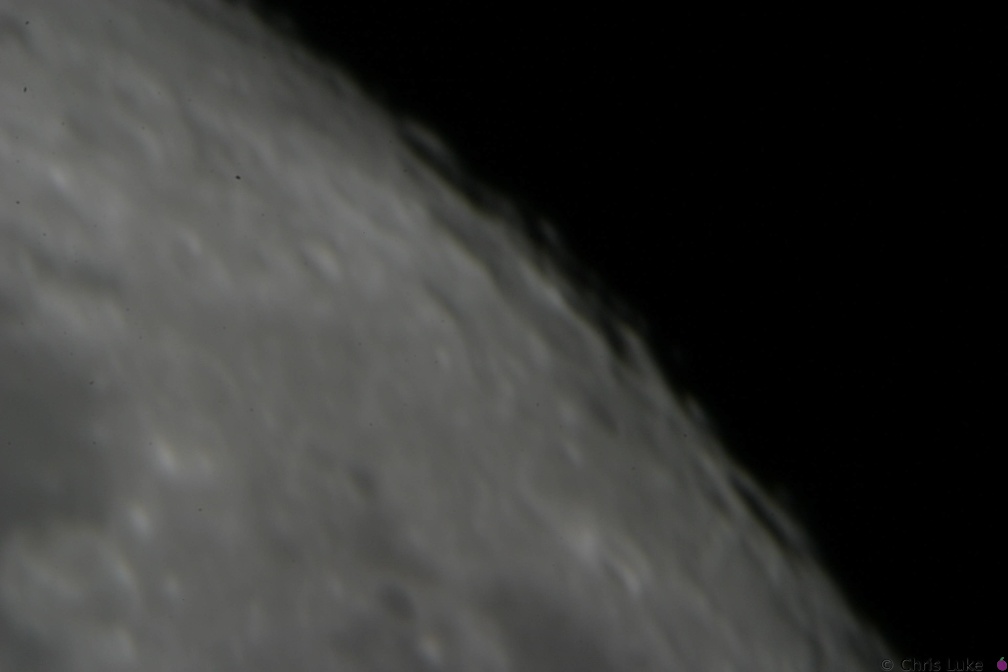
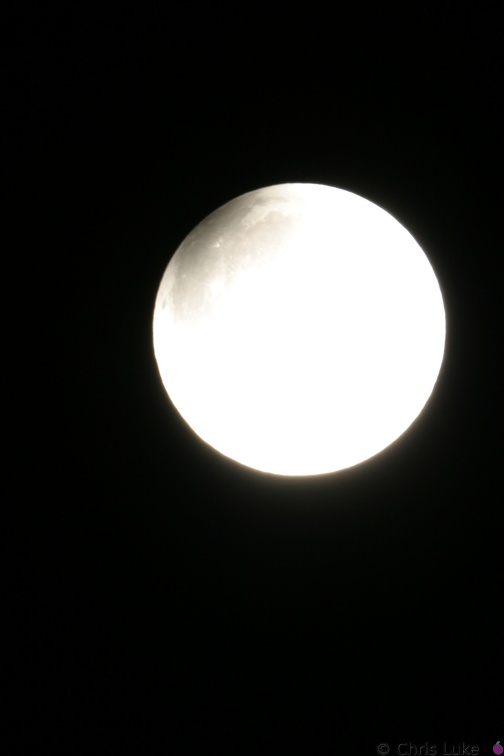
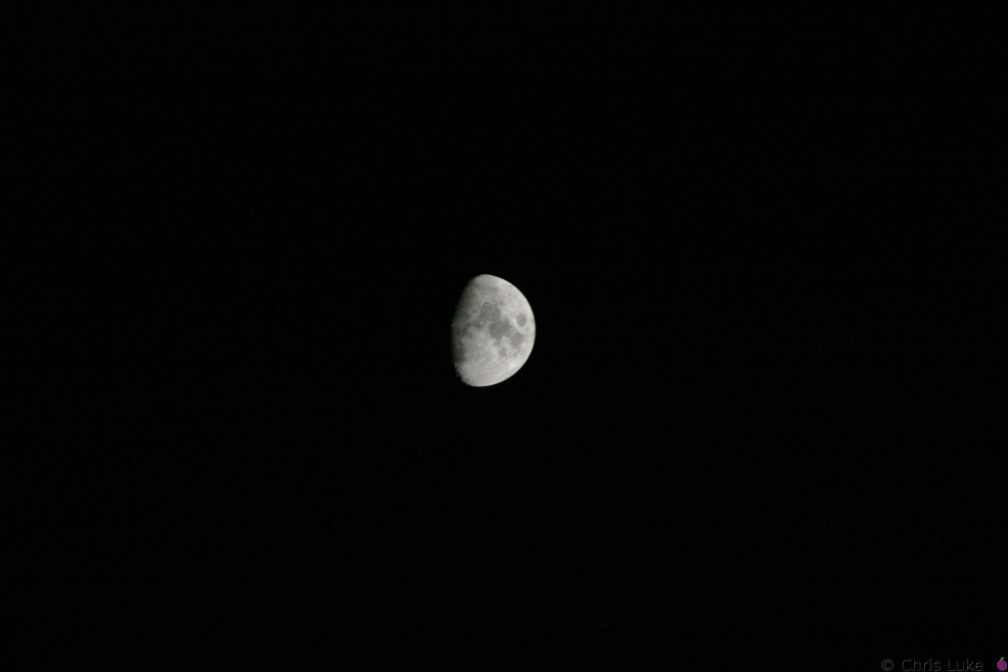
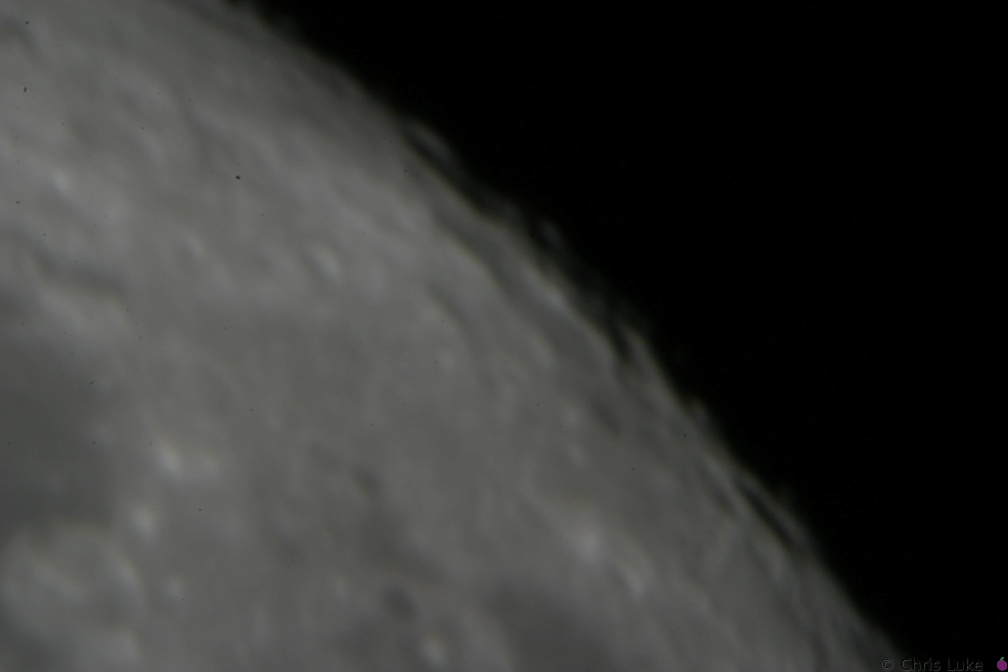
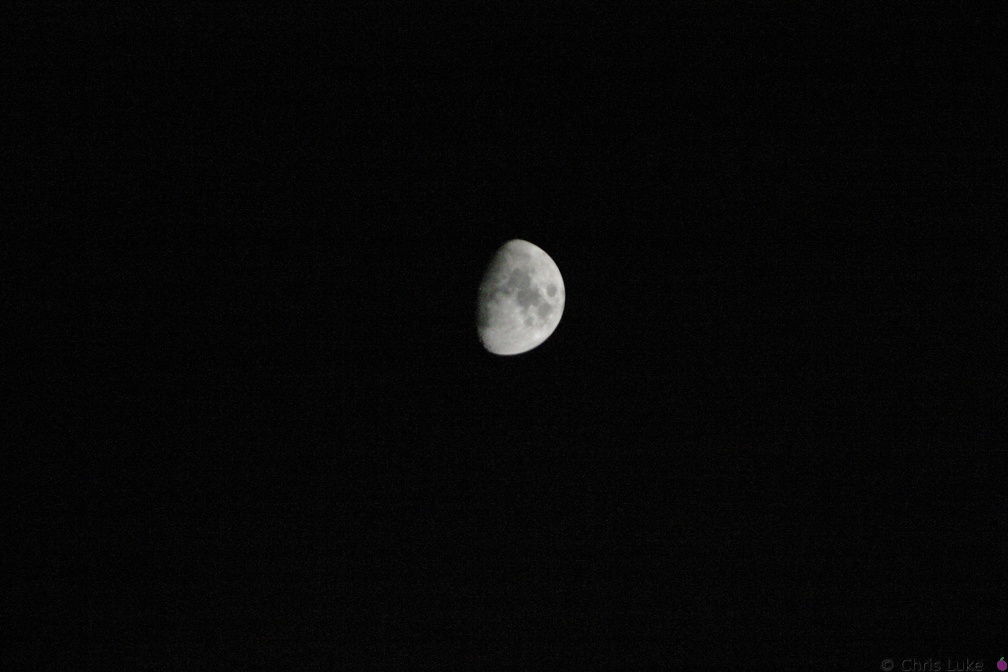
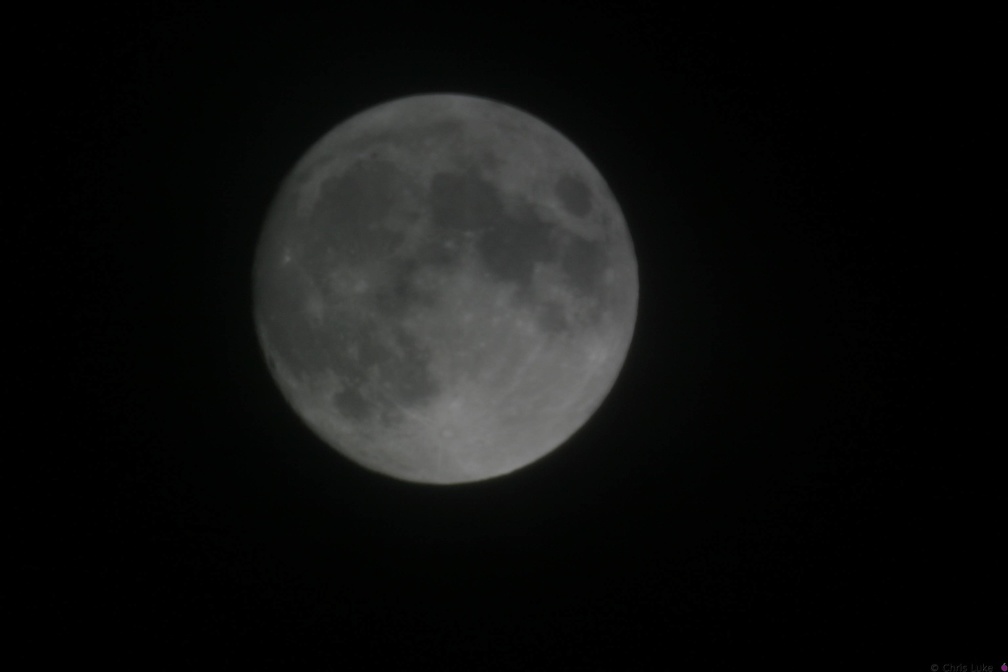
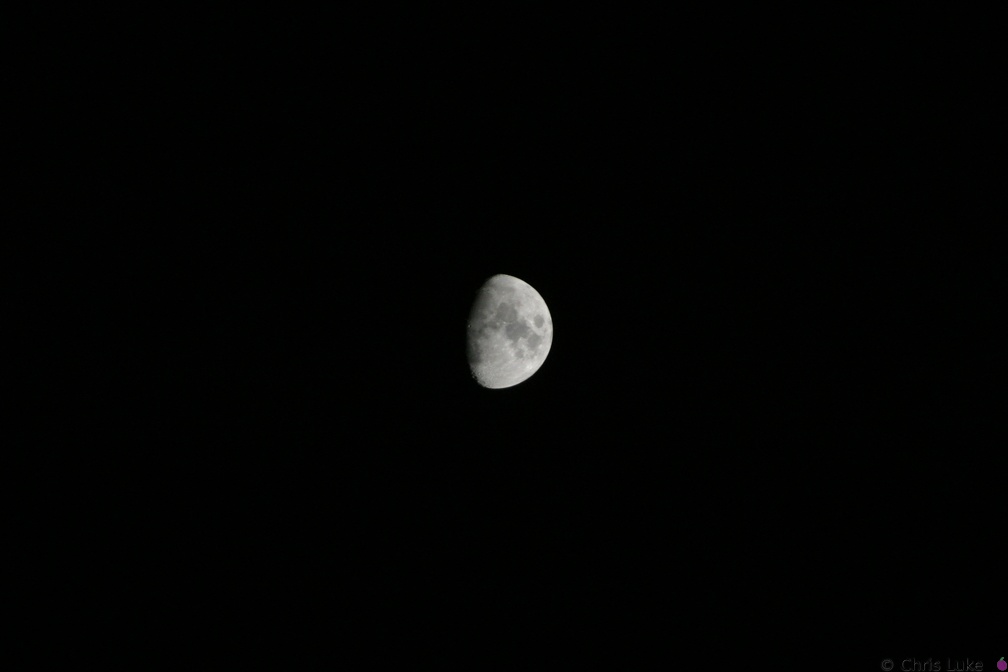
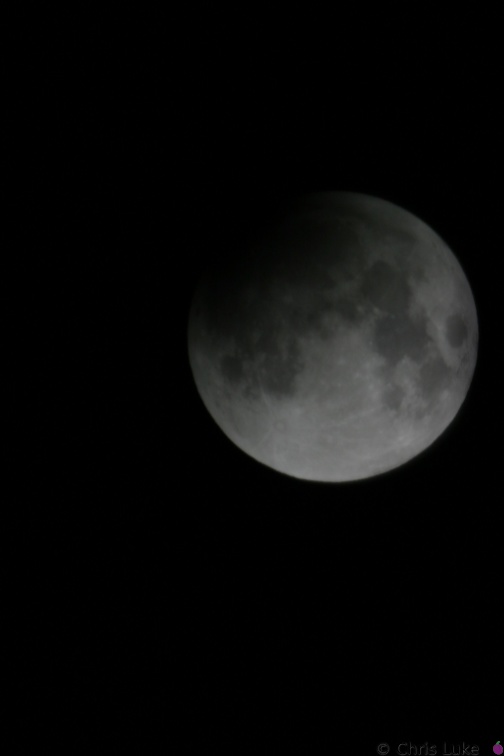
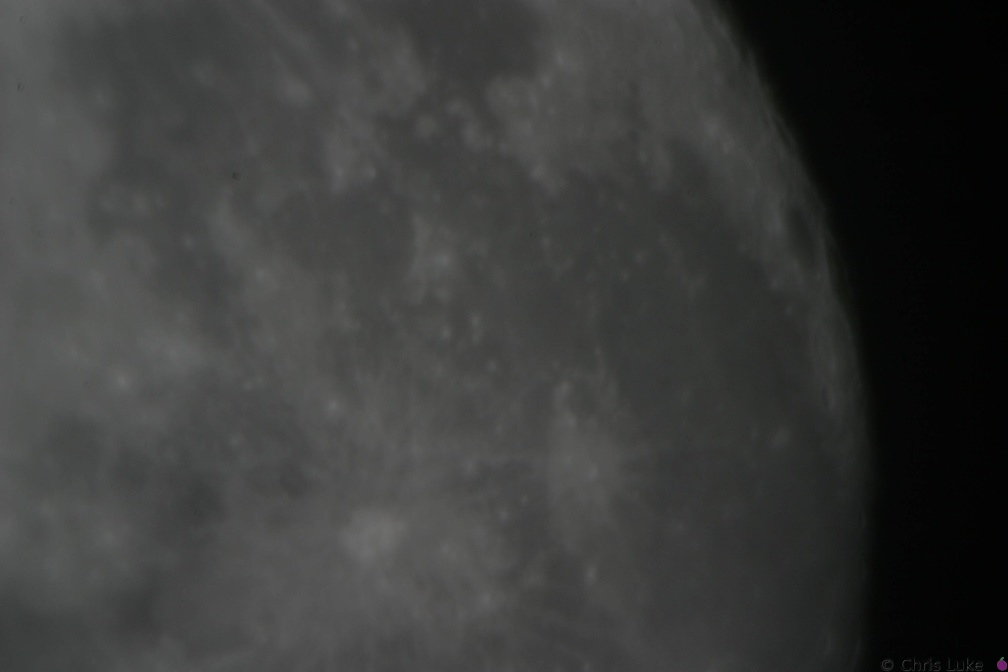
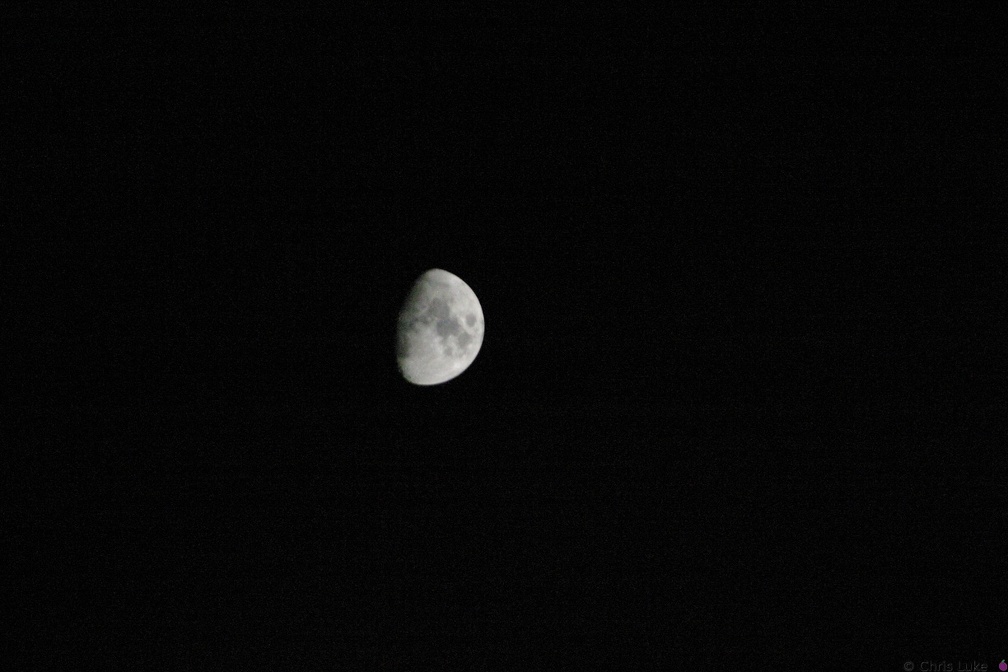
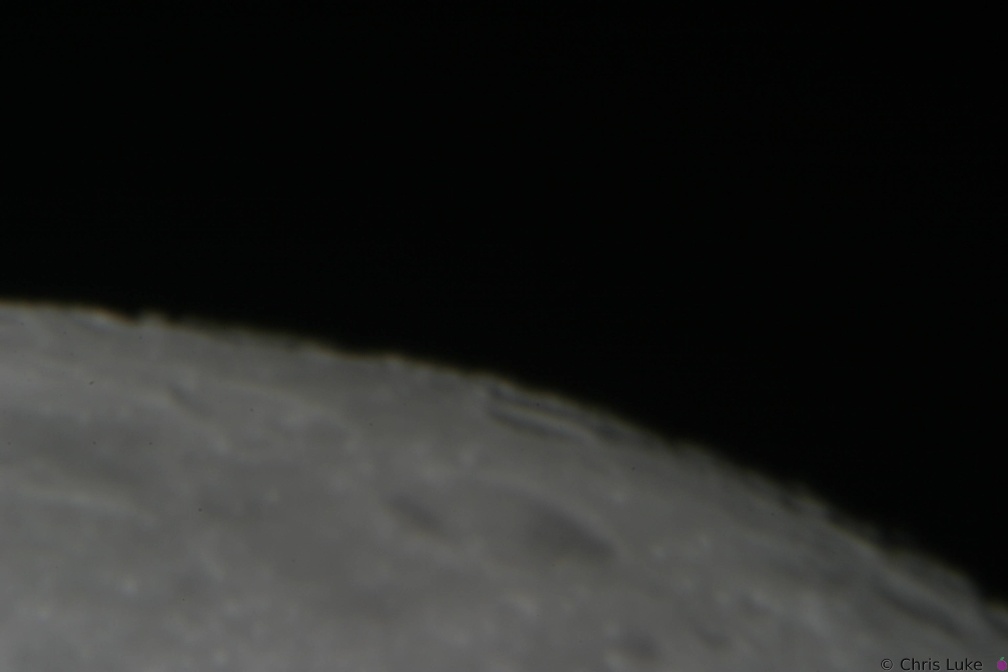
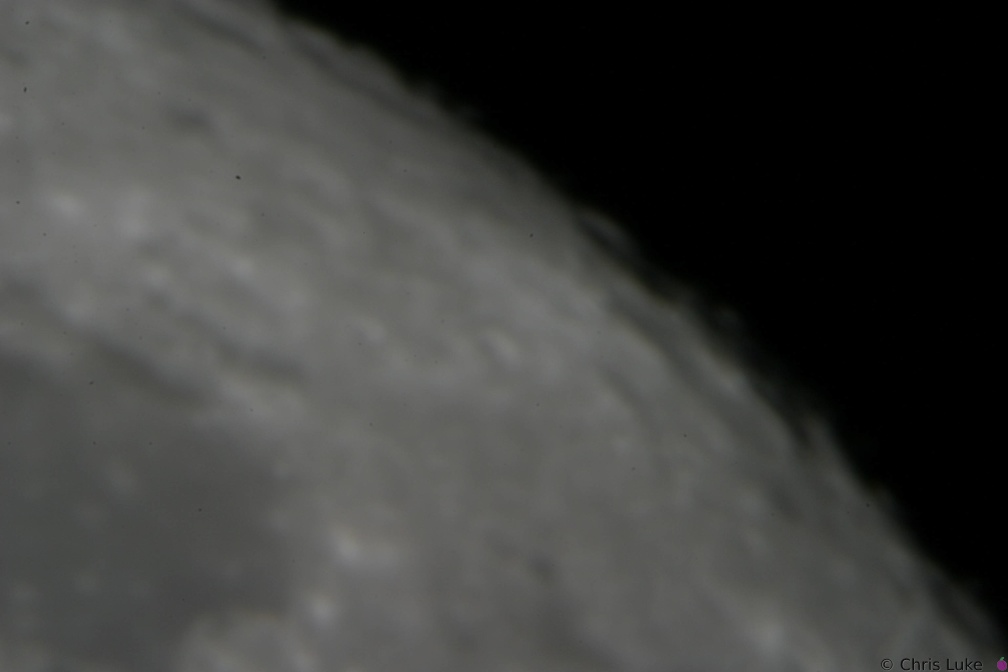
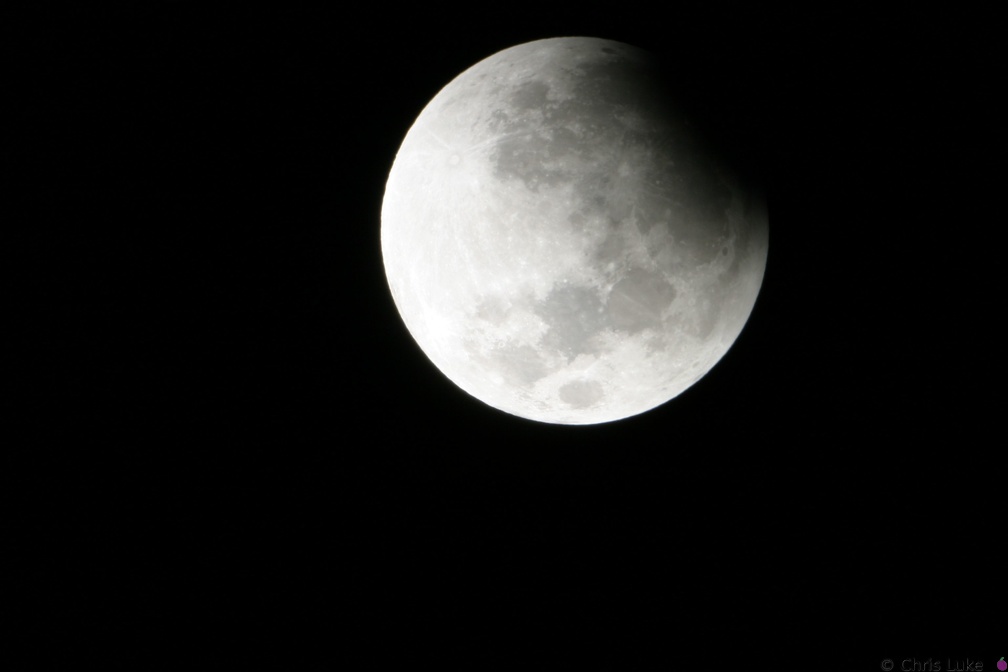
The Moon Meade 10" Newtonian, Sony DSC-P1, Meade Plossl 26mm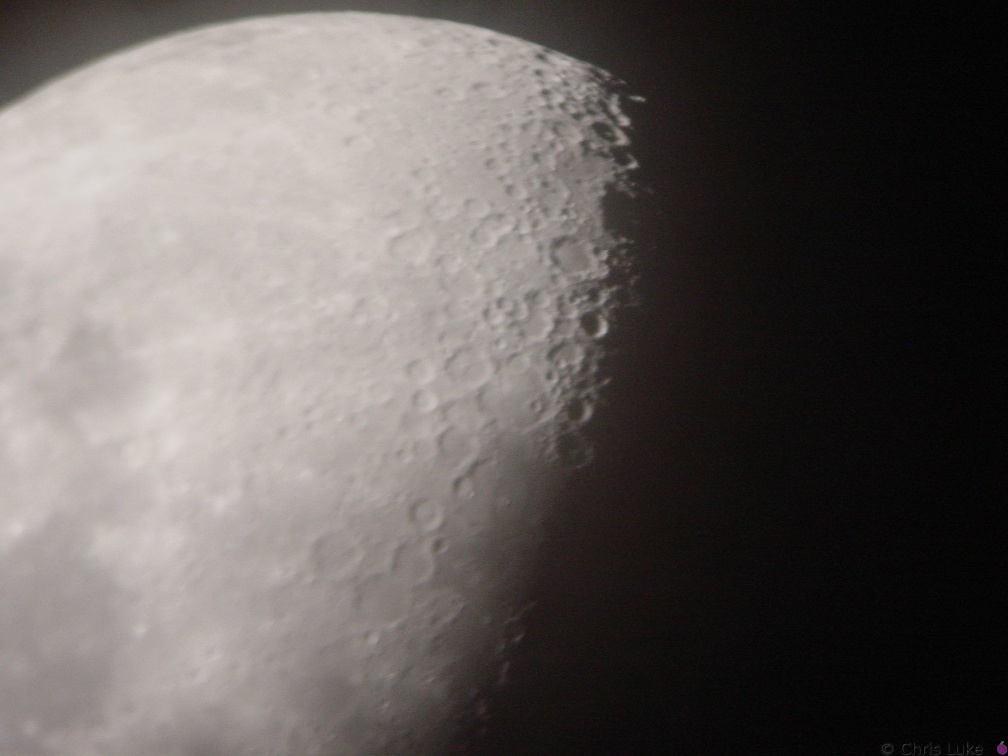 DSC00335
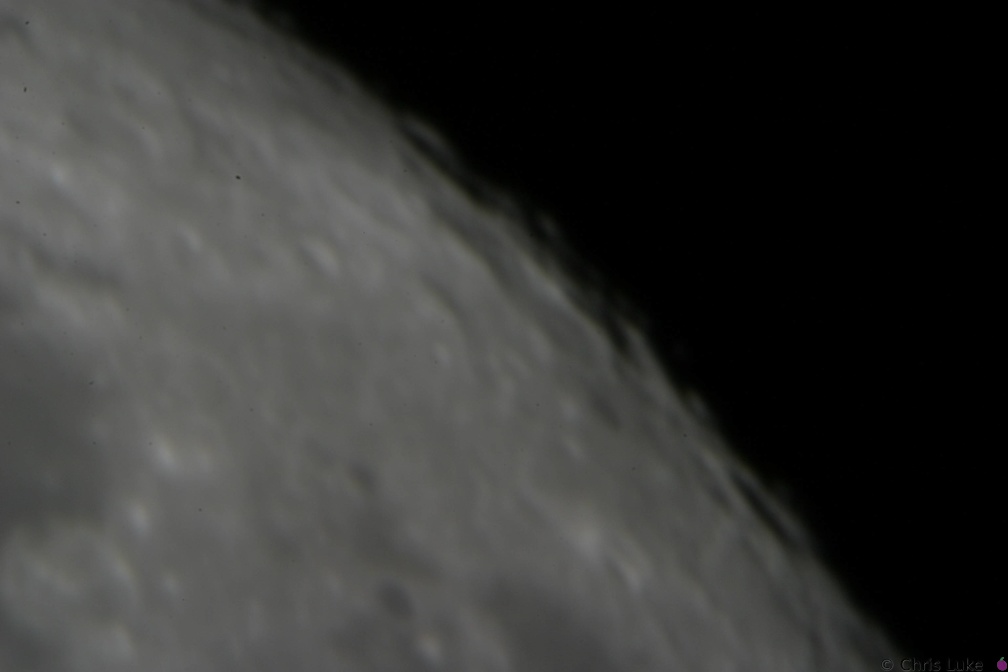
The Moon Meade 10" Newtonian, Sony DSC-P1, Meade Plossl 26mm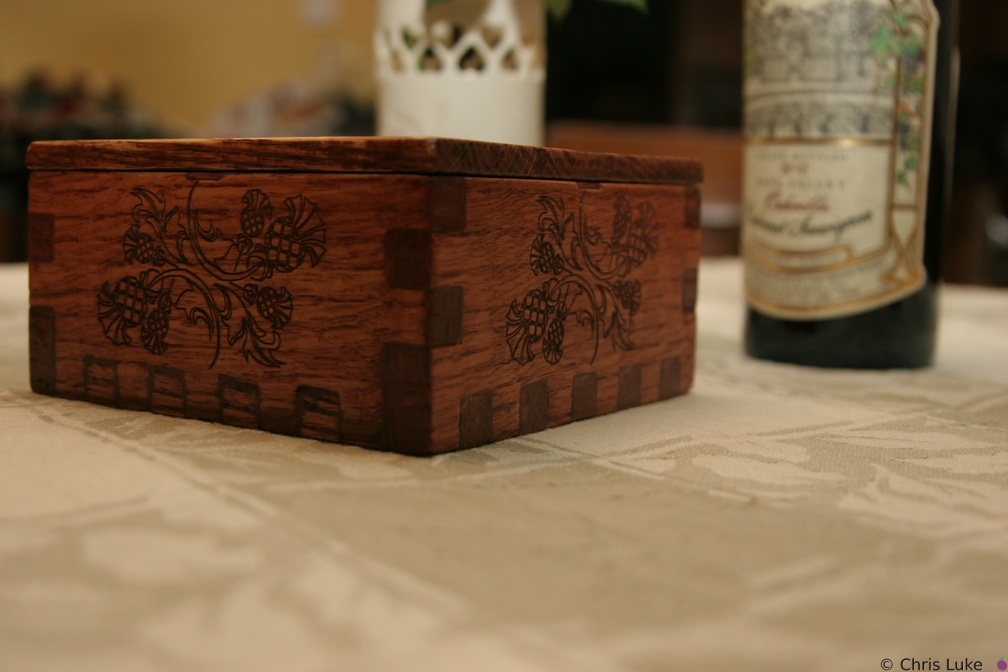 IMG 5879
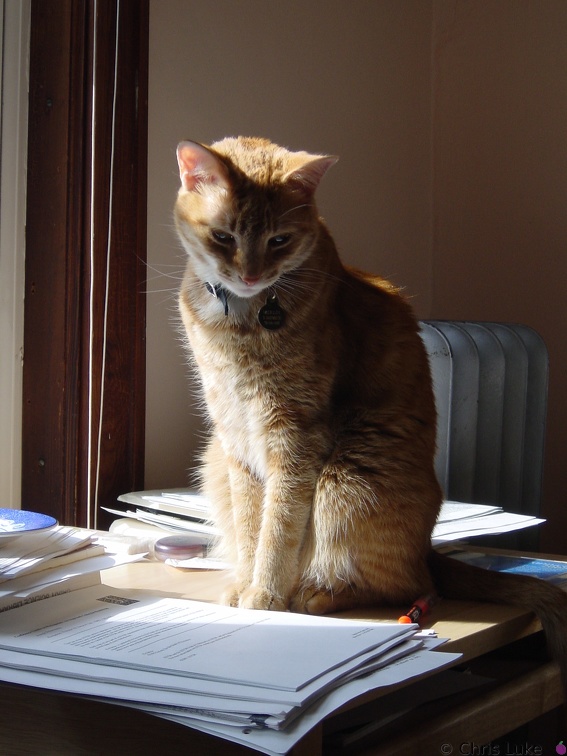 DSC00307
Stop looking at me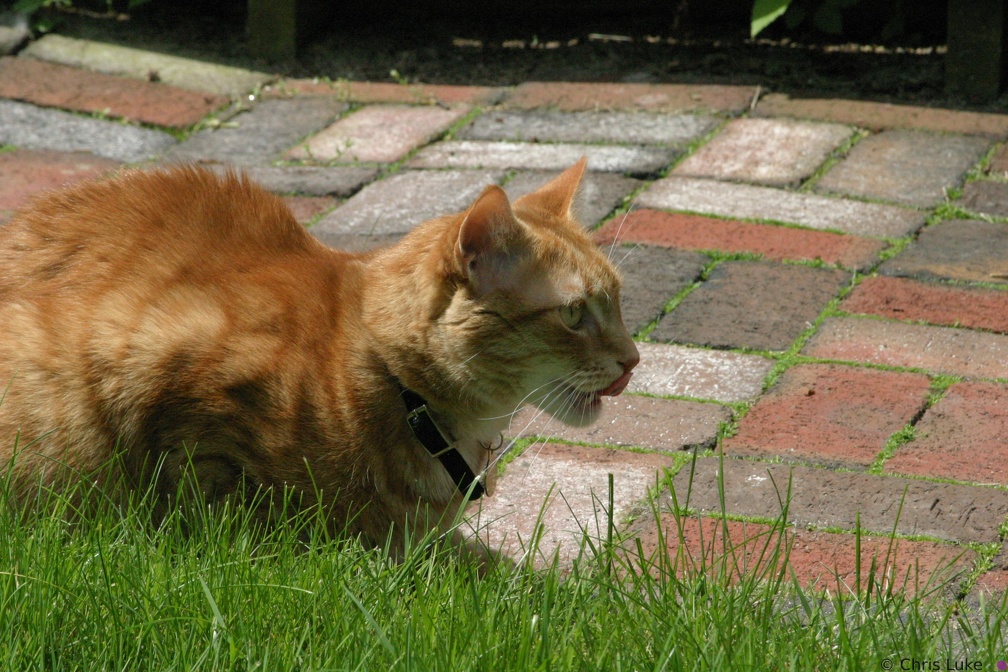 114 1489
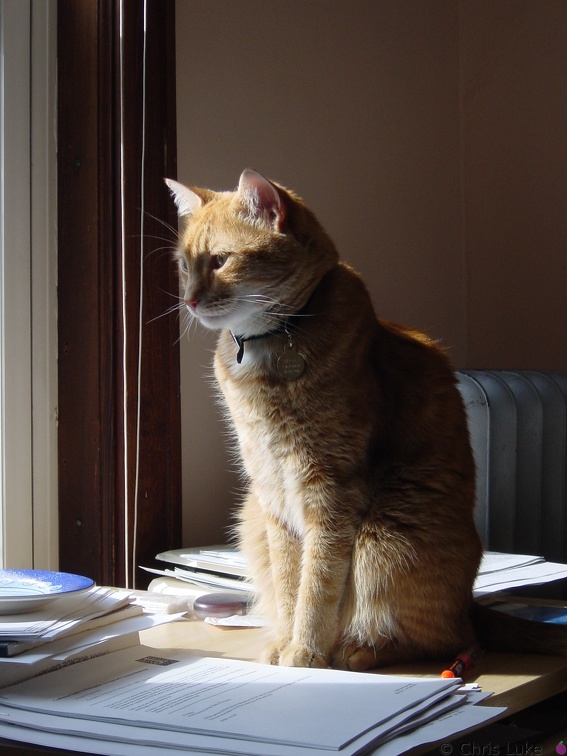 DSC00309
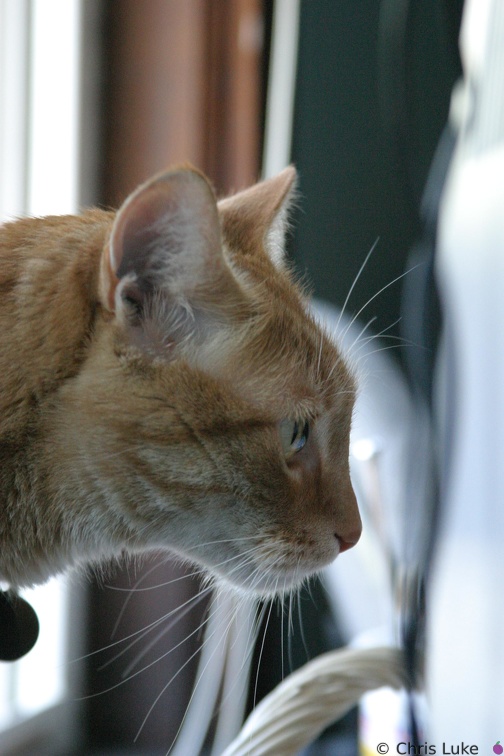
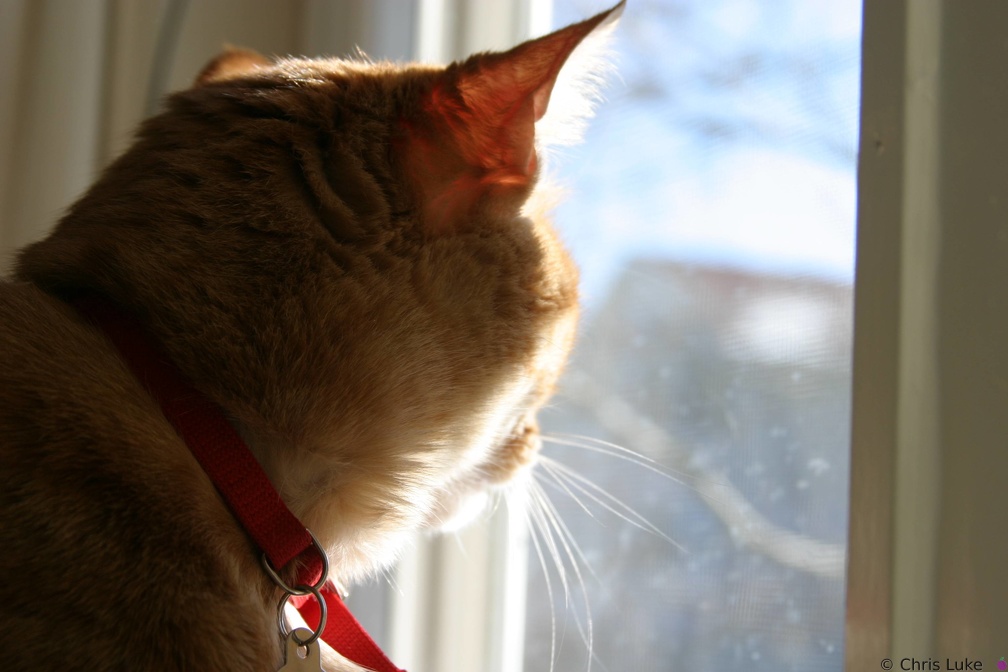
Sigh, it's tough, being a Cat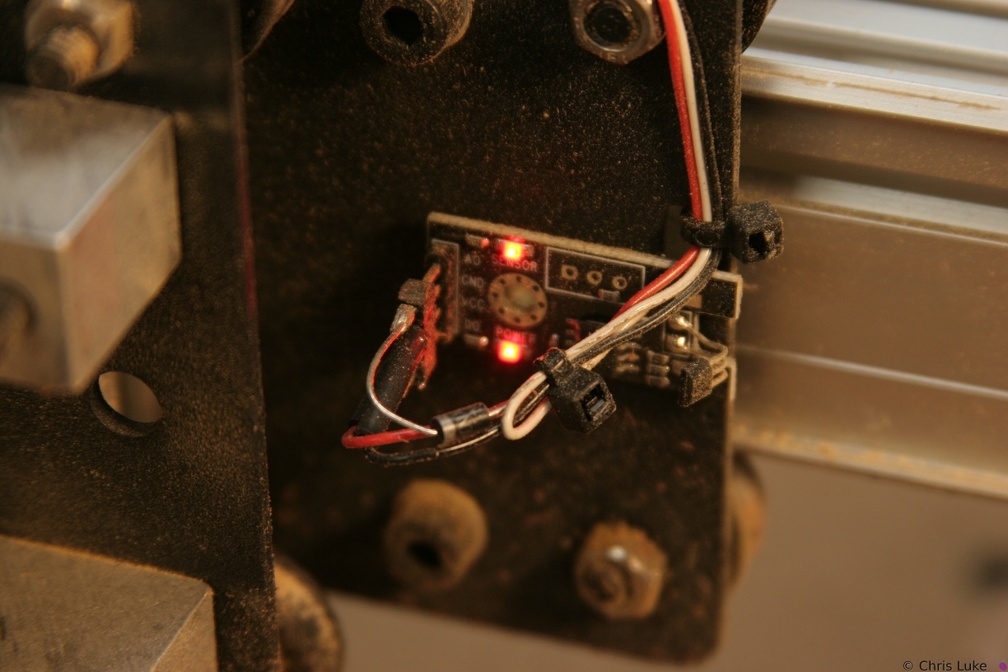 IMG 5928
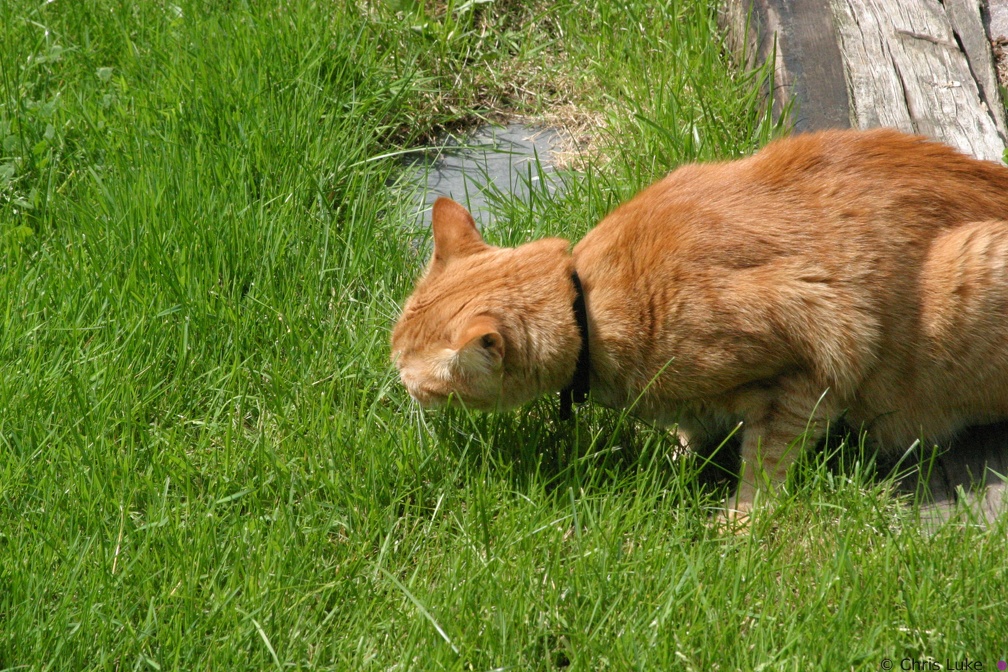 114 1496
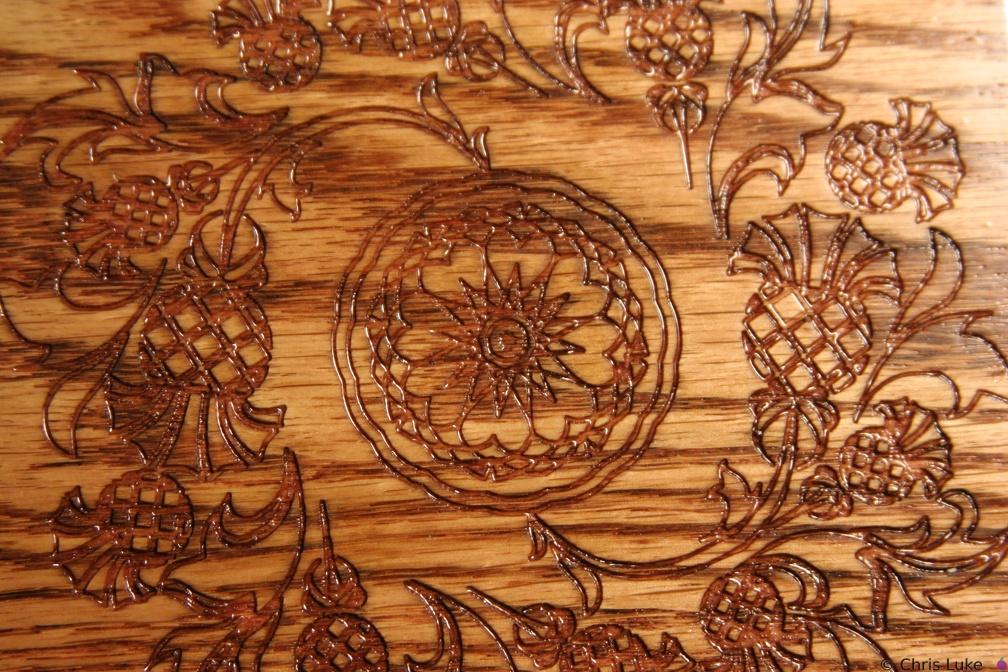 IMG 5859
 IMG 5904
 IMG 5922
 IMG 5907
 IMG 5967
 IMG 5925
 IMG 5862
 DSC00306
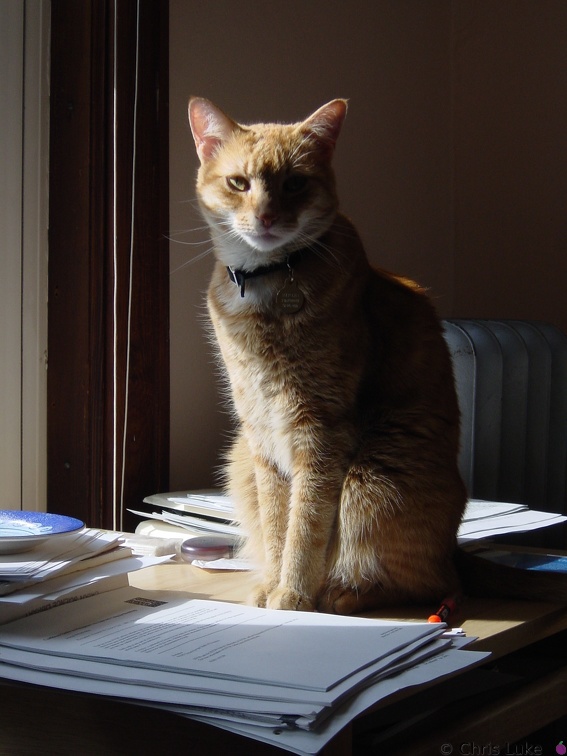
You're looking at me IMG 4114
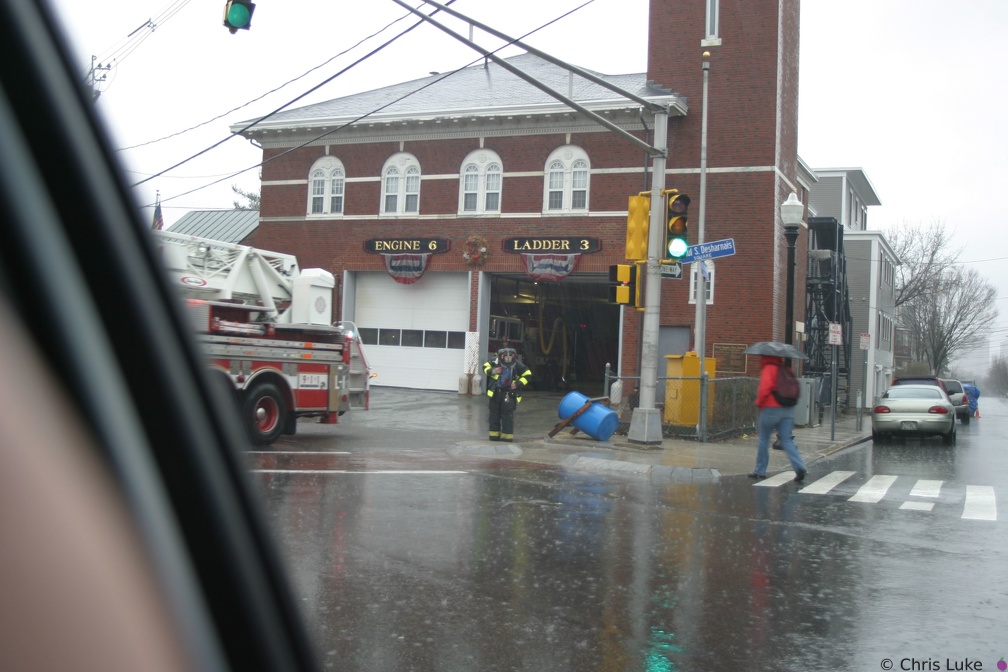 IMG 6860
Tokina 19-35mm An exceptionally rainy day. Picture taken from inside the car! IMG 6863
Tokina 19-35mm An exceptionally rainy day. Picture taken from inside the car!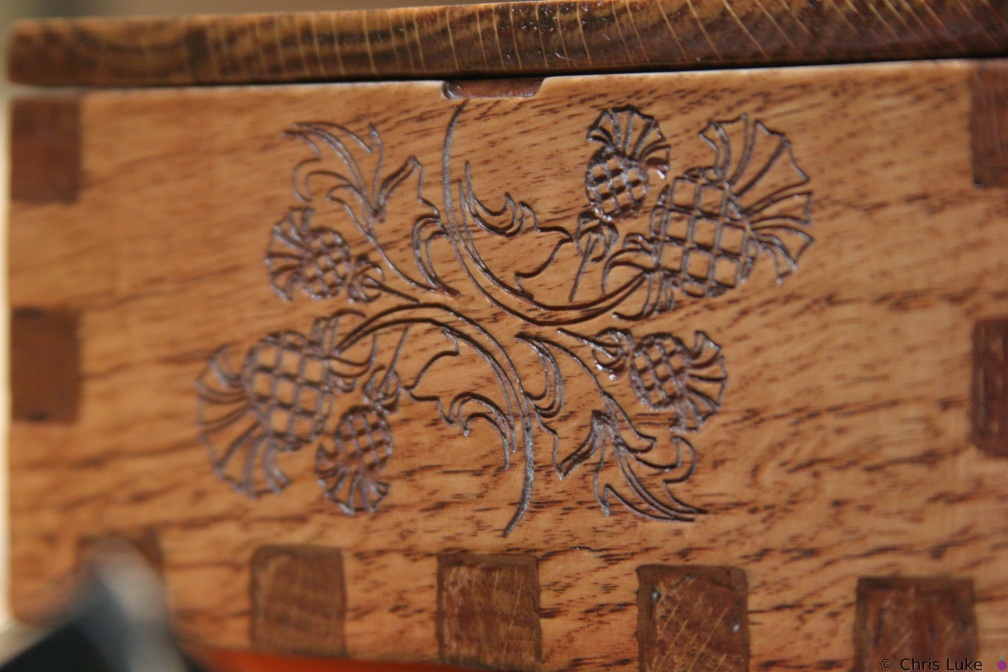 IMG 5853
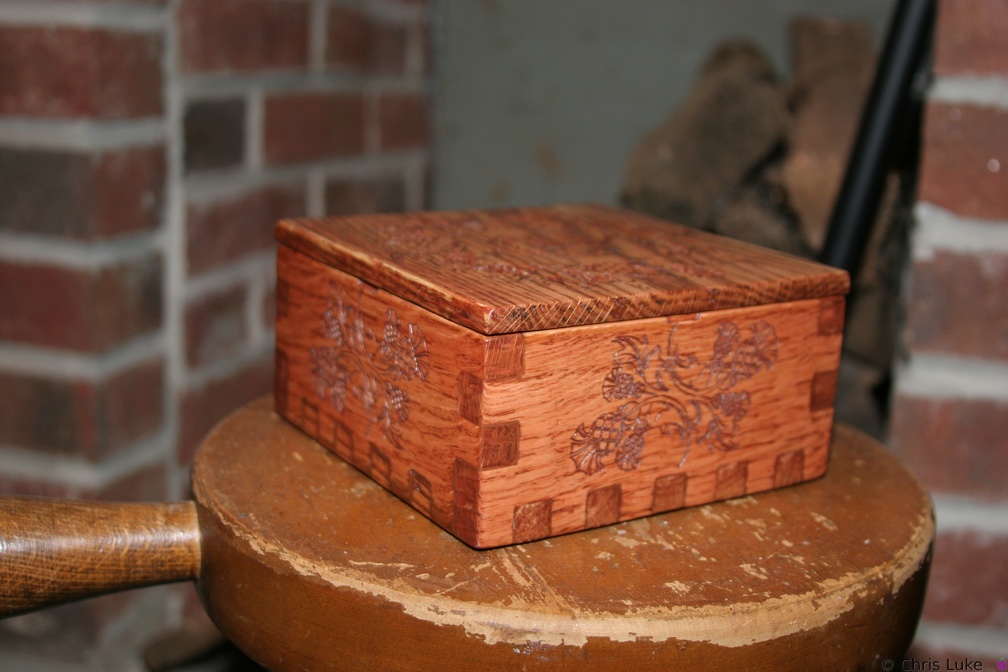 IMG 5873
 142 4226
 IMG 6859
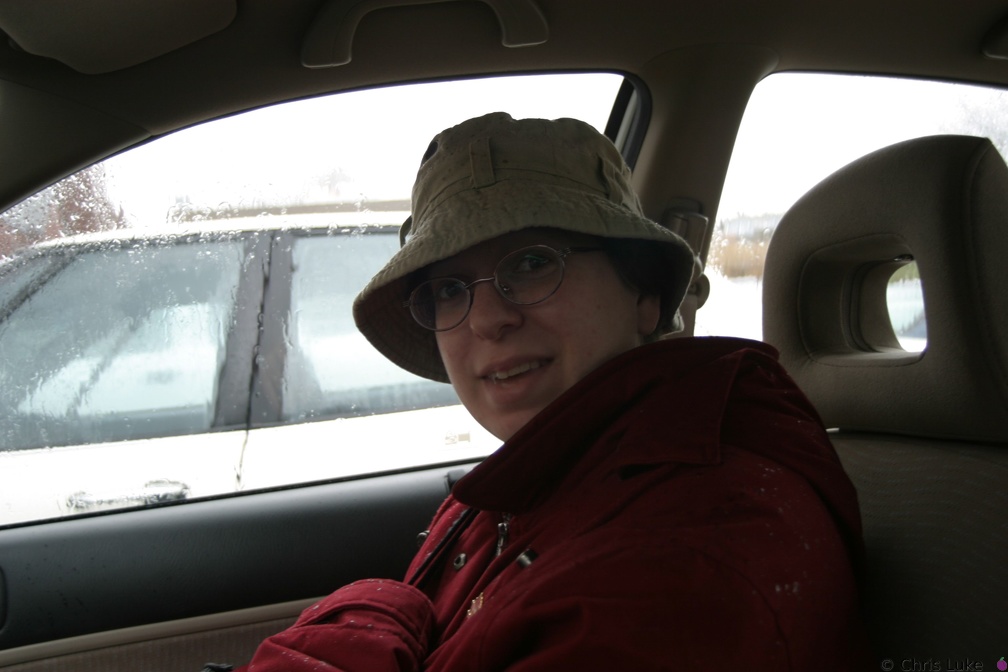
Tokina 19-35mm An exceptionally rainy day. Picture taken from inside the car! IMG 5871
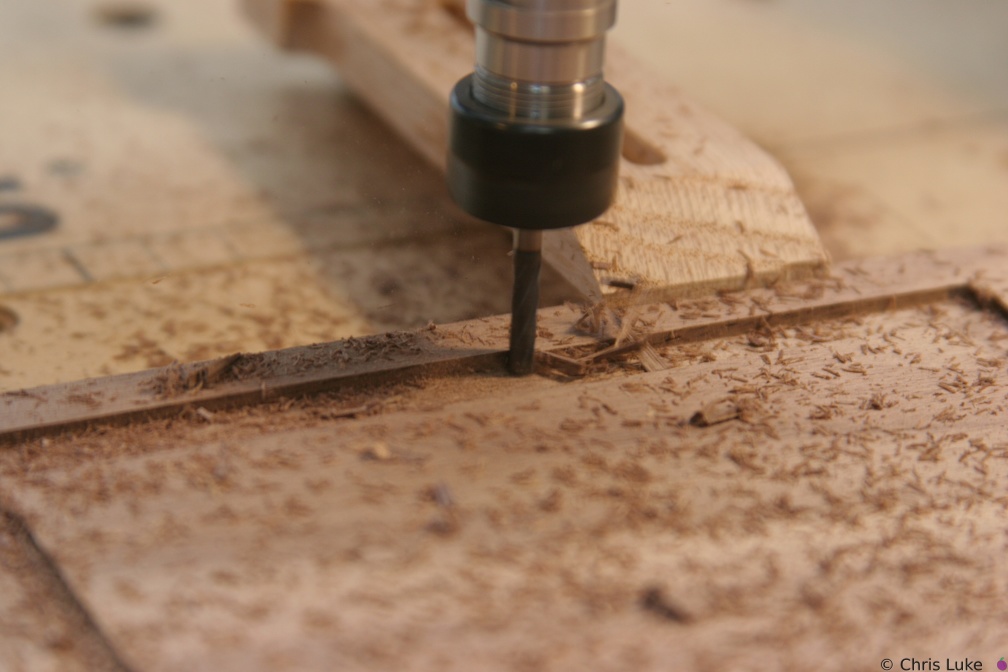
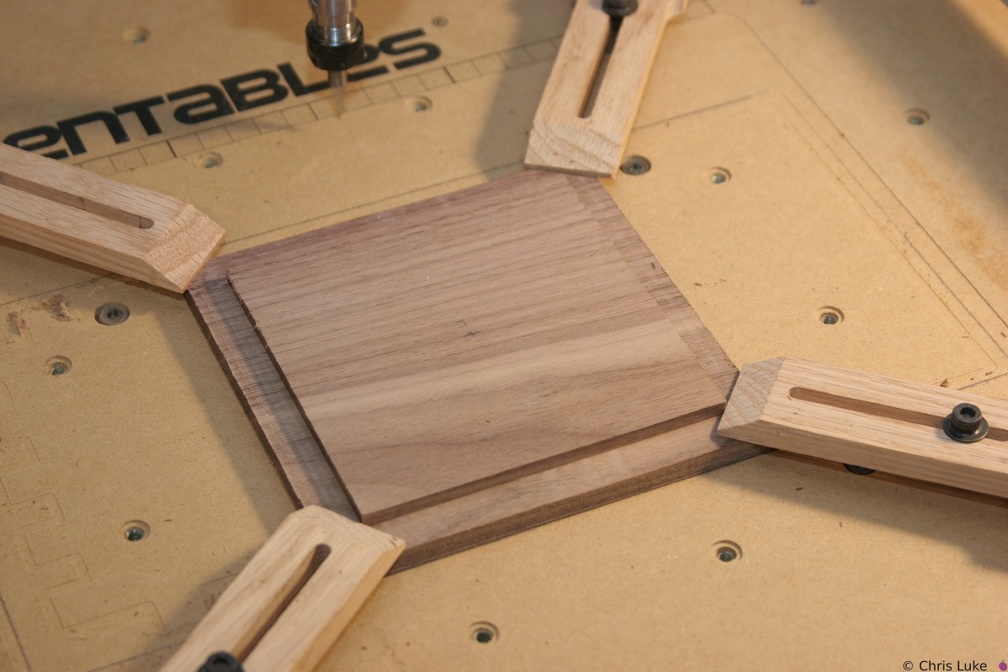
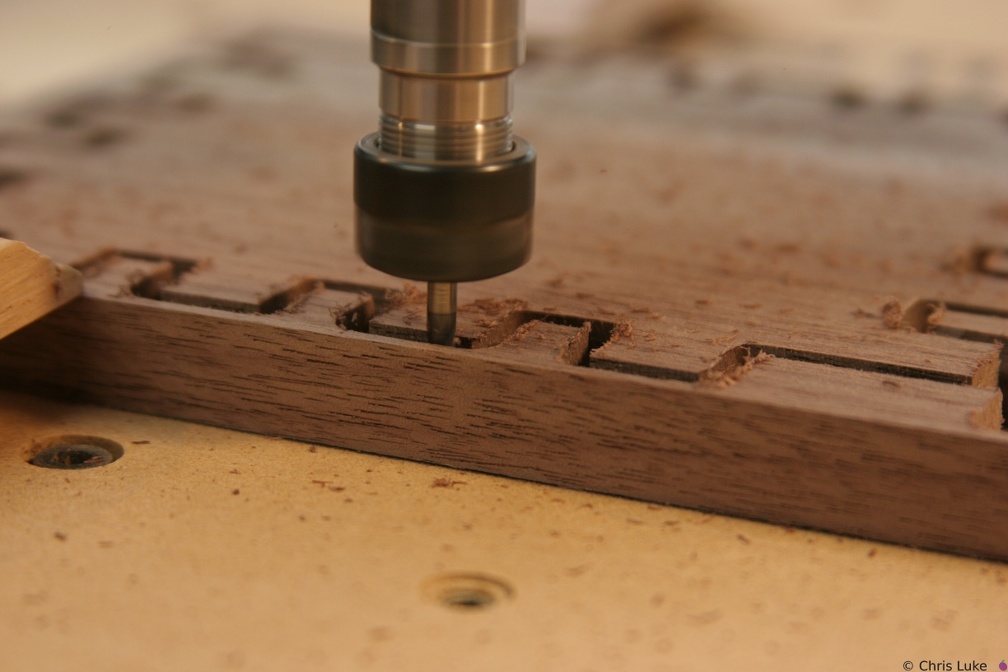
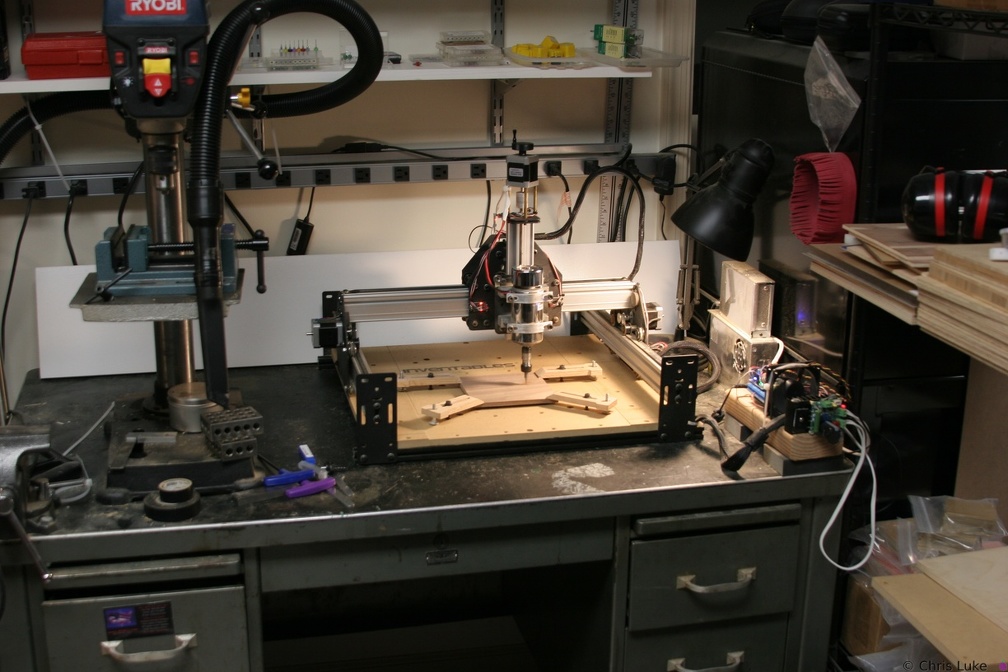
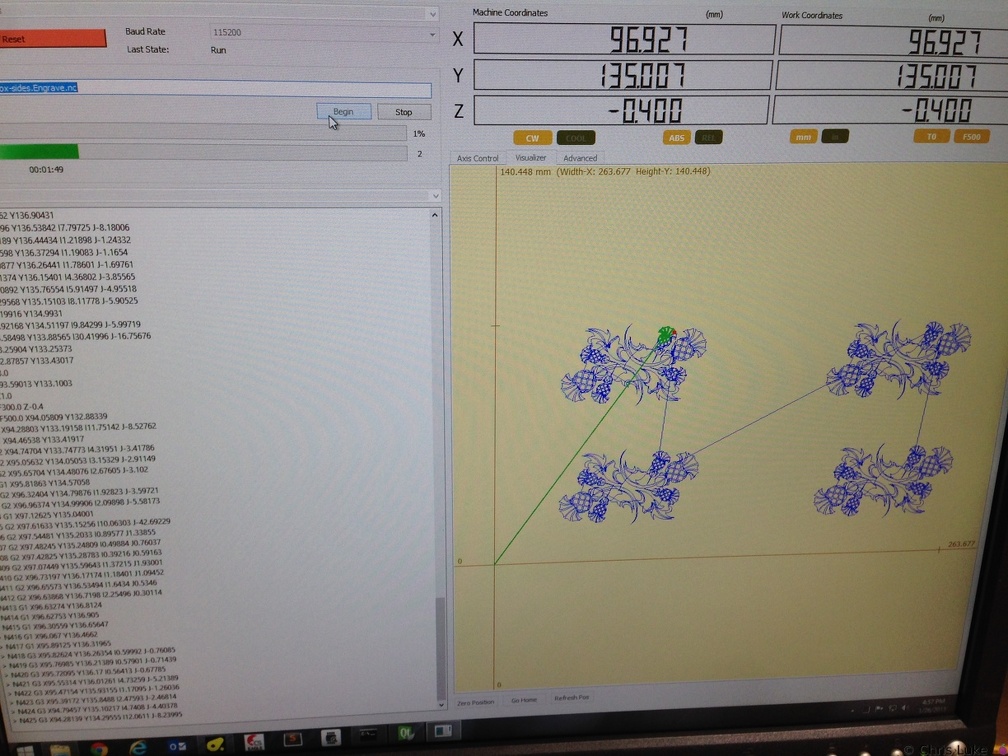
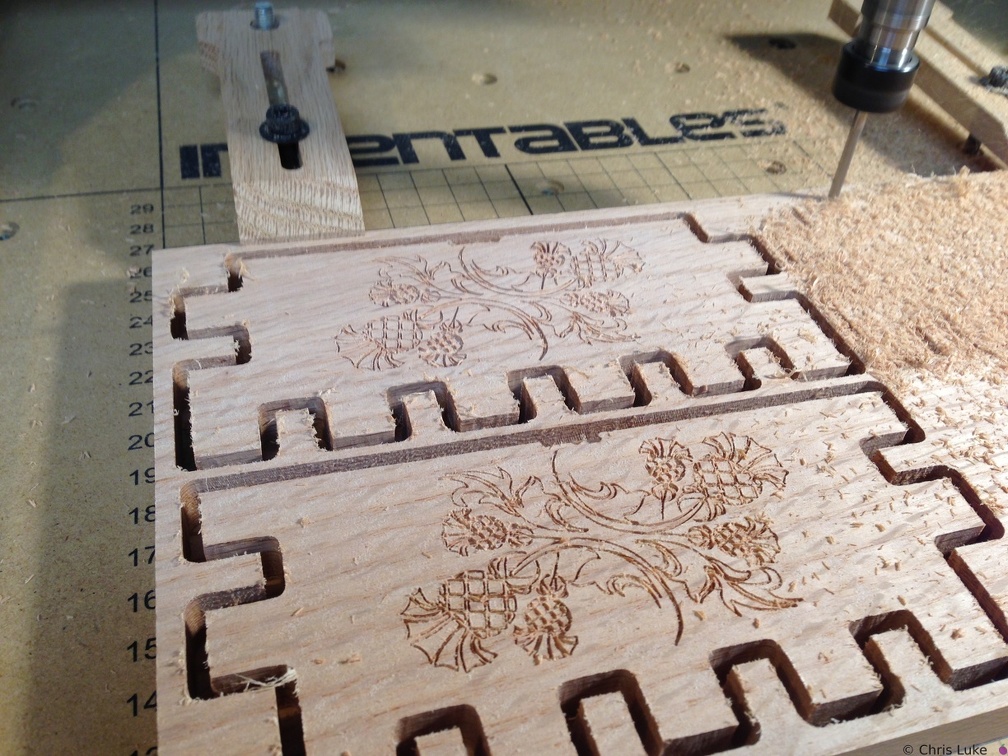
 grbl
grbl
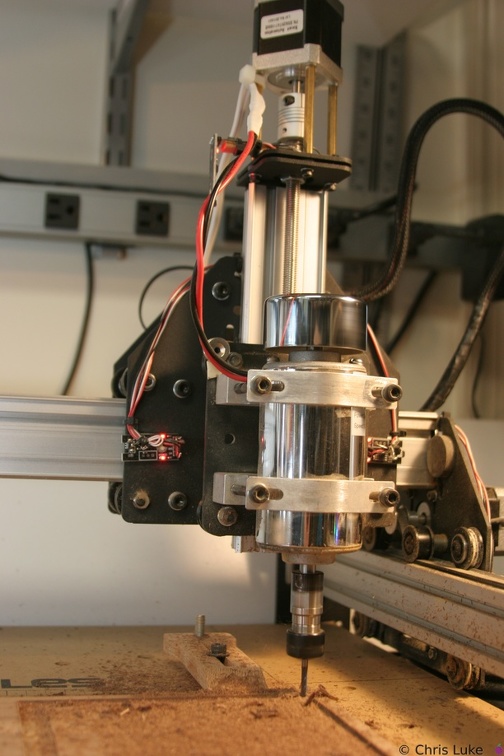
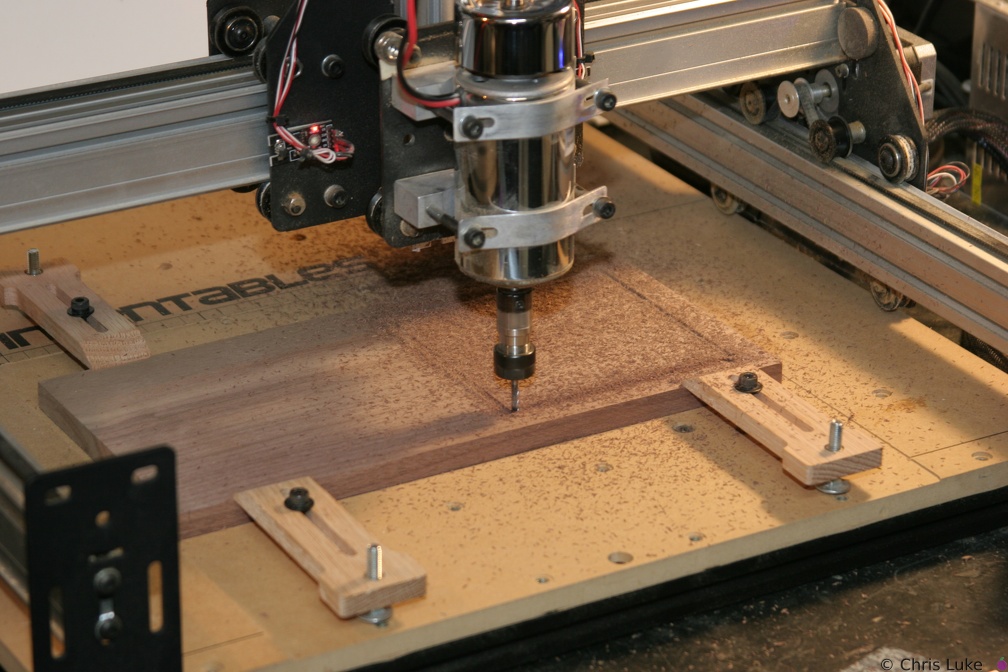
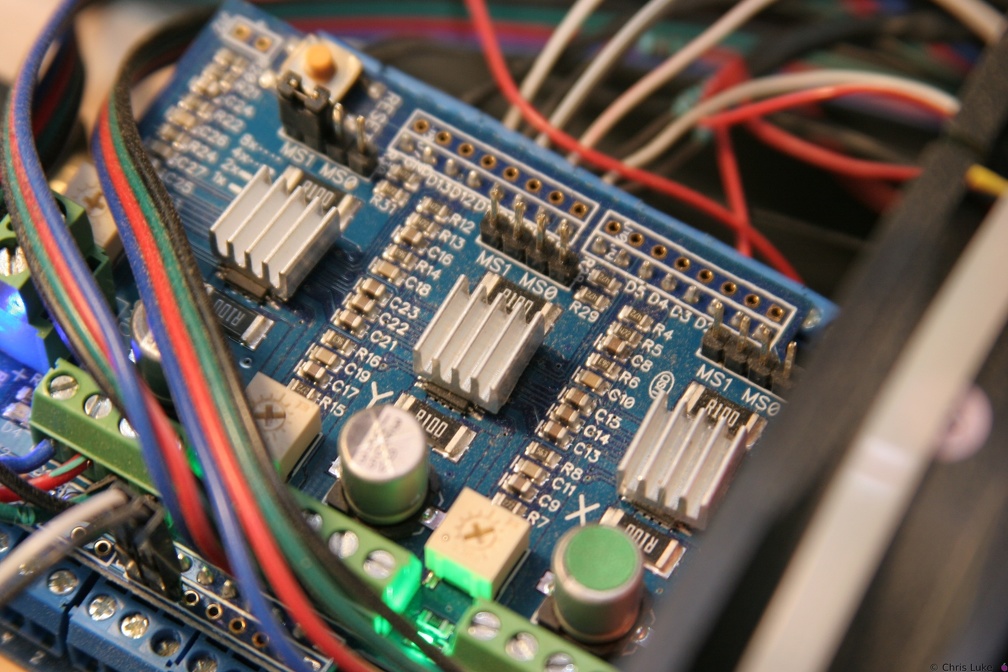
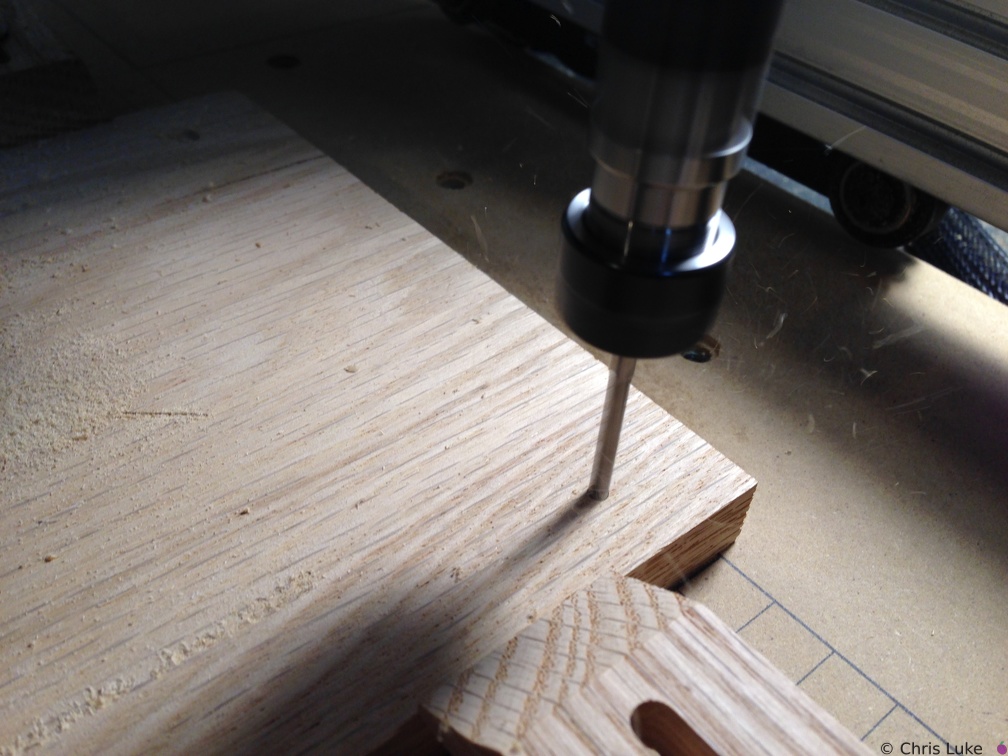
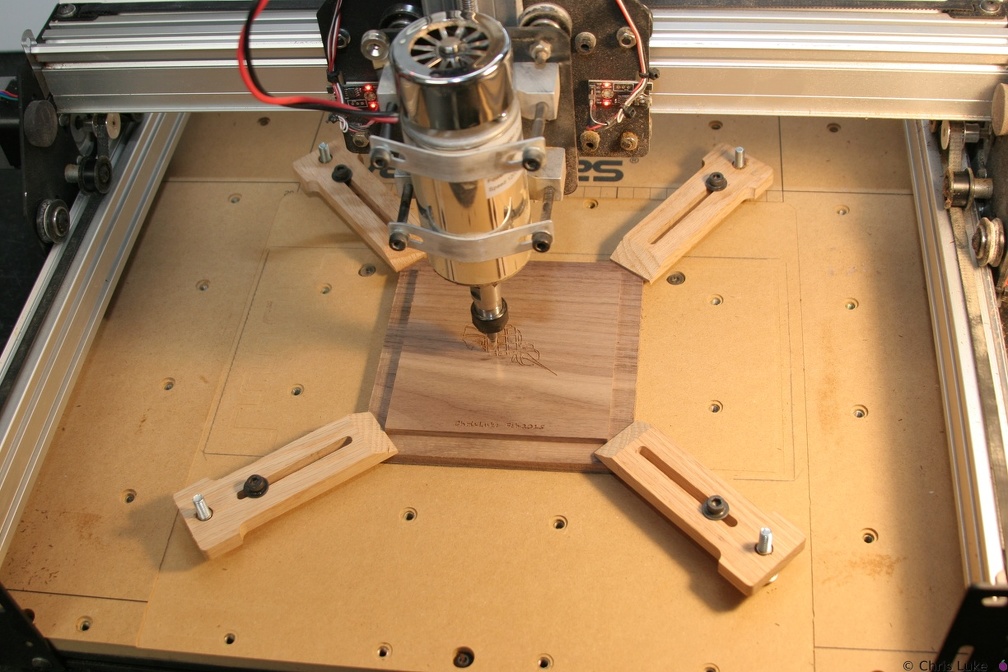
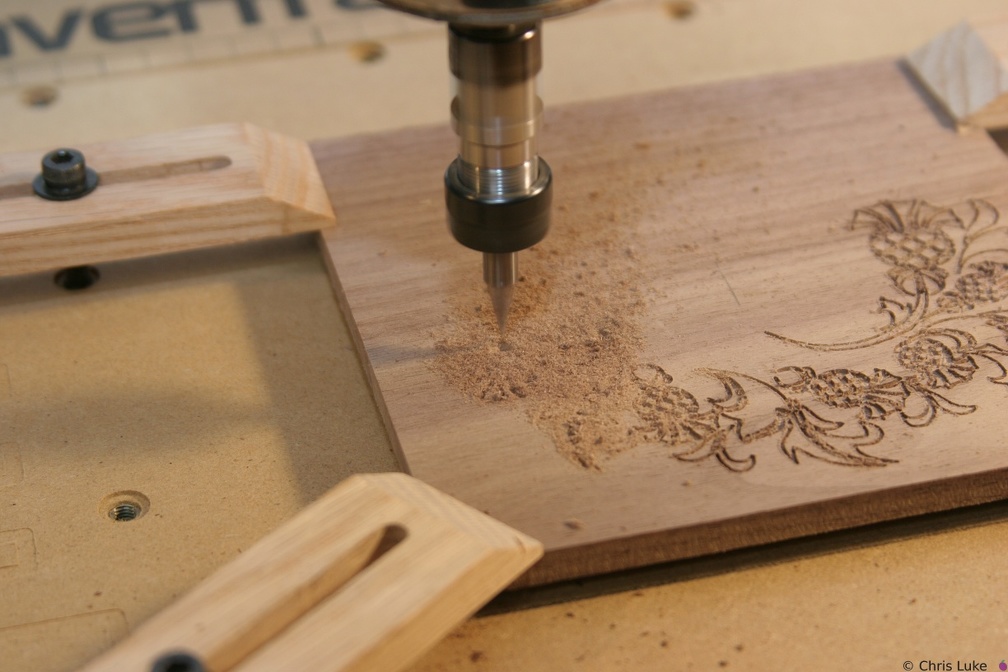
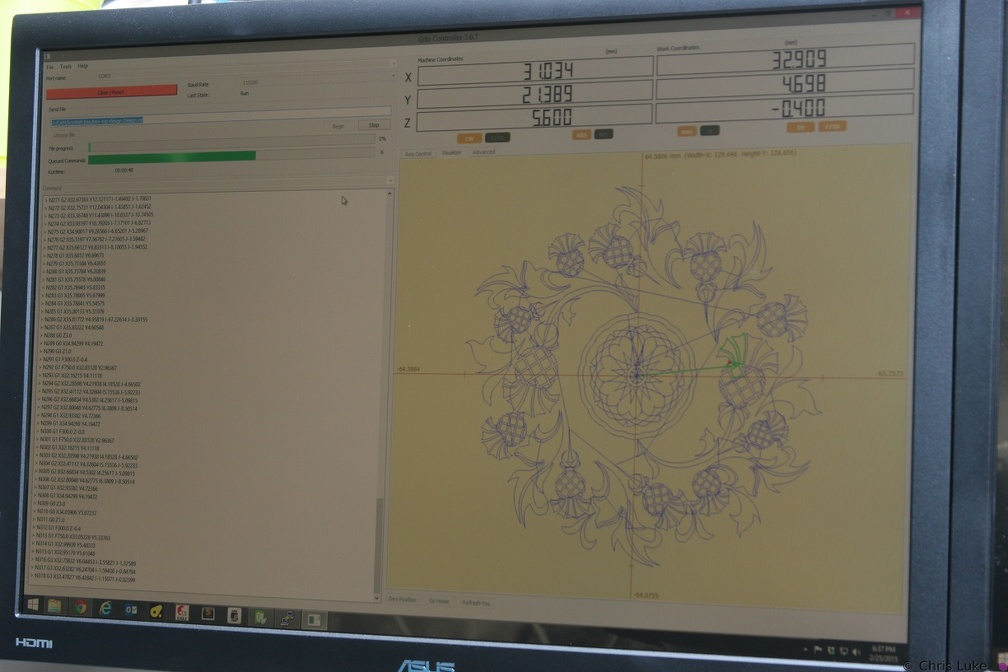
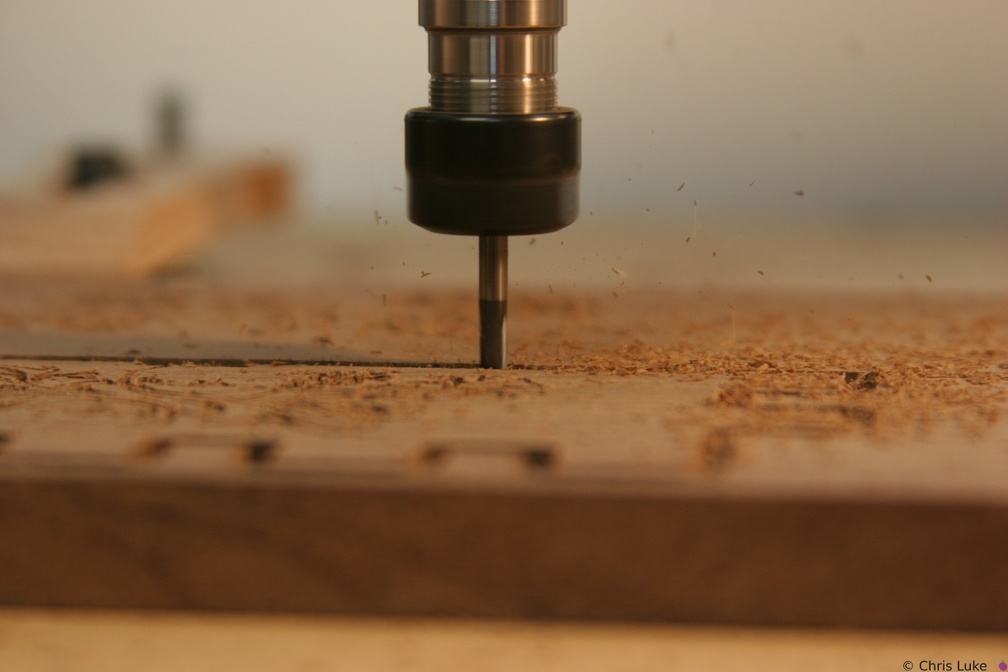
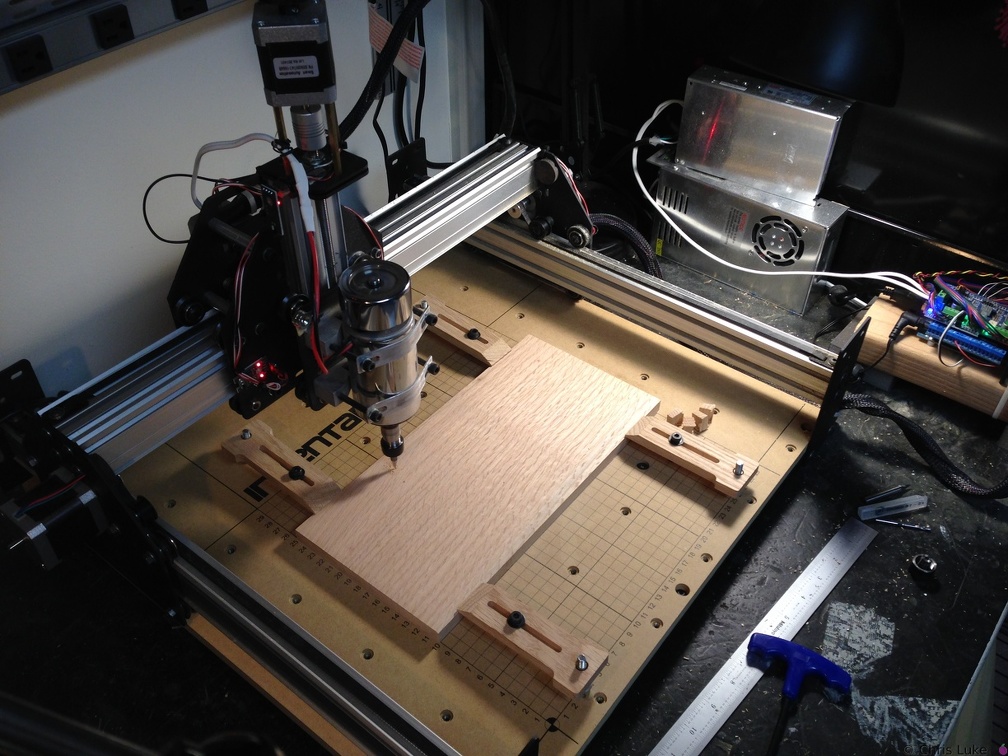
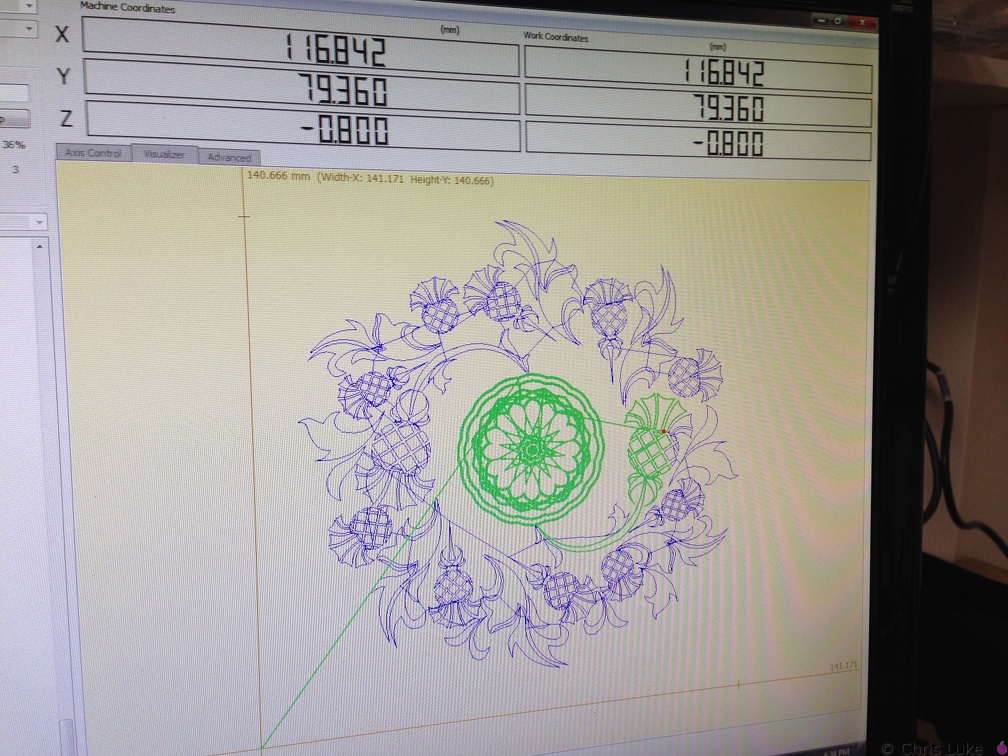
The grbl controller; underneath this stepper driver is an Arduino Uno and a breakout board. IMG 5860
 142 4227
 IMG 5921
 IMG 5915
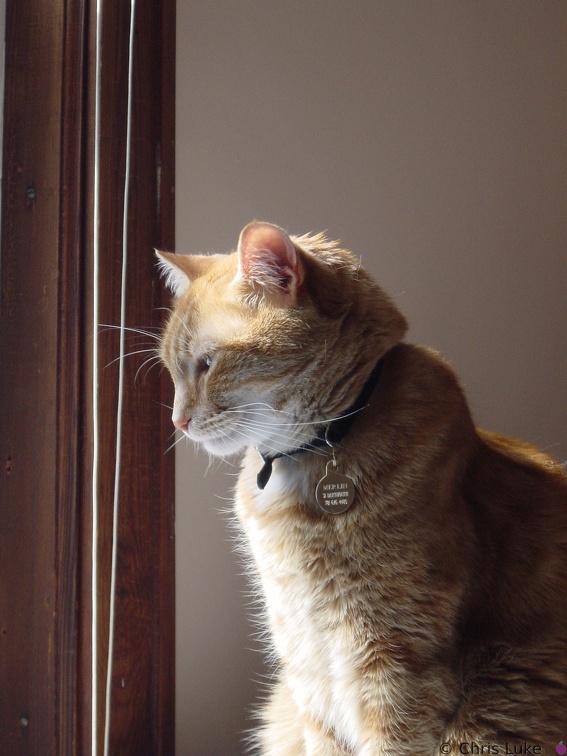 DSC00310
Merlin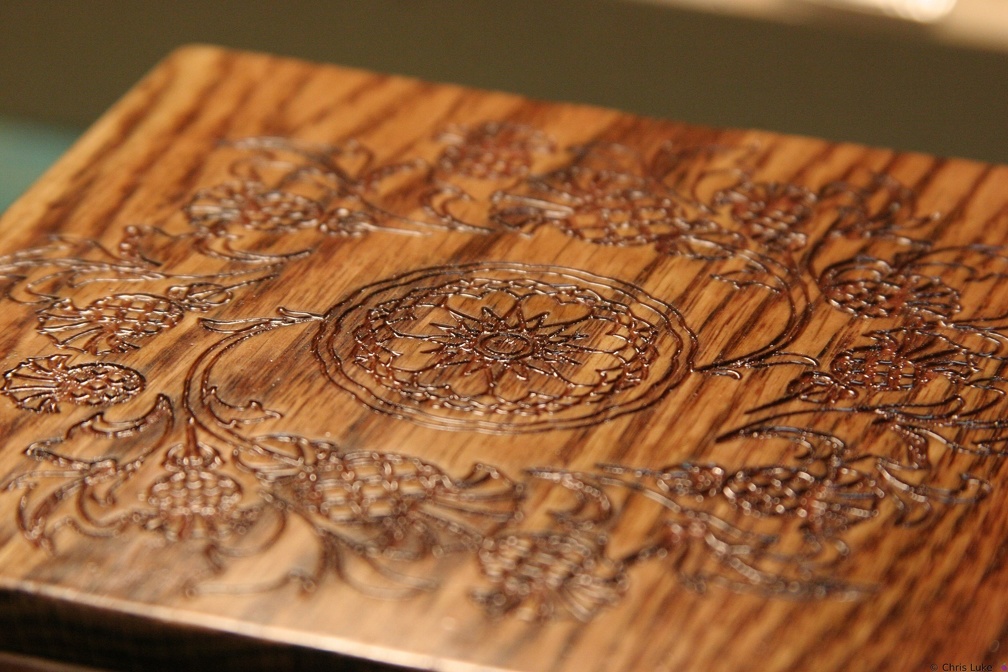 IMG 5854
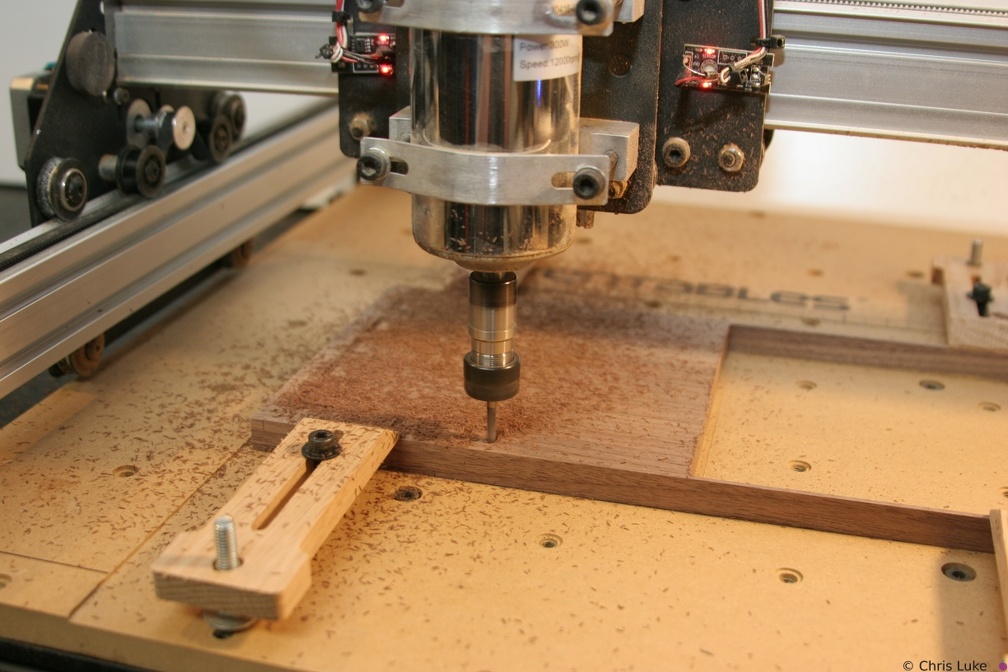 IMG 5936
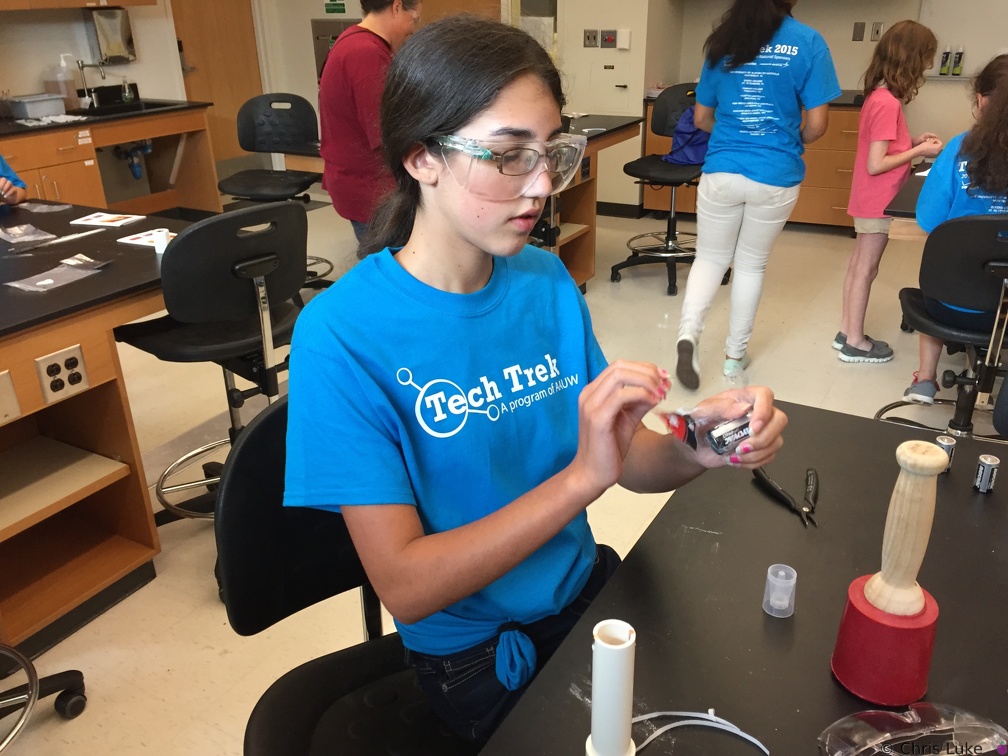 IMG 4112
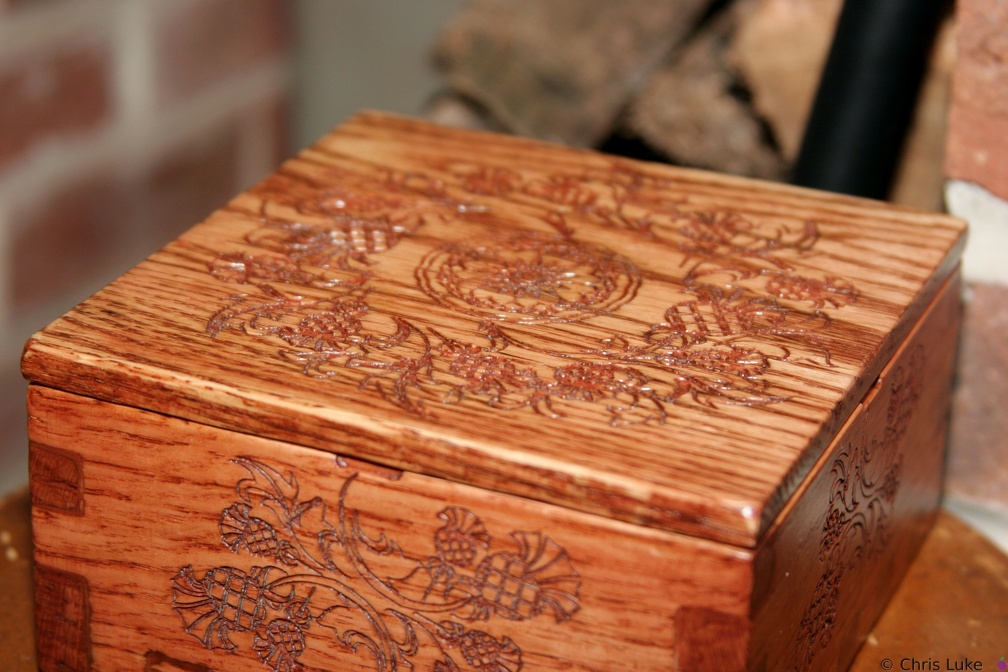 IMG 5875
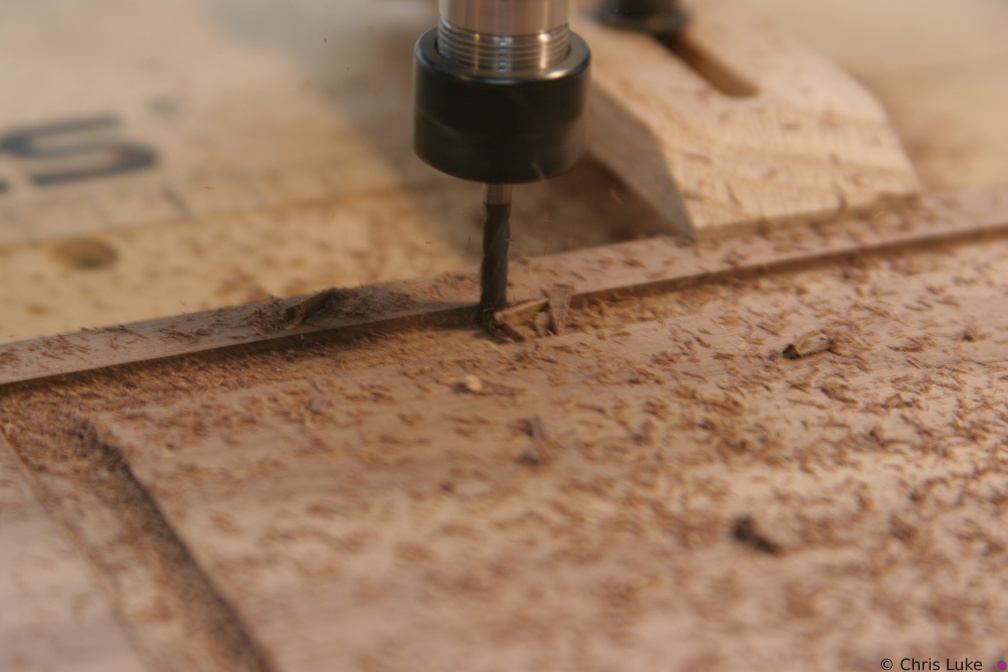 IMG 5924
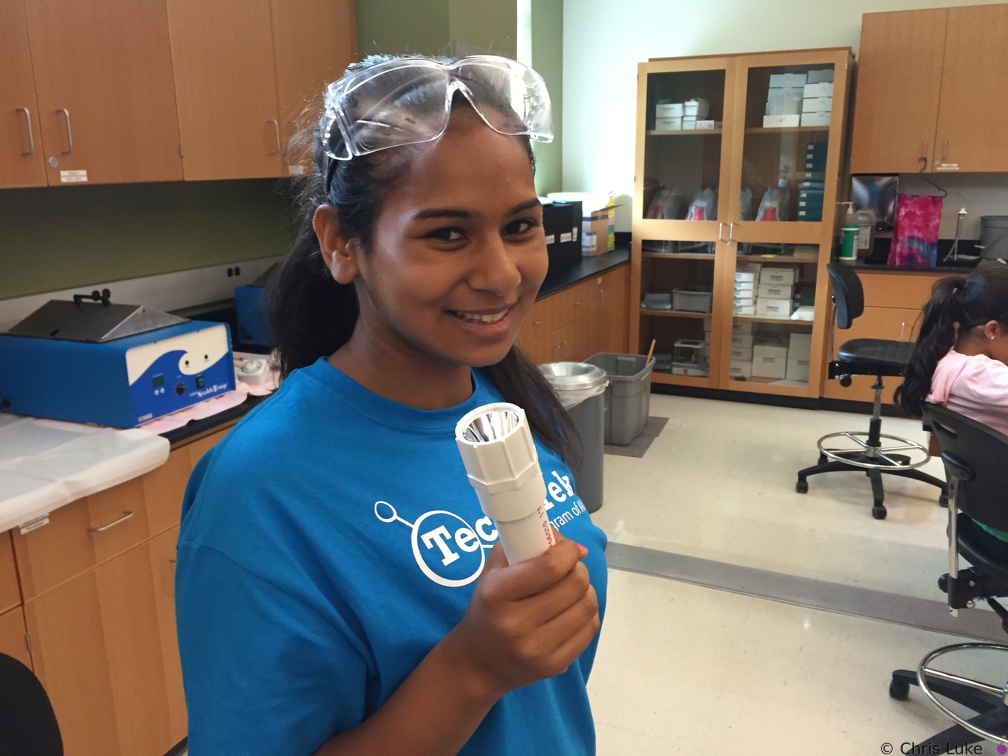 IMG 4111
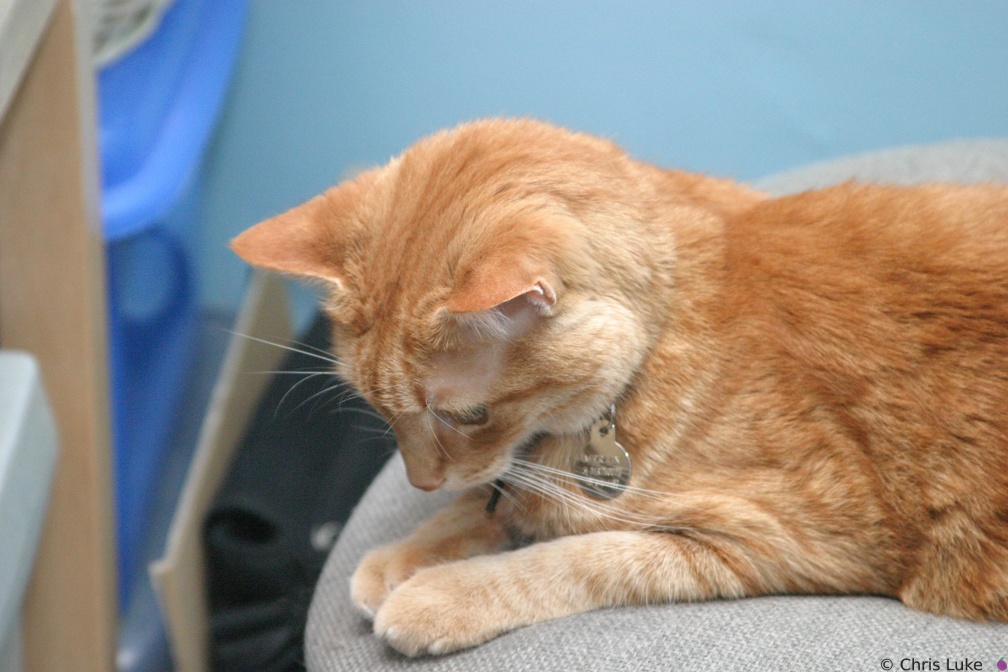 119 1937
 IMG 4113
 2015-01-27 004
 IMG 5876
 IMG 5909
 IMG 0237
 IMG 0229
 IMG 5966
 IMG 5891
 IMG 5869
 IMG 5880
 IMG 5882
 IMG 5977
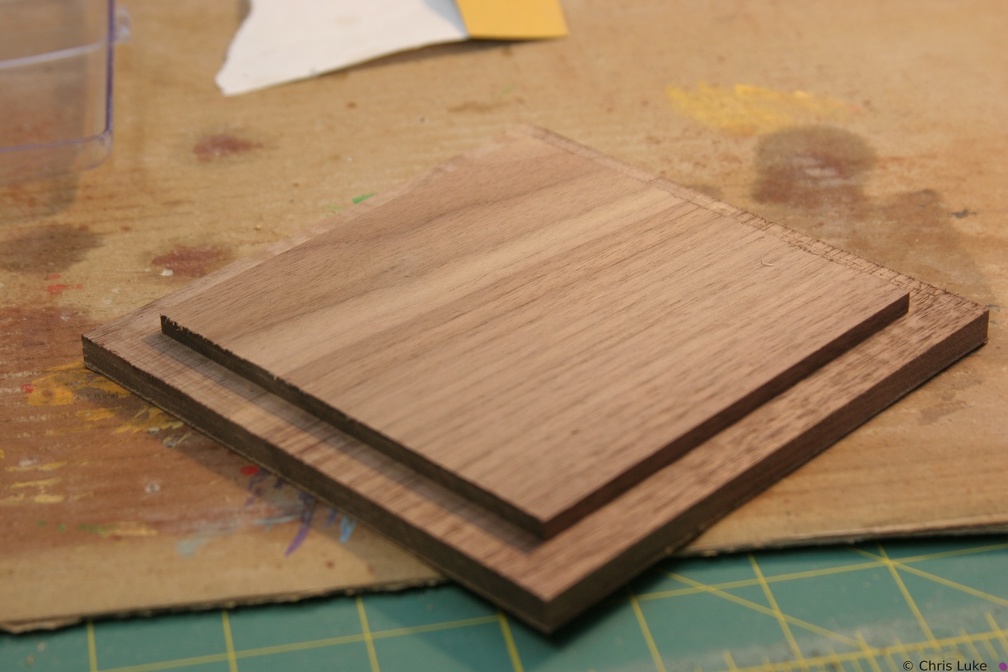 IMG 5935
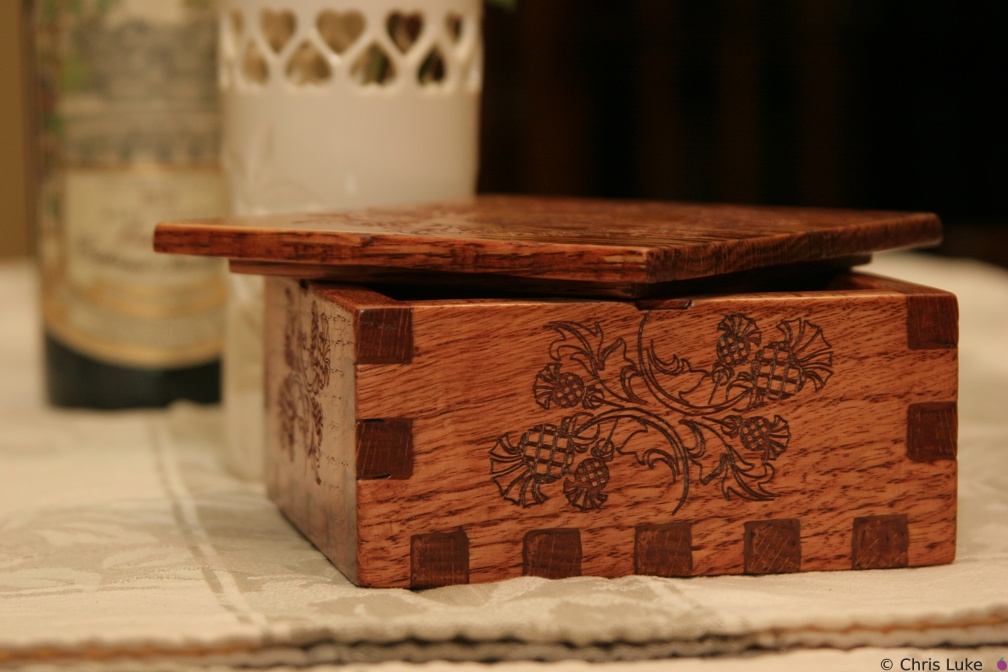 IMG 5883
 115 1502
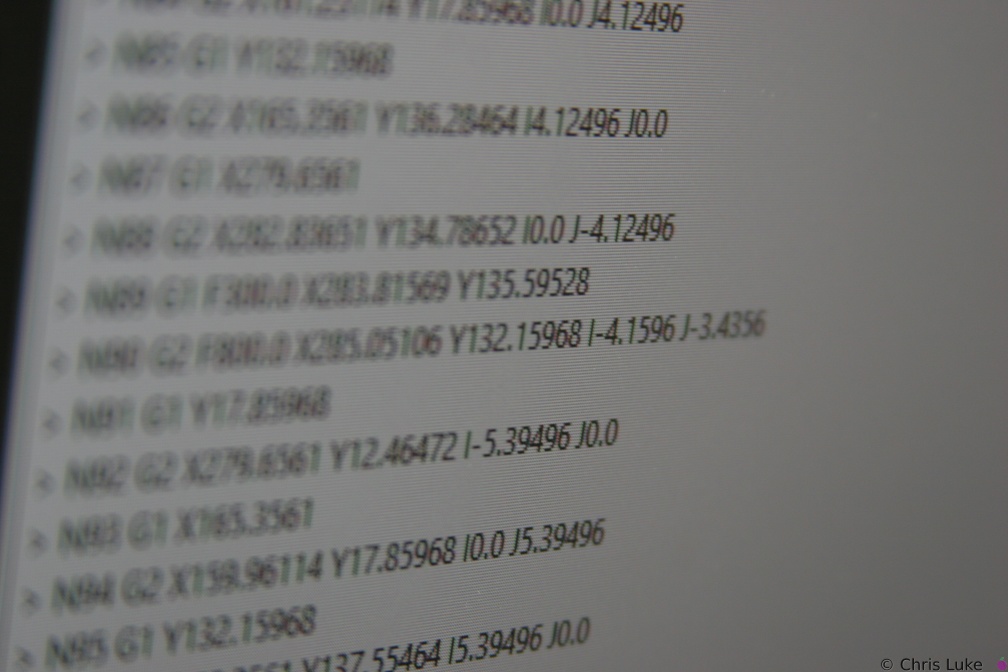 IMG 5919
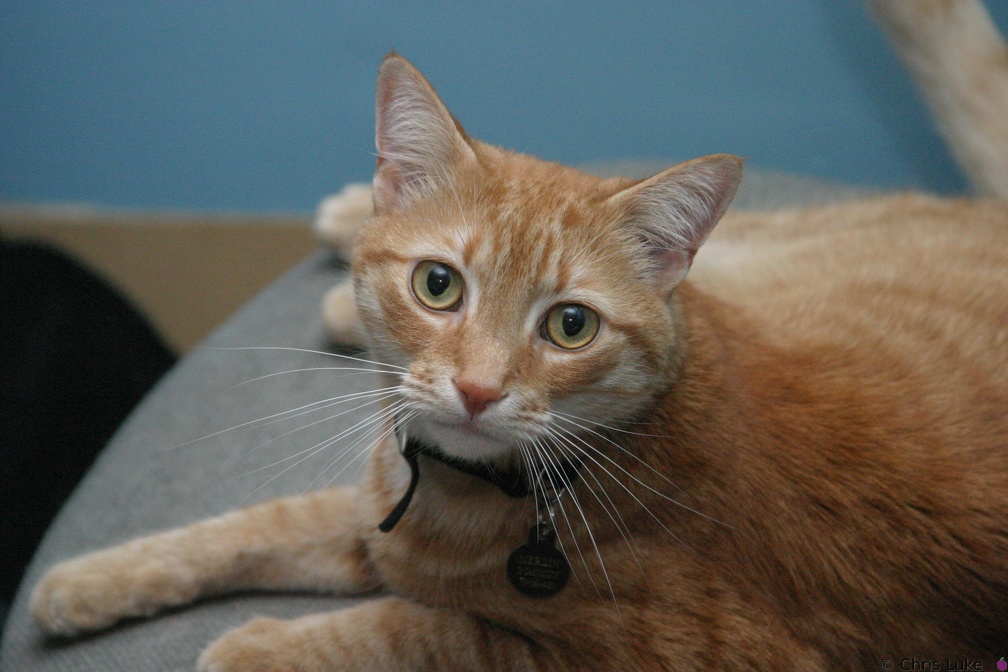 119 1933
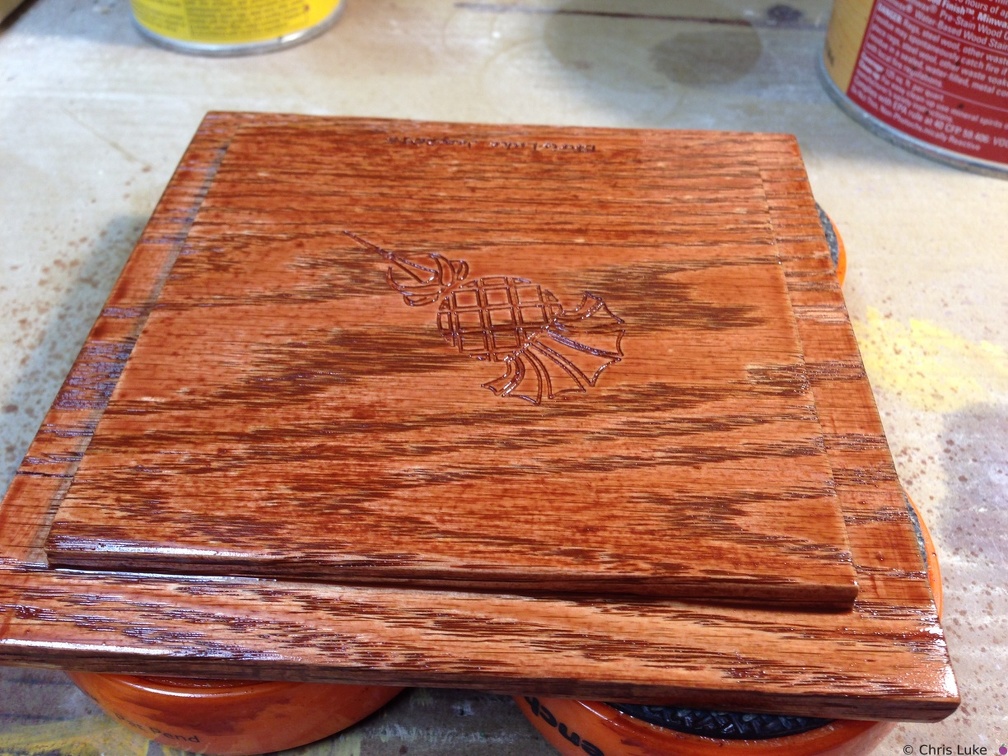 2015-02-02 001
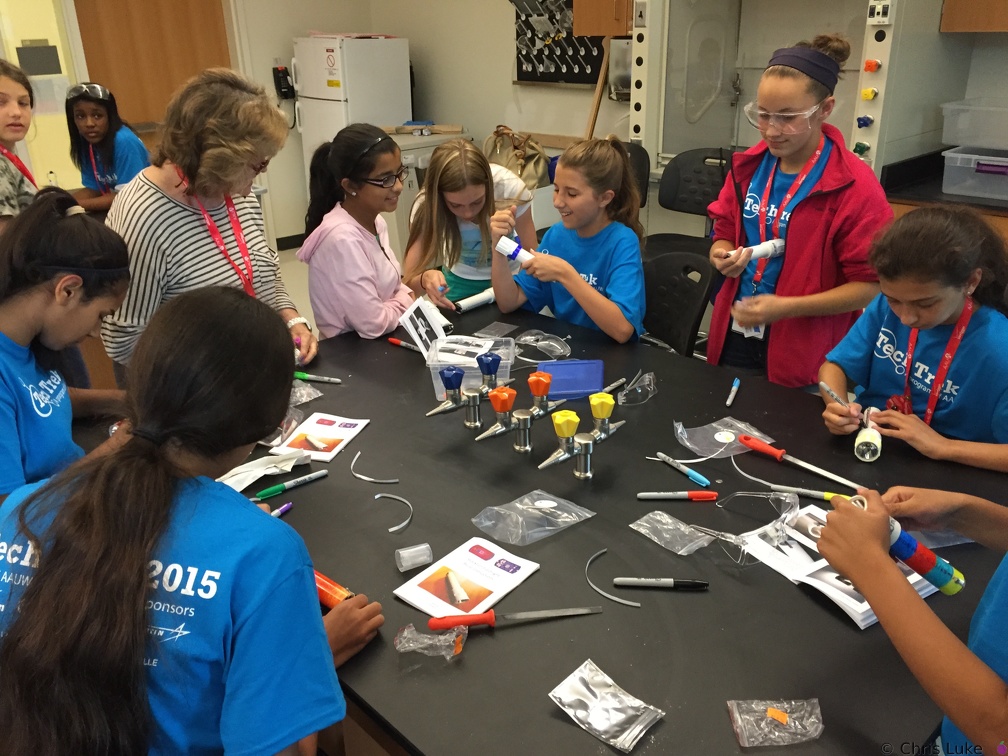 IMG 4115
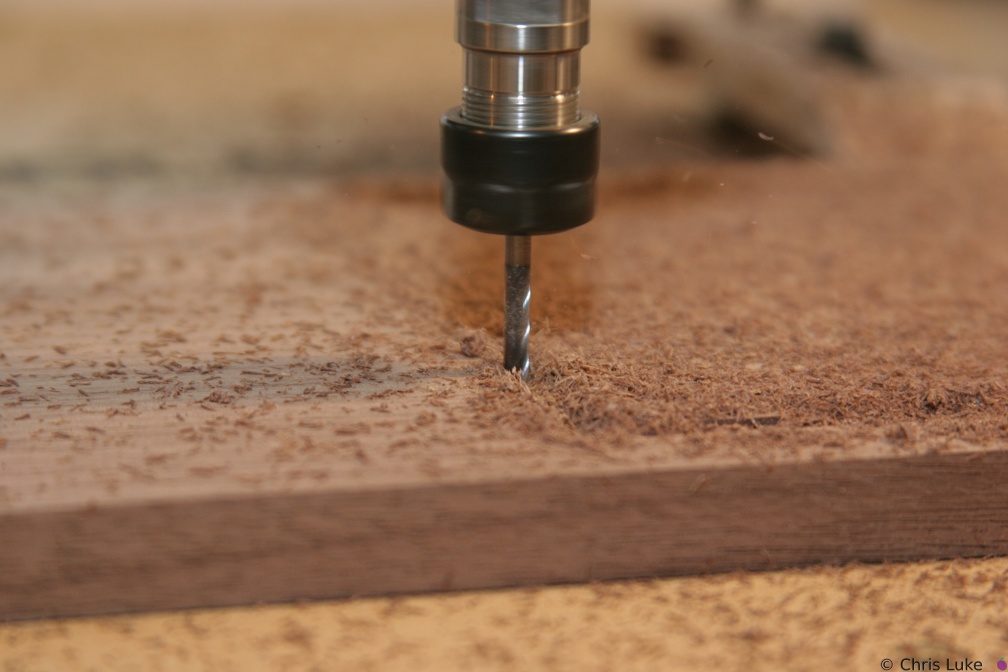 IMG 5914
 IMG 5923
 2015-01-27 003
 IMG 5910
 IMG 5976
 IMG 5947
 142 4228
 IMG 5874
 2015-02-01 010
 2015-01-25 011
 IMG 5934
 IMG 0239
 IMG 5944
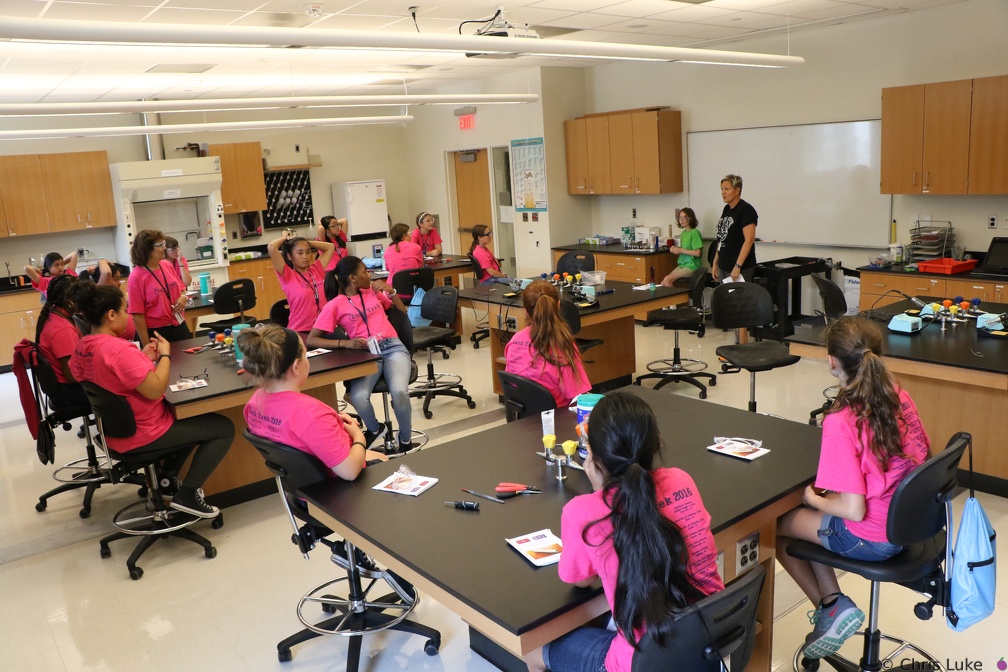 3C2A3239
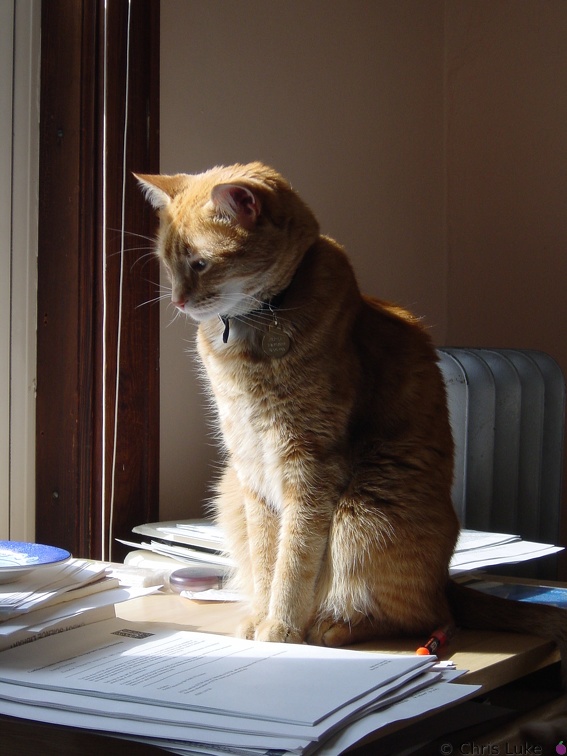 DSC00308
You're still doing it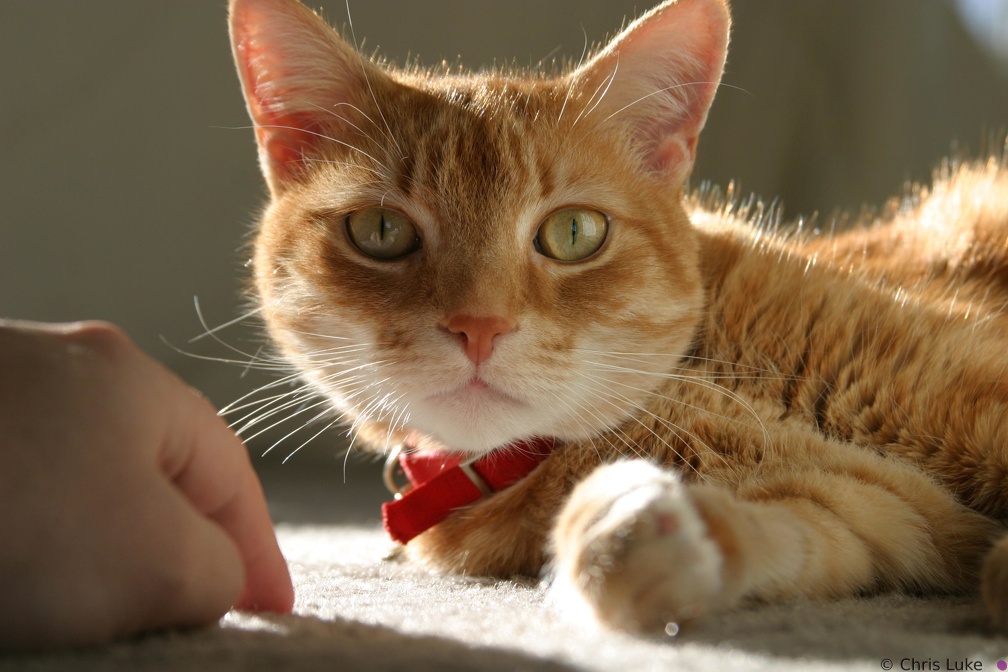 IMG 0238
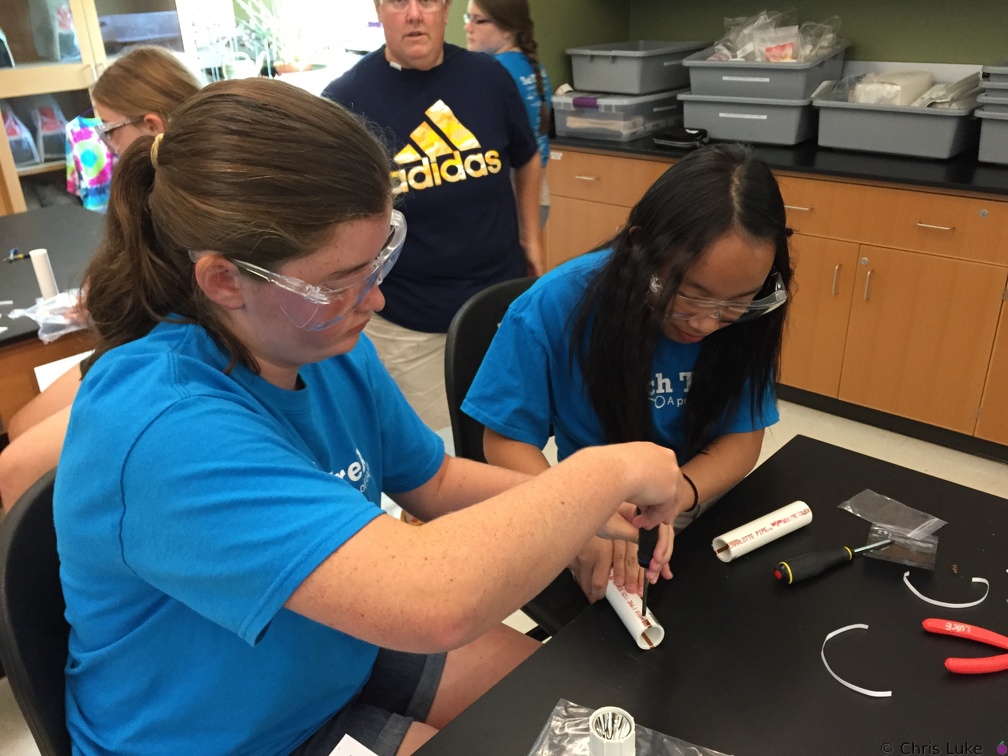 IMG 4139
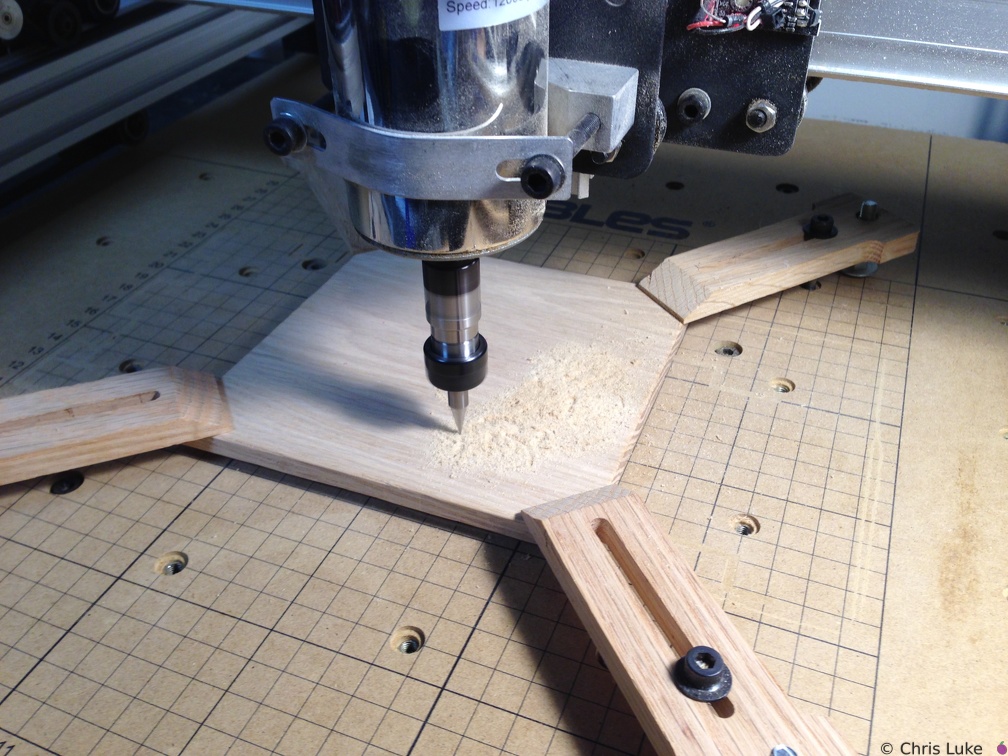 2015-01-27 002
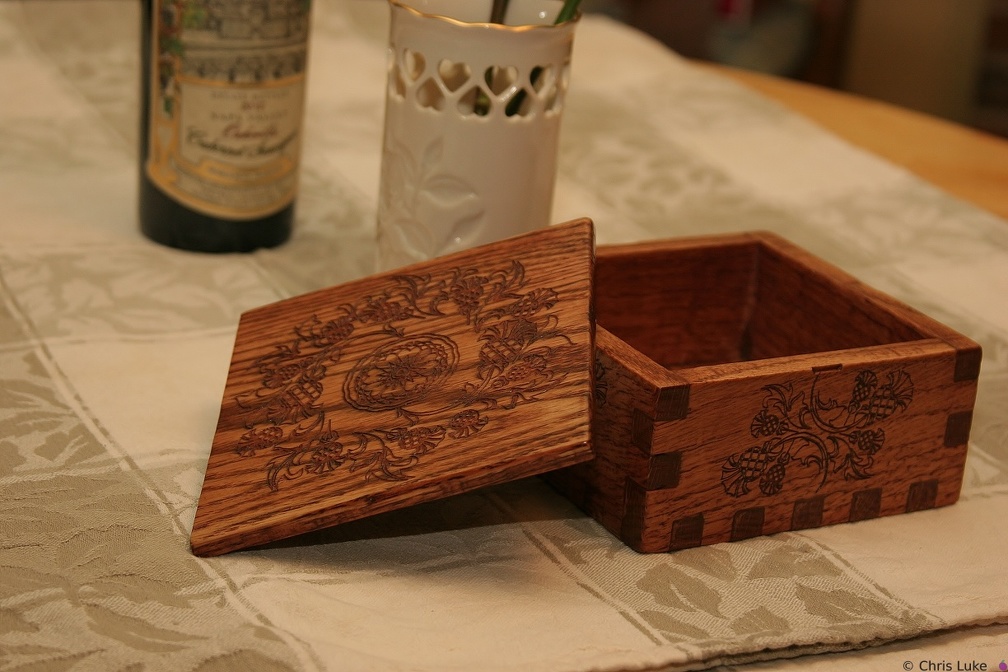 IMG 5884
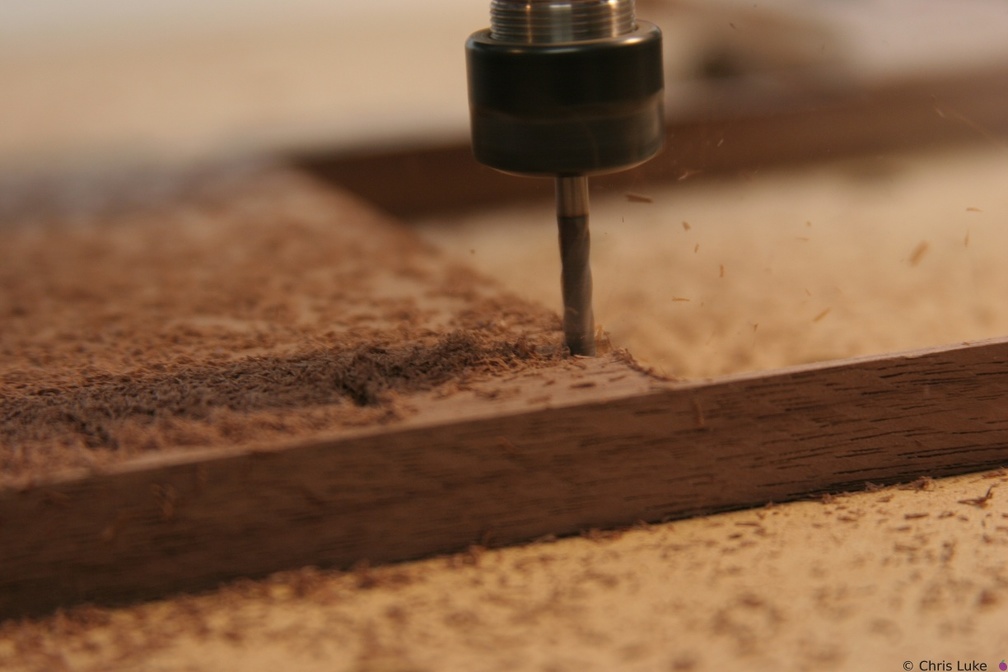 IMG 5938
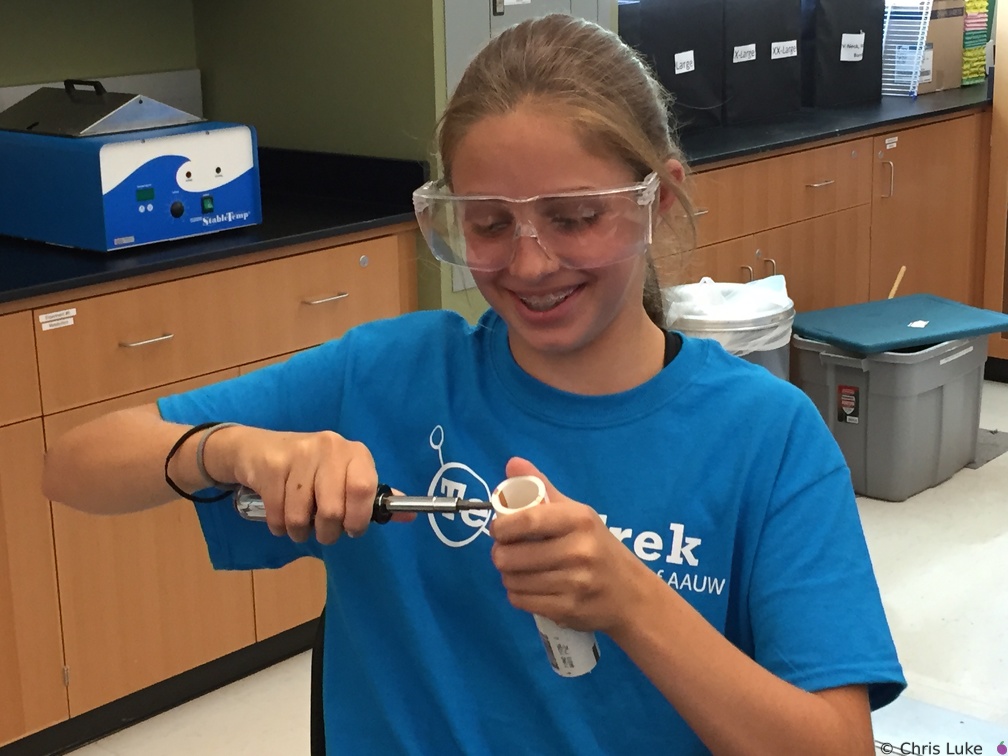 IMG 4144
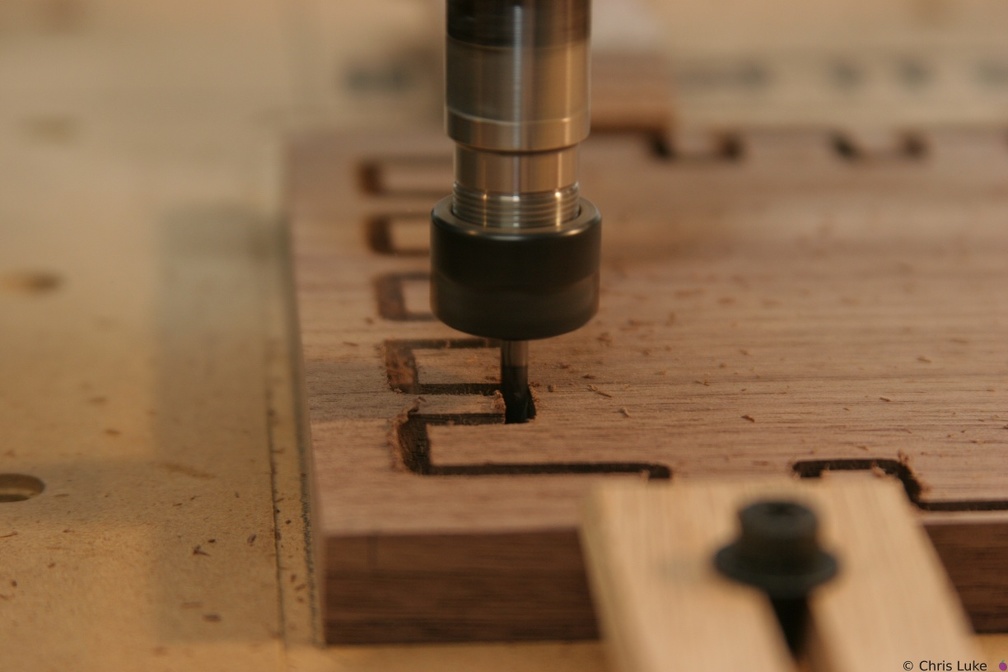 IMG 5939
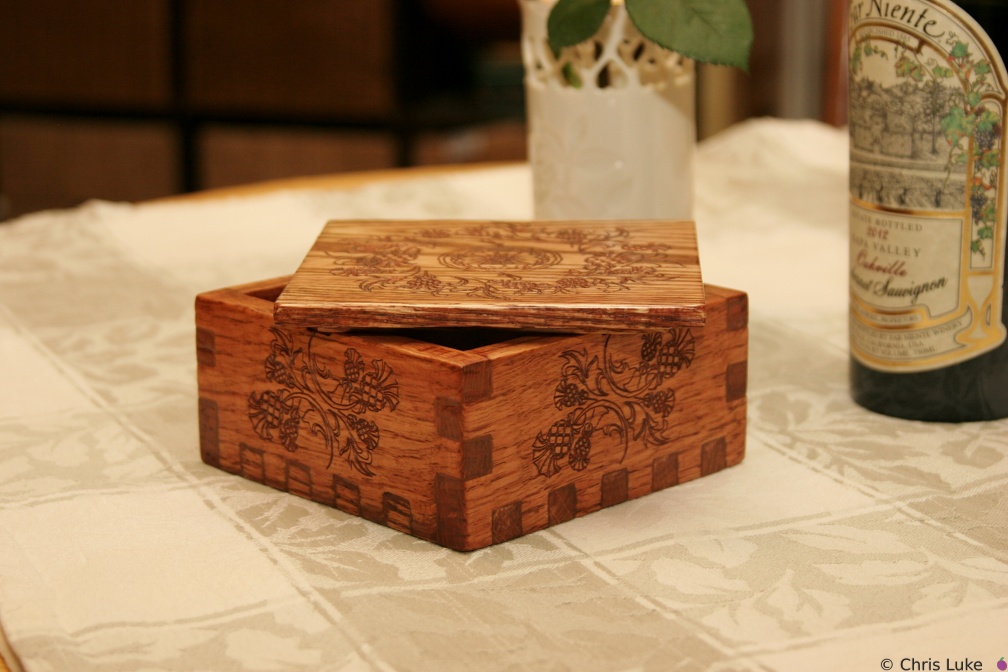 IMG 5881
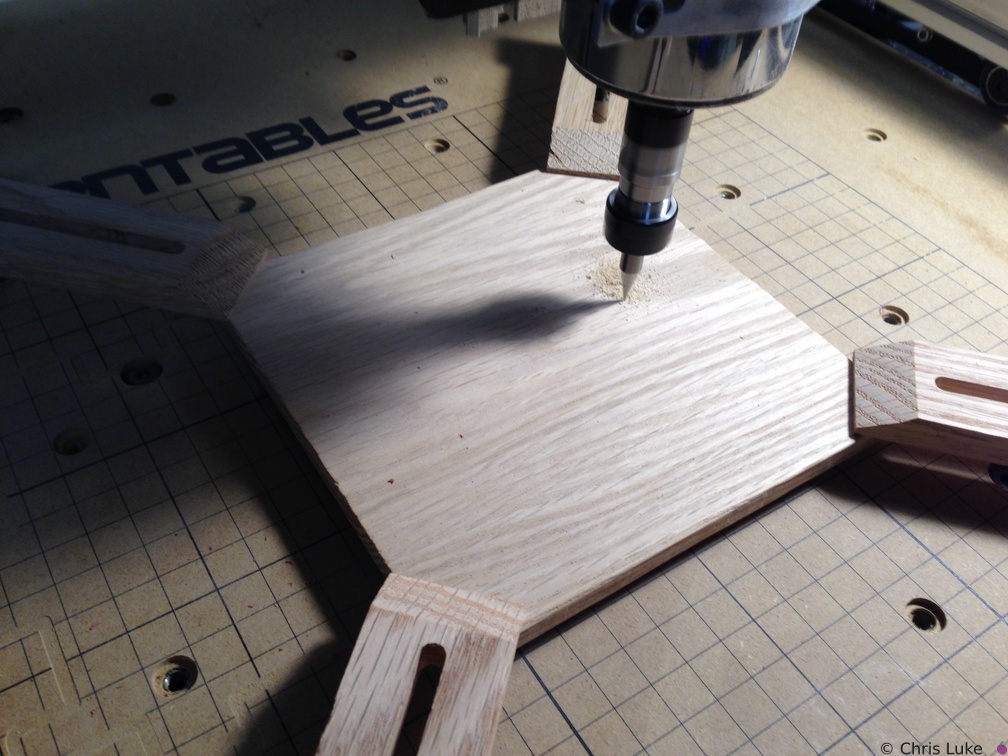 2015-01-27 001
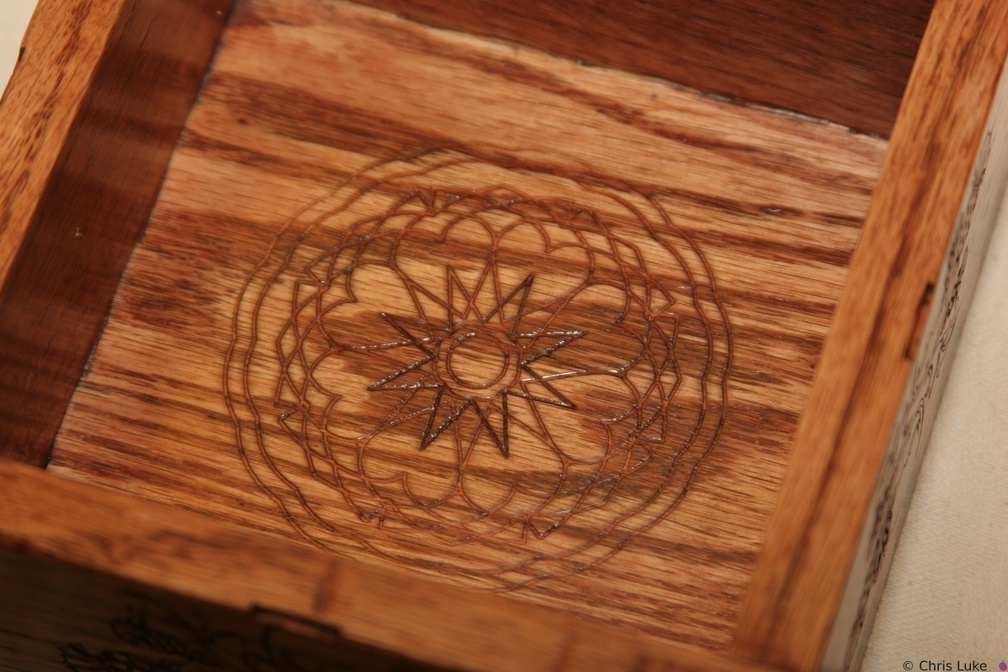 IMG 5892
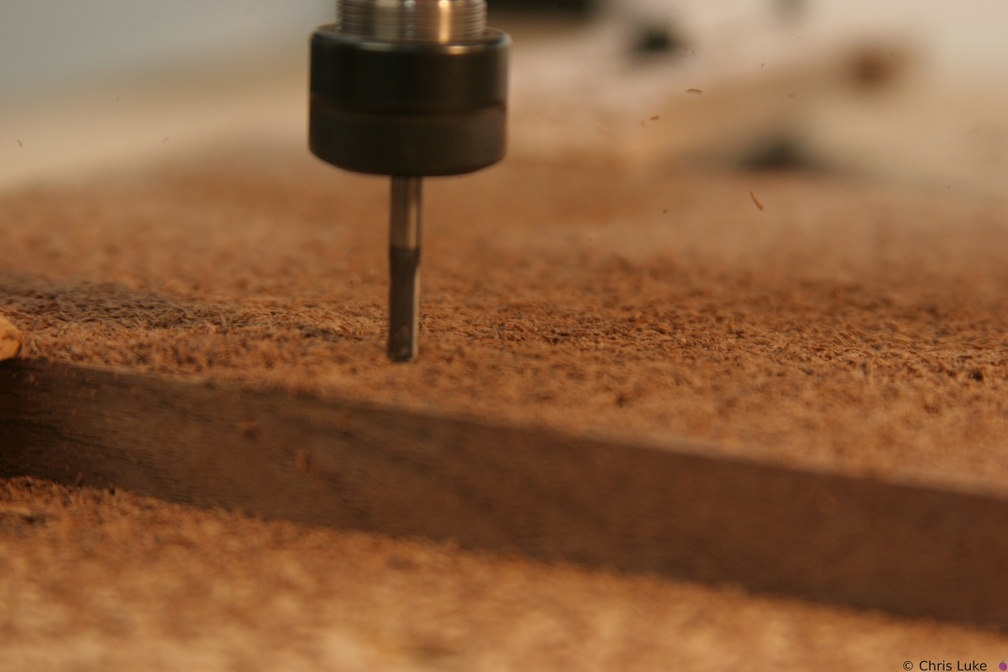 IMG 5974
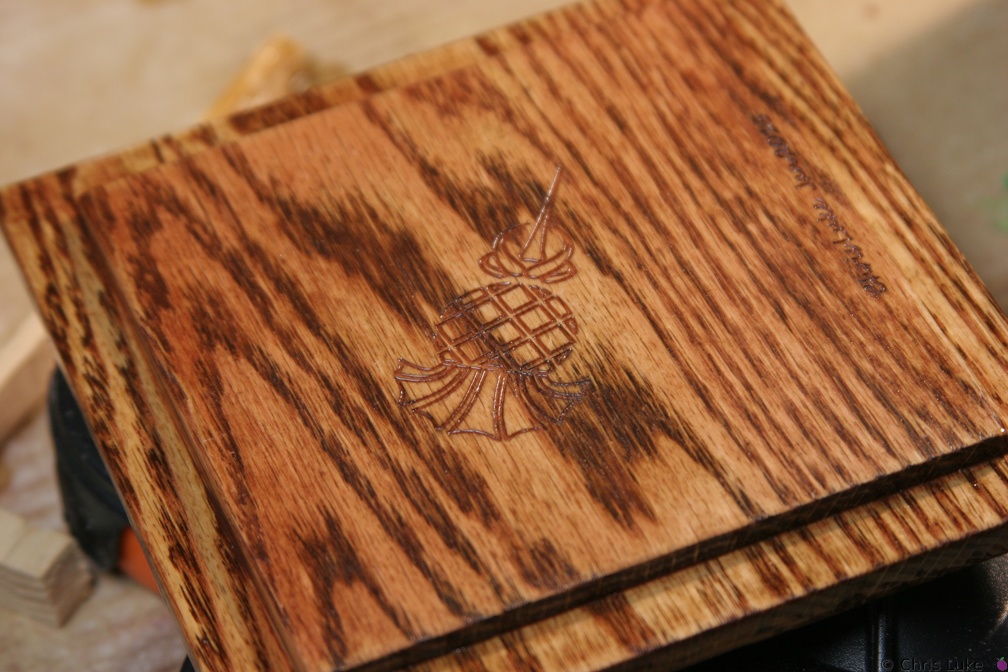 IMG 5865
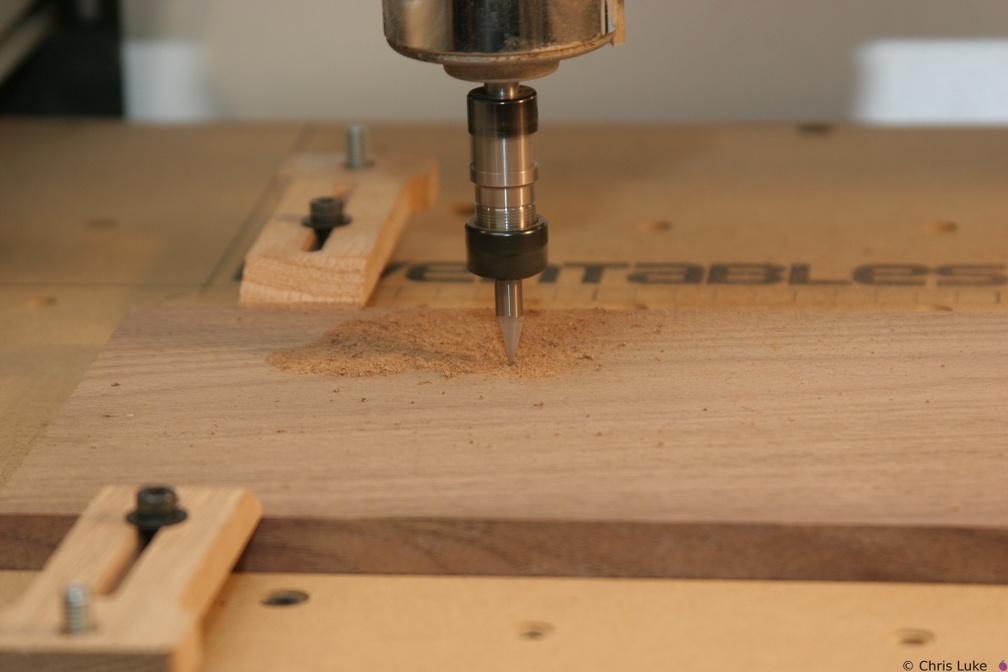 IMG 5969
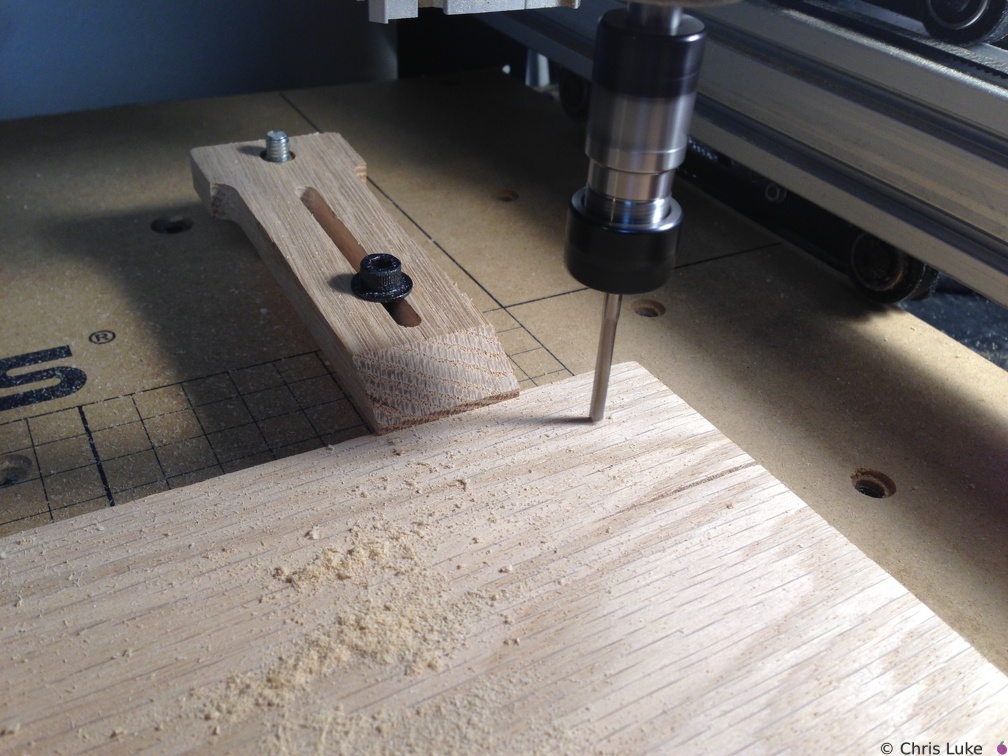 2015-01-25 009
 2015-02-02 002
 IMG 4108
 IMG 5962
 IMG 4116
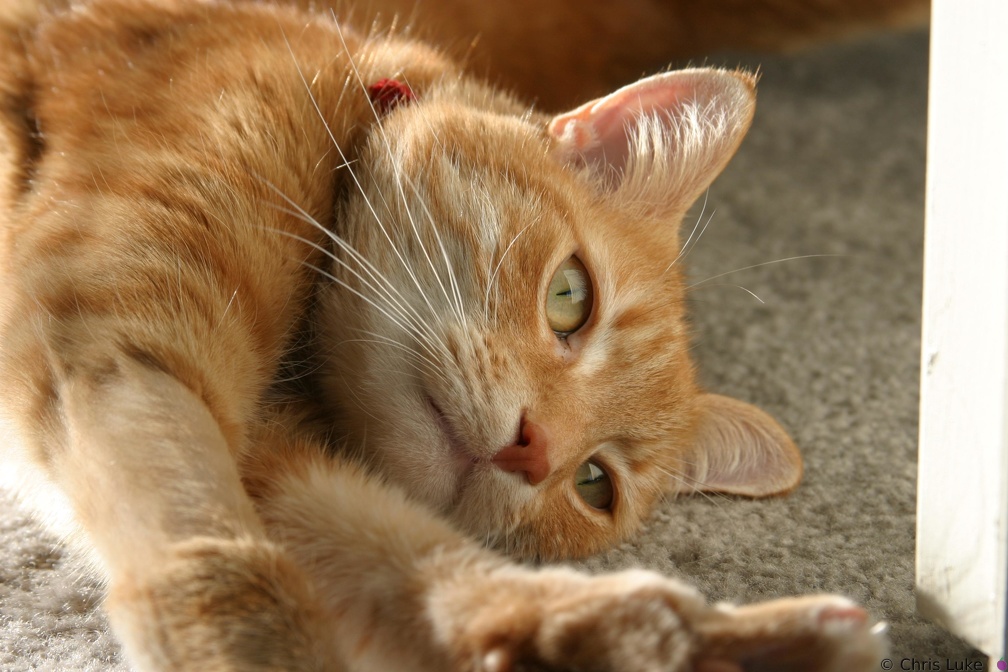 IMG 0241
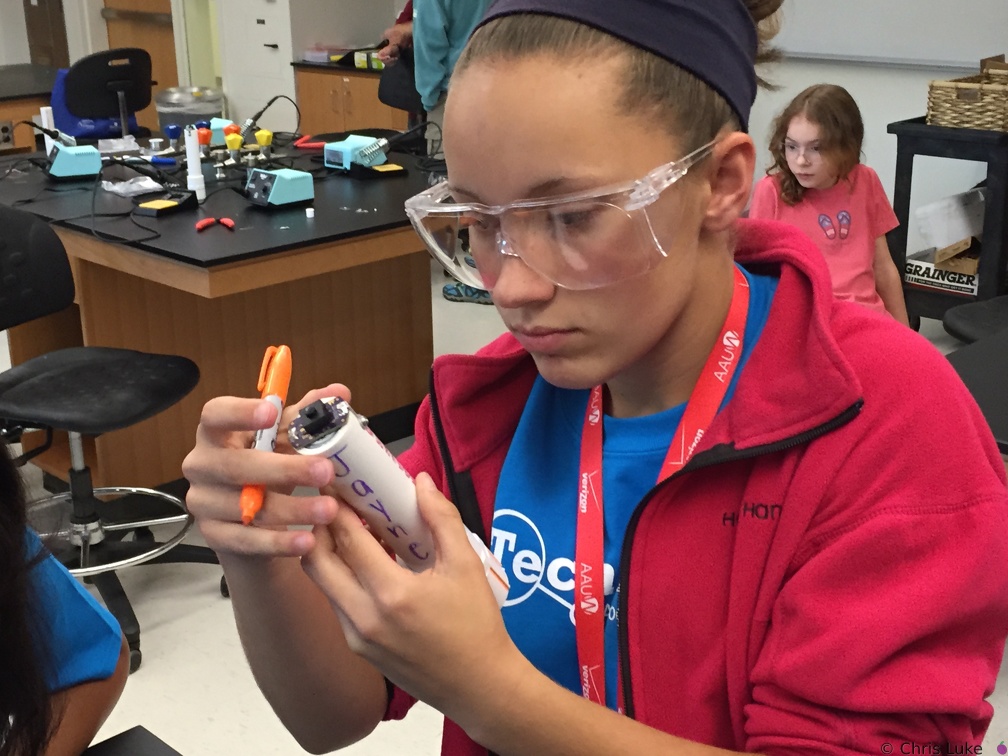 IMG 4122
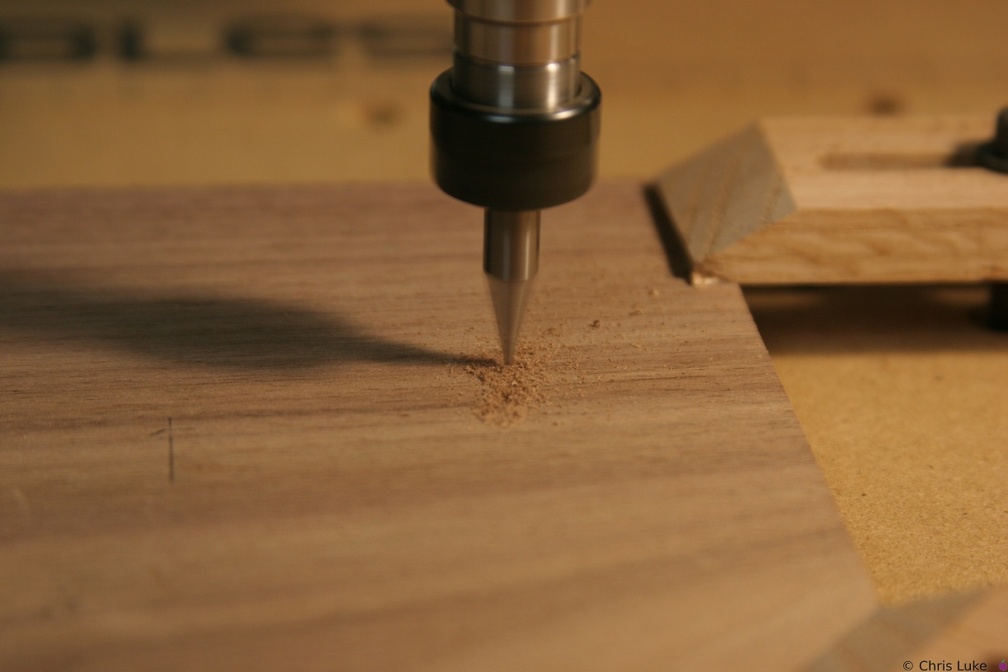 IMG 5950
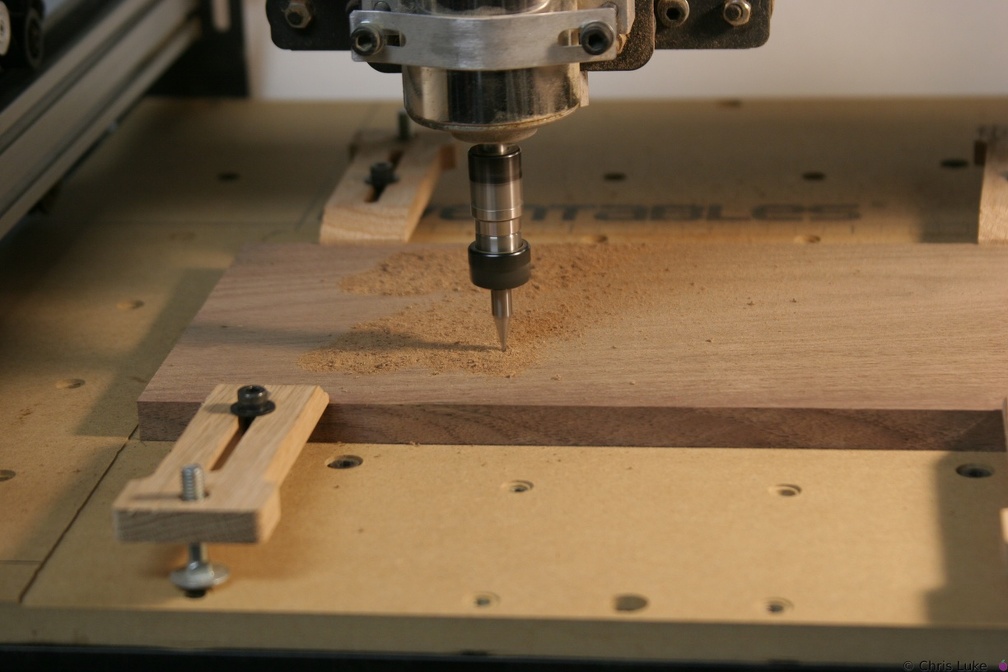 IMG 5970
 IMG 5946
 115 1503
 IMG 5943
 IMG 4107
 2015-01-25 012
 IMG 0231
 IMG 0235
 IMG 0242
 DSC00336
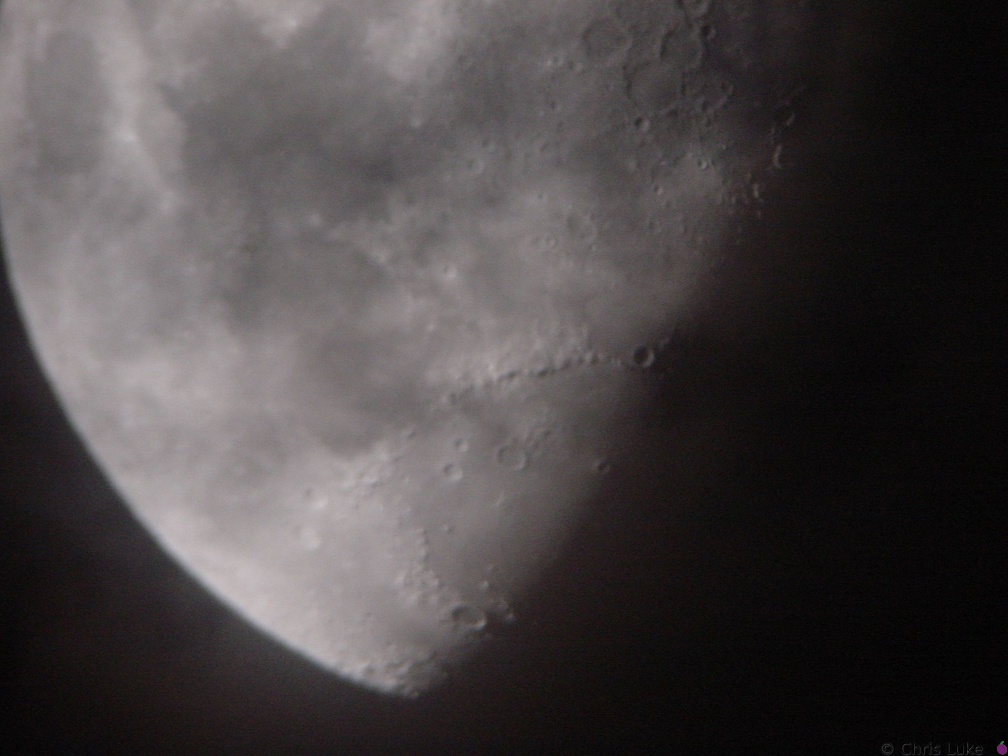
The Moon Meade 10" Newtonian, Sony DSC-P1, Meade Plossl 26mm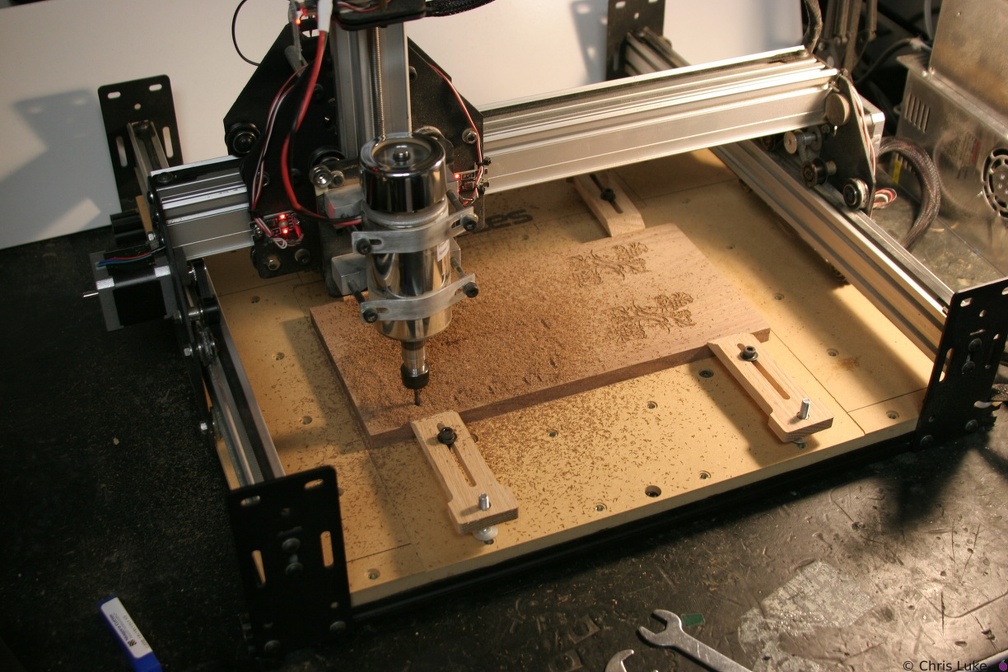 IMG 5973
 DSC00449
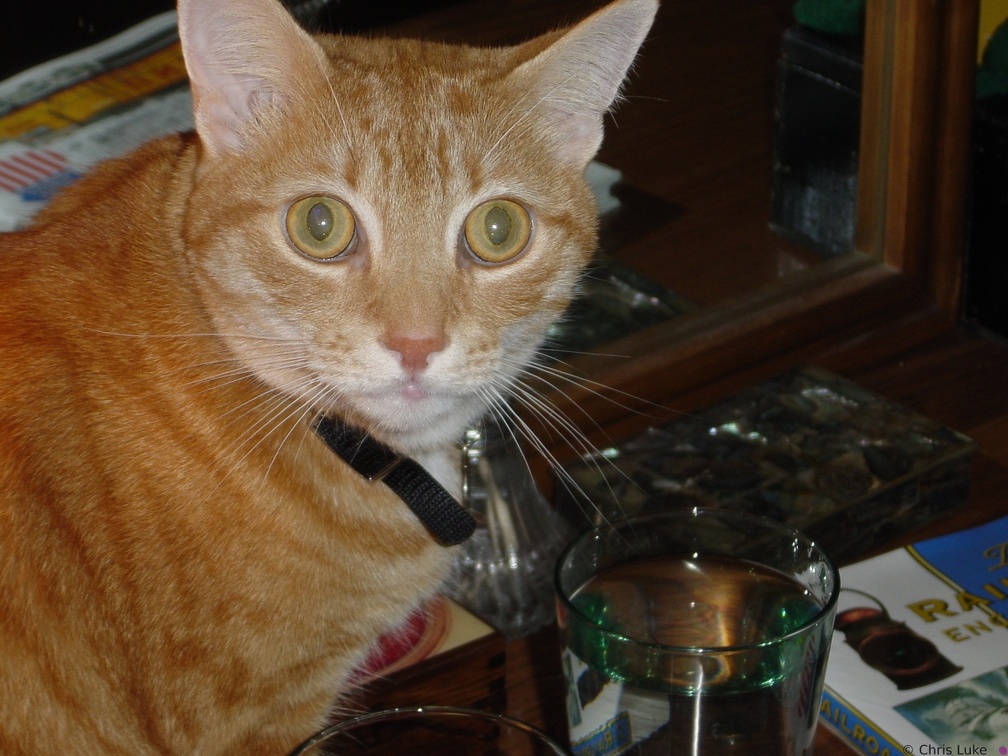
Who, me? IMG 5981
 DSC00327
The Moon Meade 10" Newtonian, Sony DSC-P1, Meade Plossl 26mm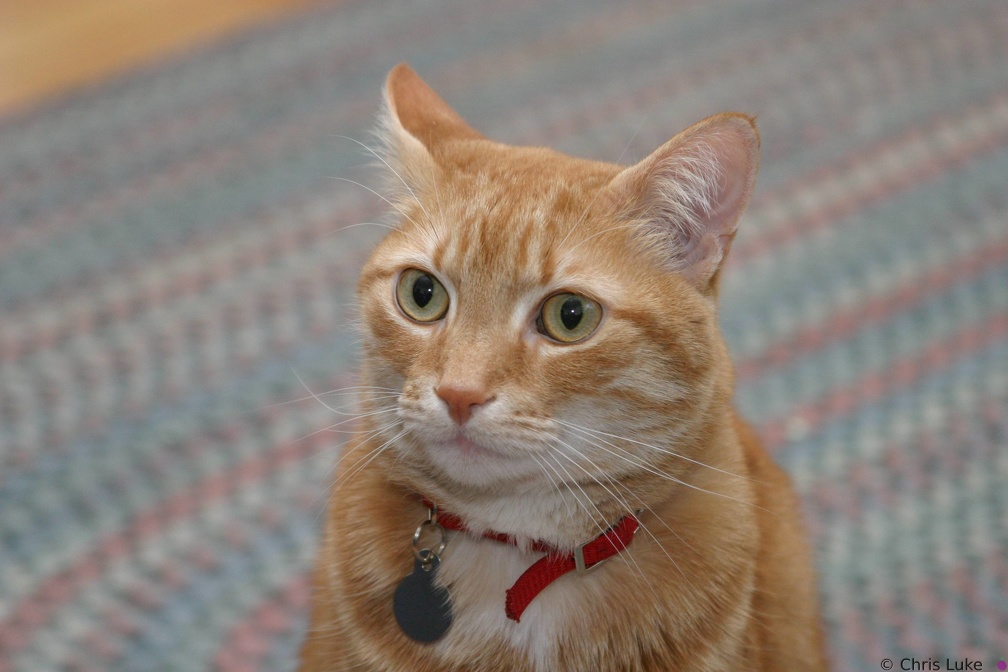 151 5107
 IMG 5888
 2015-01-25 010
 IMG 4110
 IMG 5890
 IMG 4109
 IMG 5908
 IMG 4136
 IMG 0240
 2015-01-25 007
 2015-02-01 009
 IMG 4174
 IMG 5954
 IMG 5912
 IMG 5917
 2015-01-25 005
 IMG 5963
 IMG 5945
 IMG 5940
 IMG 5948
 IMG 5951
 IMG 4118
 IMG 0234
 3C2A3306
 142 4256
 IMG 5985
 IMG 0236
 IMG 4143
 2015-02-01 007
 IMG 5964
 IMG 4121
 IMG 5996
 IMG 4146
 3C2A3294
 IMG 0232
 IMG 5960
 2015-01-25 006
 3C2A3318
 DSC00551
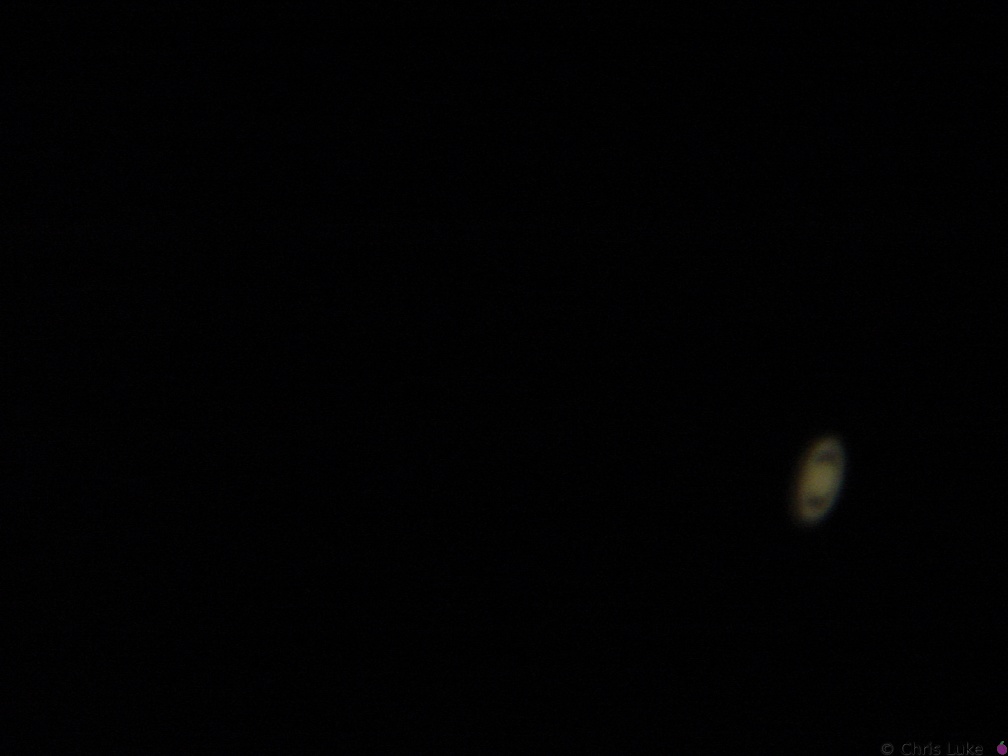
Saturn Meade 10" Newtonian, Sony DSC-P1, Meade Plossl 26mm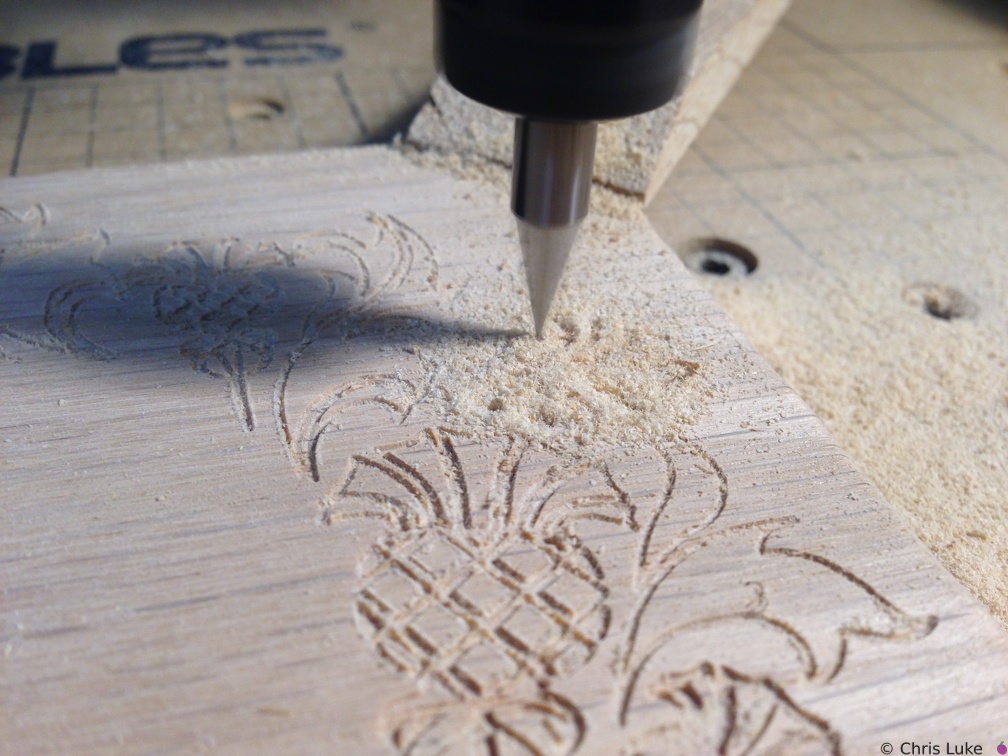 2015-01-27 005
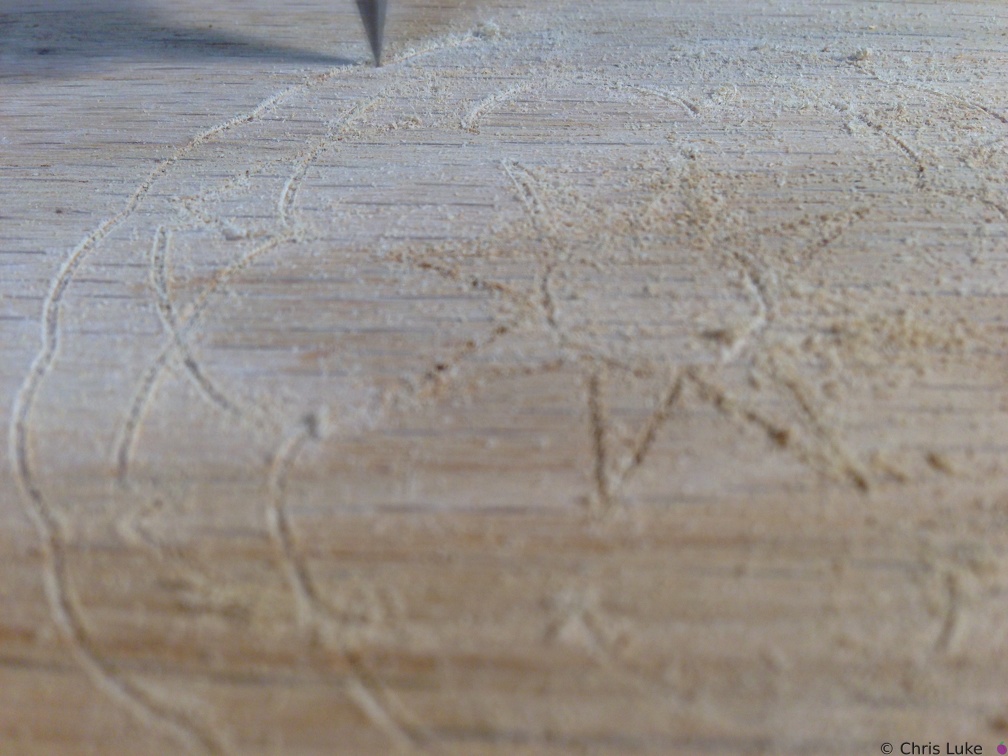 2015-01-25 004
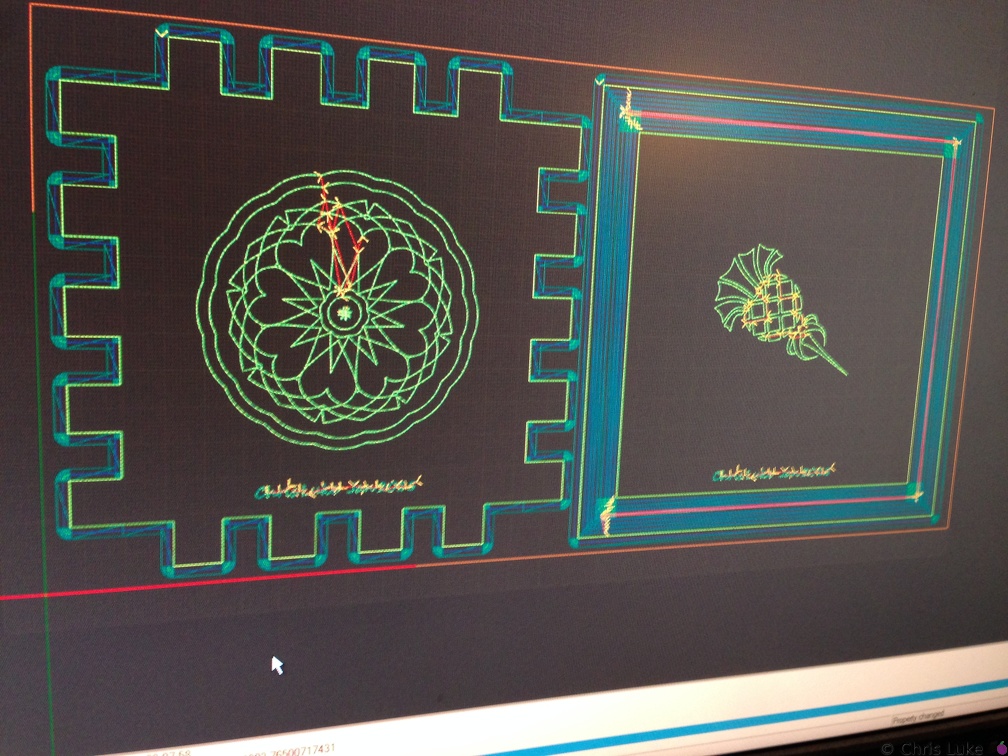 2015-01-25 001
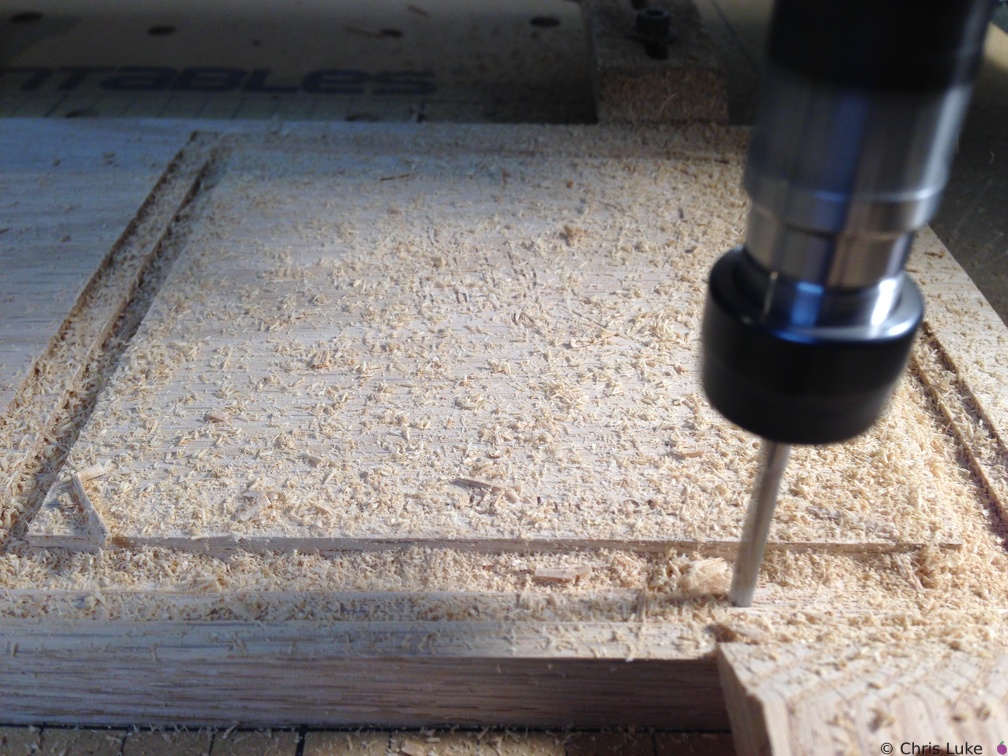 2015-01-25 013
 IMG 5957
 IMG 4117
 IMG 5956
 DSC00553
Saturn Meade 10" Newtonian, Sony DSC-P1, Meade Plossl 26mm IMG 4147
 IMG 5997
 2015-01-26 017
 3C2A3309
 IMG 4119
 IMG 5994
 IMG 4132
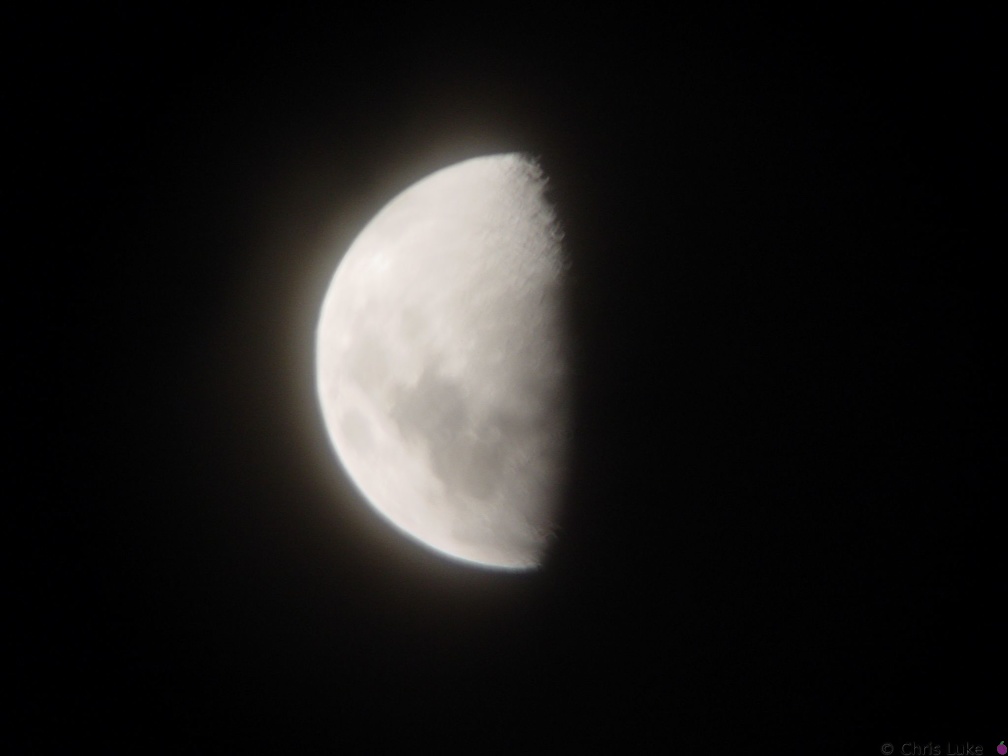 DSC00326
The Moon Meade 10" Newtonian, Sony DSC-P1, Meade Plossl 26mm IMG 4142
 2015-02-02 003
 IMG 5952
 IMG 5980
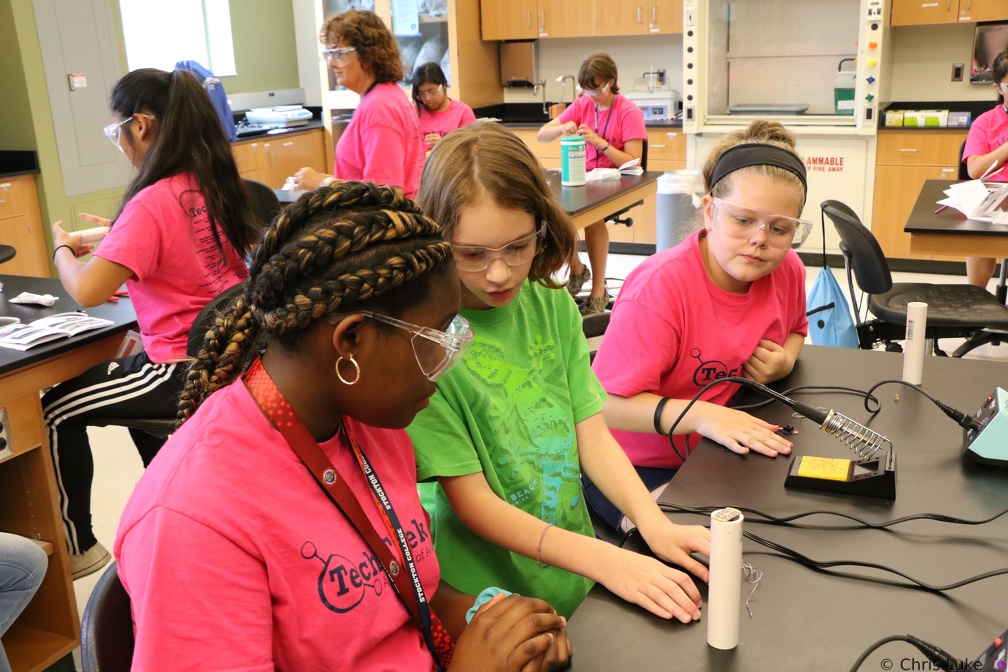 3C2A3279
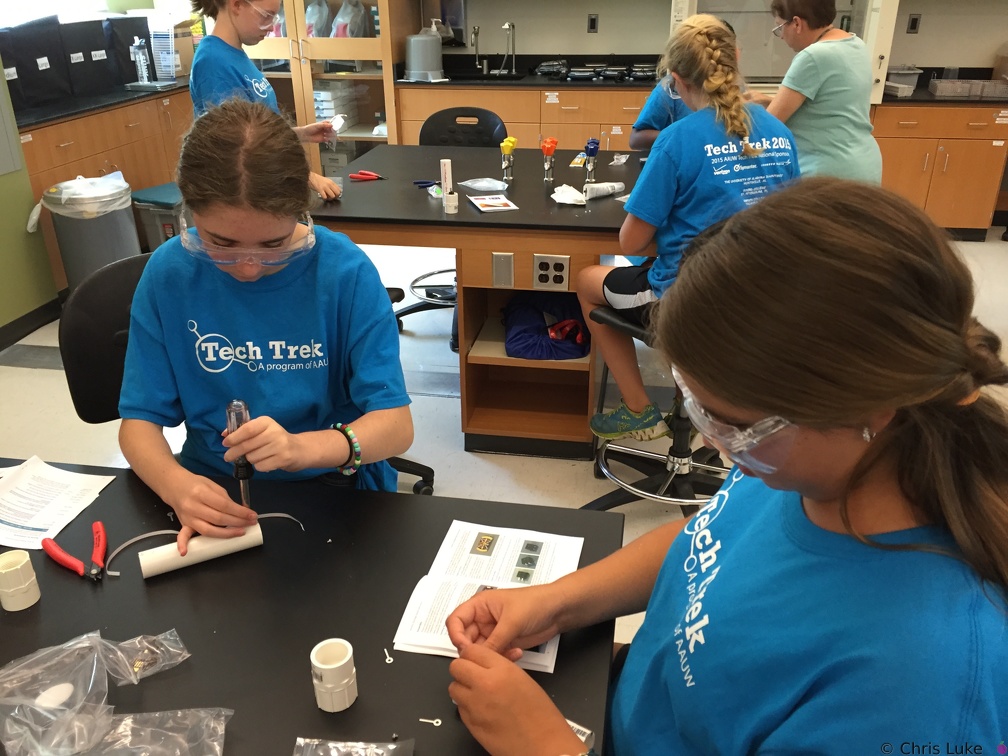 IMG 4140
 IMG 5960
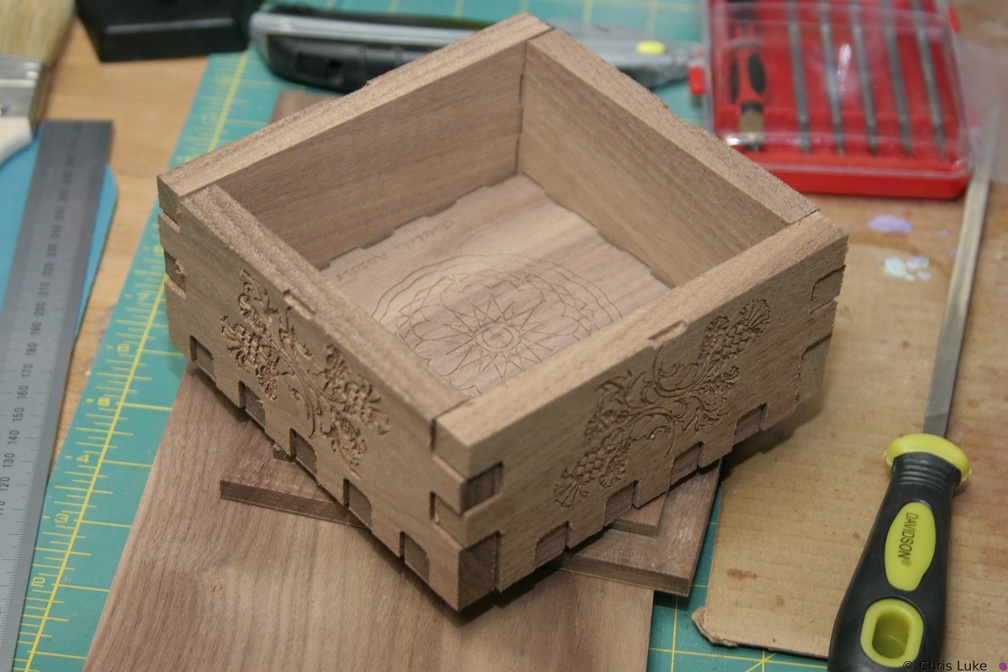 IMG 5993
 IMG 4173
 DSC00334
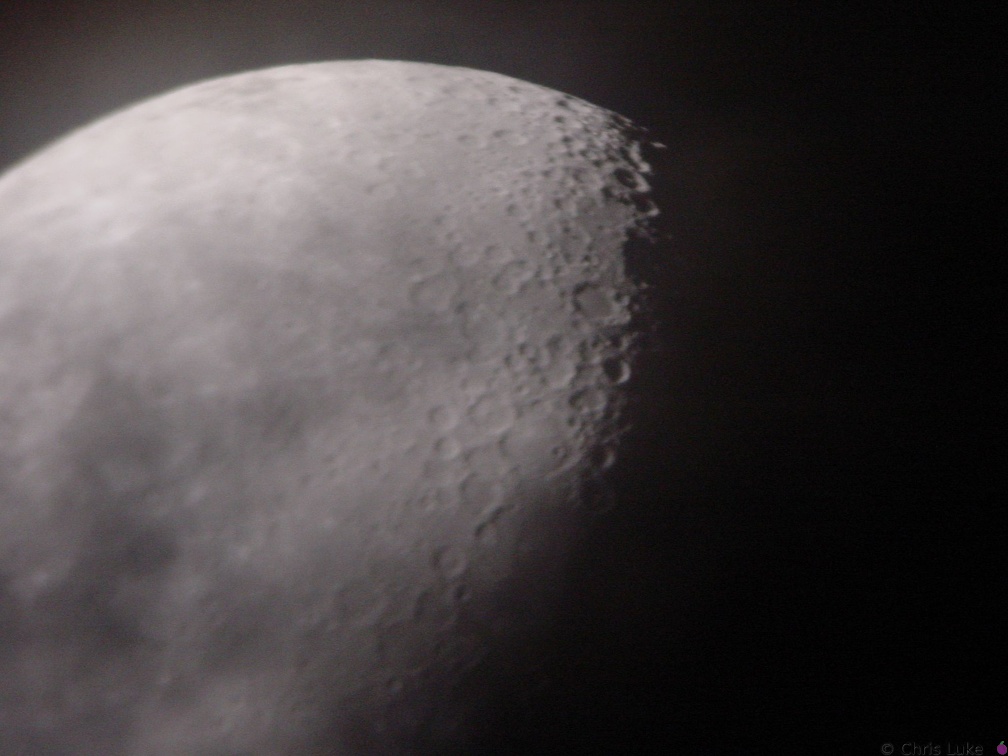
The Moon Meade 10" Newtonian, Sony DSC-P1, Meade Plossl 26mm IMG 5979
 DSC00558
Saturn Meade 10" Newtonian, Sony DSC-P1, Meade Plossl 26mm IMG 5978
 2015-02-06 005
 2015-02-04 001
 IMG 4148
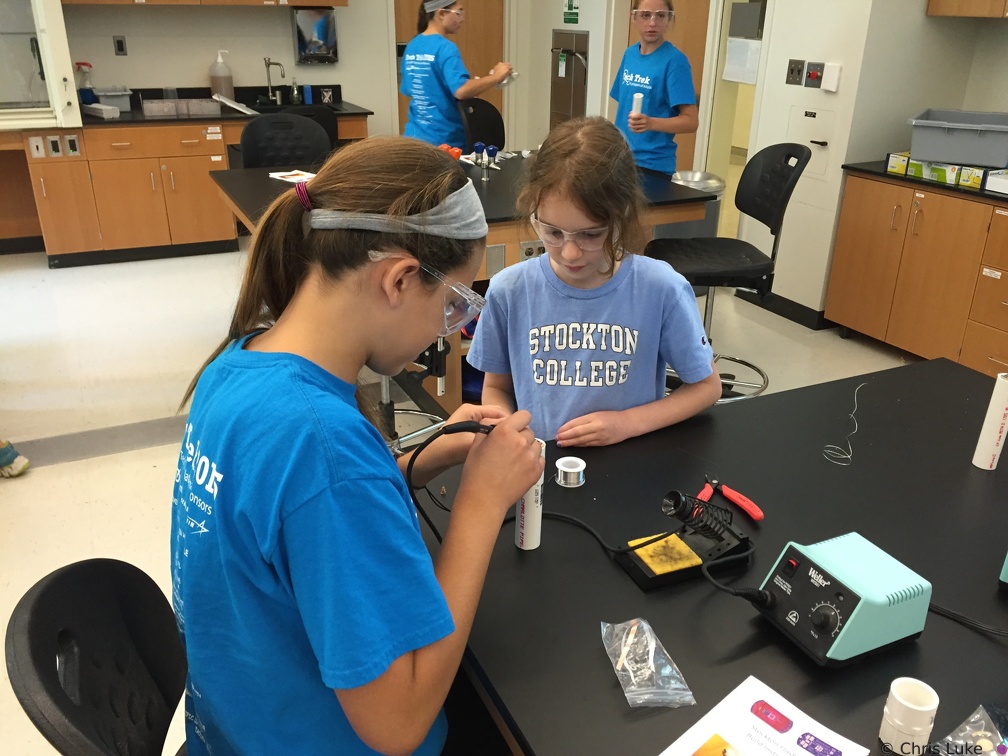 IMG 4141
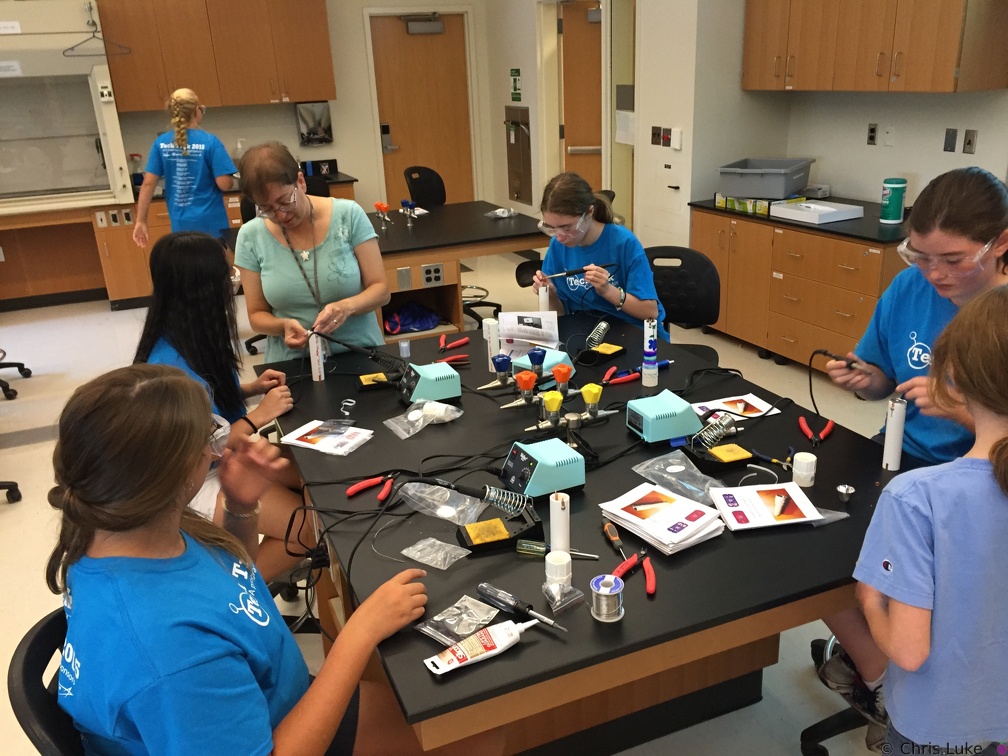 IMG 4150
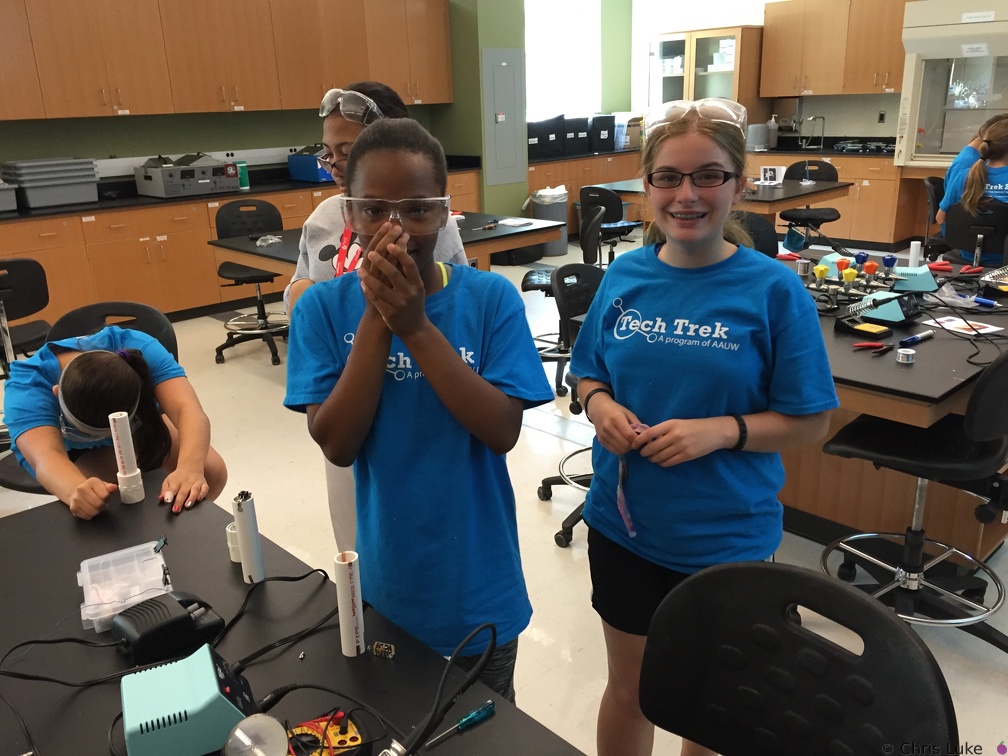 IMG 4176
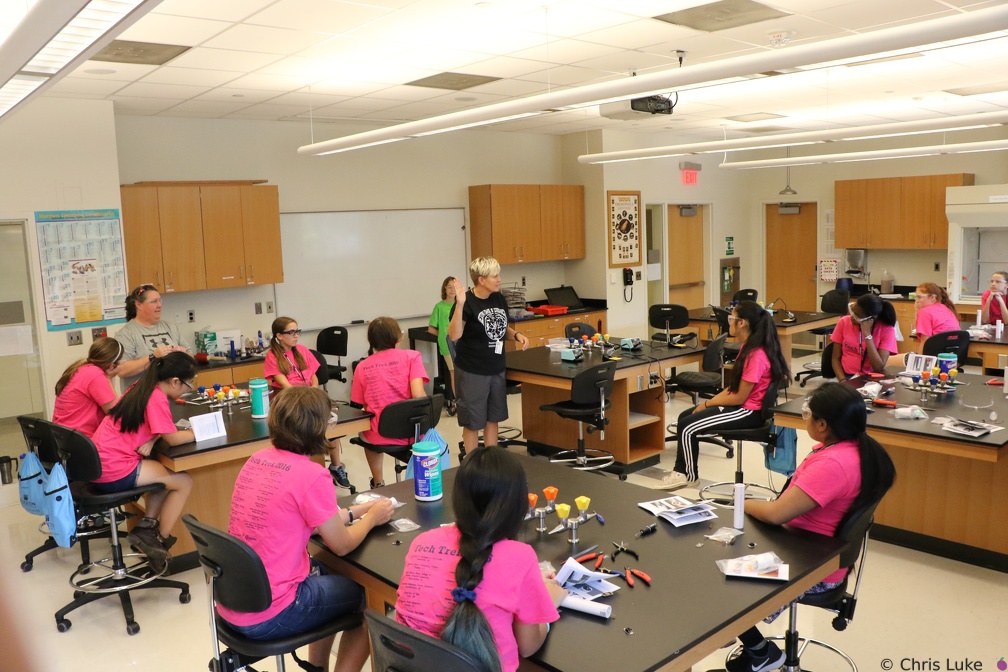 3C2A3266
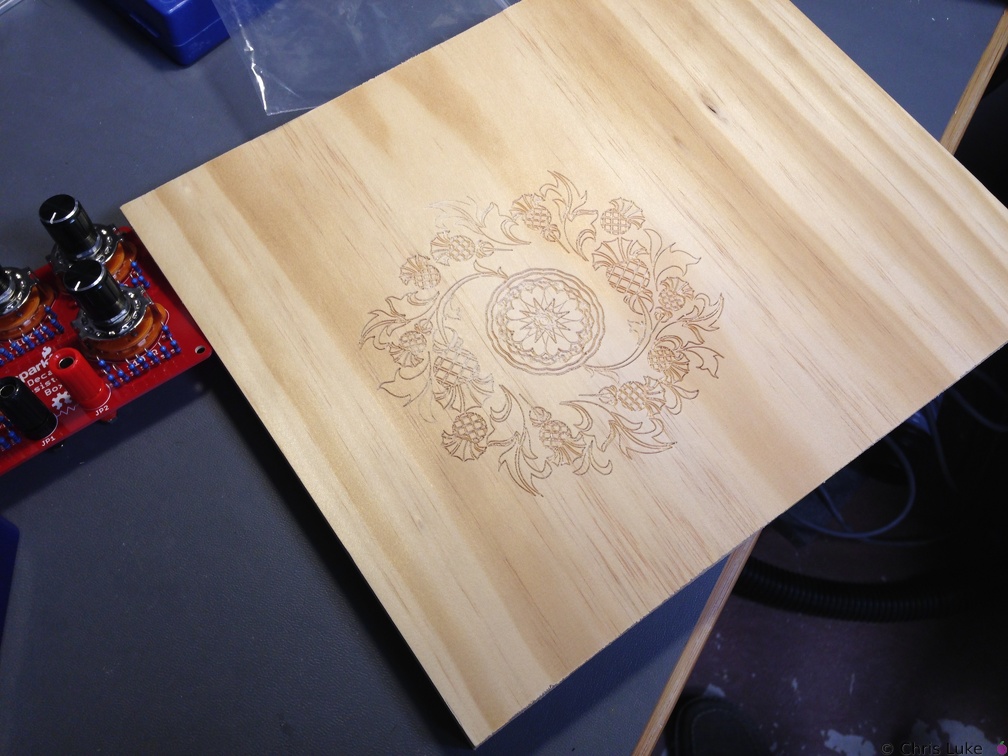 2015-01-17 016
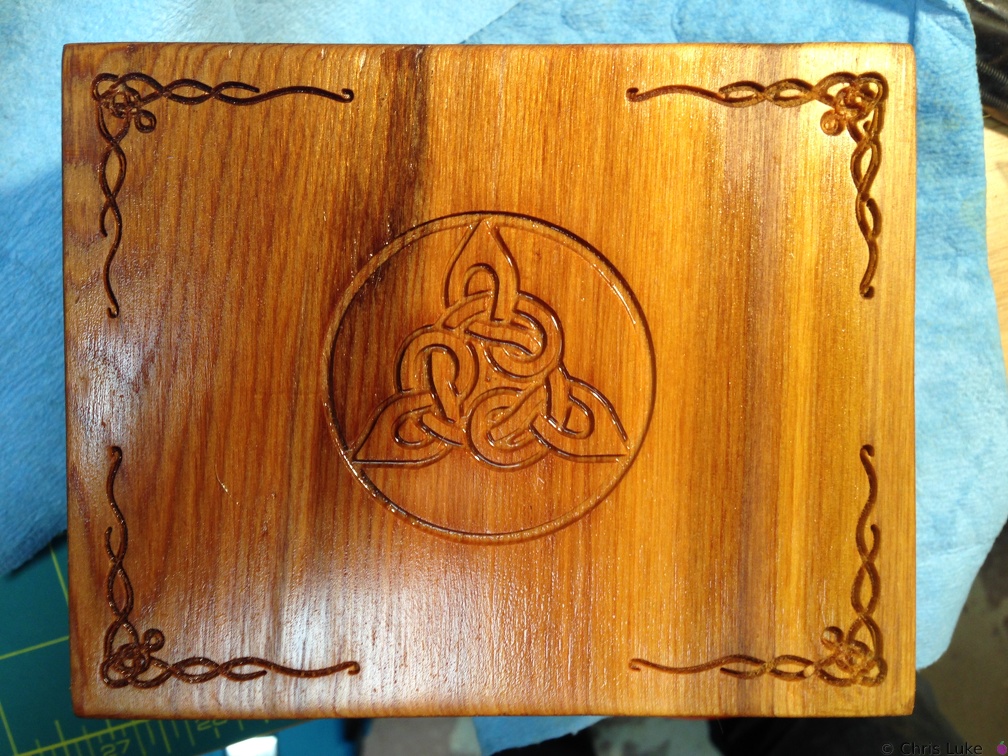 017
017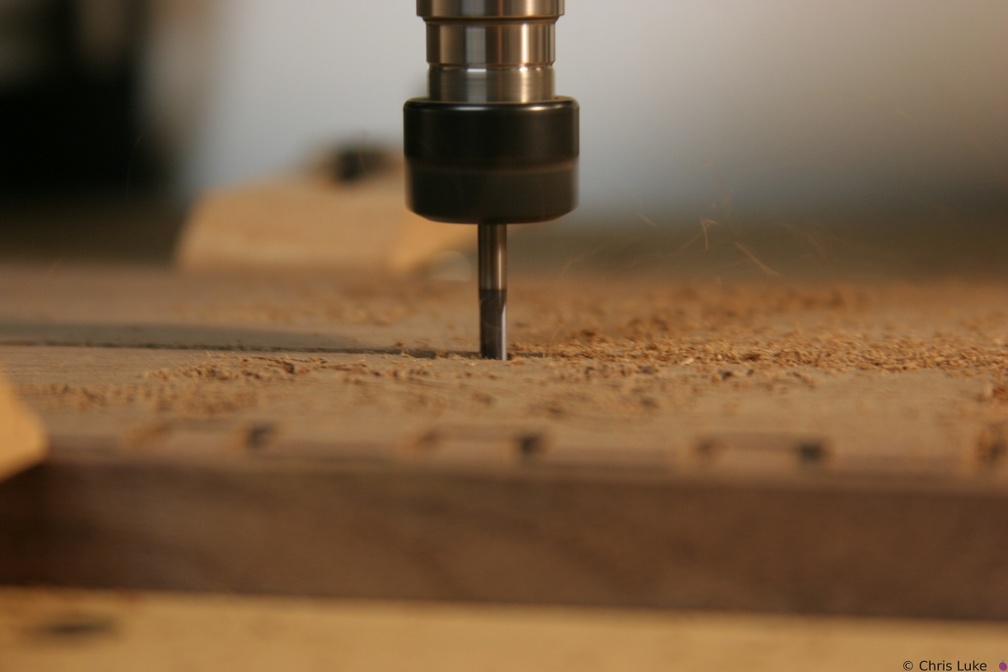 IMG 5986
 142 4254
 151 5108
 IMG 5949
 IMG 5953
 IMG 6011
 IMG 5941
 DSC00447
Caught in the act IMG 5955
 142 4255
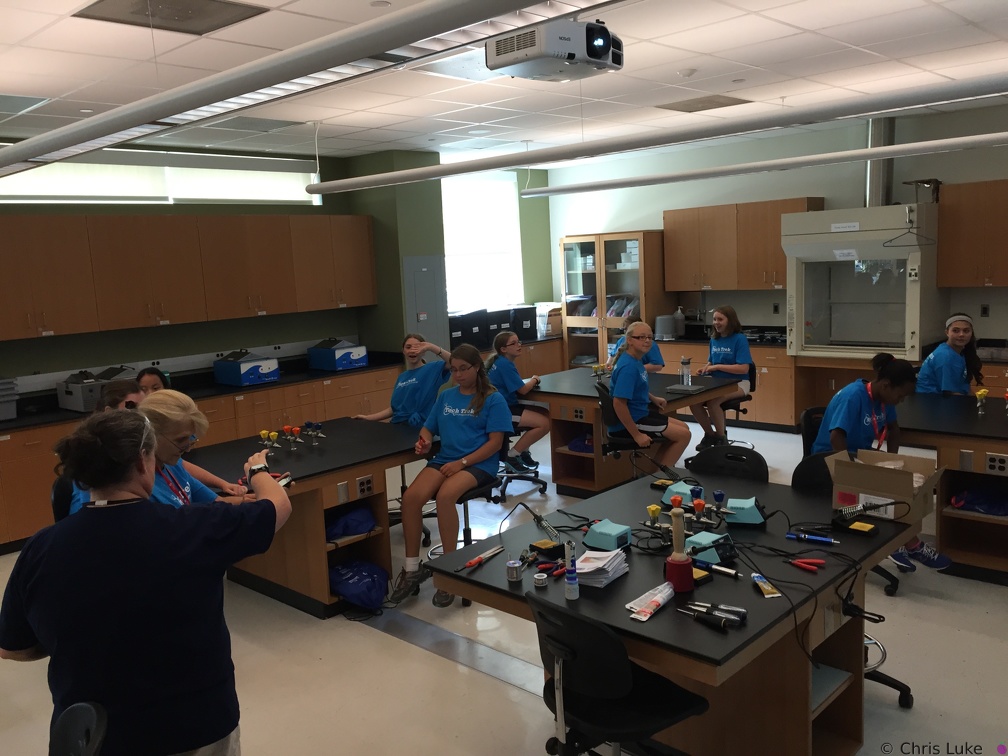 IMG 4126
 DSC00545
Saturn Meade 10" Newtonian, Sony DSC-P1, Meade Plossl 26mm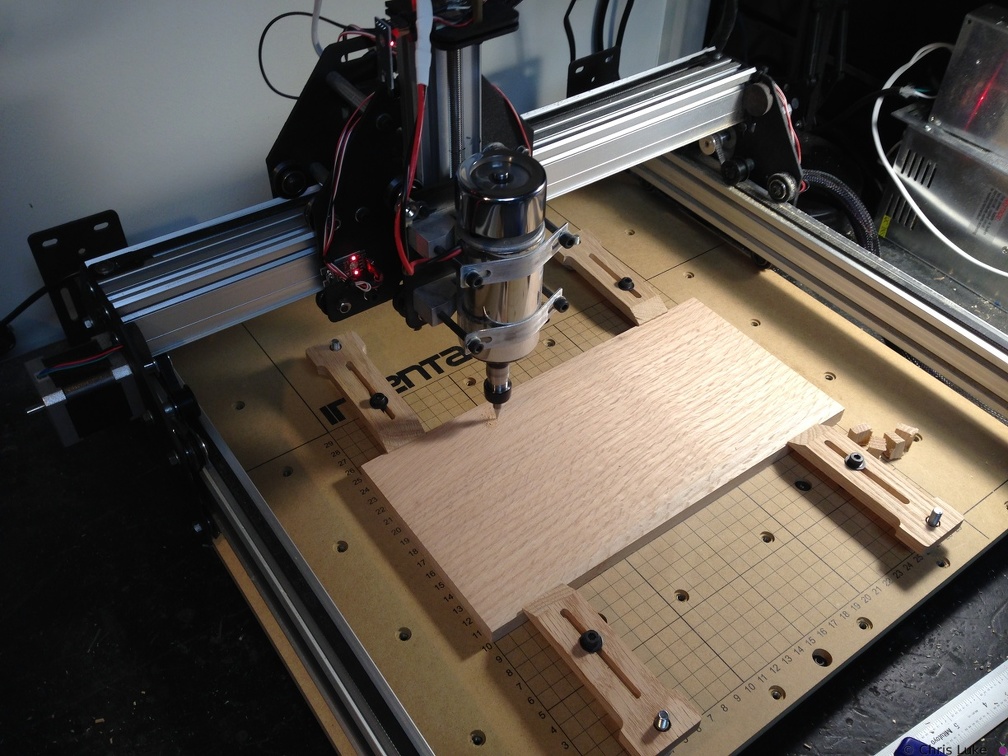 2015-01-26 002
 151 5104
 IMG 5995
 IMG 4120
 IMG 4175
 2015-02-01 006
 IMG 5988
 IMG 0233
 2015-01-26 001
 2015-01-17 011
 IMG 6012
 2015-01-17 015
 2015-02-01 008
 IMG 4169
 IMG 5992
 DSC00329
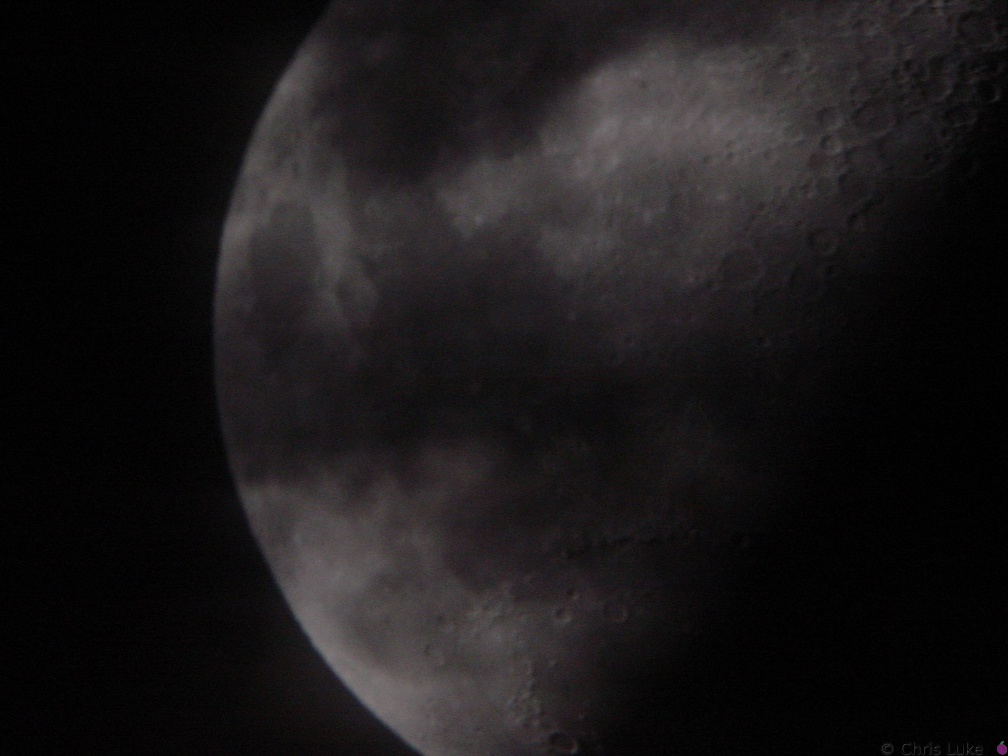
The Moon Meade 10" Newtonian, Sony DSC-P1, Meade Plossl 26mm IMG 6000
 3C2A3300
 2015-01-25 003
 IMG 4127
 2015-01-26 012
 IMG 4172
 IMG 4105
 018
018 IMG 5958
 151 5106
 IMG 5991
 IMG 4165
 2015-01-25 021
 IMG 4099
 IMG 4135
 142 4234
 IMG 4151
 IMG 5982
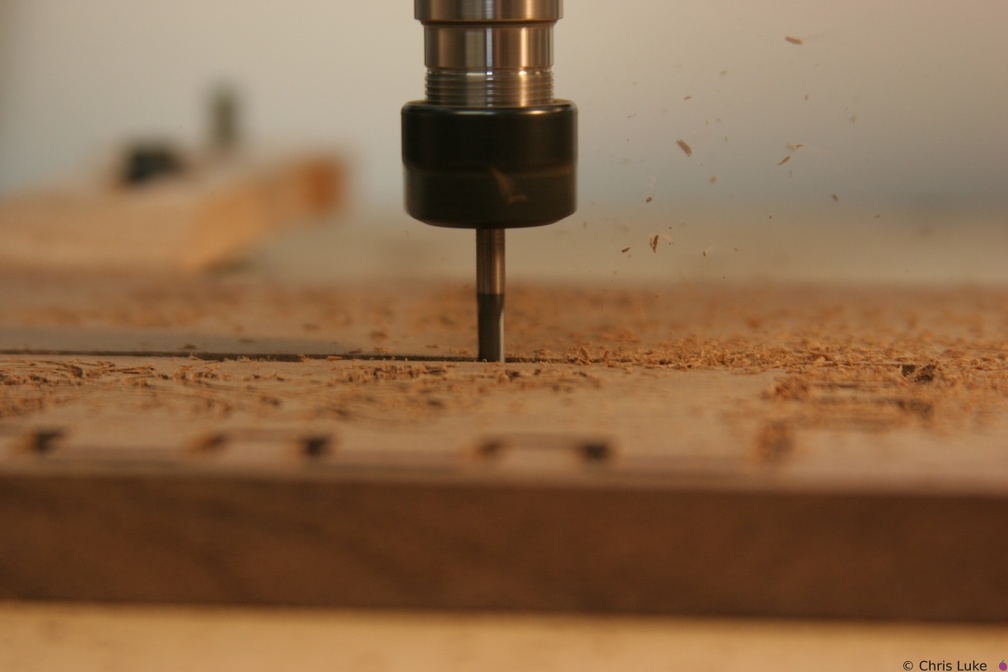 IMG 5984
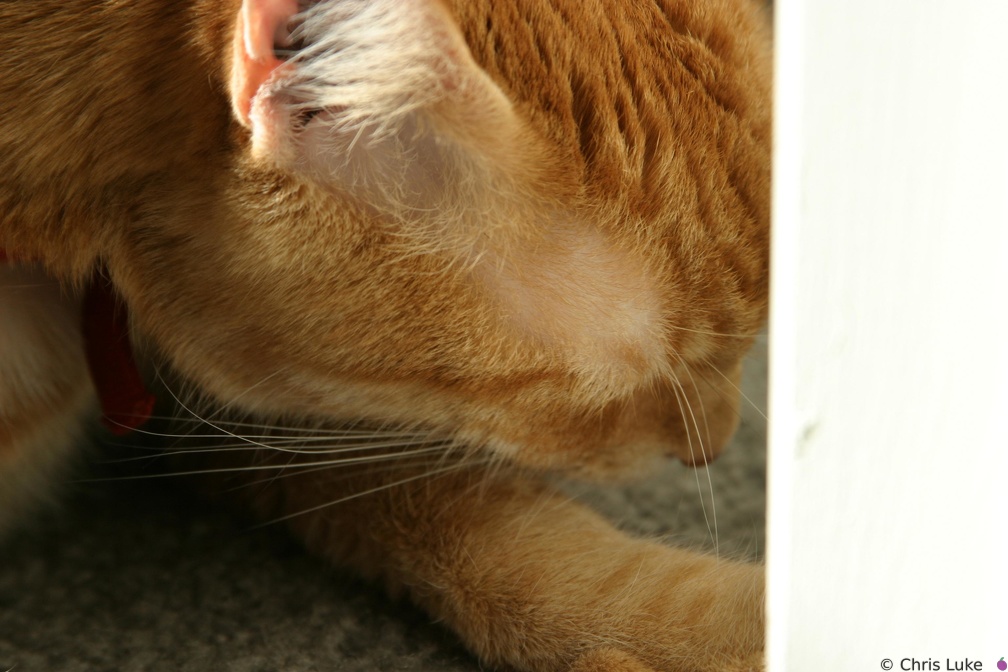 IMG 0244
 DSC00552
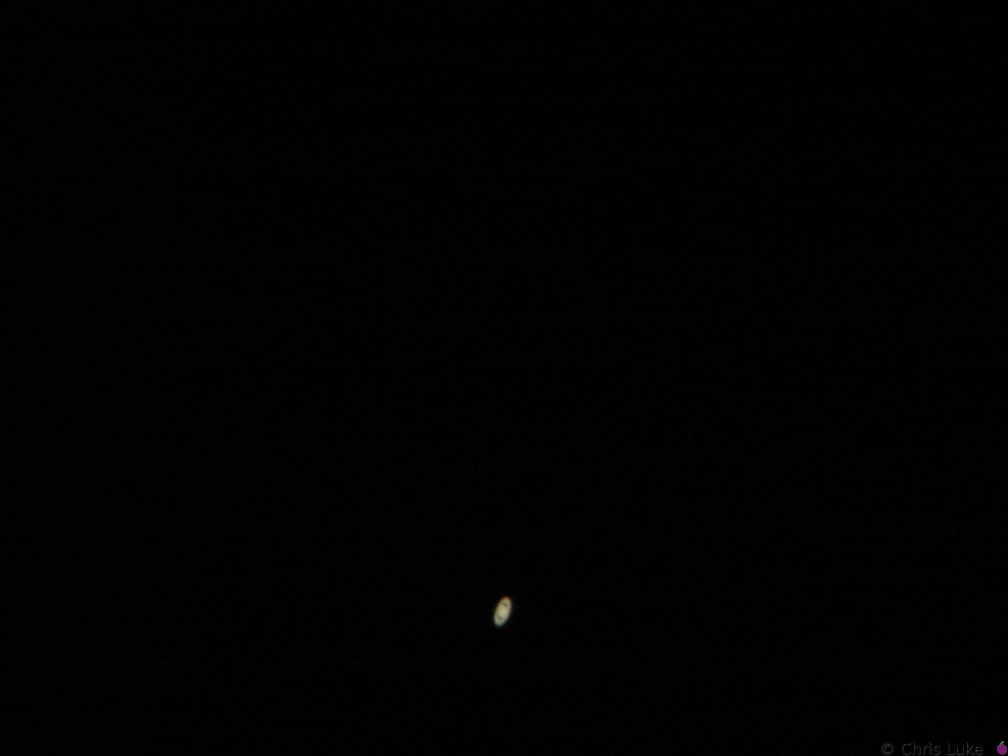
Saturn Meade 10" Newtonian, Sony DSC-P1, Meade Plossl 26mm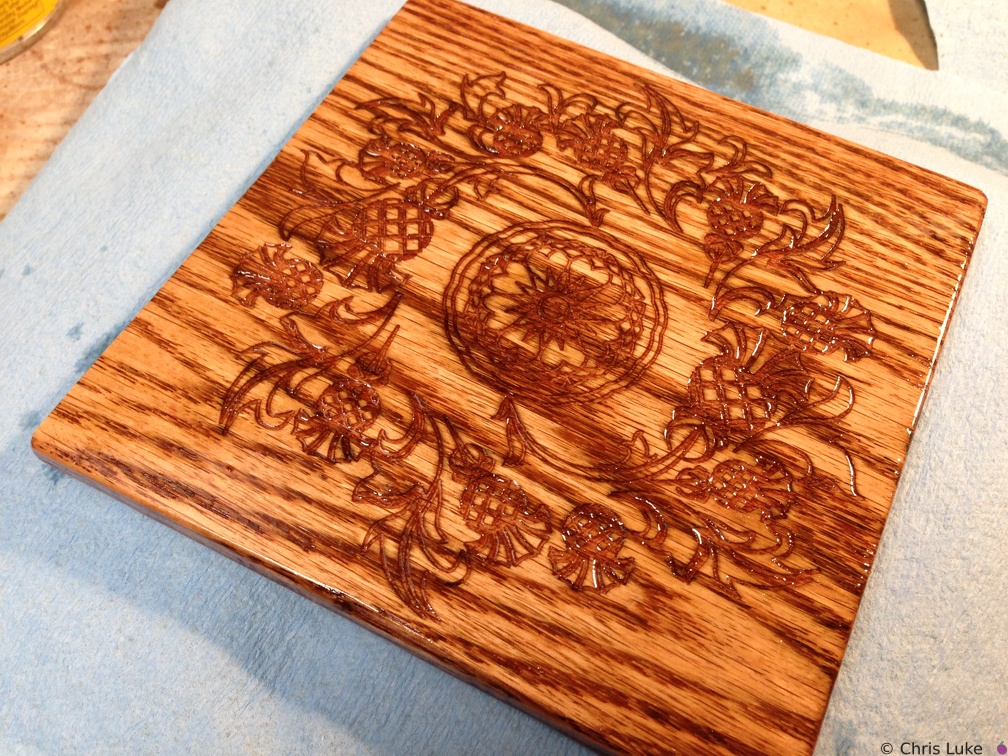 2015-02-05 004
 2015-02-01 003
 142 4252
 3C2A3295
 IMG 5936
 016
016 IMG 4130
 2015-02-01 005
 2015-01-27 007
 3C2A3282
 2015-02-06 006
 IMG 4129
 2015-01-27 006
 IMG 4100
 2015-02-06 003
 IMG 6002
 3C2A3249
 IMG 6013
 IMG 4154
 IMG 4104
 115 1505
 IMG 4163
 IMG 4131
 3C2A3290
 2015-02-05 001
 2015-01-17 007
 IMG 6015
 IMG 4153
 3C2A3261
 IMG 4133
 2015-01-17 008
 2015-01-27 008
 2015-01-17 010
 2015-02-05 002
 IMG 4123
 2015-01-27 009
 IMG 4106
 2015-01-26 016
 3C2A3297
 IMG 4170
 2015-01-25 002
 2015-02-02 004
 IMG 5989
 IMG 4101
 3C2A3324
 2015-01-17 017
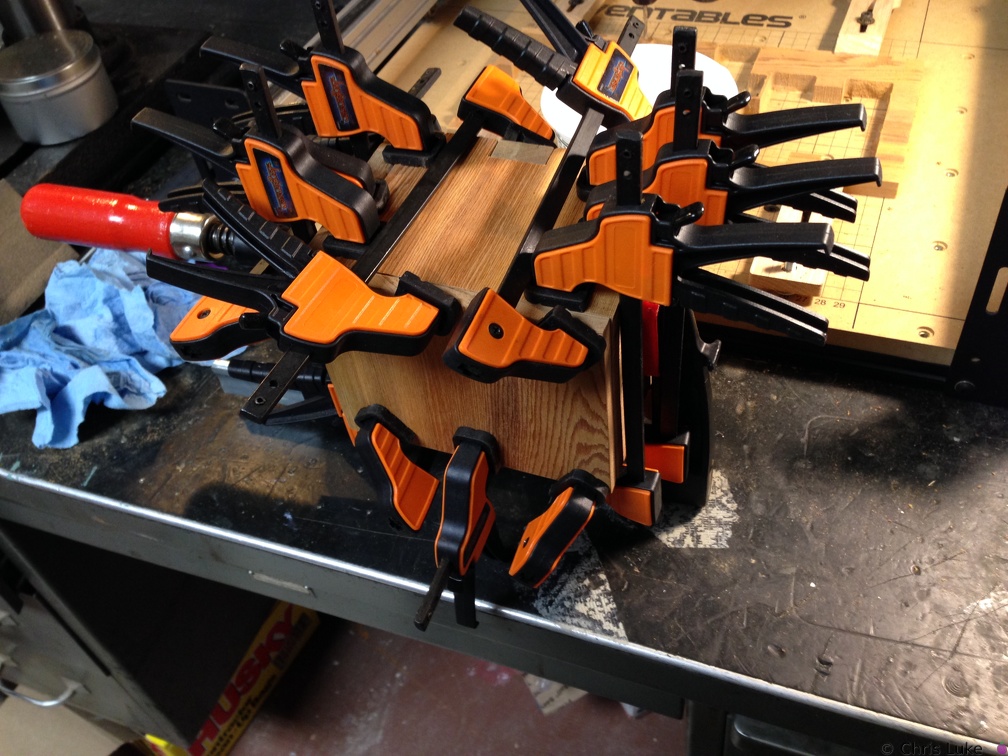 006
006 IMG 0246
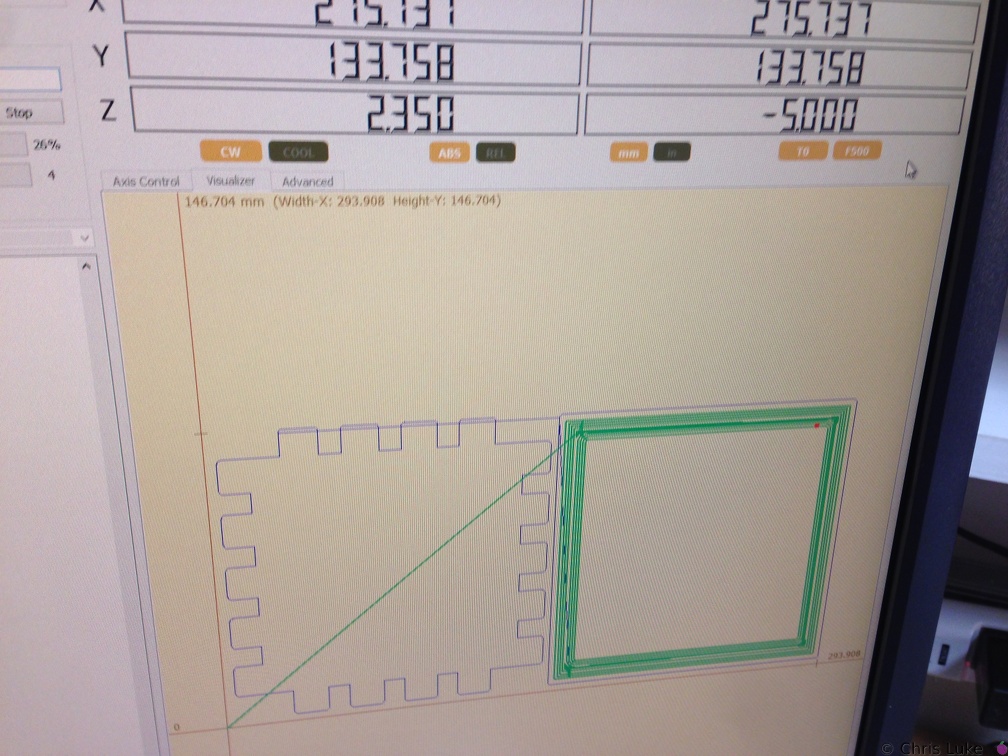 2015-01-25 014
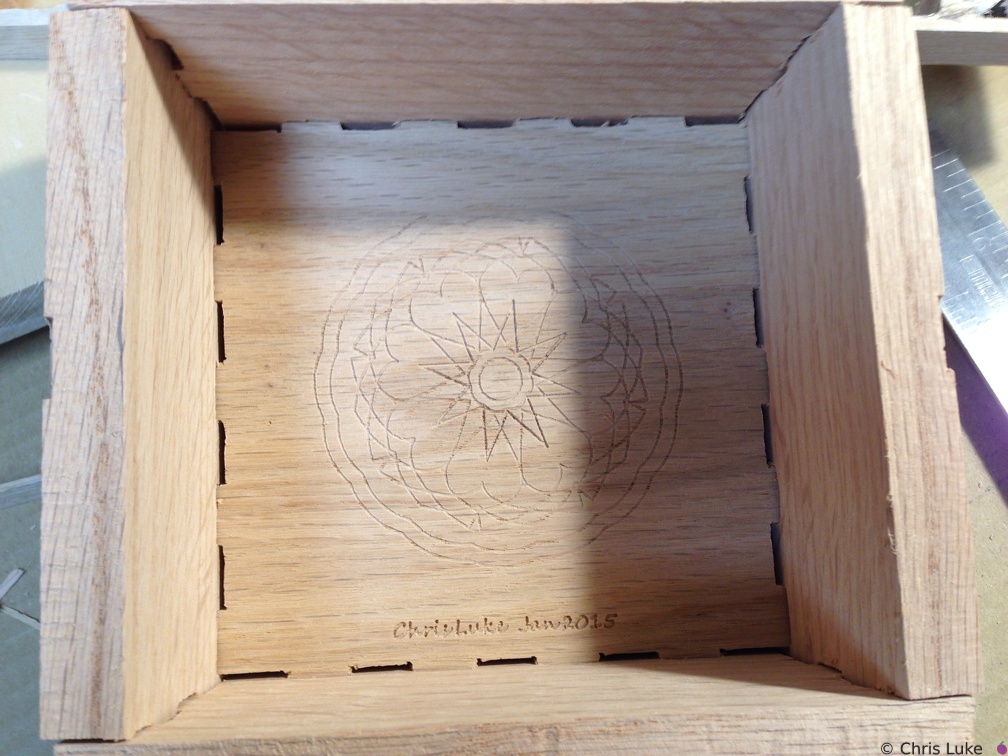 2015-01-26 015
 IMG 4134
 IMG 0247
 IMG 0243
 2015-01-17 001
 3C2A3304
 IMG 6001
 2015-01-26 009
 IMG 4102
 142 4253
 IMG 5987
 2015-01-17 005
 2015-01-26 003
 2015-02-06 001
 IMG 4177
 IMG 0248
 2015-01-25 015
 IMG 4103
 2015-01-26 007
 IMG 4164
 IMG 5990
 3C2A3330
 3C2A3292
 IMG 4155
 3C2A3331
 IMG 5983
 2015-01-17 009
 2015-01-17 006
 3C2A3332
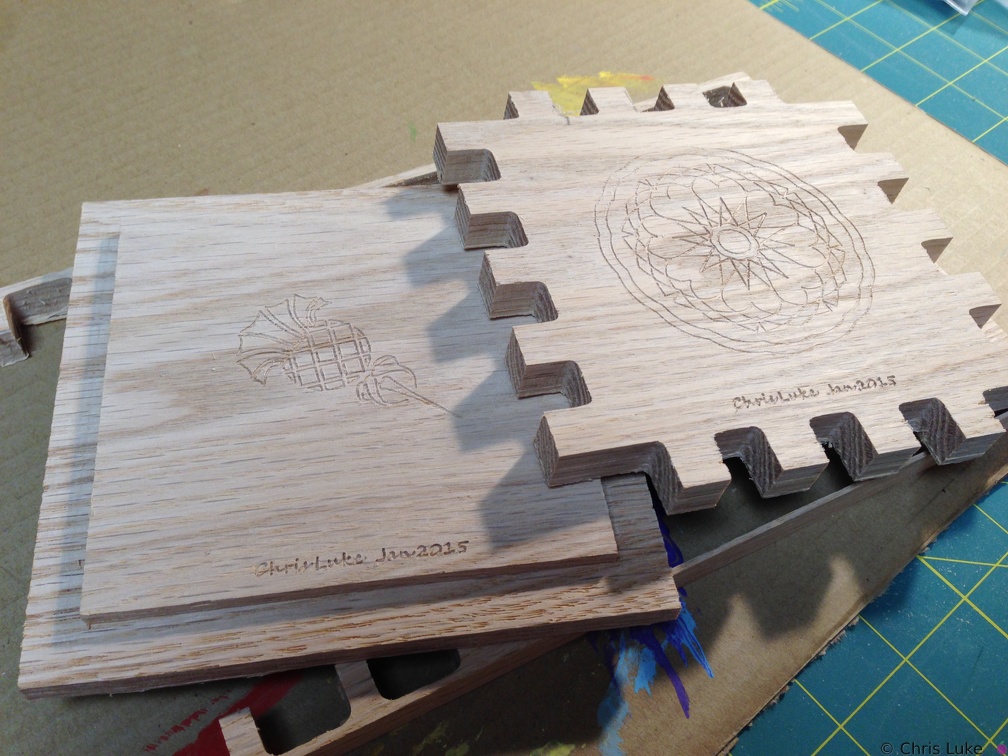 2015-01-25 020
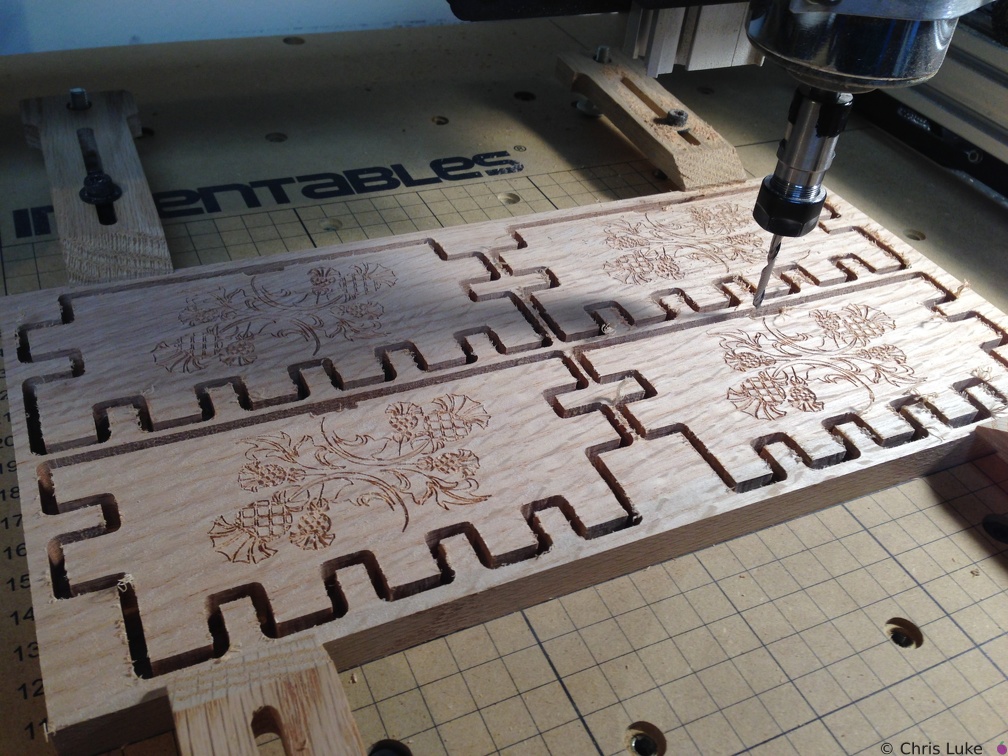 2015-01-26 011
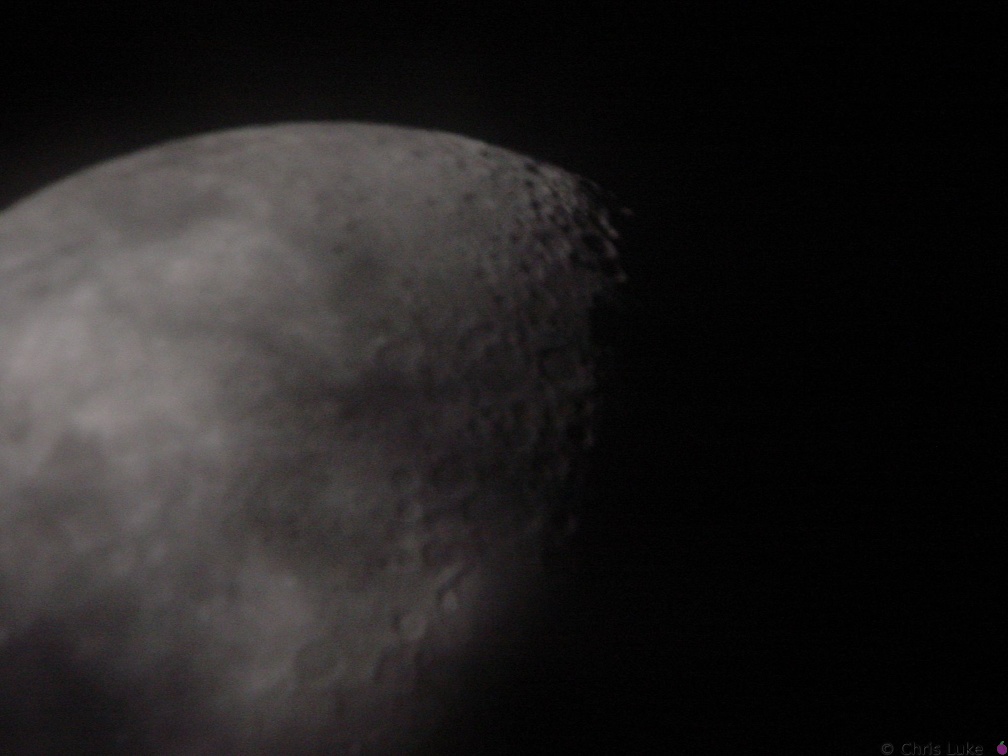 DSC00331
The Moon Meade 10" Newtonian, Sony DSC-P1, Meade Plossl 26mm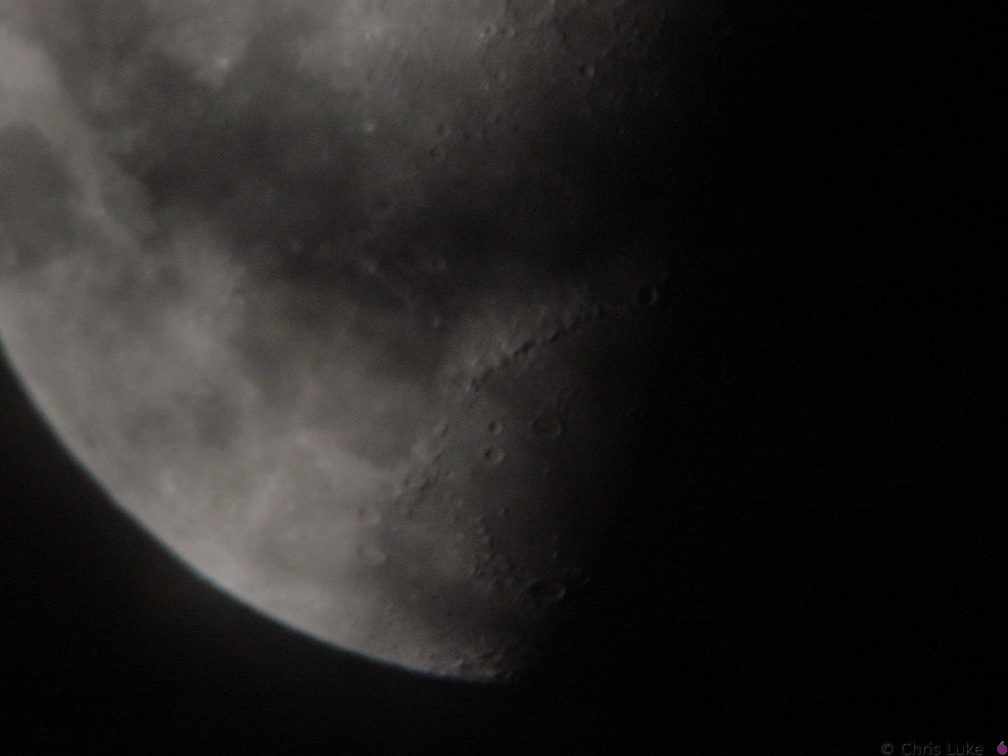 DSC00332
The Moon Meade 10" Newtonian, Sony DSC-P1, Meade Plossl 26mm 2015-01-26 008
 3C2A3251
 2015-01-27 010
 142 4230
 IMG 4152
 IMG 4159
 IMG 6016
 2015-01-17 003
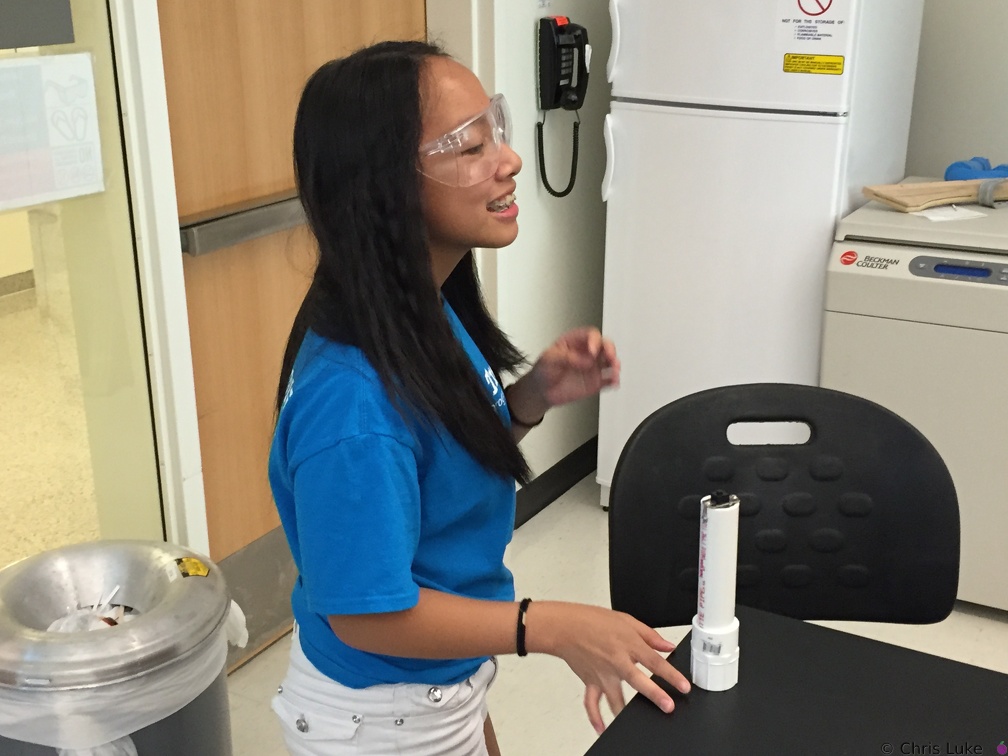 IMG 4166
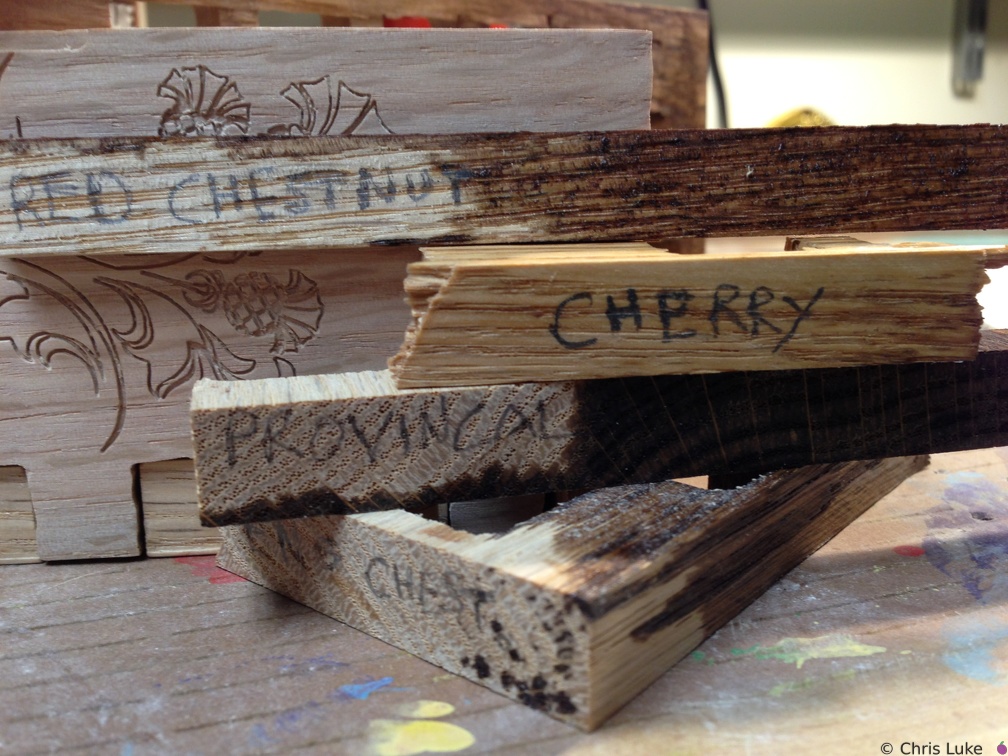 2015-02-01 004
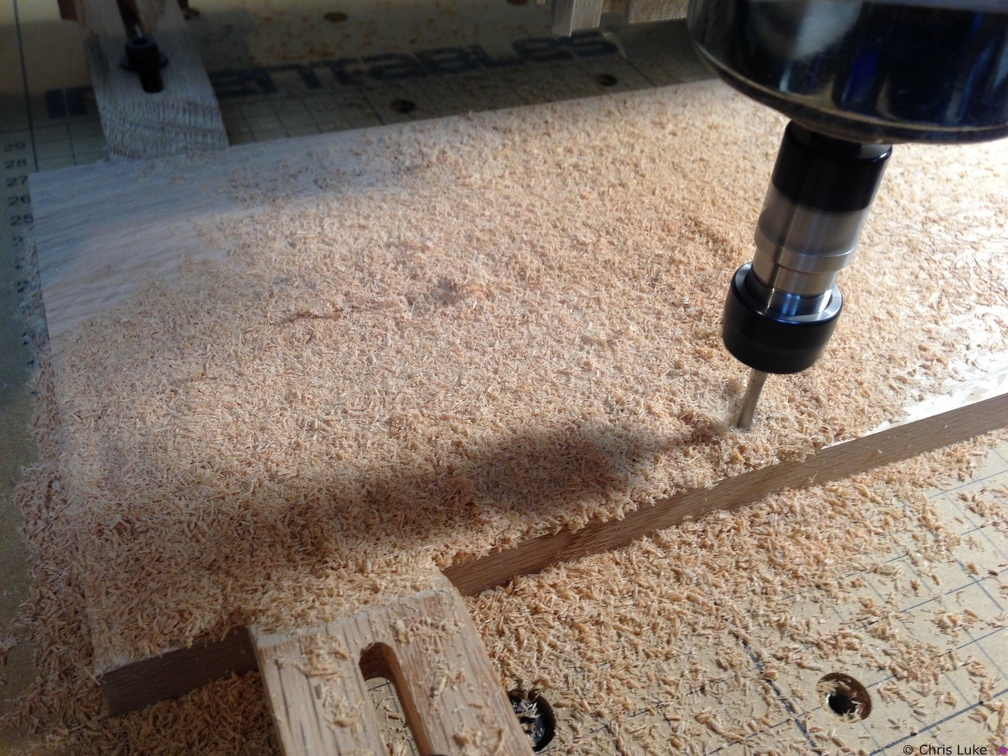 2015-01-26 006
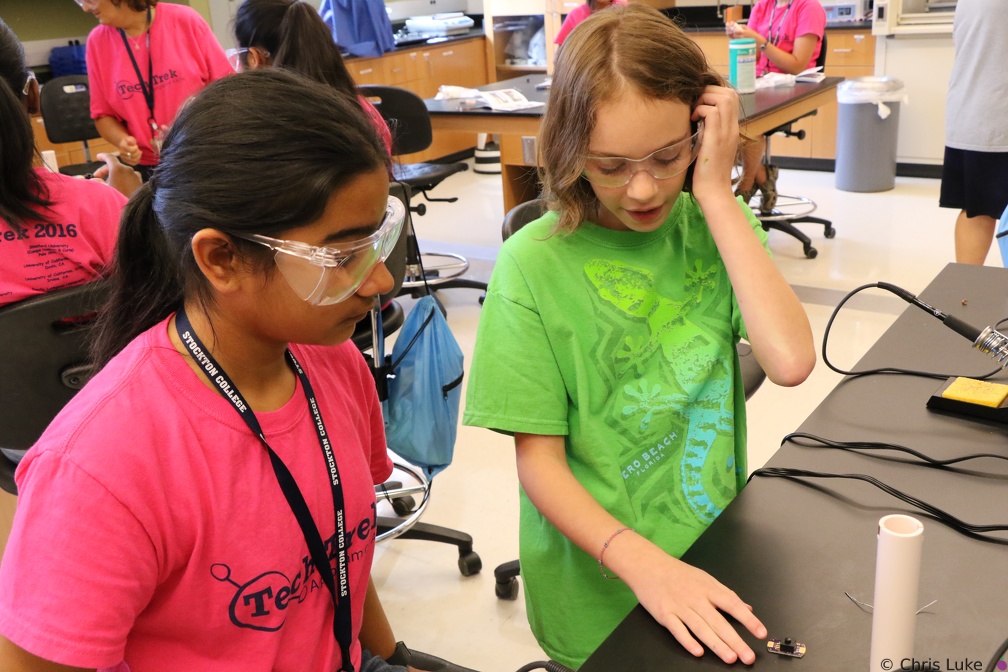 3C2A3284
 2015-01-17 004
 IMG 4158
 004
004 2015-01-27 011
 3C2A3341
 IMG 4128
 3C2A3288
 IMG 4167
 2015-01-27 012
 002
002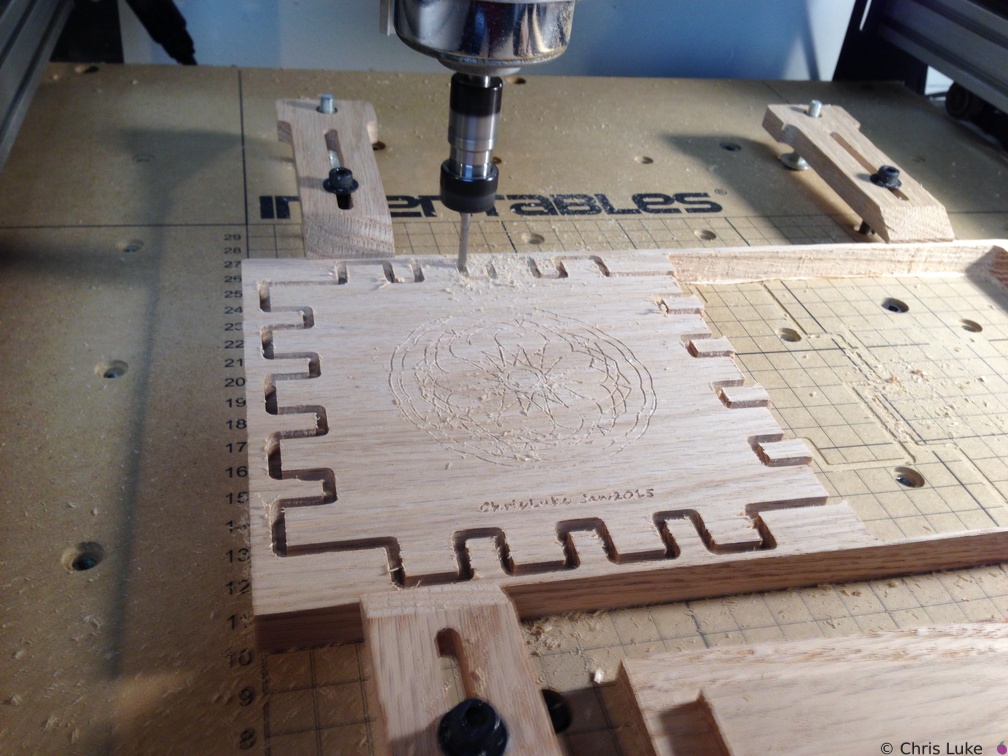 2015-01-25 019
 142 4238
 015
015 2015-01-26 010
 DSC00543
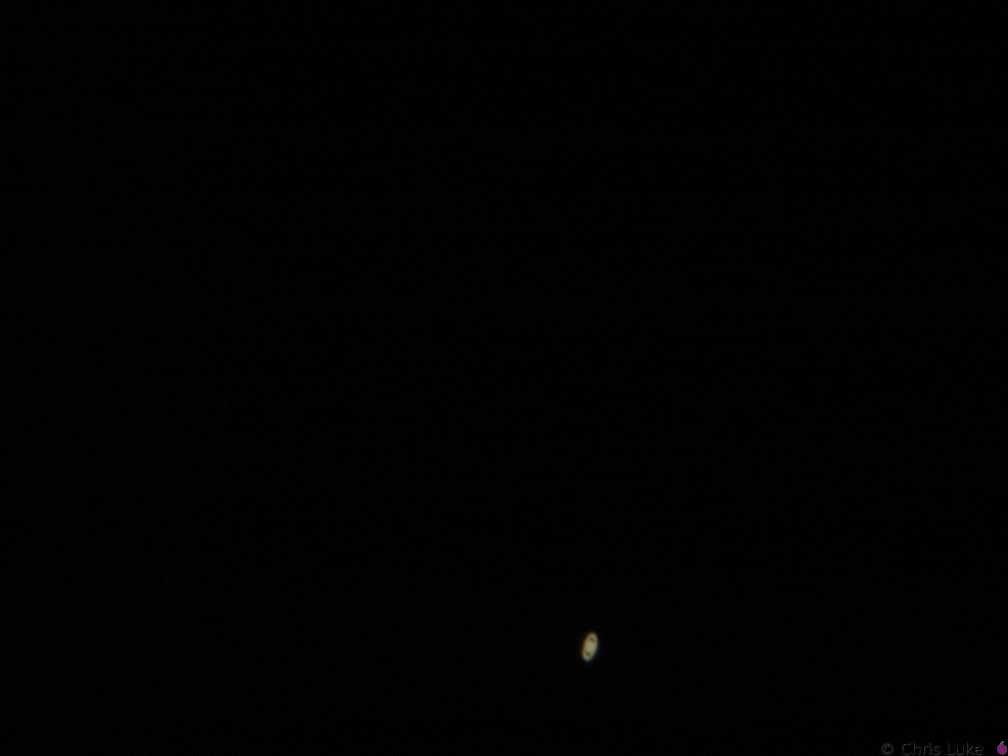
Saturn Meade 10" Newtonian, Sony DSC-P1, Meade Plossl 26mm 142 4232
 014
014 DSC00541
Saturn Meade 10" Newtonian, Sony DSC-P1, Meade Plossl 26mm IMG 6018
 142 4229
 001
001 2015-01-26 014
 2015-01-26 005
 003
003 142 4235
 142 4233
 142 4245
 2015-01-17 002
 DSC00608
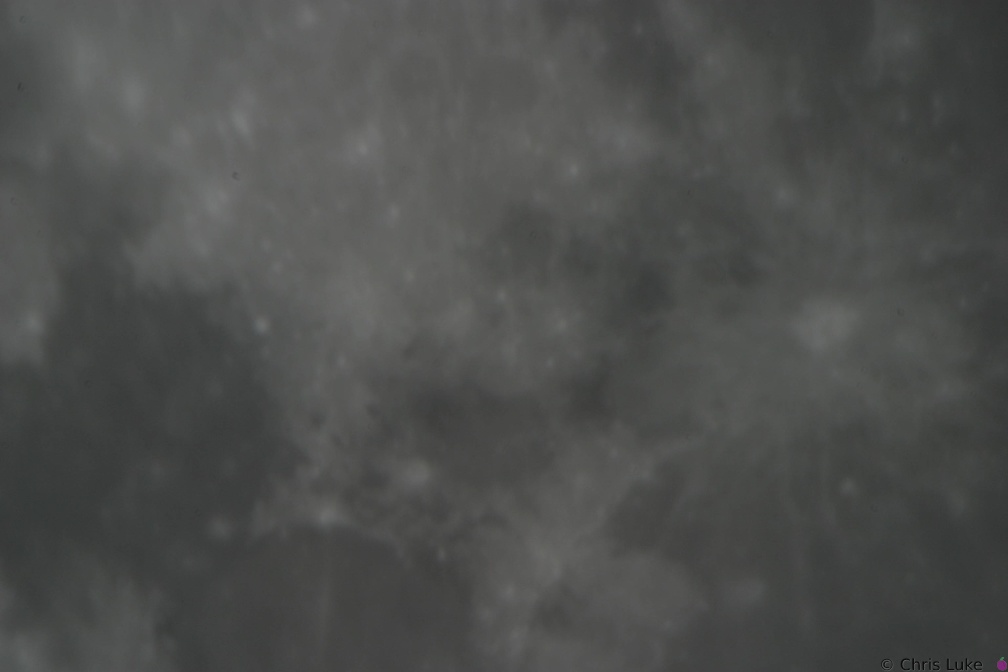
Saturn Meade 10" Newtonian, Sony DSC-P1, TeleVue zoom @8mm 142 4251
 142 4244
 005
005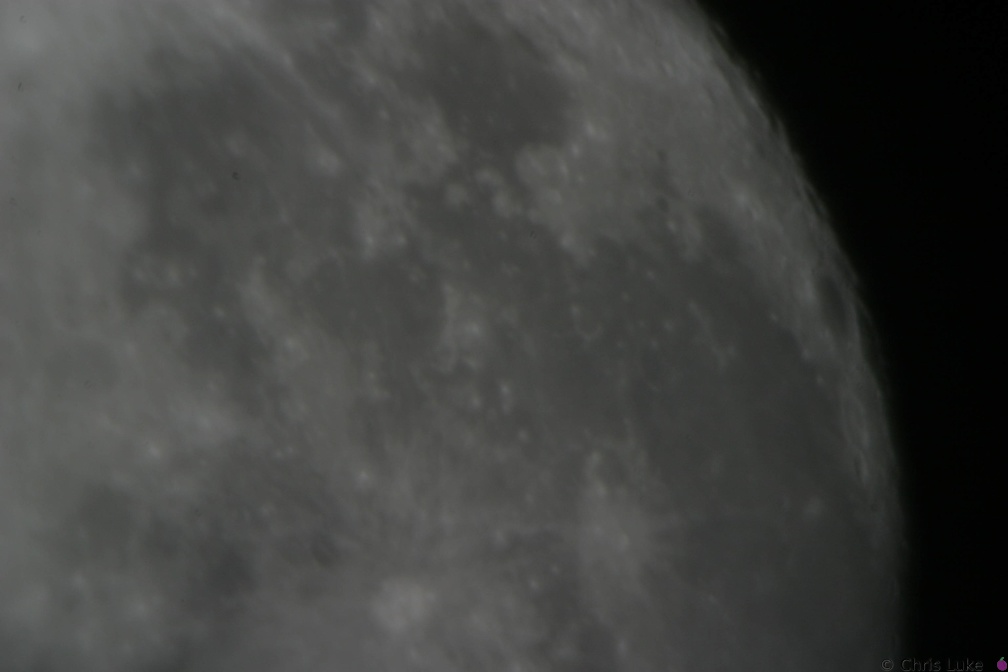 142 4247
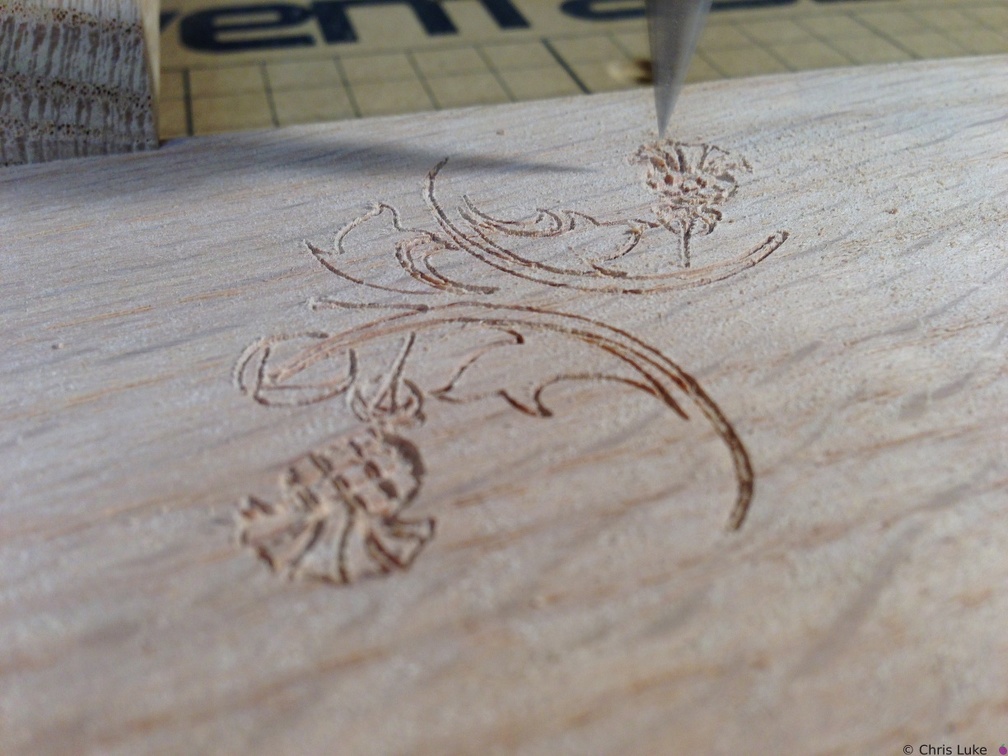 2015-01-26 004
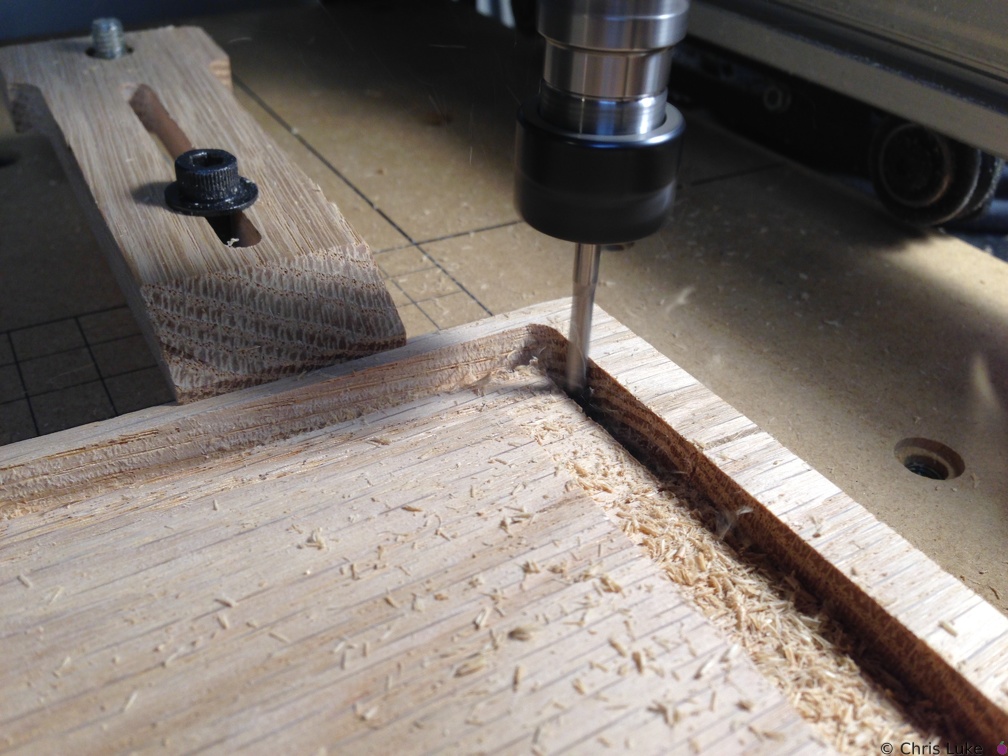 2015-01-25 016
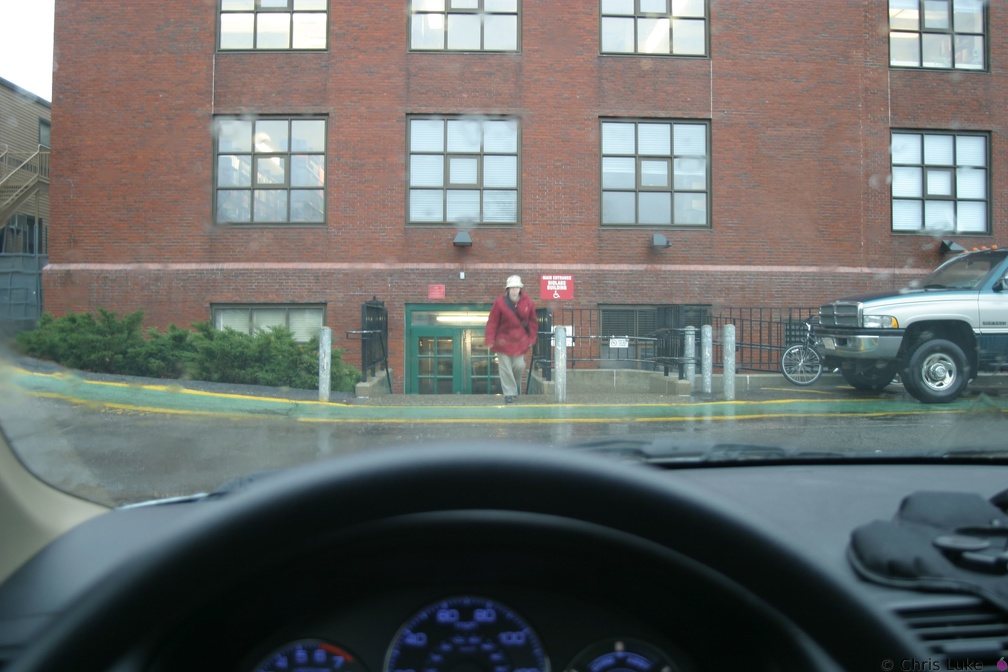 IMG 6857
Tokina 19-35mm An exceptionally rainy day. Picture taken from inside the car! IMG 5978
 2015-01-25 017
 142 4246
 IMG 4156
 2015-01-25 018
 142 4258
 IMG 5942
 IMG 4162
 142 4250
 IMG 4157
 DSC00618
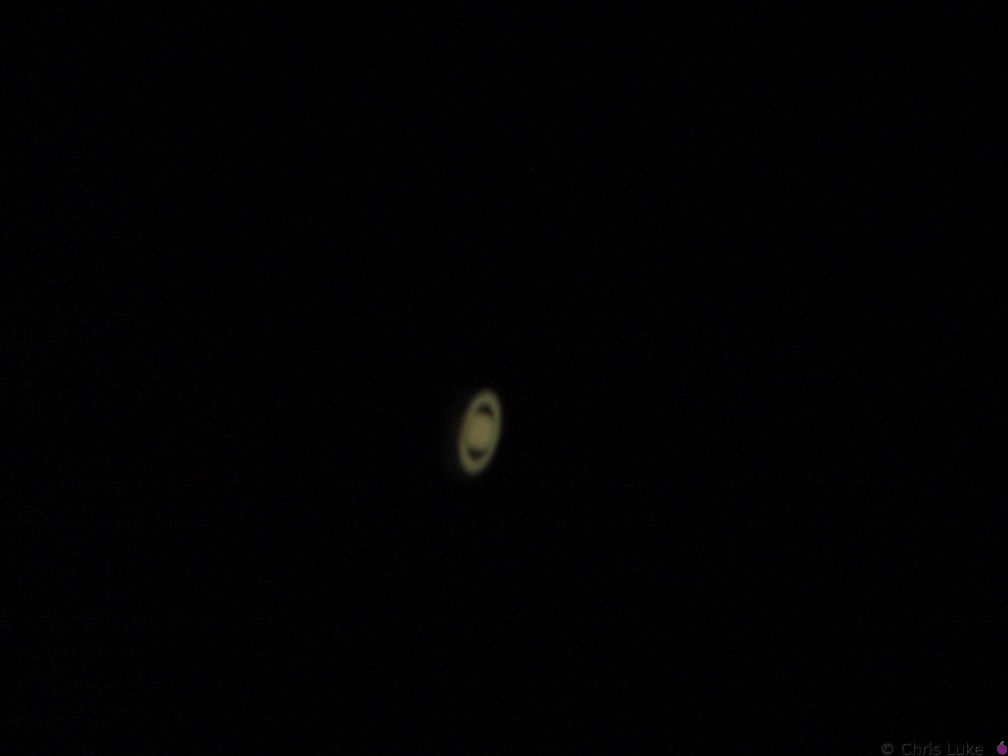
Saturn Meade 10" Newtonian, Sony DSC-P1, TeleVue zoom @8mm 142 4225
 142 4237
 142 4242
 142 4260
 IMG 5965
 142 4257
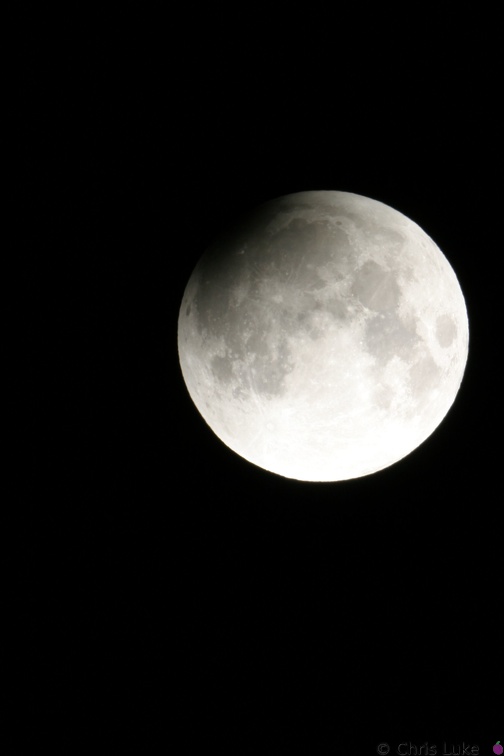 142 4299
 142 4265
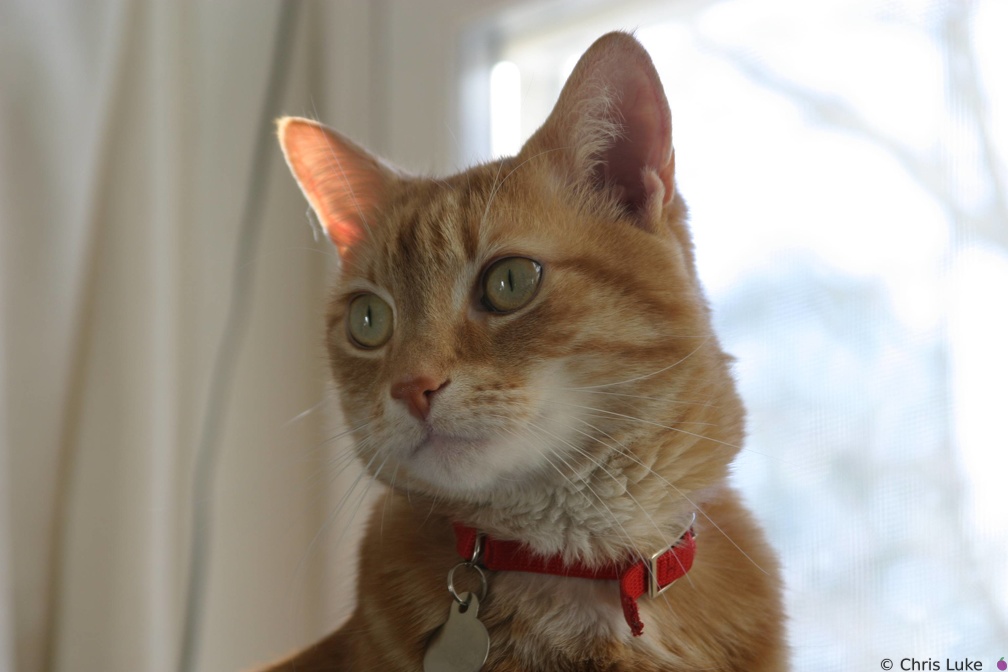 IMG 5966
 142 4269
 142 4231
 142 4249
 142 4248
 142 4243
 142 4241
 142 4259
 142 4240
 142 4267
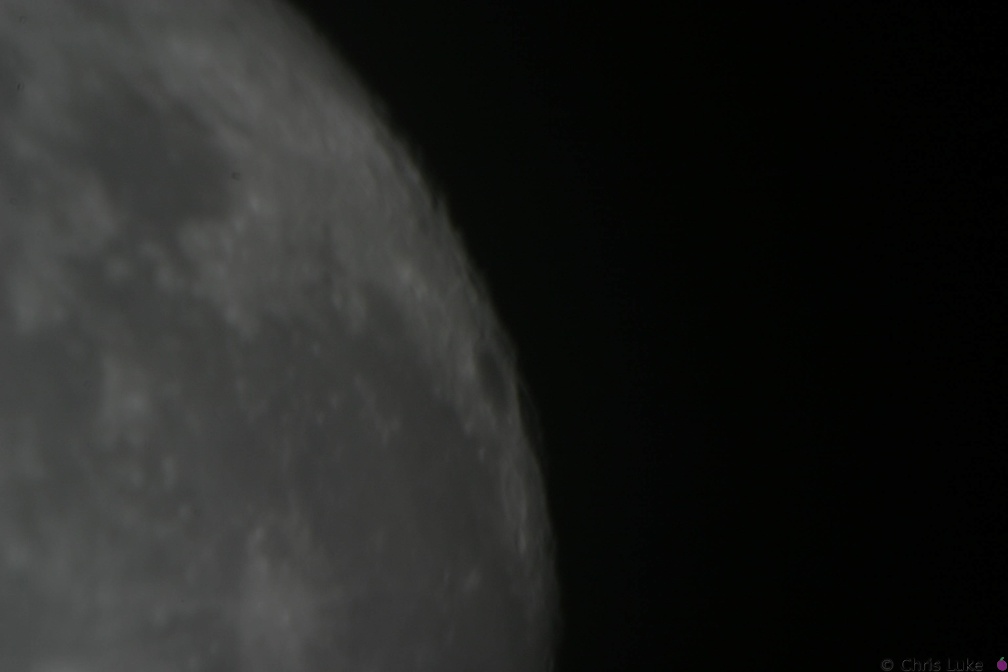 142 4236
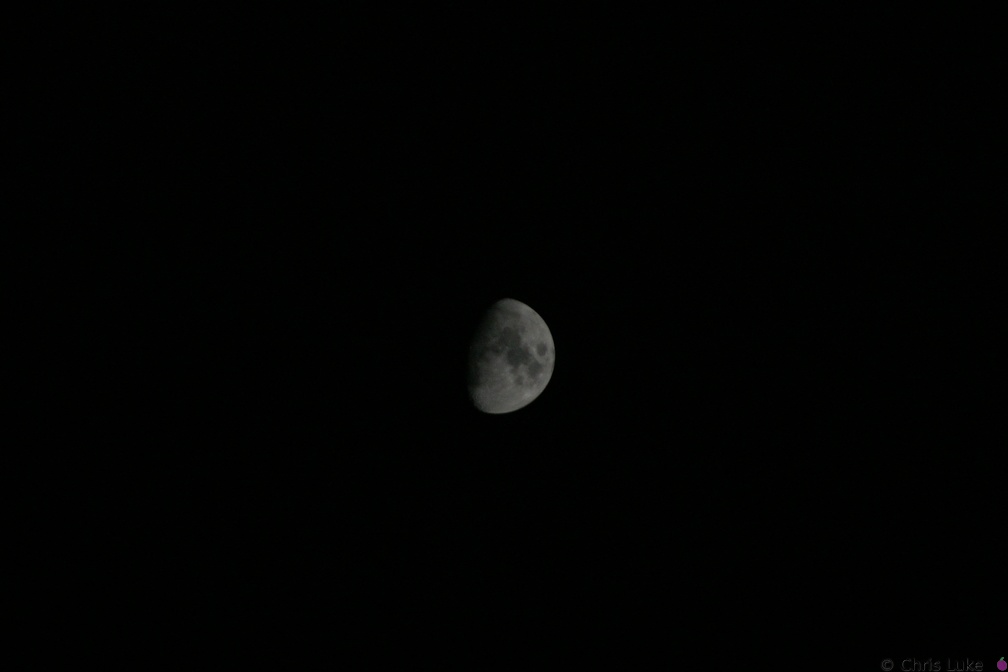 140 4031
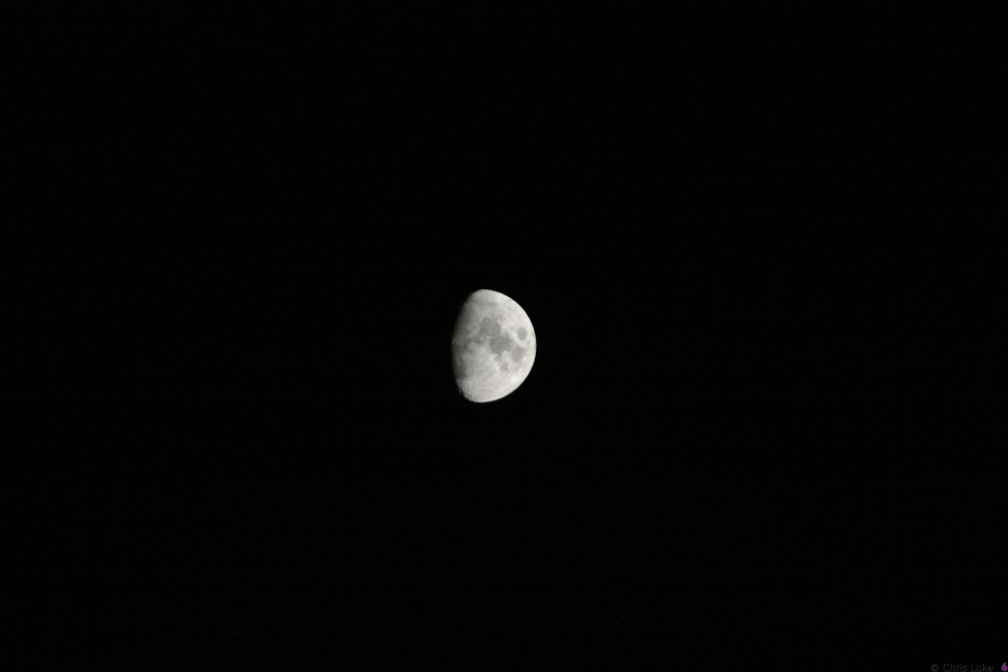 140 4007
 DSC00623
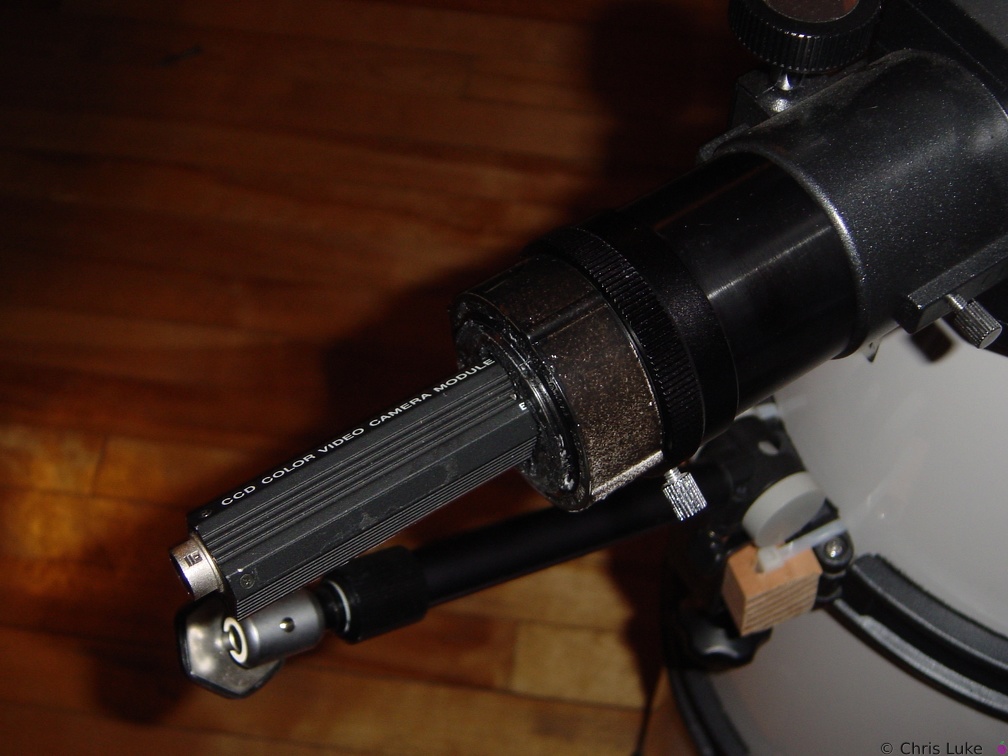
XC-999 CCD in home-made primary focus mount The XC-999 is a high-performance CCD colour video camera shown here attached to the 10" Newt. with a home-made mount. 142 4266
 IMG 7317
 142 4268
 142 4275
 142 4270
 143 4347
 IMG 5994
 142 4278
 DSC00635
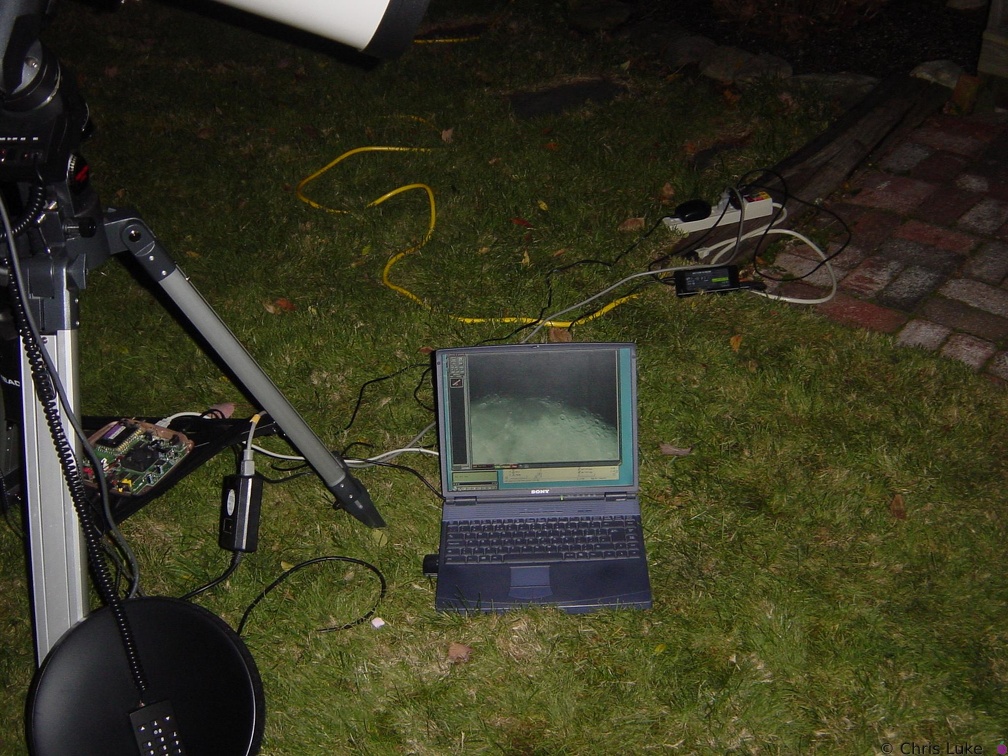
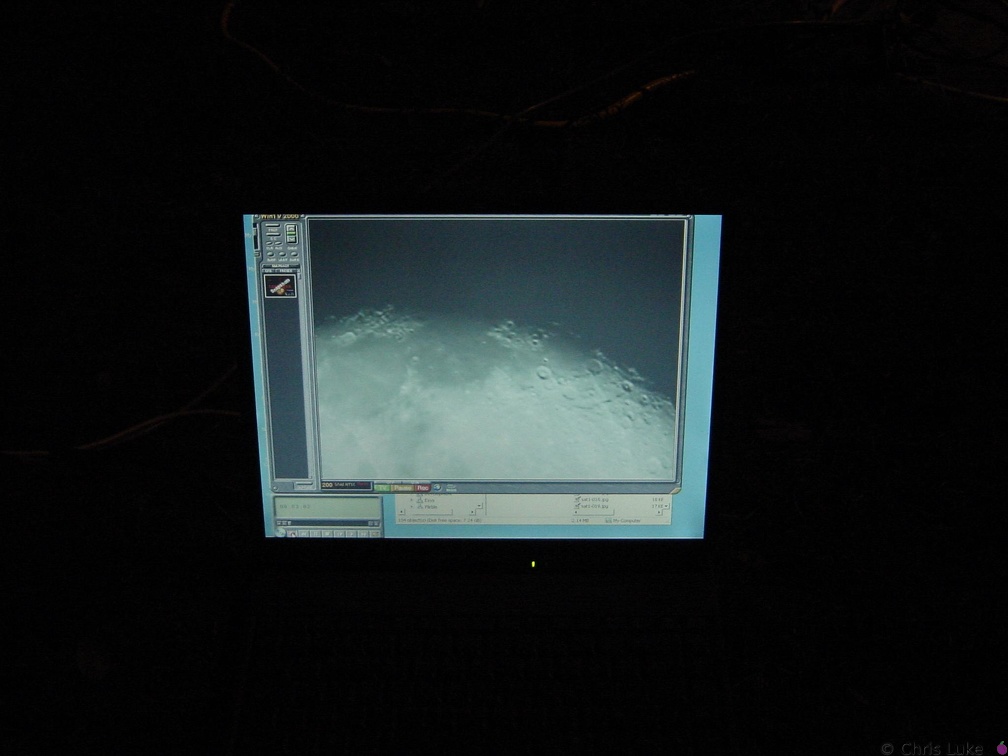
Laptop and stuff 2002-11-23 Again, notice the image of the Moon.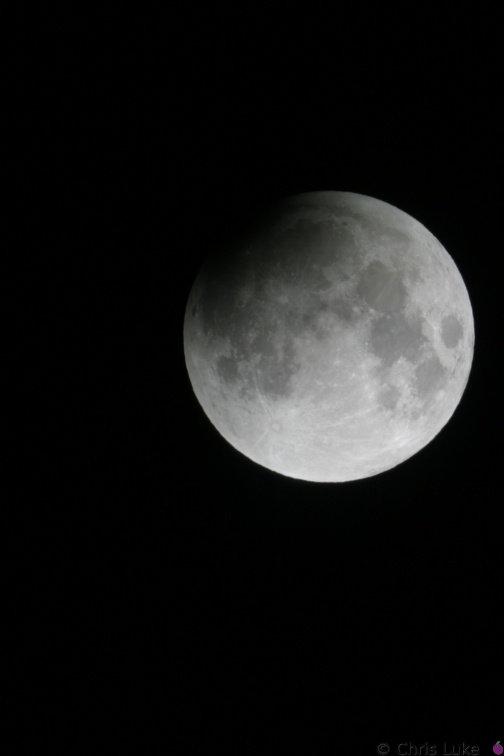 142 4300
 DSC00631
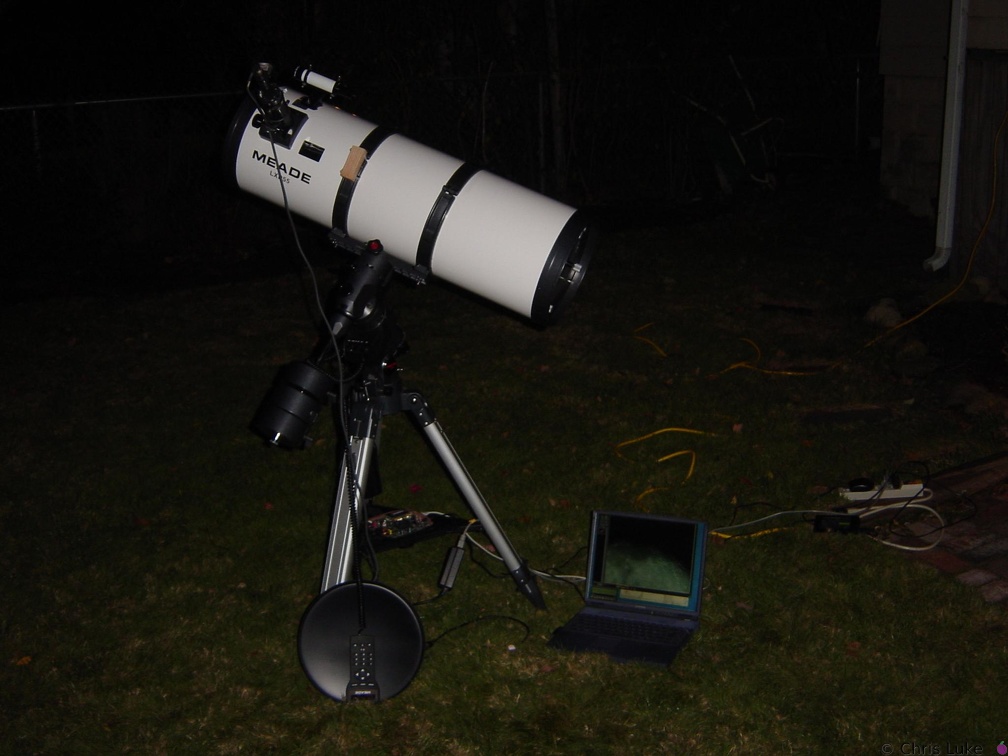
The Meade 10" and my laptop 2002-11-23 Notice the image of the Moon on the laptop screen and the XC-999 in the focuser.. 142 4272
 DSC00629
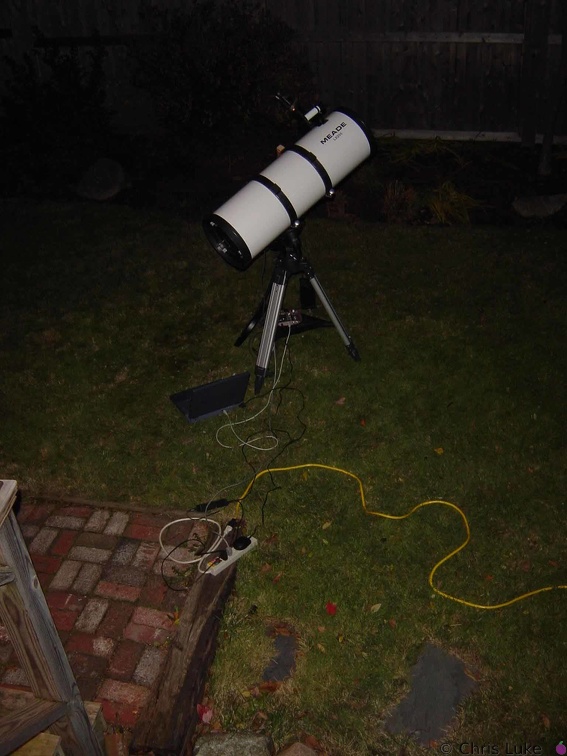
The meade 10" and gubbins 2002-11-23 The cables and stuff - it was a cold 0°C that night. 154 5440
 IMG 5992
 142 4291
 DSC00627
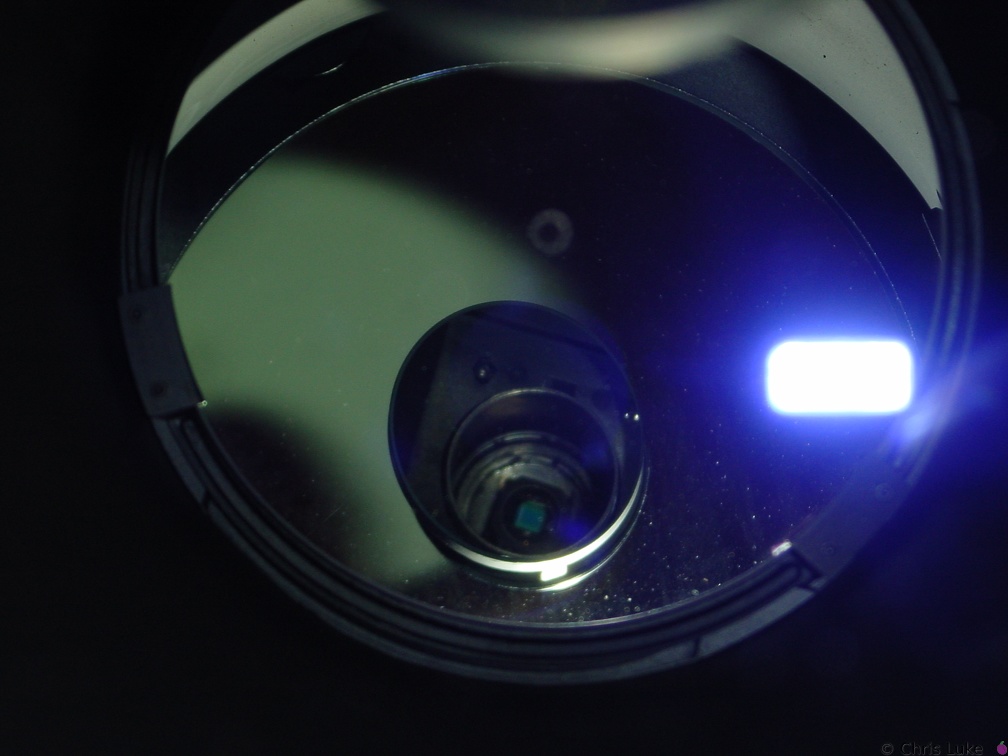
View of XC-999 CCD through the tube Image taken in front of the correcting lens of the 10" Newtonian with the CCD in place.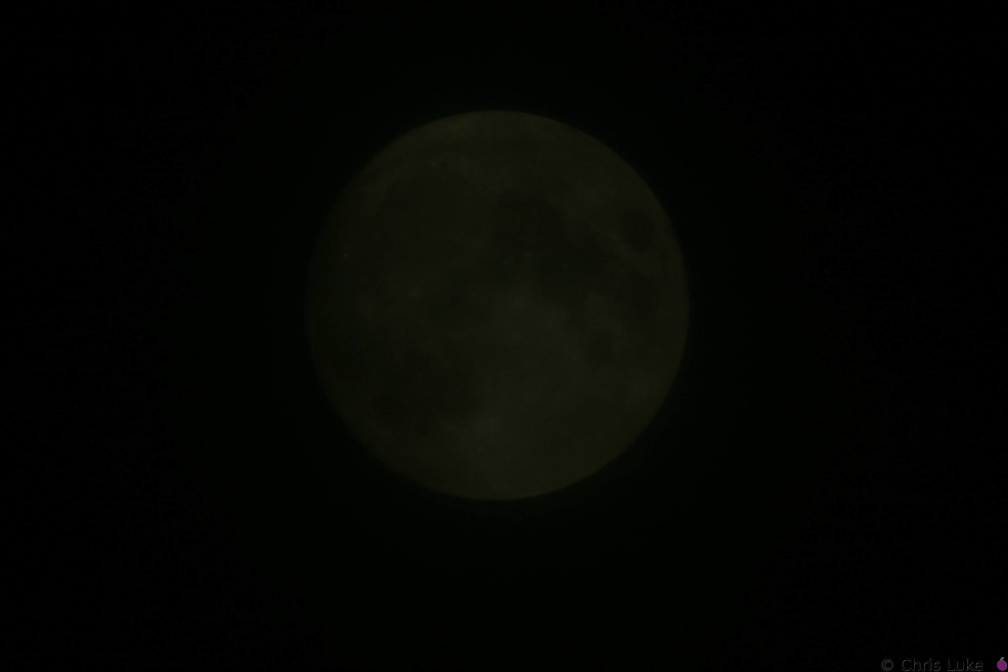 141 4199
 140 4022
 142 4277
 IMG 7379
 140 4030
 IMG 7310
 DSC00626
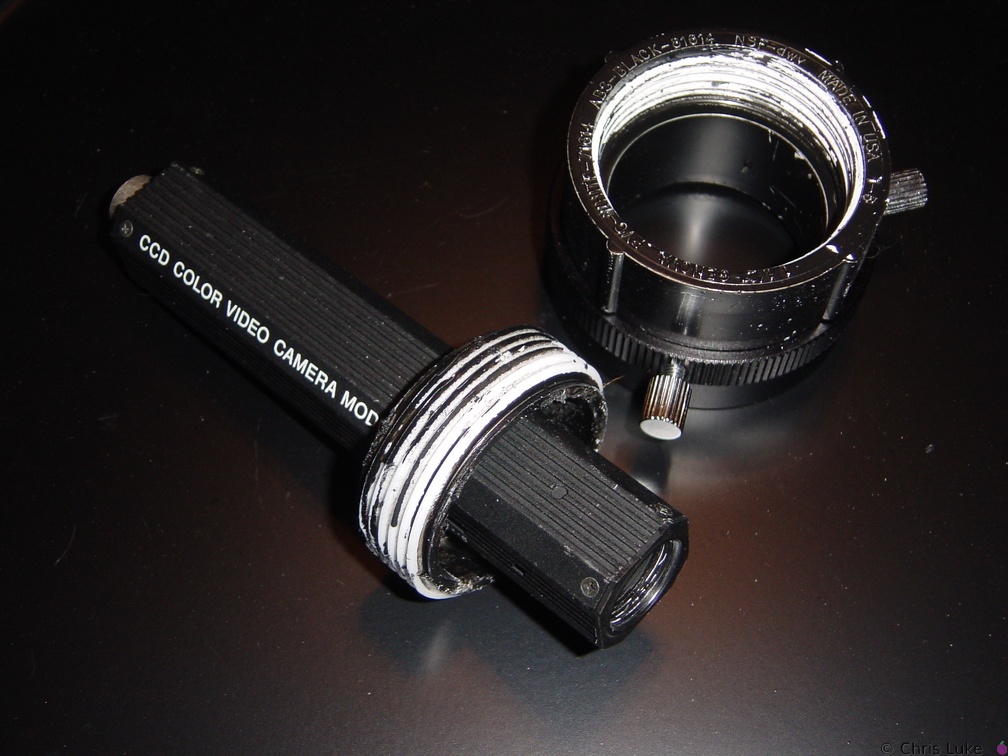
XC-999 CCD and the DIY mount The plumbing fitting is a two-piece plug, one part of which fits snufly into the 2" lens fitting.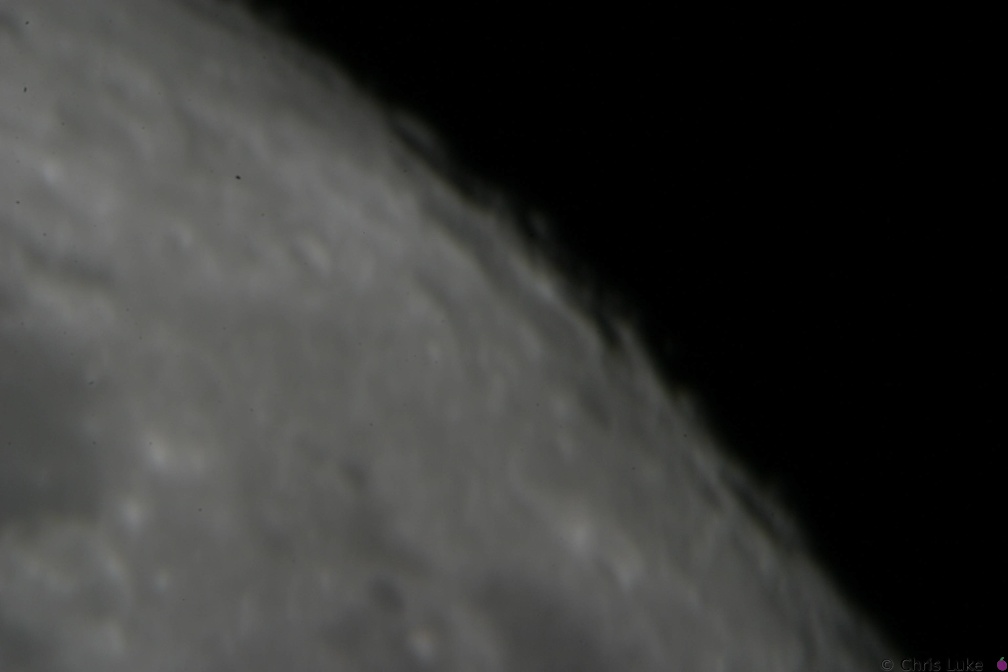 142 4273
 142 4274
 142 4202
 DSC00634
Gubbins under the 'scope, 2002-11-23 The Hauupage MPEG2 encoder (lid off, the fan was to noisy so it's disconnected) and other bits and pieces. 140 4021
 142 4296
 143 4360
 142 4201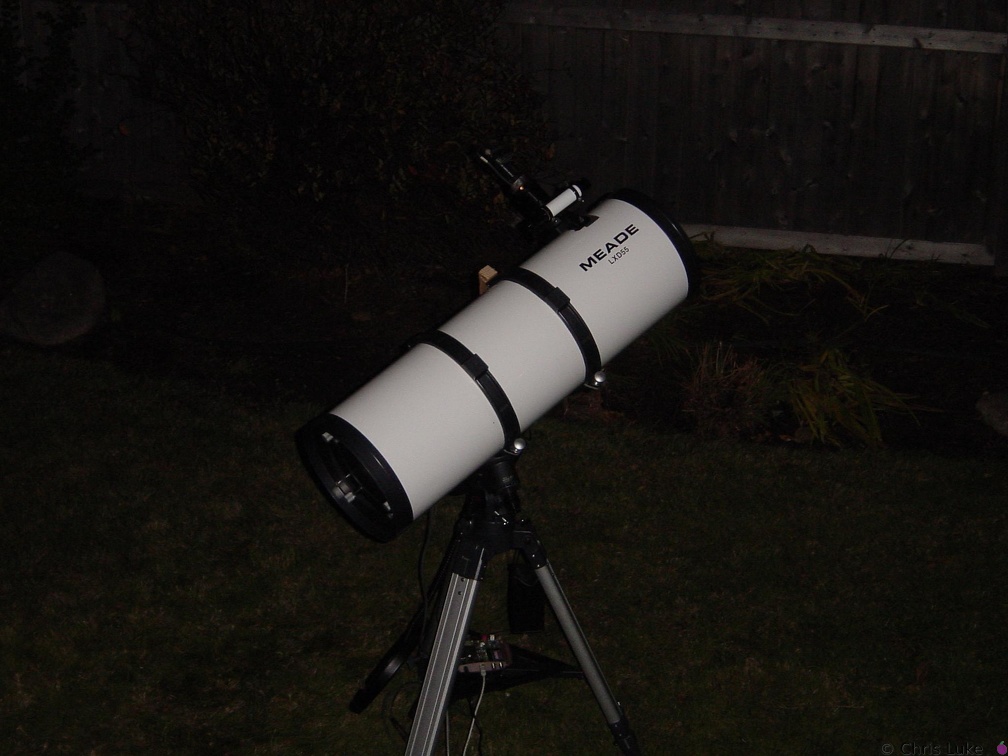
 IMG 7315
 140 4033
 143 4301
 142 4239
 IMG 5998
 142 4264
 142 4203
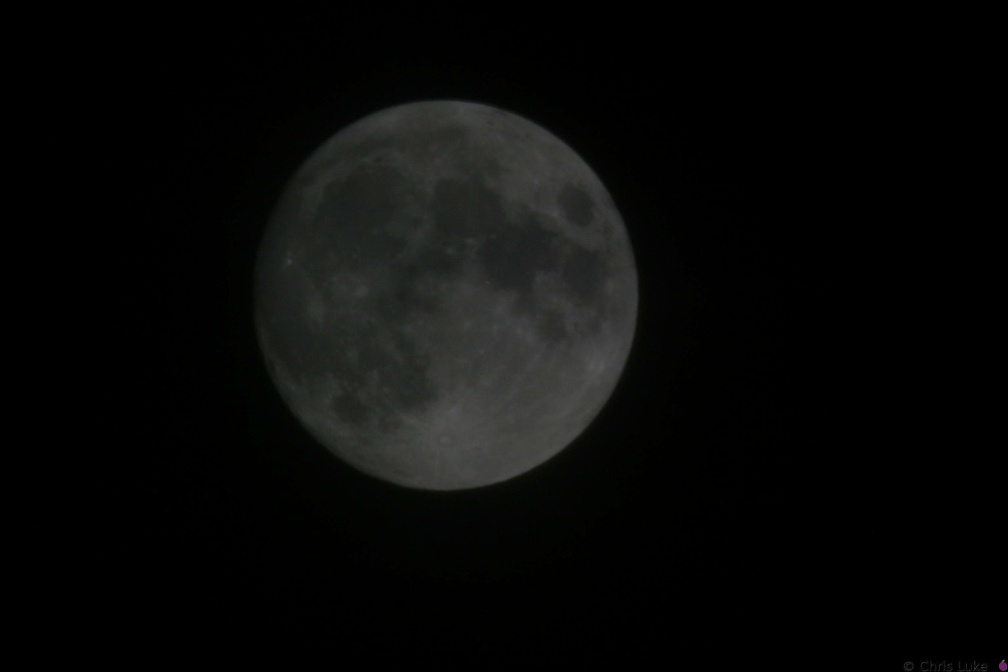 141 4200
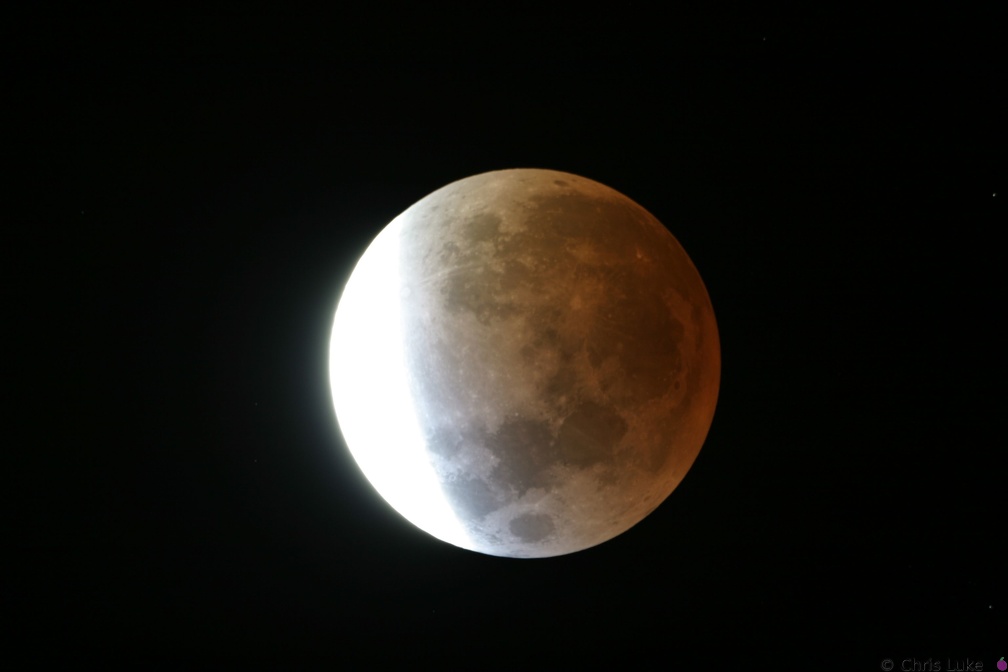 143 4376
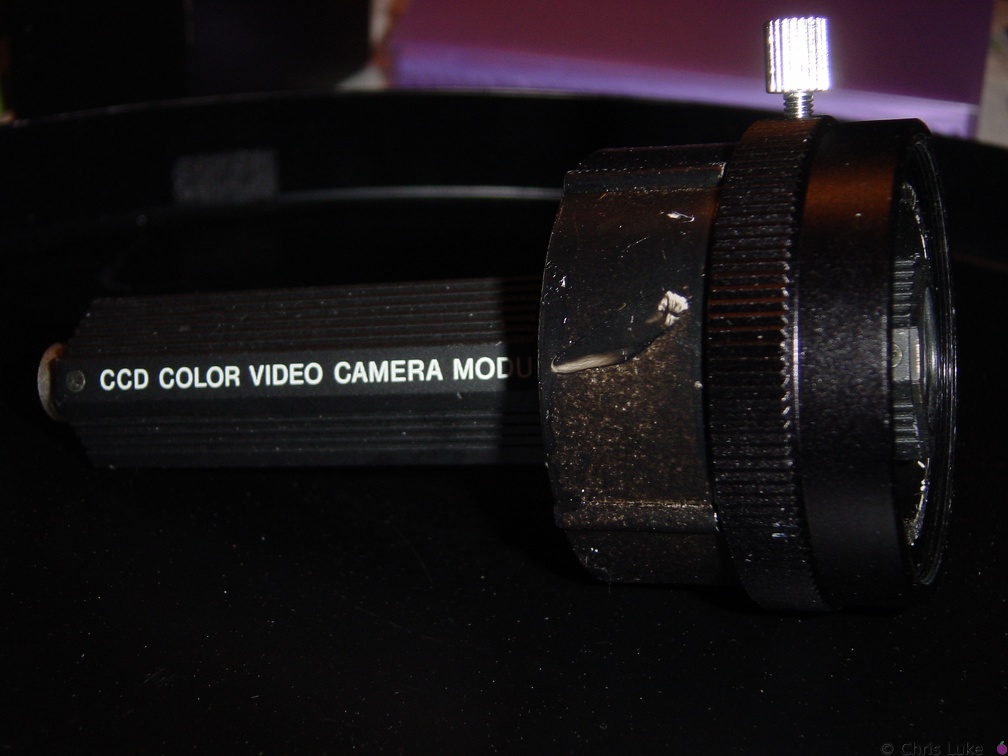 DSC00625
XC-999 CCD and the DIY mount The mount uses the 2" fitting for the Meade 10" Newt. and a 2" PVC "plug" normally used for plumbing applications. 142 4263
 142 4271
 DSC00632
The Moon on my laptop 2002-11-23 This was a live image of the Moon, at the time. IMG 7365
 142 4262
 140 4029
 142 4287
 IMG 7313
 142 4280
 140 4005
 142 4279
 143 4368
 143 4362
 154 5442
 IMG 7309
 IMG 7312
 143 4302
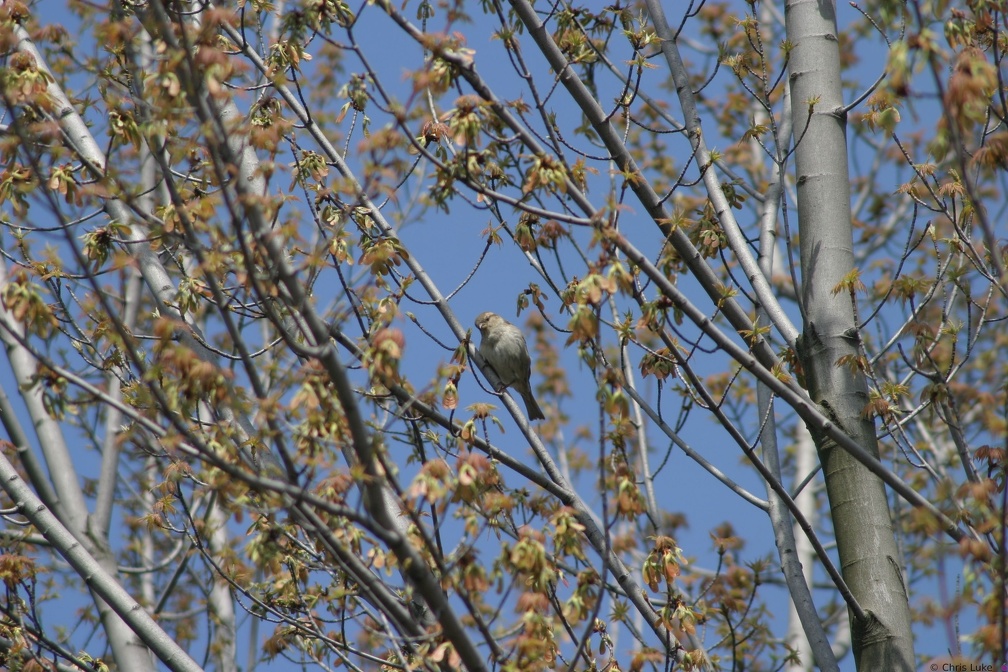 IMG 7387
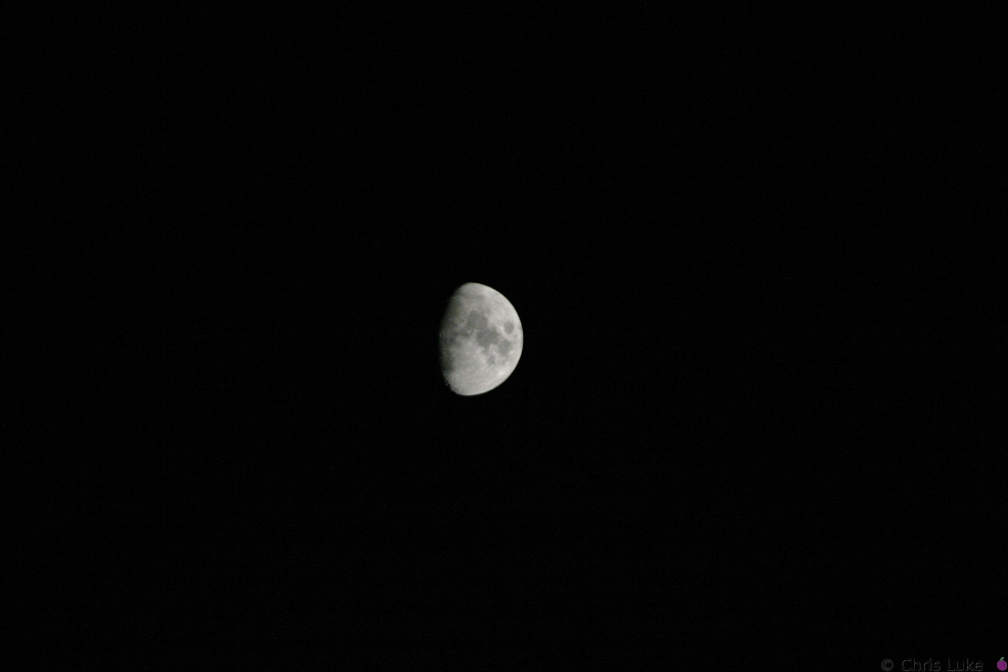 140 4006
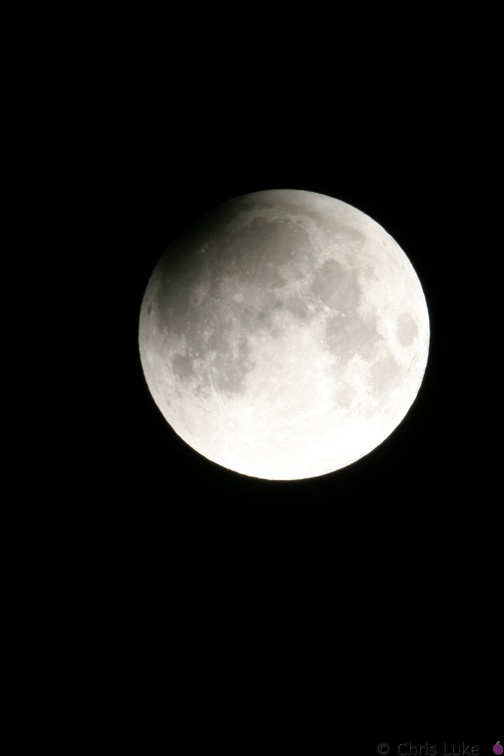 142 4298
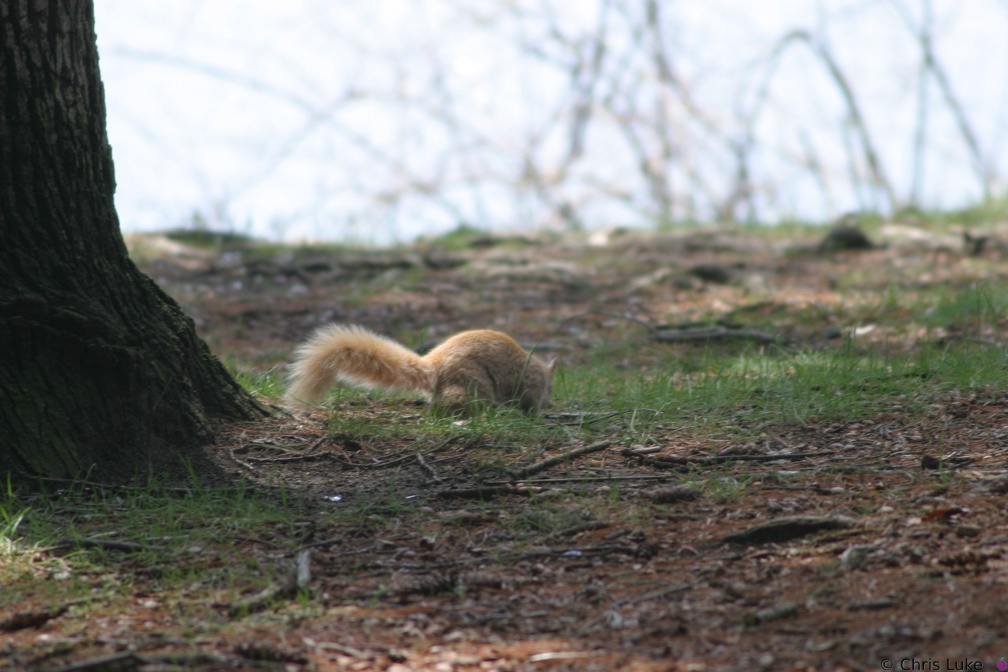 IMG 7307
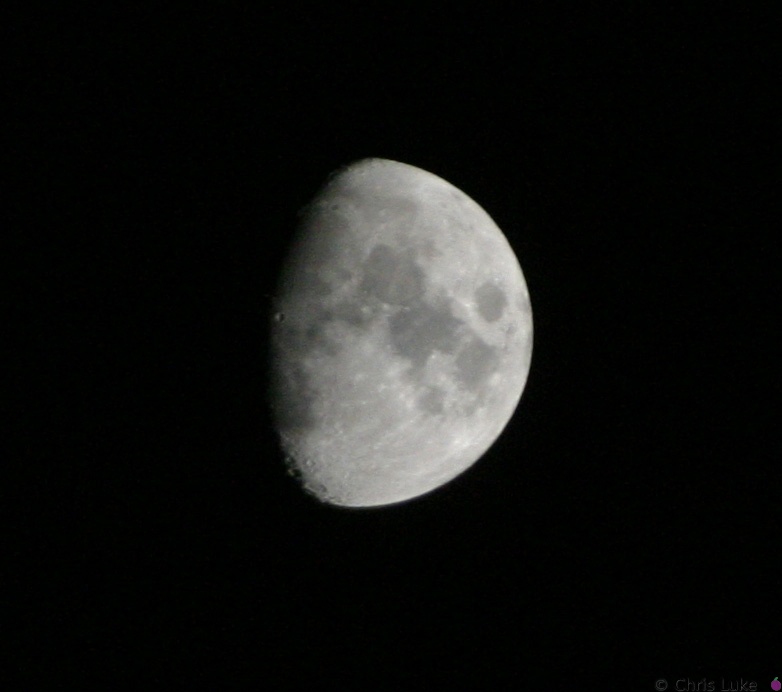 140 4033 crop
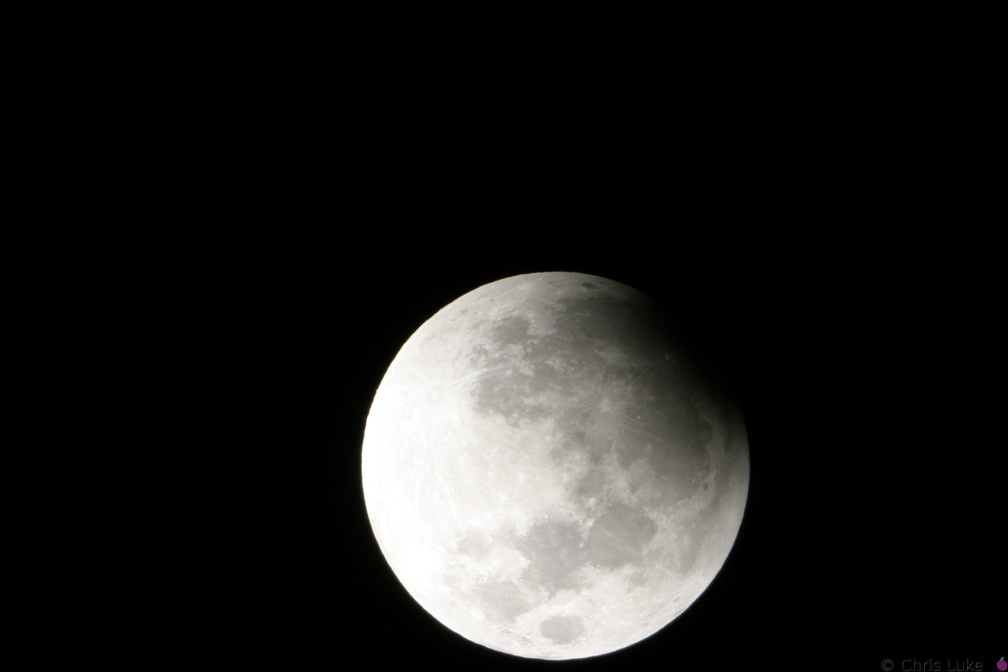 143 4305
 142 4261
 142 4283
 143 4303
 IMG 7306
 154 5422
 142 4276
 IMG 7314
 IMG 7388
 154 5438
 IMG 7373
 142 4295
 IMG 7378
 IMG 7376
 143 4332
 142 4282
 IMG 7386
 143 4321
 IMG 7267
 IMG 7308
 143 4378
 143 4307
 154 5425
 142 4294
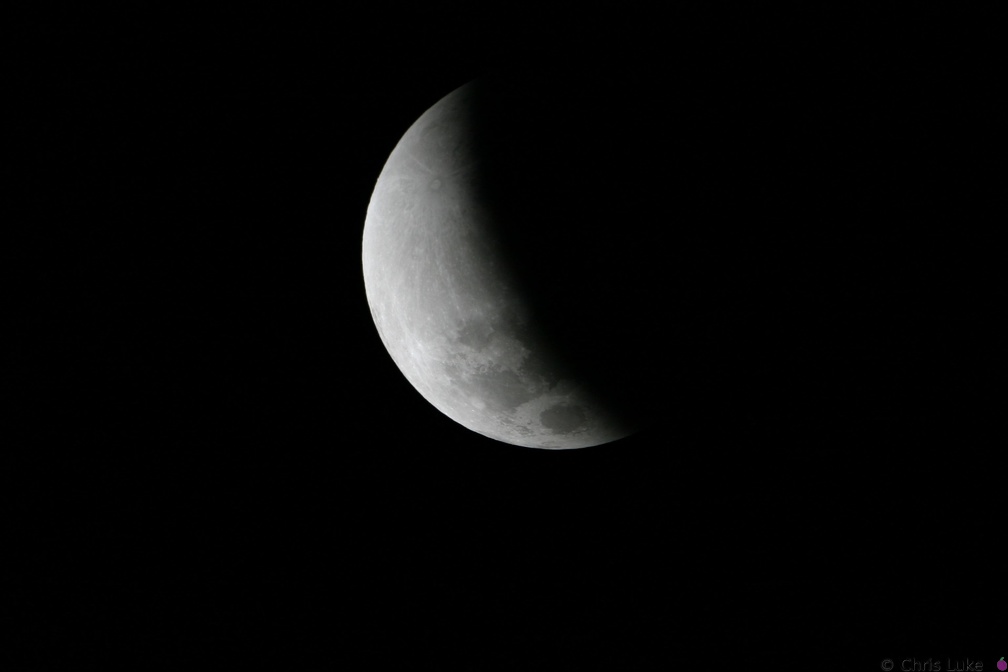 143 4331
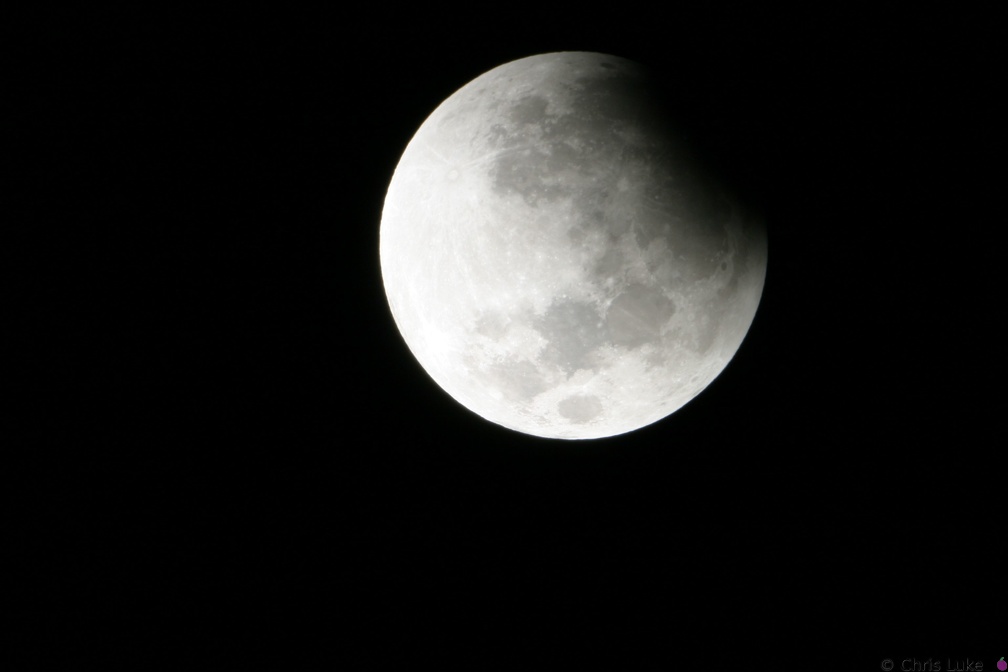 143 4309
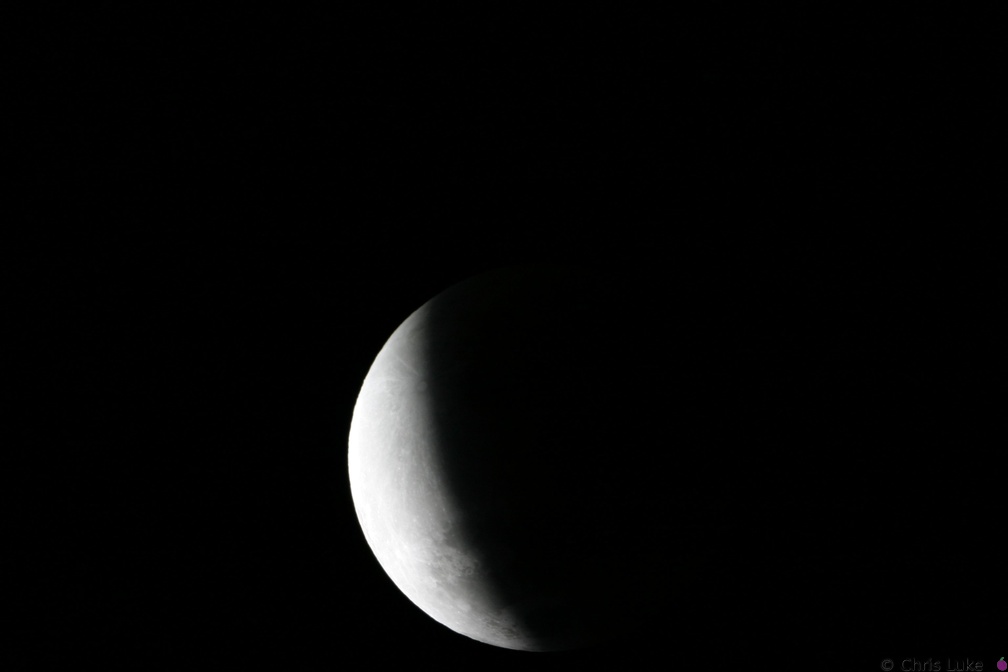 143 4349
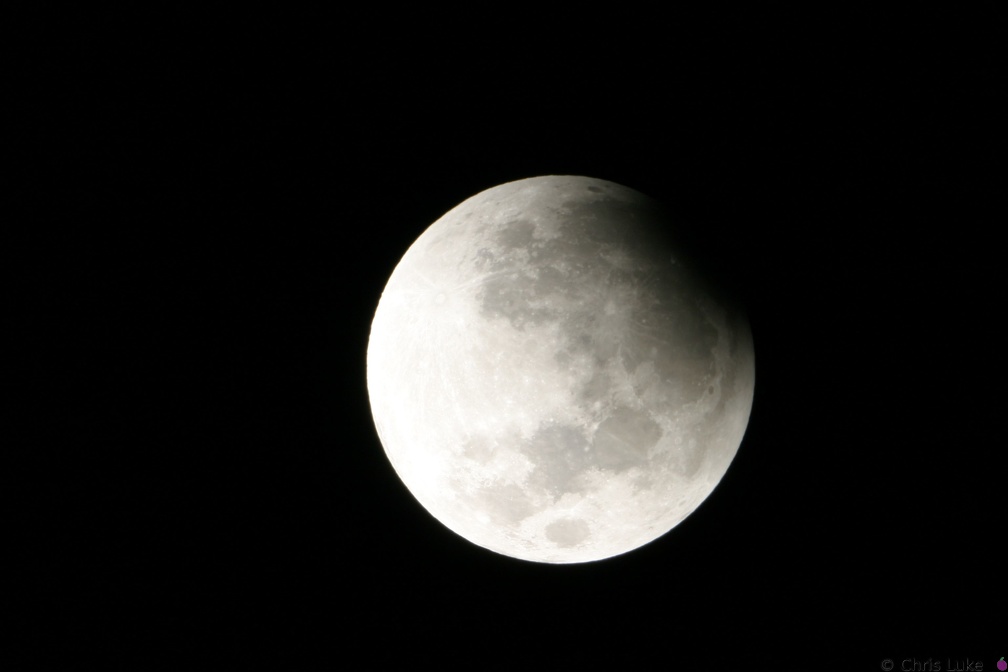 143 4306
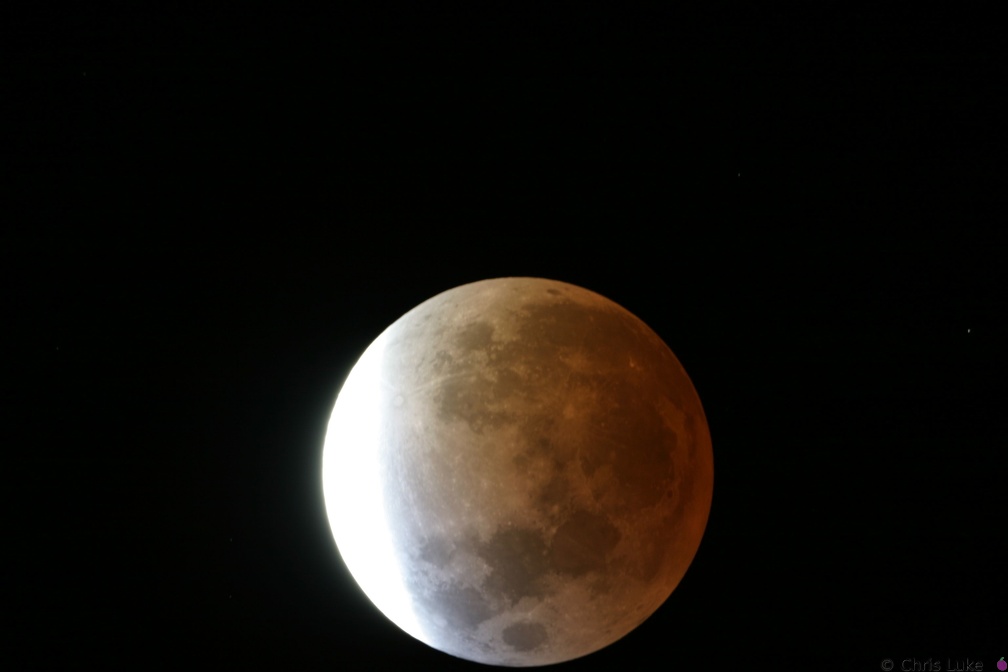 143 4387
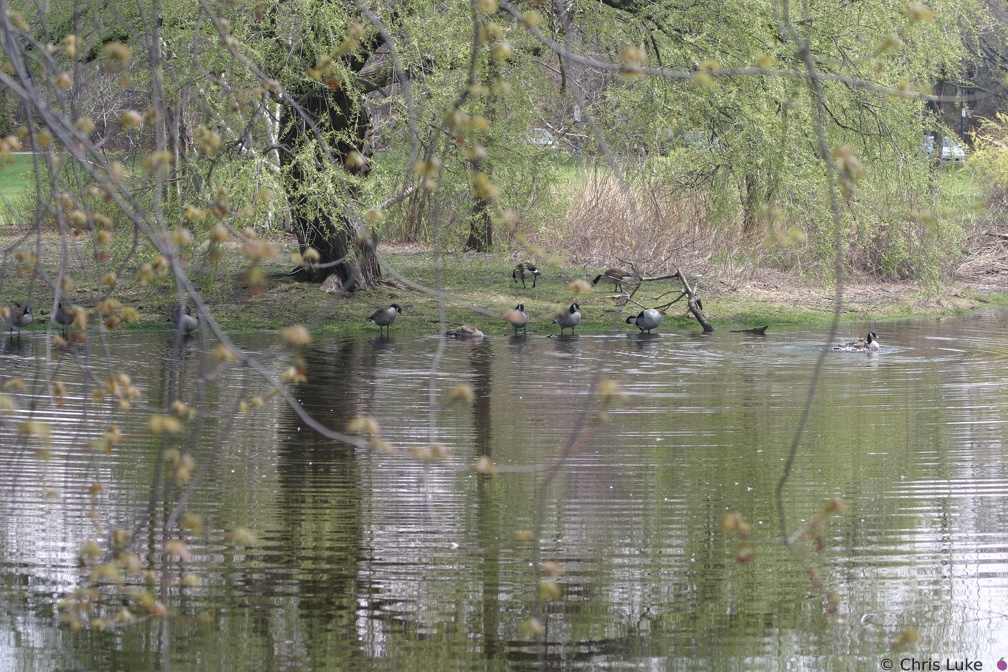 IMG 7358
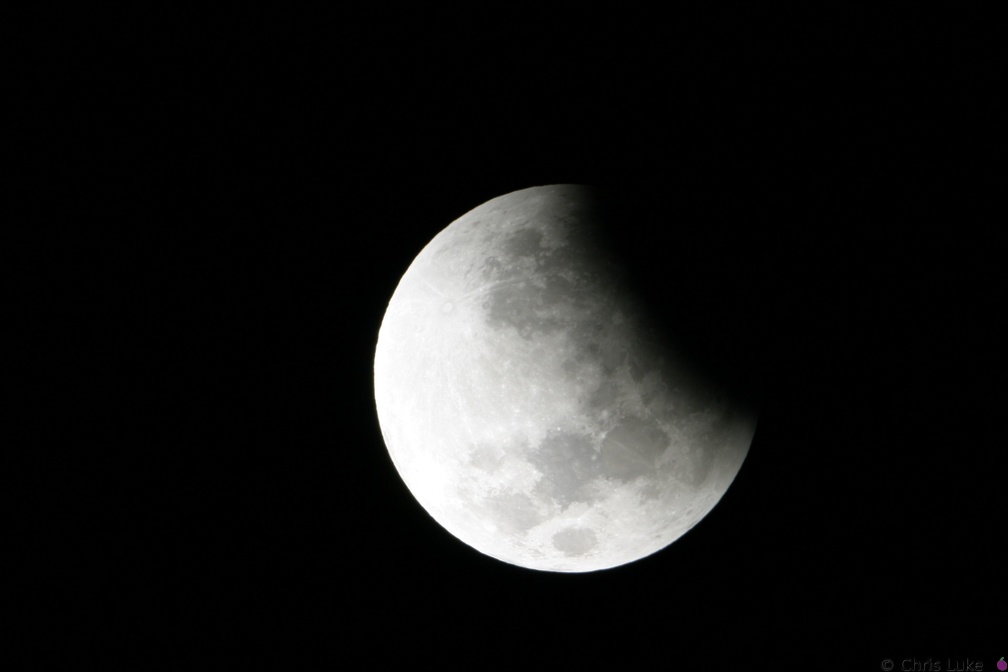 143 4315
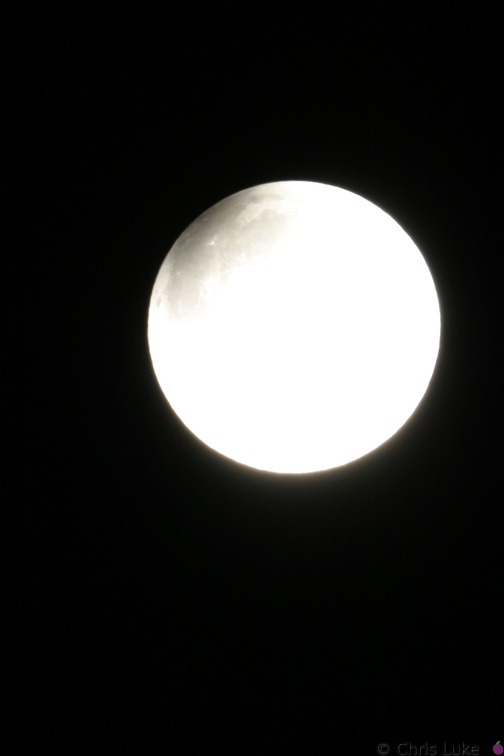 142 4290
 154 5423
 143 4367
 143 4319
 IMG 7304
 143 4386
 142 4208
 IMG 7346
 IMG 7300
 142 4209
 IMG 7349
 142 4293
 143 4388
 IMG 7323
 143 4348
 142 4281
 IMG 7305
 IMG 7297
 IMG 7326
 IMG 7348
 IMG 7321
 142 4285
 IMG 7380
 143 4311
 IMG 7384
 IMG 7359
 143 4353
 142 4284
 IMG 7347
 142 4286
 IMG 7397
 154 5446
 143 4345
 143 4338
 IMG 7354
 IMG 7303
 143 4310
 IMG 7273
 IMG 7278
 143 4346
 IMG 7398
 154 5405
 IMG 7320
 IMG 7357
 IMG 7265
 IMG 7381
 IMG 7277
 IMG 7385
 142 4297
 142 4206
 IMG 7383
 IMG 7396
 154 5445
 154 5473
 IMG 7391
 IMG 7322
 143 4304
 154 5444
 IMG 7399
 IMG 7394
 IMG 7319
 143 4354
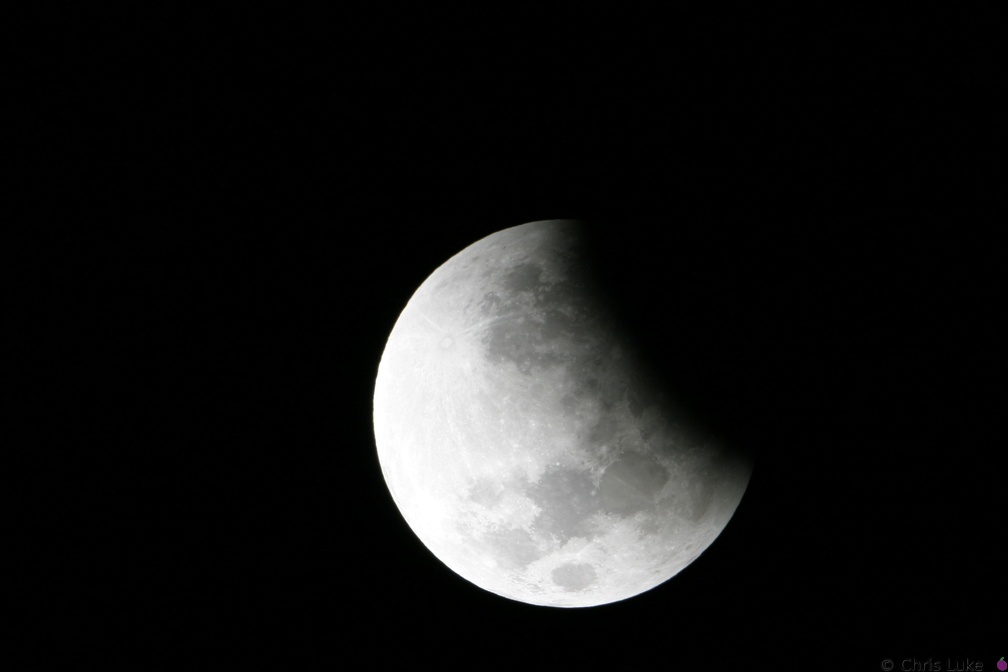 143 4318
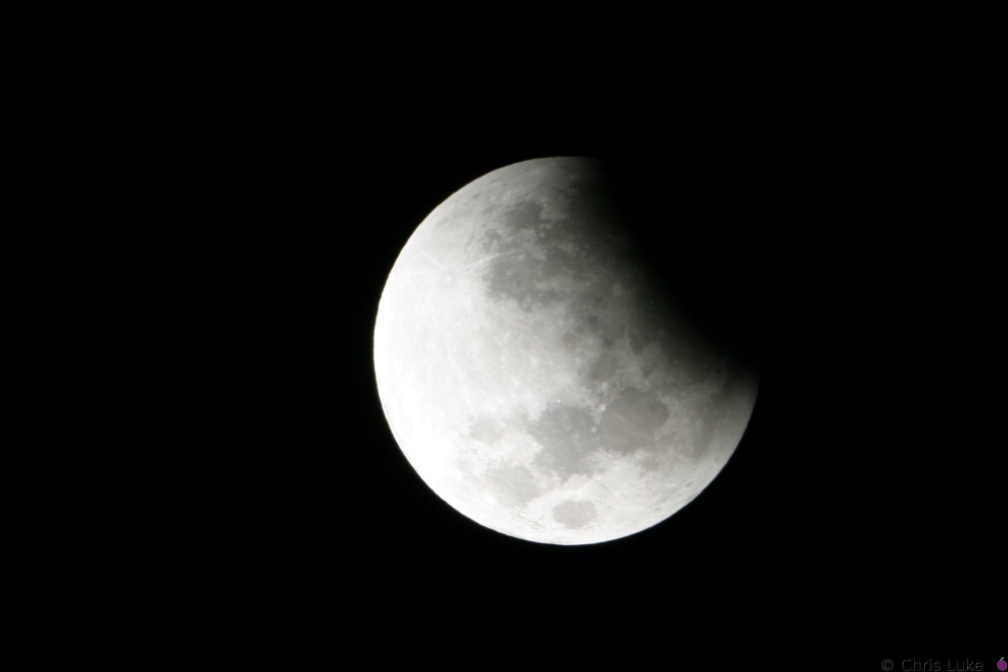 143 4314
 154 5432
 IMG 7299
 143 4390
 140 4002
 IMG 7400
 142 4212
 IMG 7393
 IMG 7392
 IMG 7301
 143 4371
 142 4204
 IMG 7401
 154 5426
 154 5420
 143 4324
 154 5437
 IMG 7367
 IMG 7298
 142 4292
 154 5441
 154 5436
 IMG 7316
 143 4379
 IMG 7375
 143 4350
 IMG 7353
 143 4344
 IMG 7382
 IMG 7356
 143 4333
 IMG 7351
 154 5443
 154 5419
 154 5427
 154 5464
 143 4334
 IMG 7327
 143 4320
 143 4312
 IMG 7296
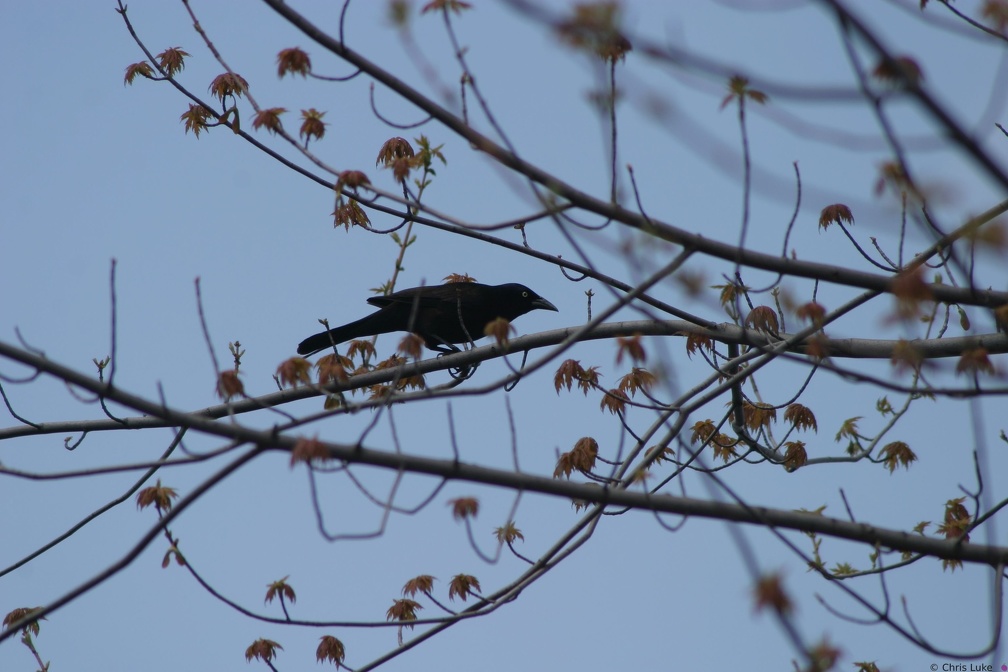 IMG 7360
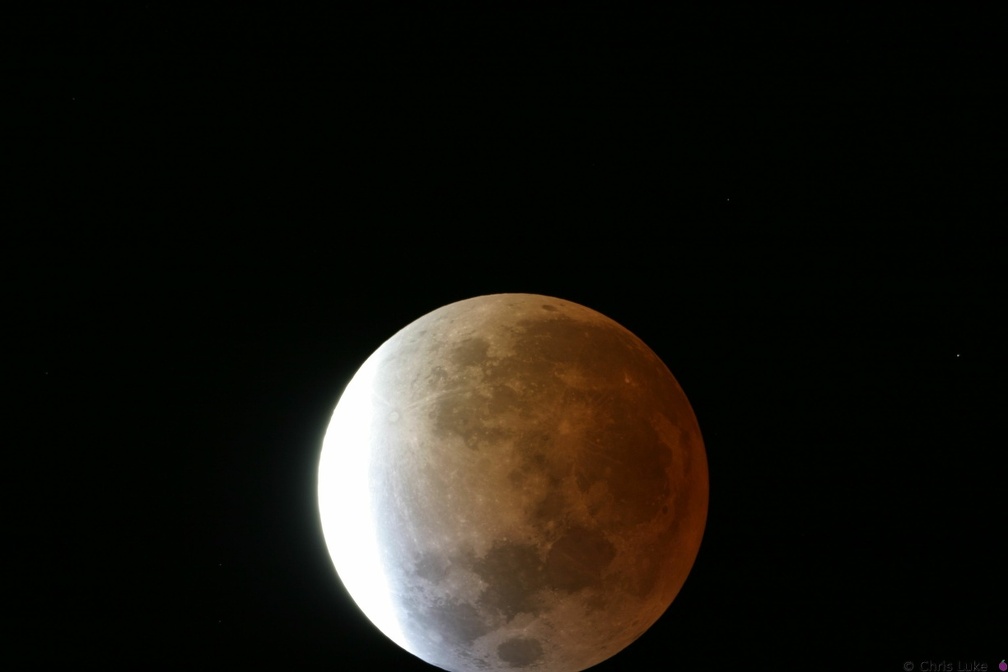 143 4389
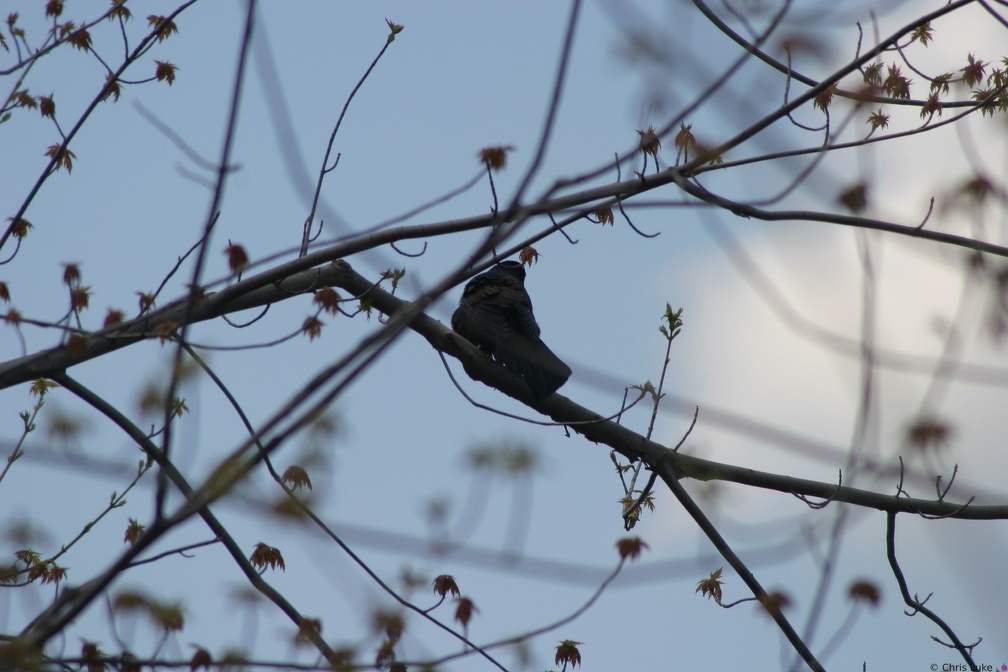 IMG 7364
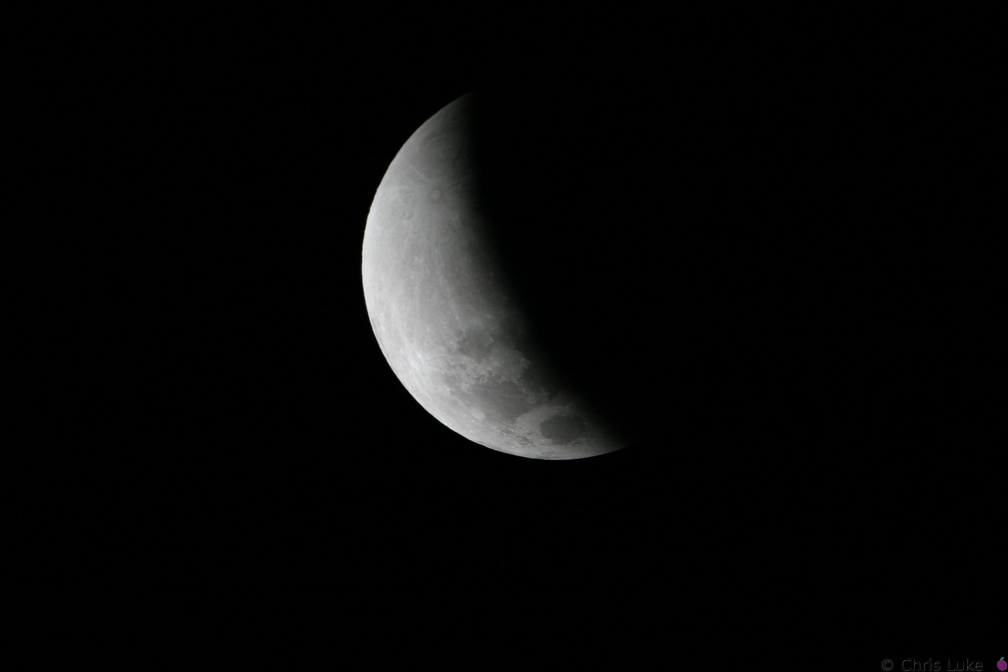 143 4339
 143 4308
 IMG 7390
 IMG 7280
 154 5431
 143 4330
 143 4355
 IMG 7374
 IMG 7352
 IMG 7318
 154 5424
 143 4373
 IMG 7355
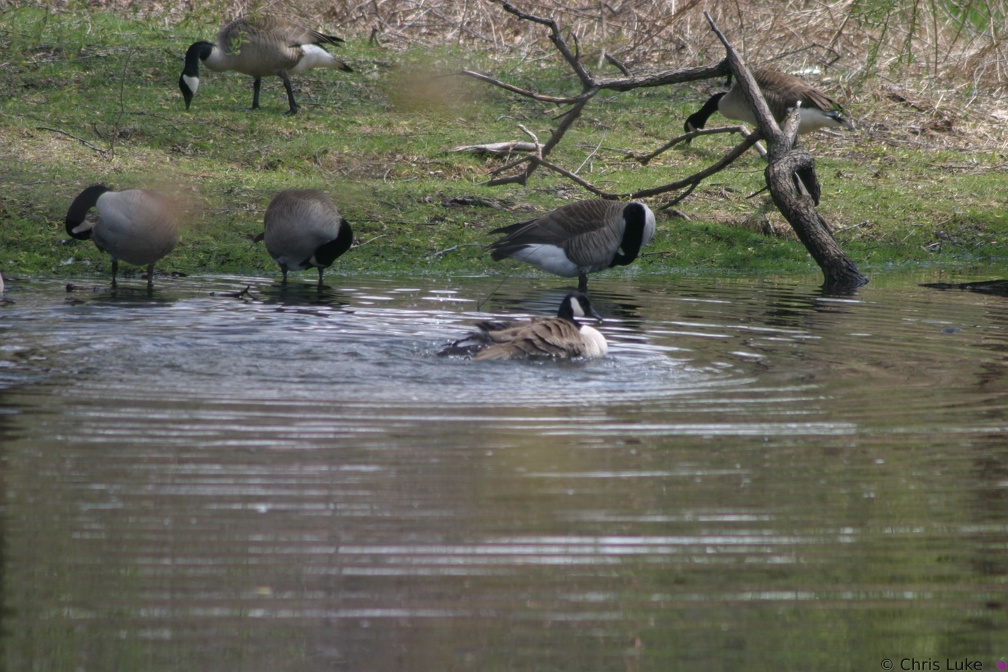 IMG 7350
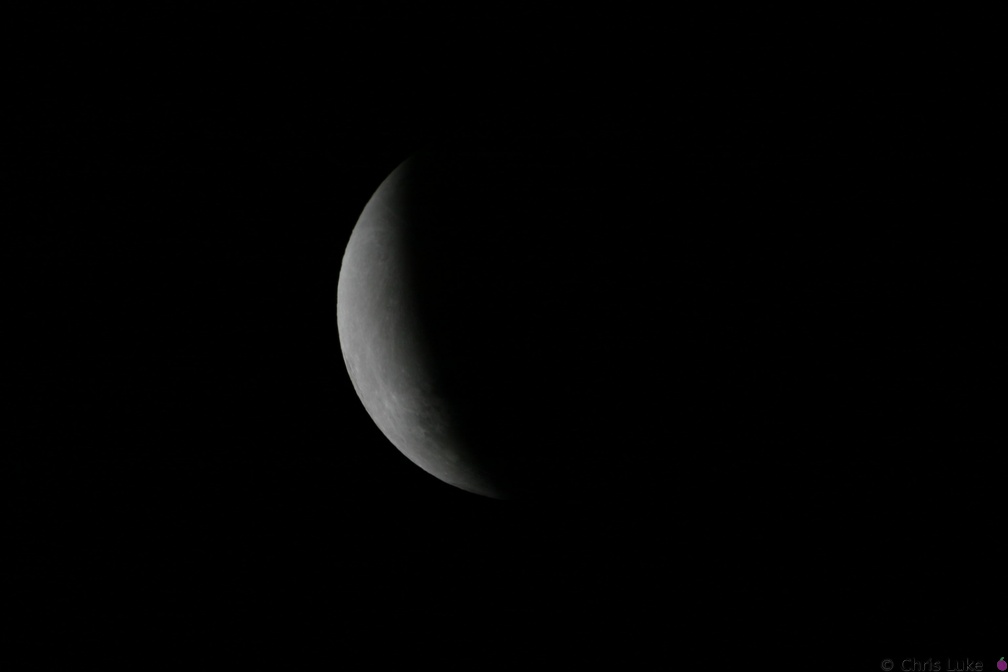 143 4364
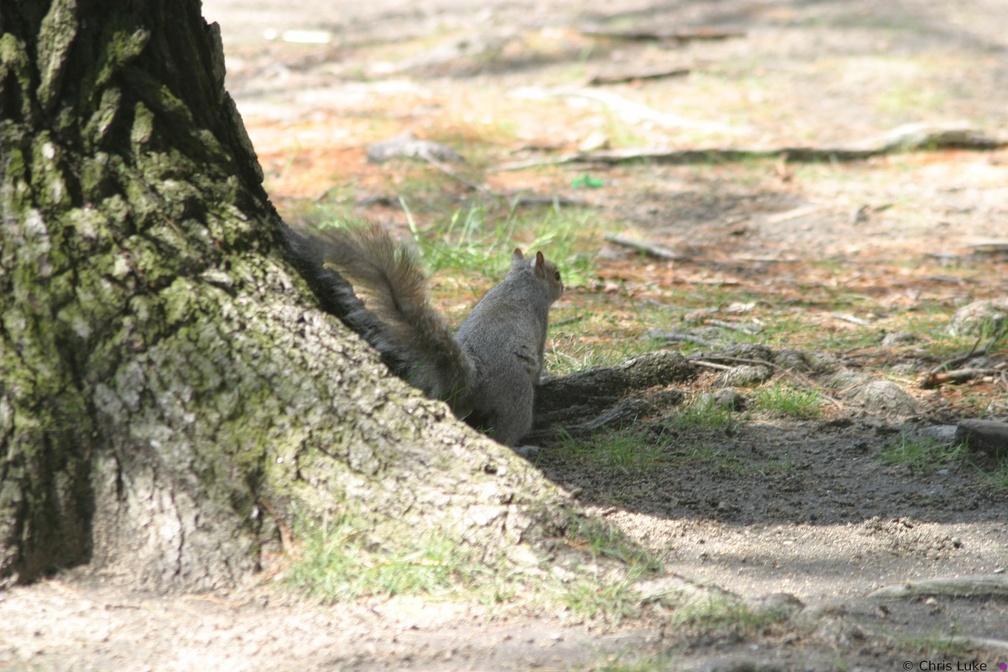 IMG 7287
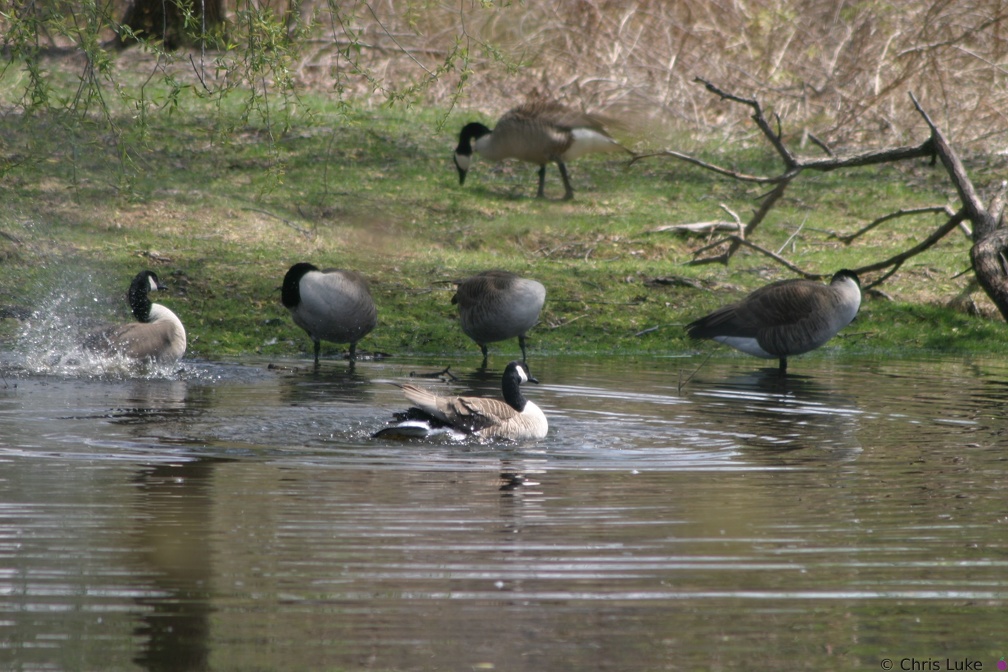 IMG 7344
 143 4329
 142 4211
 IMG 7377
 IMG 7279
 IMG 7324
 IMG 7361
 IMG 7345
 154 5428
 143 4372
 154 5433
 143 4363
 143 4343
 IMG 7402
 IMG 7362
 IMG 7366
 IMG 7275
 154 5470
 IMG 7295
 154 5471
 154 5430
 154 5418
 154 5429
 IMG 7370
 143 4322
 IMG 7286
 154 5468
 154 5459
 IMG 7363
 IMG 7293
 IMG 7221
 154 5455
 IMG 7330
 140 4032
 IMG 7328
 IMG 7389
 143 4381
 IMG 7271
 143 4359
 154 5467
 154 5462
 143 4356
 143 4336
 154 5434
 IMG 7274
 143 4369
 143 4351
 Moon029
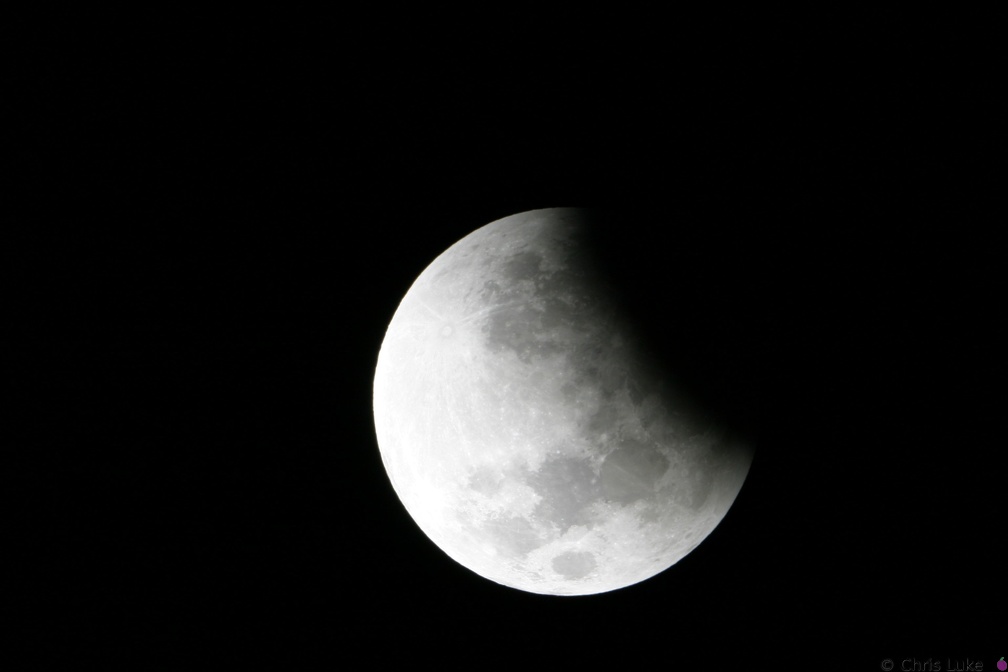 143 4316
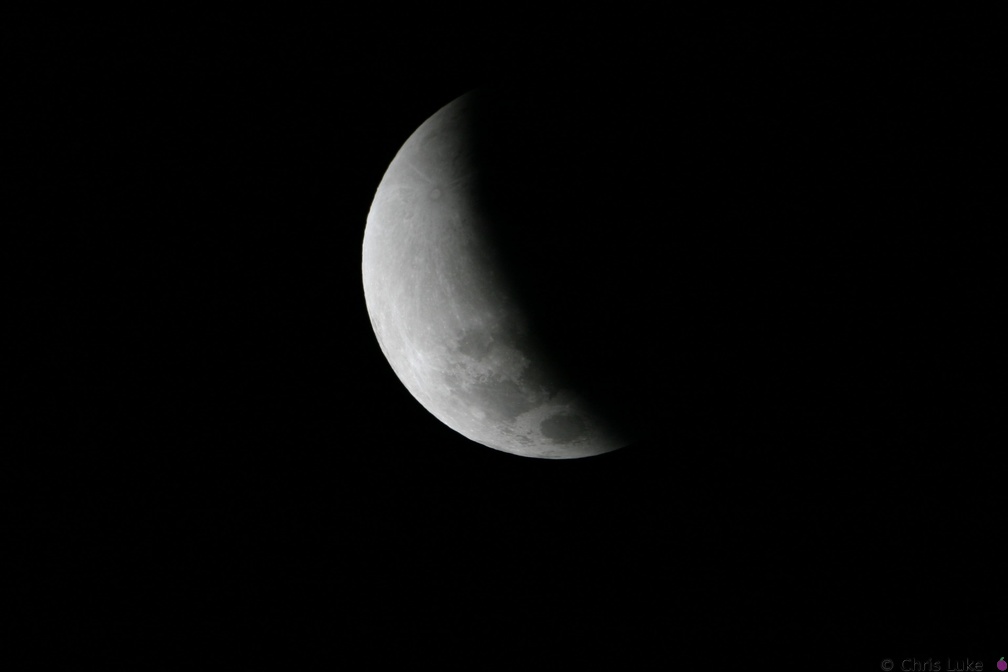 143 4335
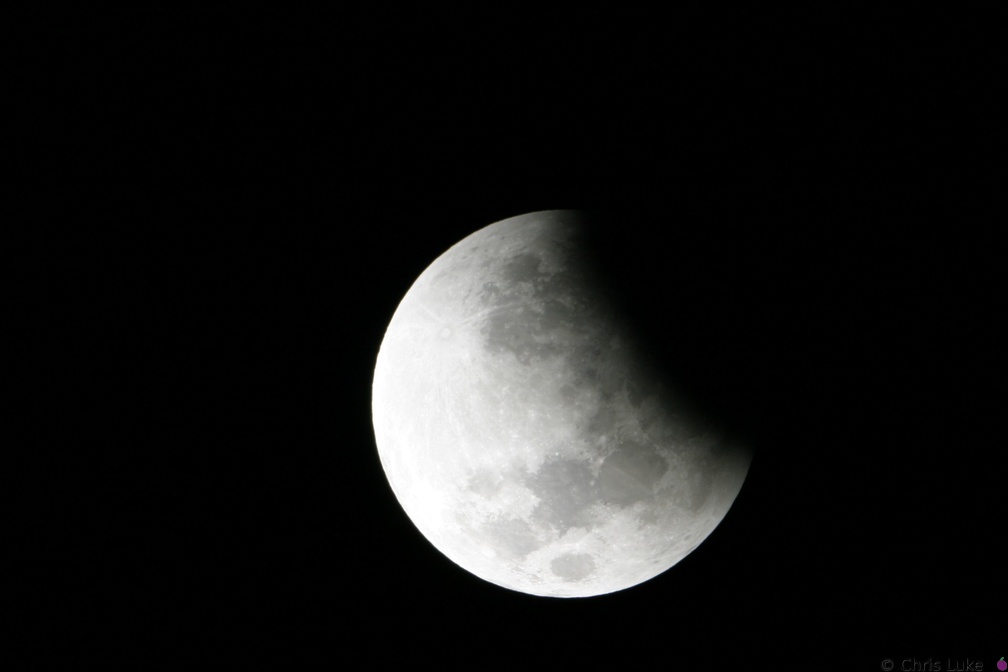 143 4317
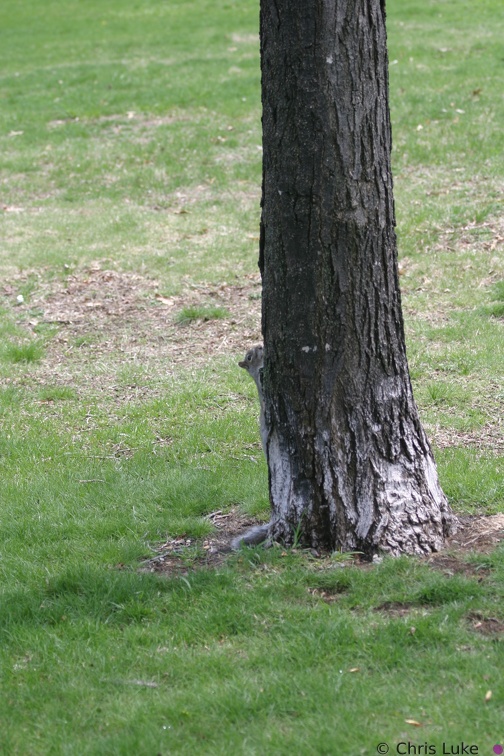 IMG 7395
 154 5421
 143 4352
 IMG 7334
 IMG 7282
 143 4327
 IMG 7288
 IMG 7294
 143 4375
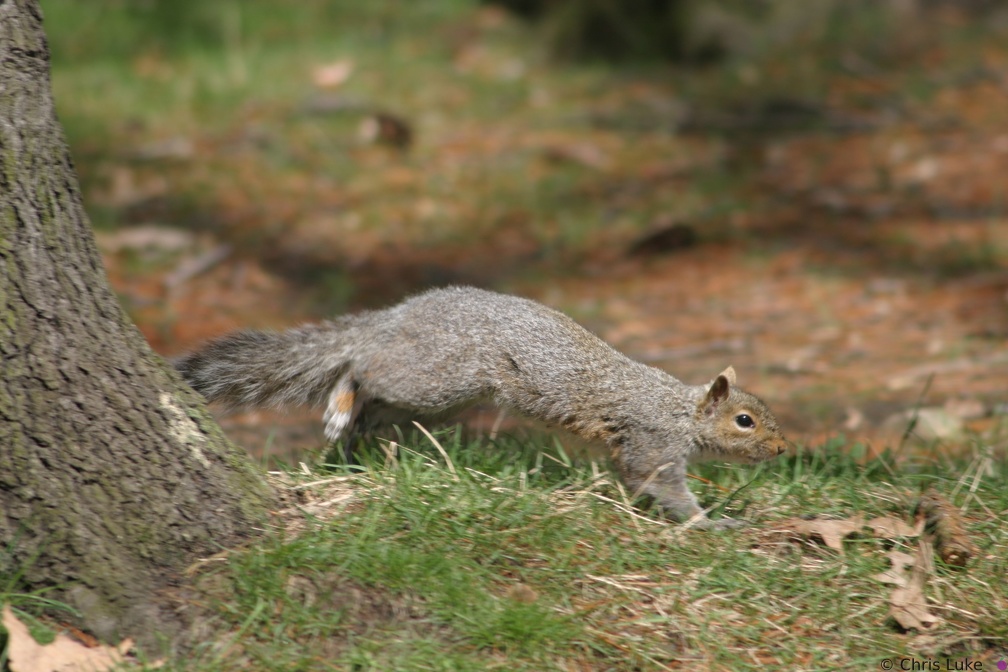 IMG 7269
 142 4210
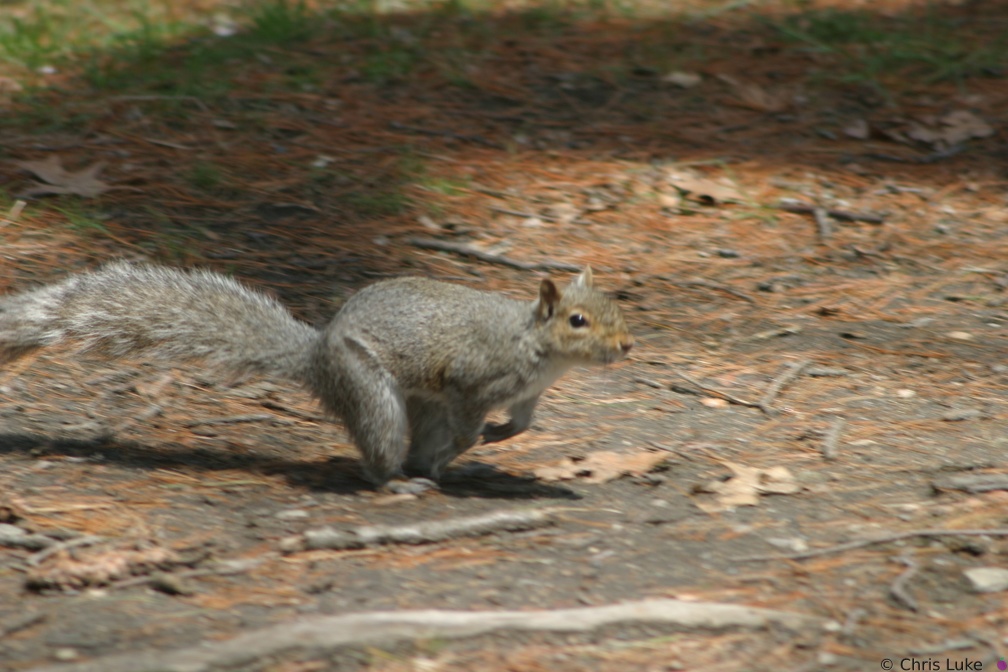 IMG 7270
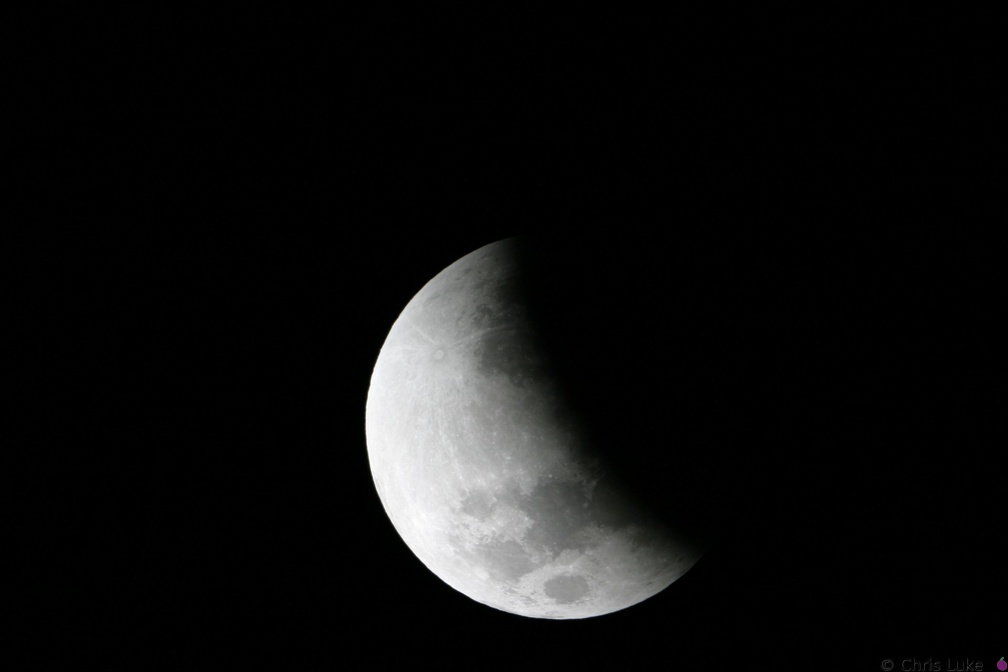 143 4323
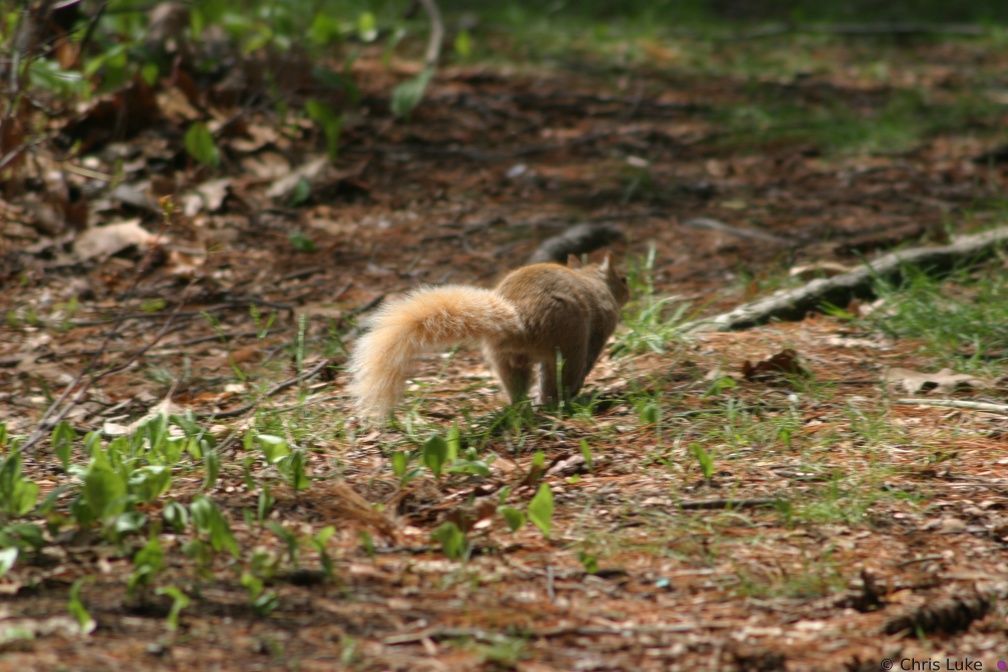 IMG 7302
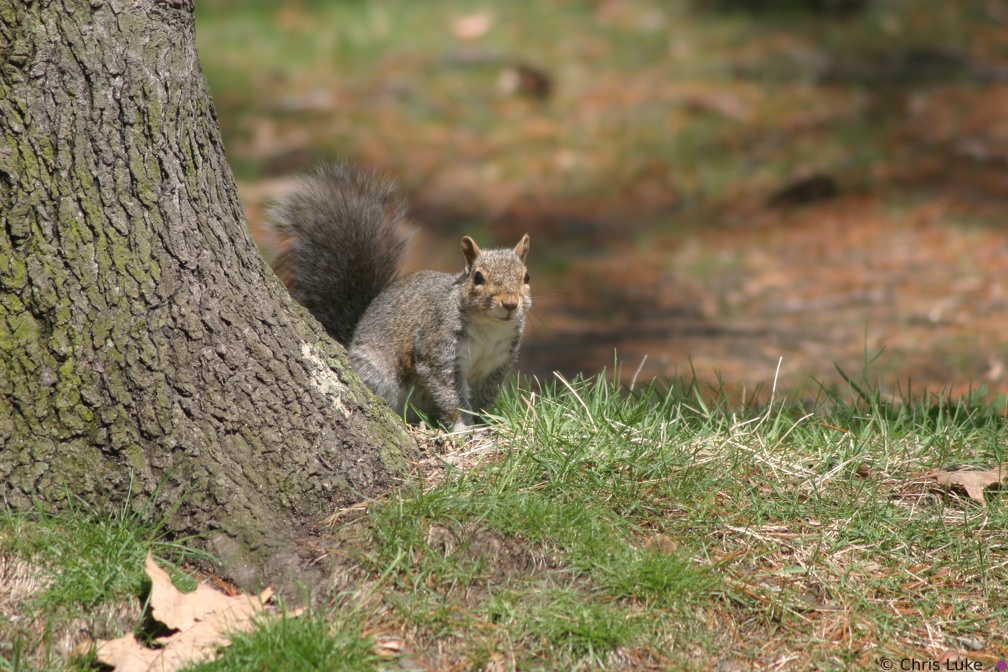 IMG 7268
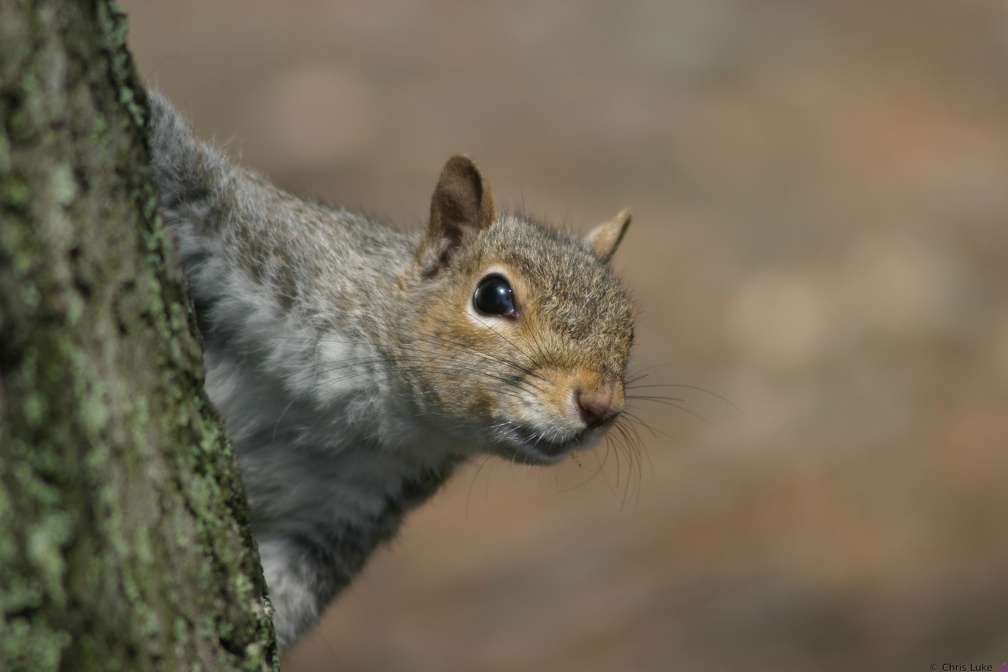 IMG 7281
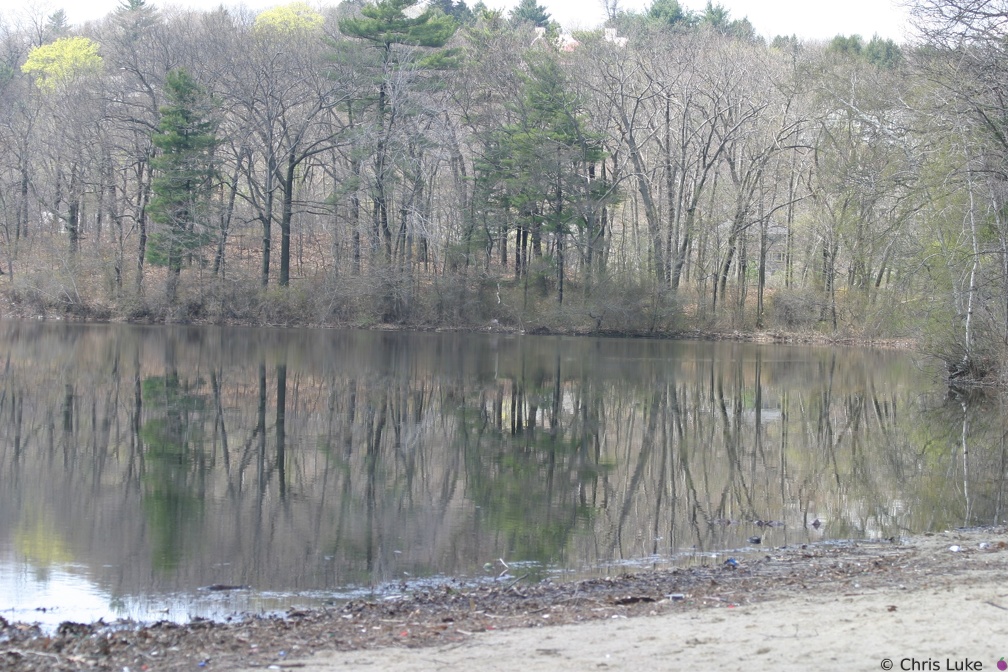 IMG 7228
 154 5417
 143 4370
 143 4380
 143 4358
 IMG 7329
 142 4207
 IMG 7285
 154 5463
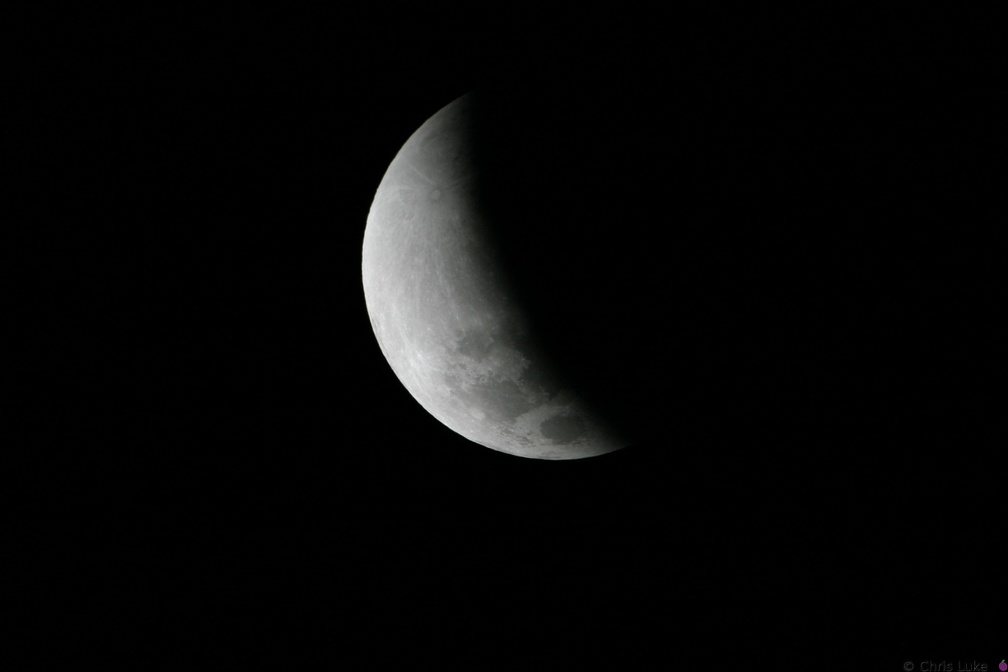 143 4341
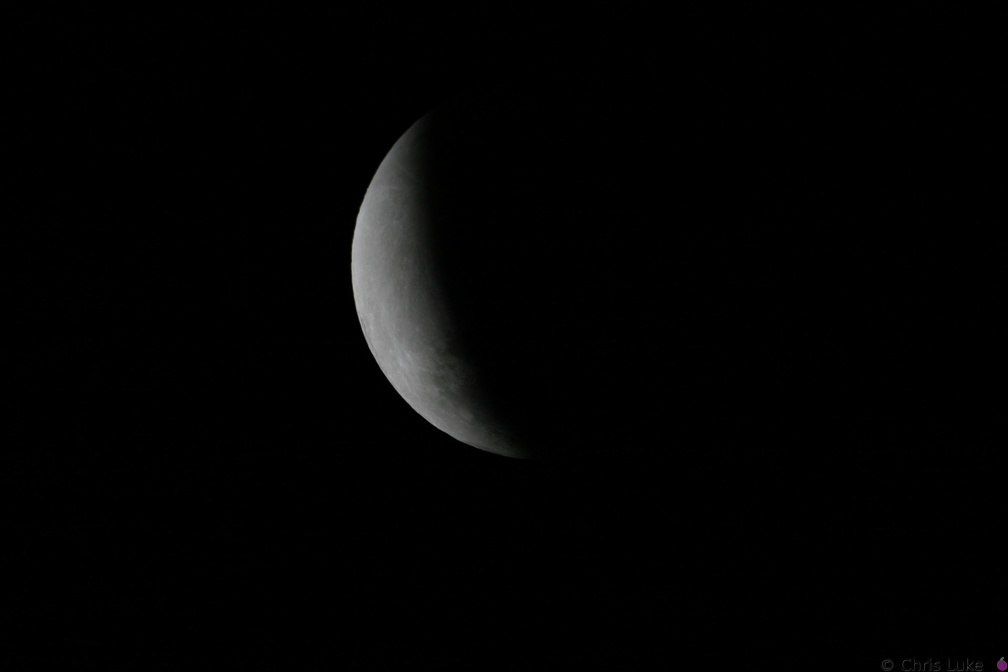 143 4357
 154 5466
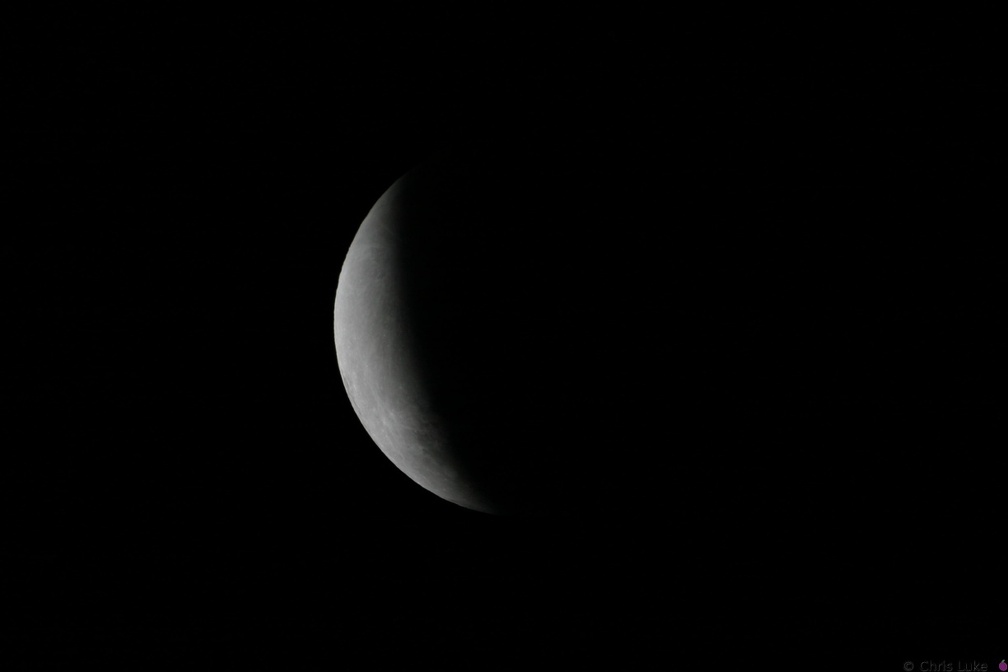 143 4366
 142 4213
 154 5472
 142 4214
 154 5458
 IMG 7259
 143 4340
 154 5465
 IMG 7290
 IMG 7266
 143 4377
 143 4326
 143 4391
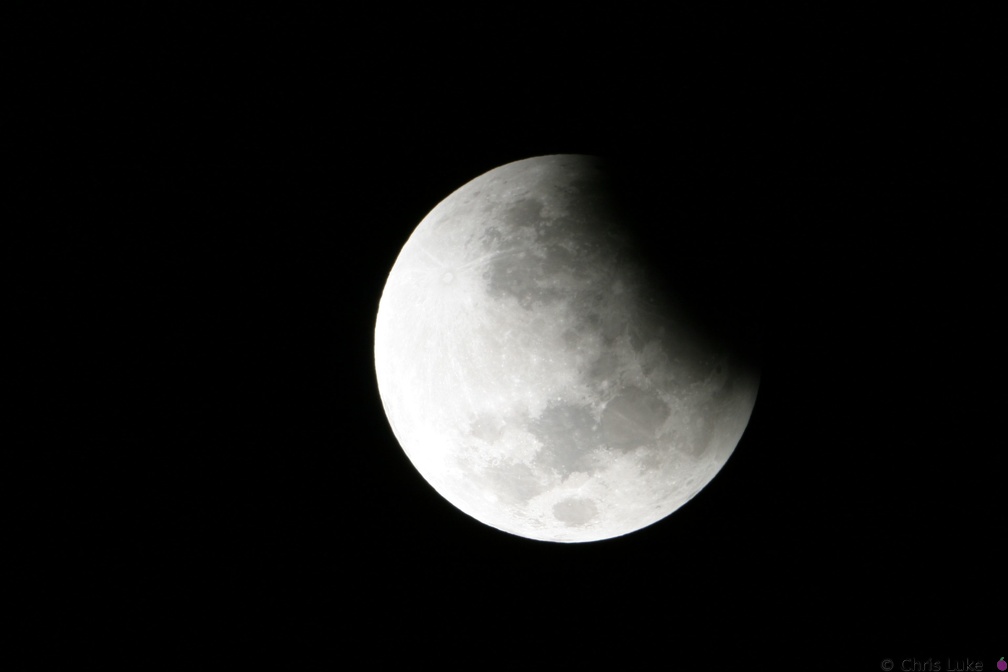 143 4313
 IMG 7284
 142 4205
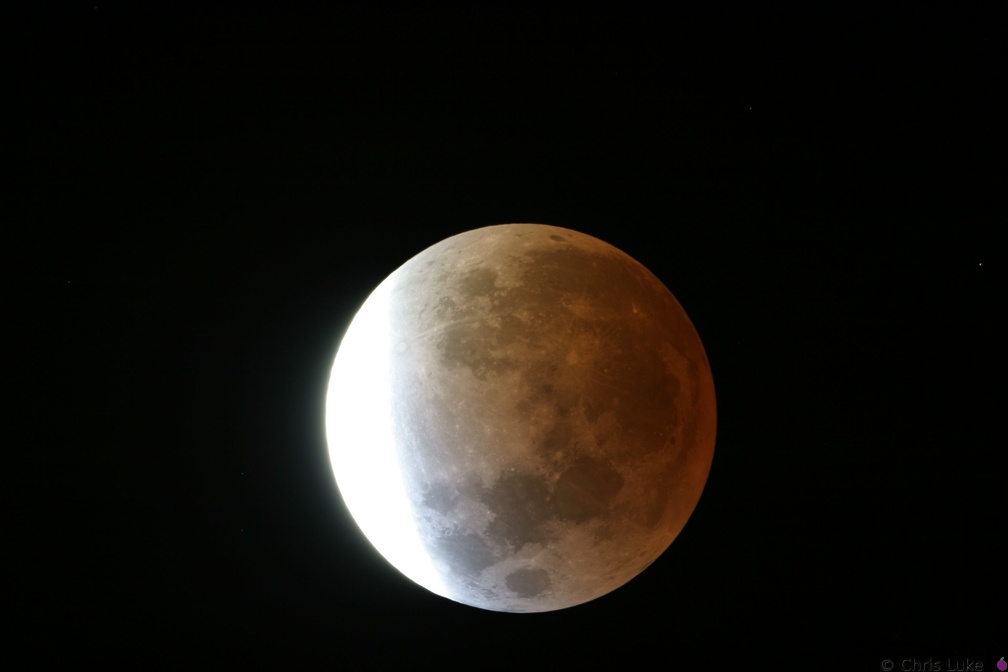 143 4382
 143 4342
 143 4385
 143 4374
 154 5449
 IMG 7372
 143 4361
 IMG 7331
 154 5435
 154 5447
 142 4217
 154 5453
 142 4216
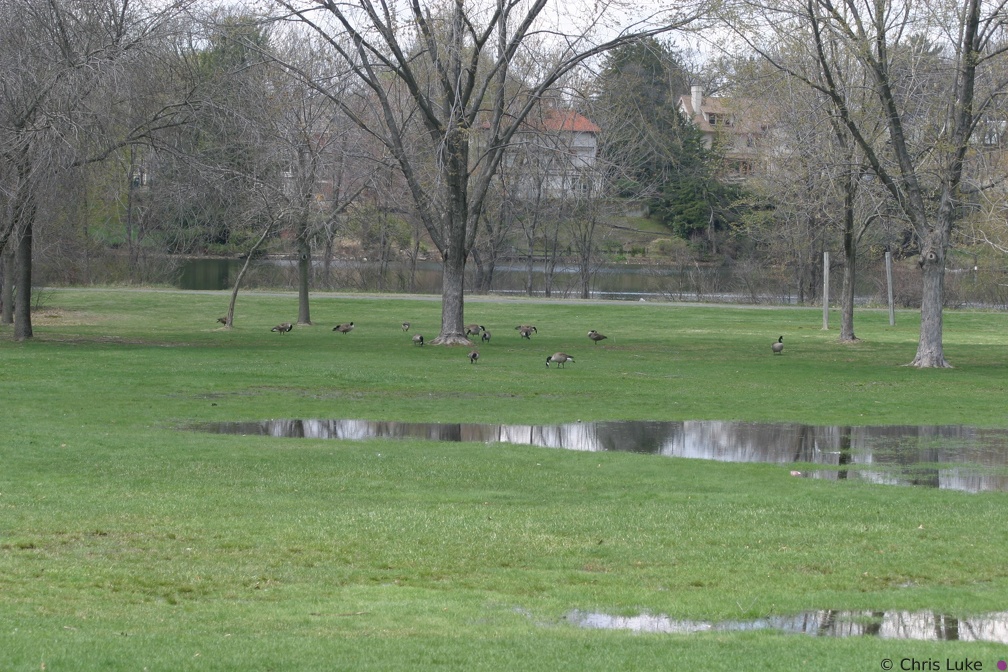 IMG 7403
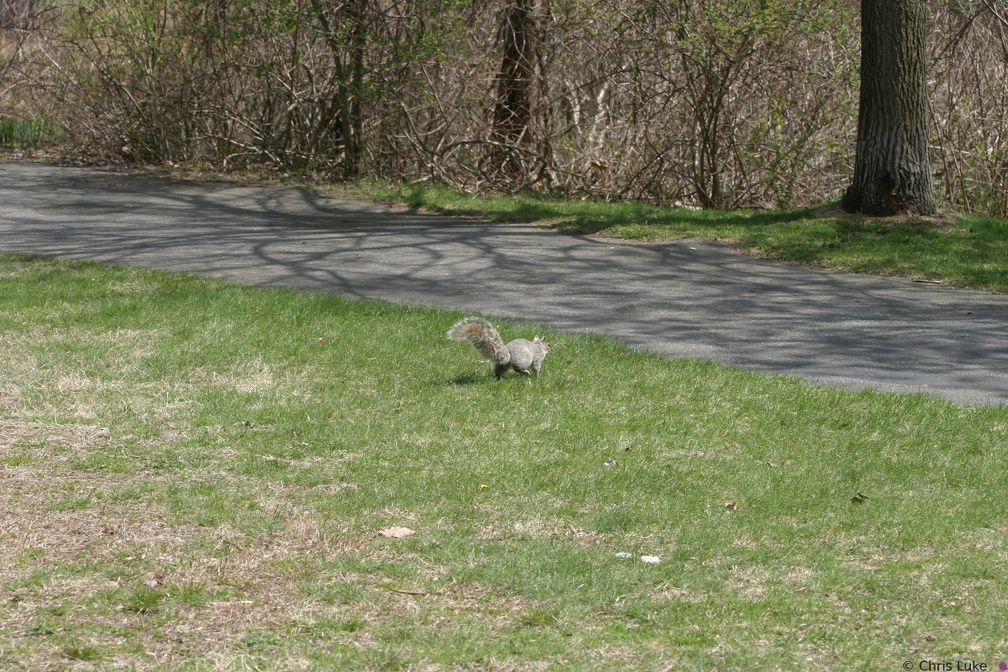 IMG 7332
 154 5456
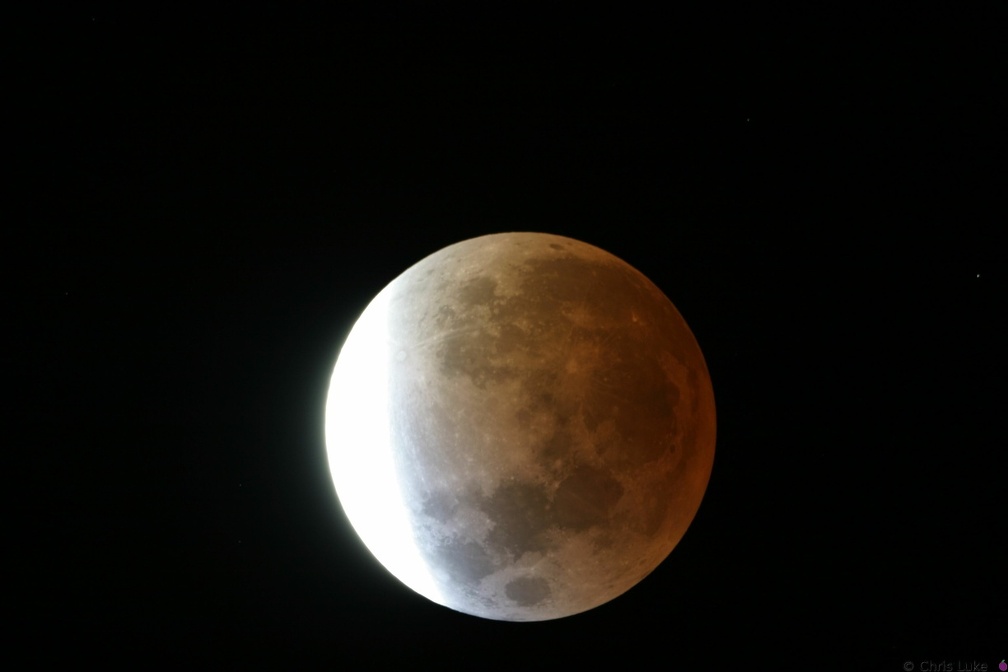 143 4383
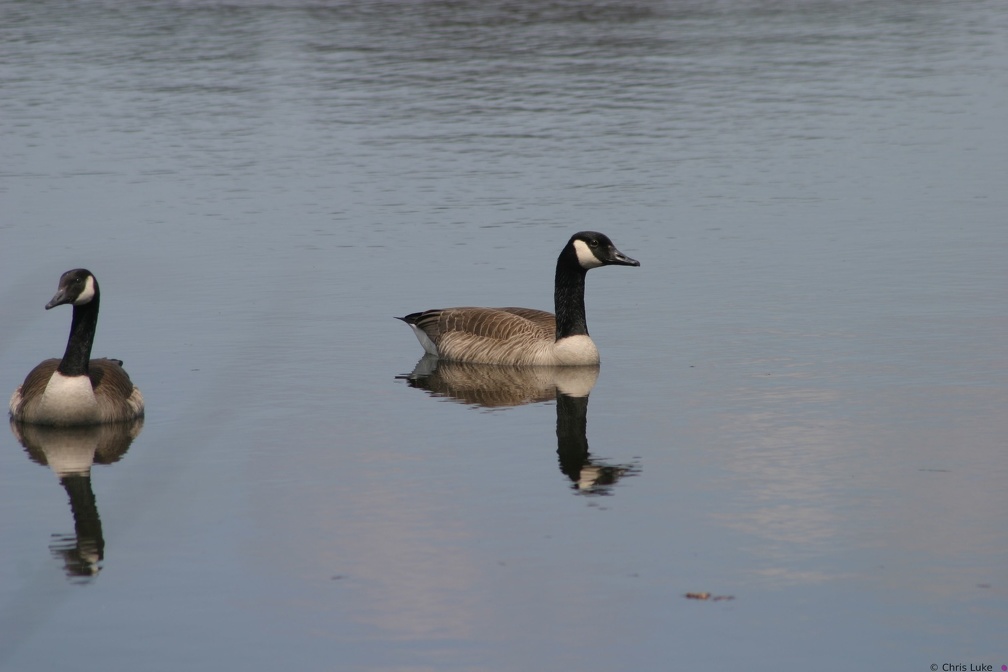 IMG 7368
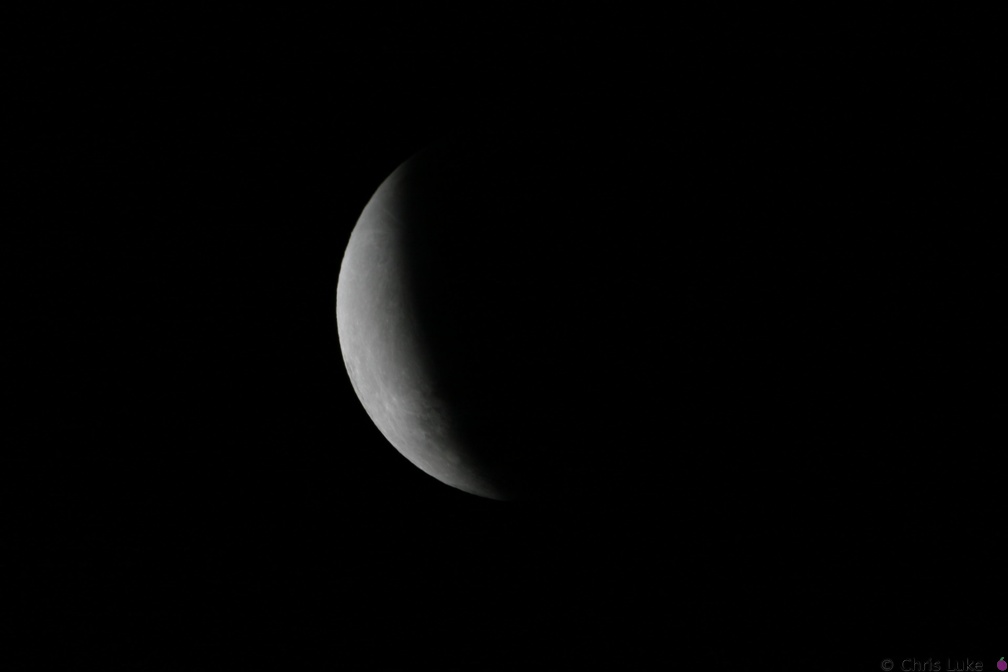 143 4365
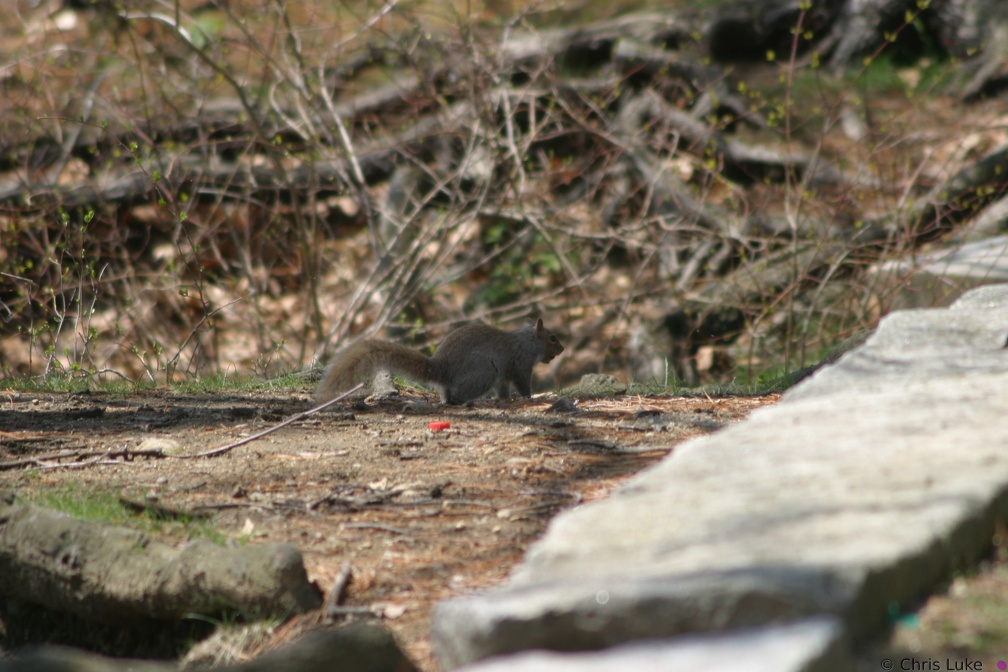 IMG 7250
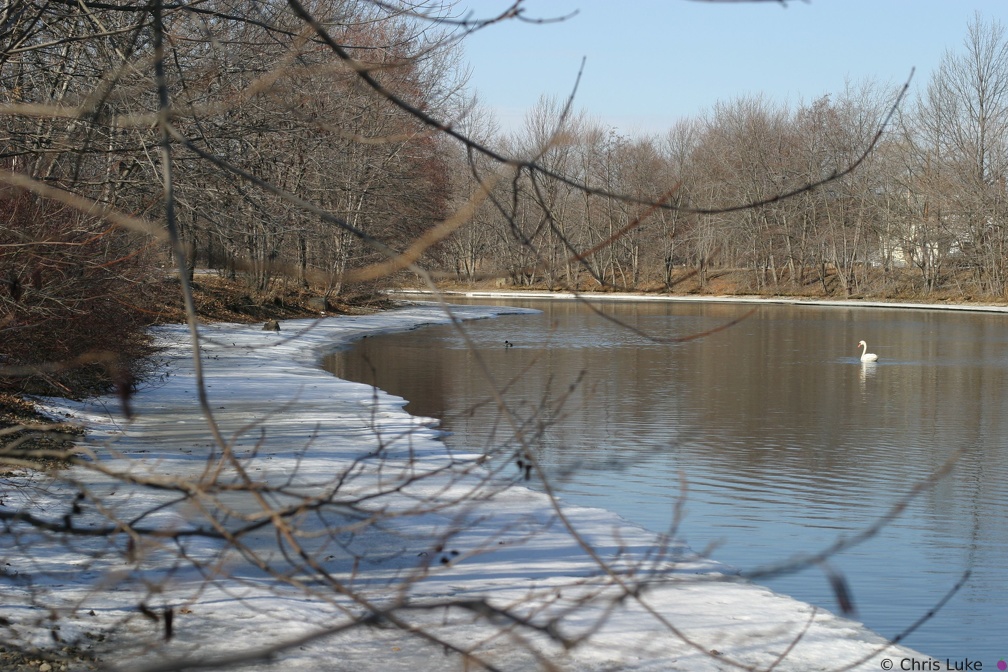 IMG 6339
 154 5457
 154 5460
 142 4220
 IMG 7276
 IMG 7291
 154 5416
 IMG 7264
 IMG 7371
 154 5469
 IMG 7243
 142 4219
 IMG 7258
 IMG 7256
 IMG 7229
 IMG 7289
 142 4222
 IMG 7242
 154 5454
 154 5402
 IMG 7369
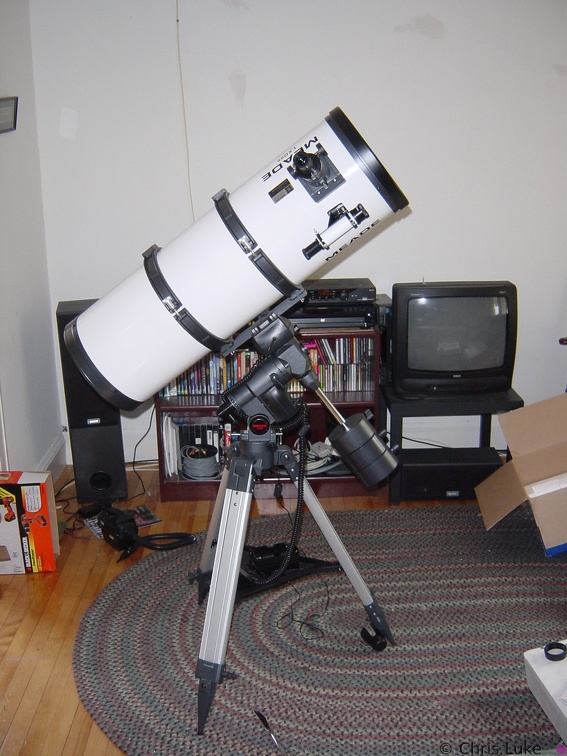 Meade LDX55 10inch Schidt-Newtonian
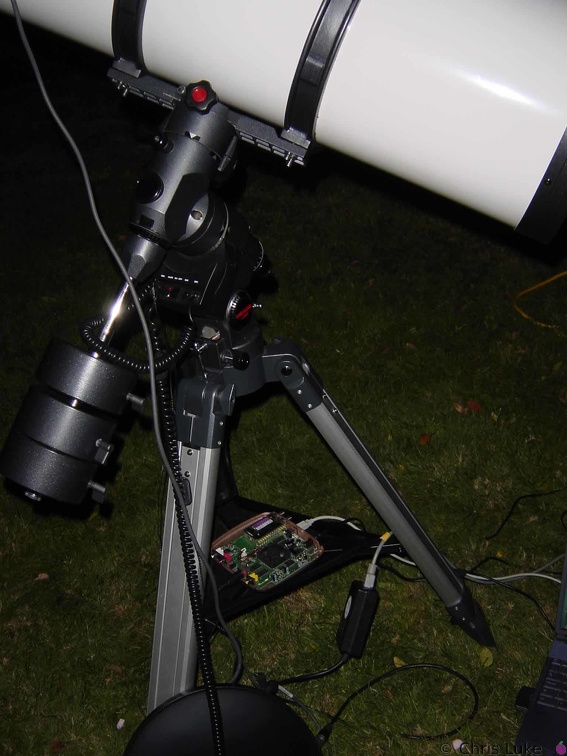
Meade LDX55 10" telescope The Meade LDX55 10" Schmidt-Newtonian reflecting telescope, setup in my living room (to make sure all the bits are there!) IMG 7223
 154 5450
 154 5415
 154 5406
 154 5403
 IMG 6338
 143 4337
 154 5461
 143 4384
 IMG 7246
 IMG 7254
 154 5407
 IMG 7241
 IMG 6326
 IMG 7257
 IMG 7255
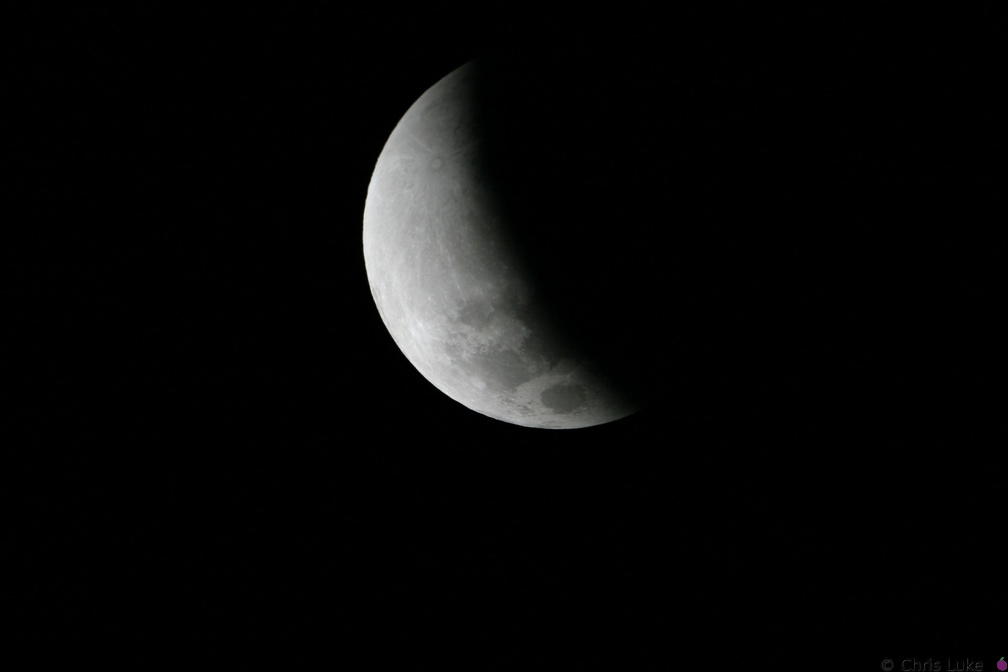 143 4328
 IMG 7404
 154 5401
 154 5409
 IMG 6355
 142 4215
 143 4325
 IMG 7260
 154 5451
 IMG 7261
 IMG 7252
 IMG 6360
 IMG 7227
 IMG 7292
 IMG 7240
 154 5452
 142 4218
 IMG 6328
 IMG 7226
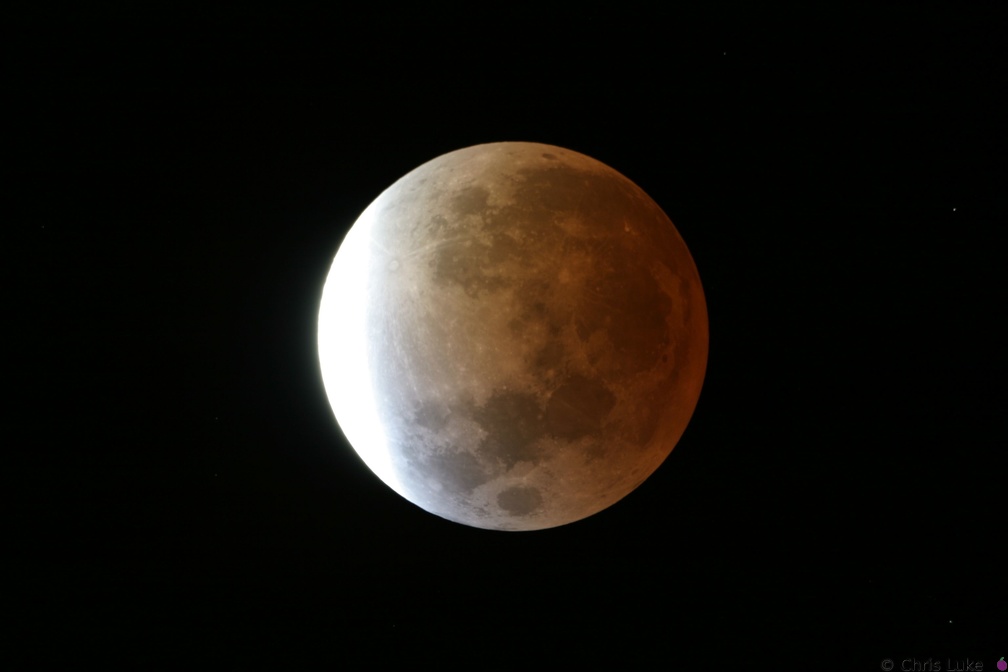 143 4393
 154 5408
 IMG 7237
 154 5448
 IMG 7253
 142 4221
 143 4398
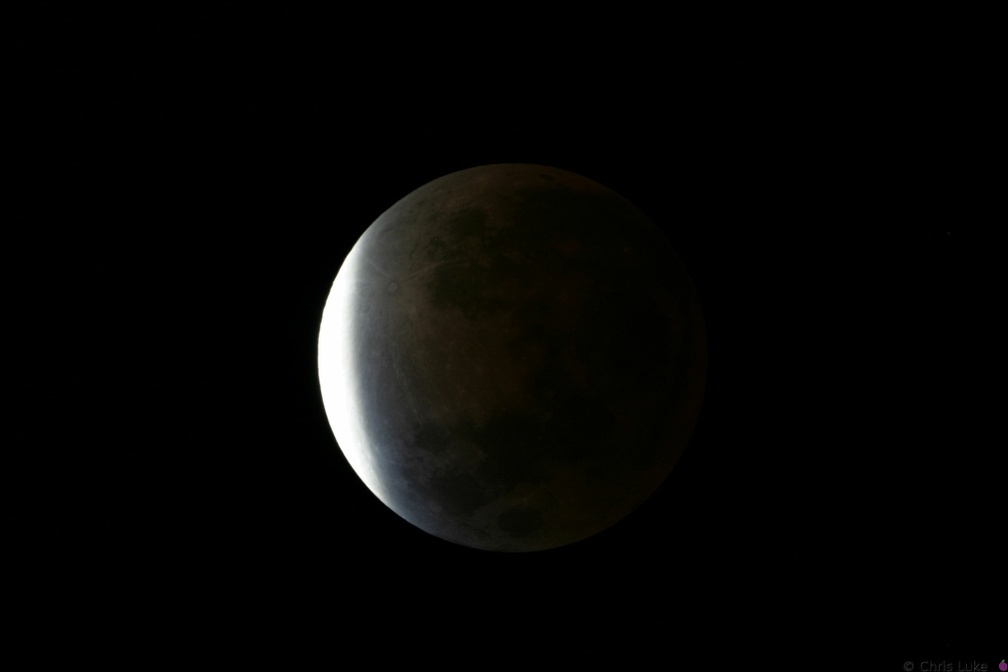
 Moon039
 IMG 7249
 IMG 6357
 IMG 6340
 IMG 7262
 IMG 7222
 IMG 6341
 154 5411
 IMG 6368
 IMG 6327
 143 4395
 IMG 6356
 IMG 7220
 IMG 6358
 IMG 6362
 IMG 6361
 154 5410
 IMG 6337
 143 4394
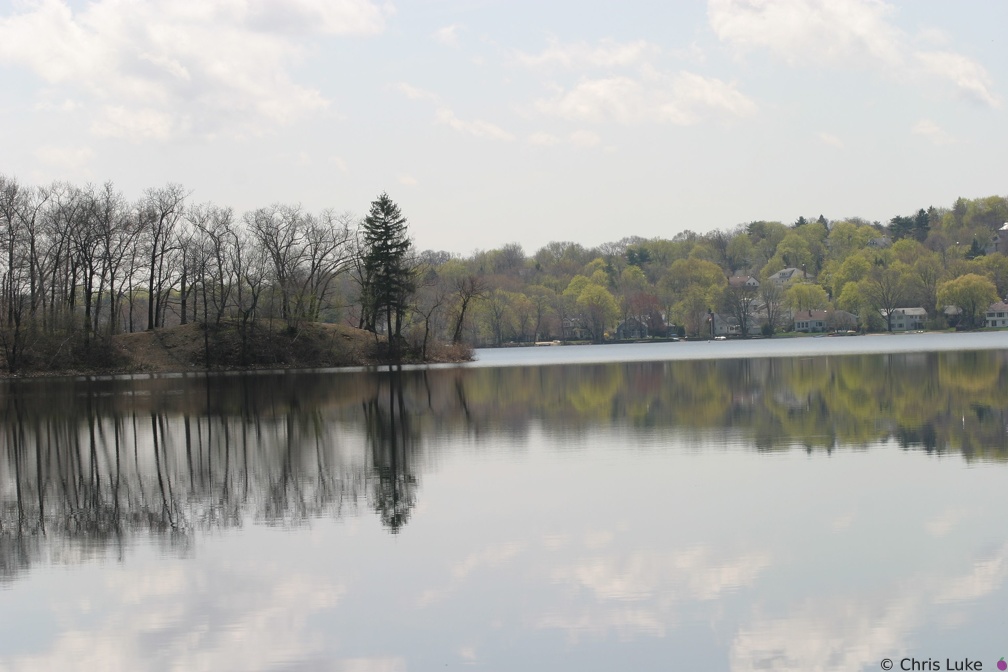 IMG 7230
 IMG 7234
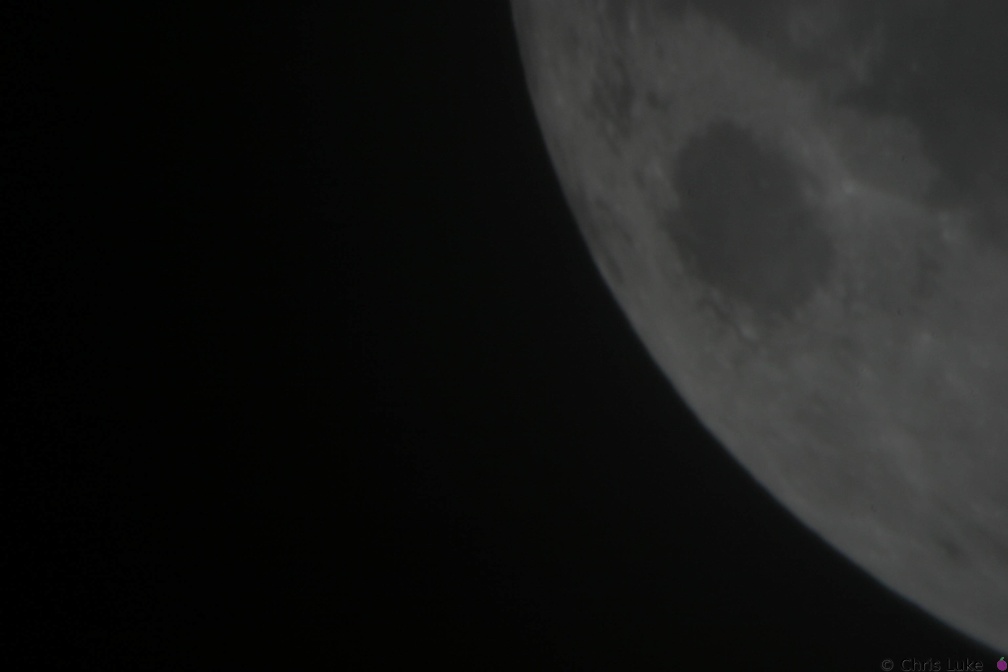 142 4224
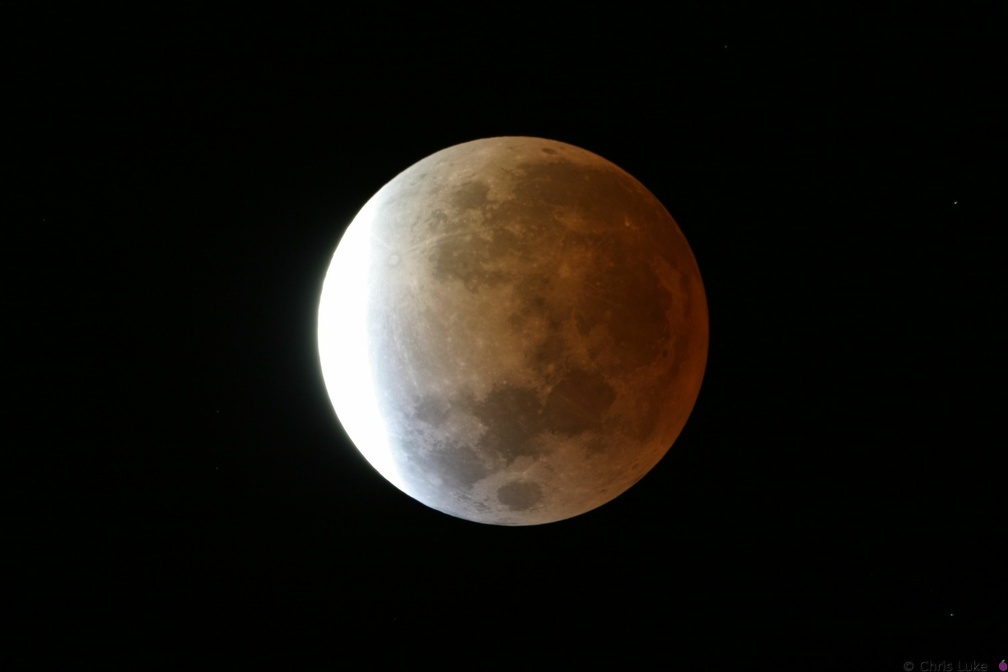 143 4392
 IMG 6347
 142 4223
 IMG 7224
 IMG 6316
 IMG 6345
 143 4396
 IMG 6342
 154 5414
 IMG 6344
 IMG 6359
 IMG 6289
Program AE IMG 7211
 IMG 6343
 IMG 6844
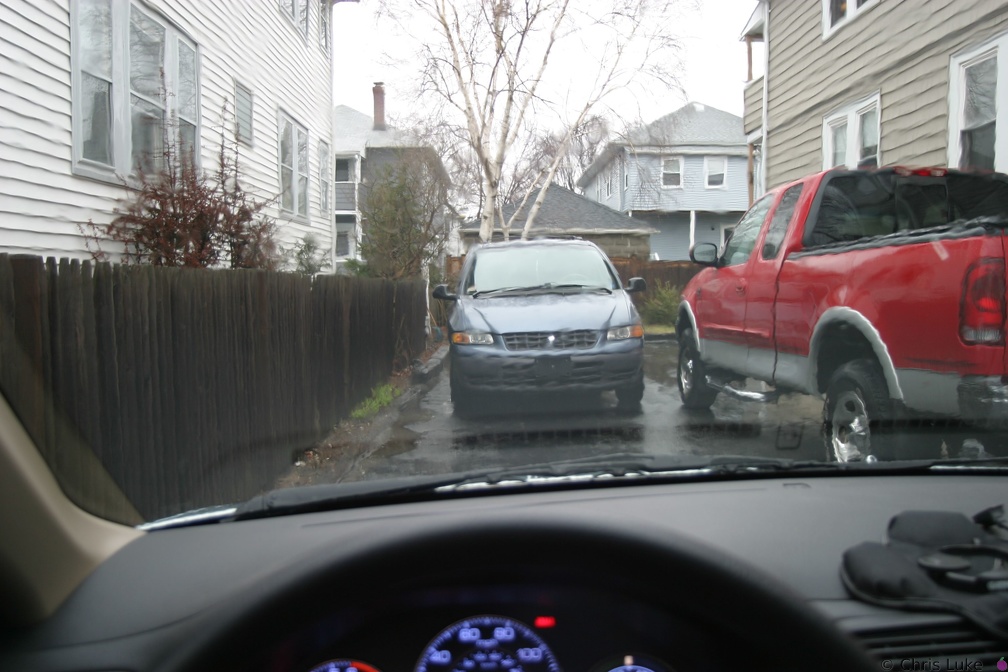
Tokina 19-35mm An exceptionally rainy day. Picture taken from inside the car!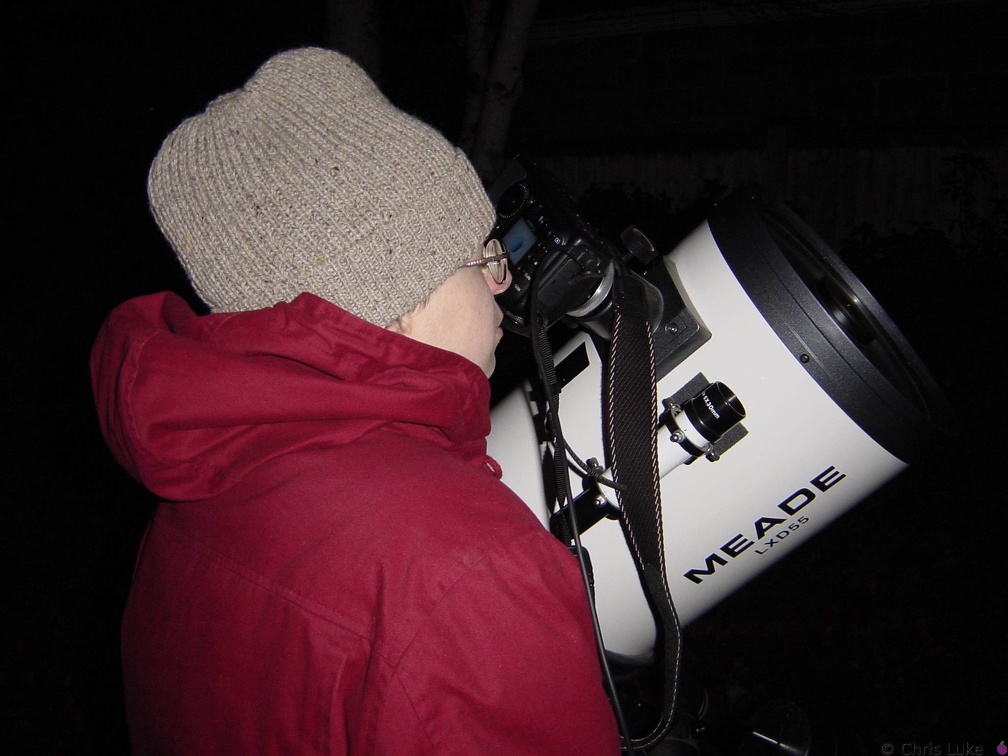 Moon040
 IMG 6387
 IMG 6828
Tokina 19-35mm IMG 6346
 IMG 7216
 IMG 7212
 IMG 6336
 IMG 6330
 IMG 7239
 IMG 7231
 IMG 6332
 IMG 6354
 IMG 6348
 IMG 6842
Tokina 19-35mm IMG 6288
Program AE IMG 7209
 IMG 7235
 154 5412
 143 4397
 IMG 7210
 IMG 7236
 IMG 7215
 IMG 6350
 IMG 6849
Tokina 19-35mm An exceptionally rainy day. Picture taken from inside the car! IMG 7233
 144 4455 RJ
 IMG 6286
Program AE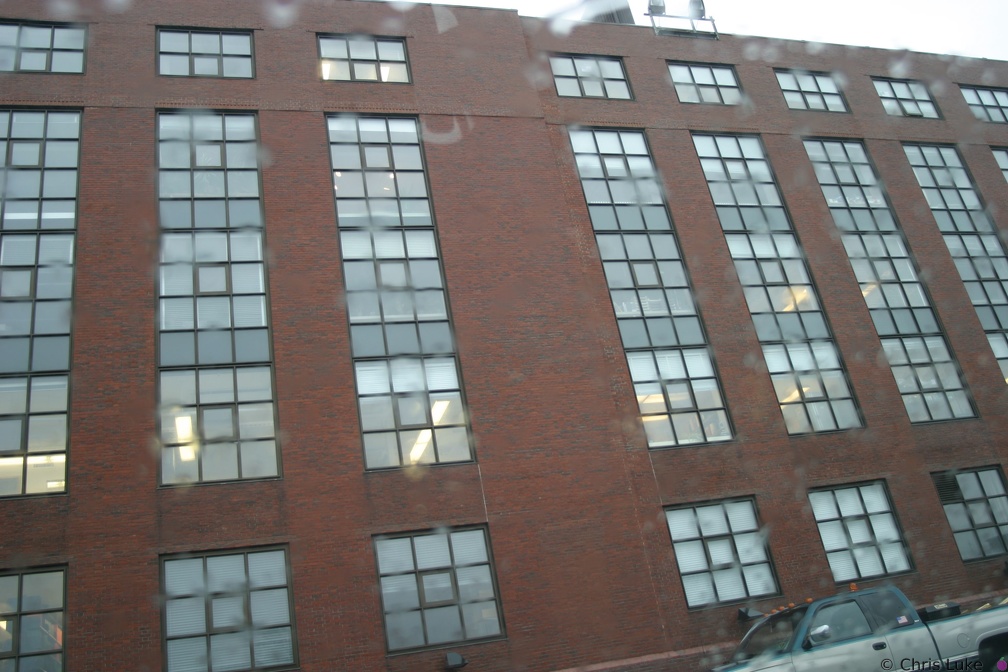 IMG 6851
Tokina 19-35mm An exceptionally rainy day. Picture taken from inside the car! 145 4544 RJ
 IMG 7232
 IMG 6287
Program AE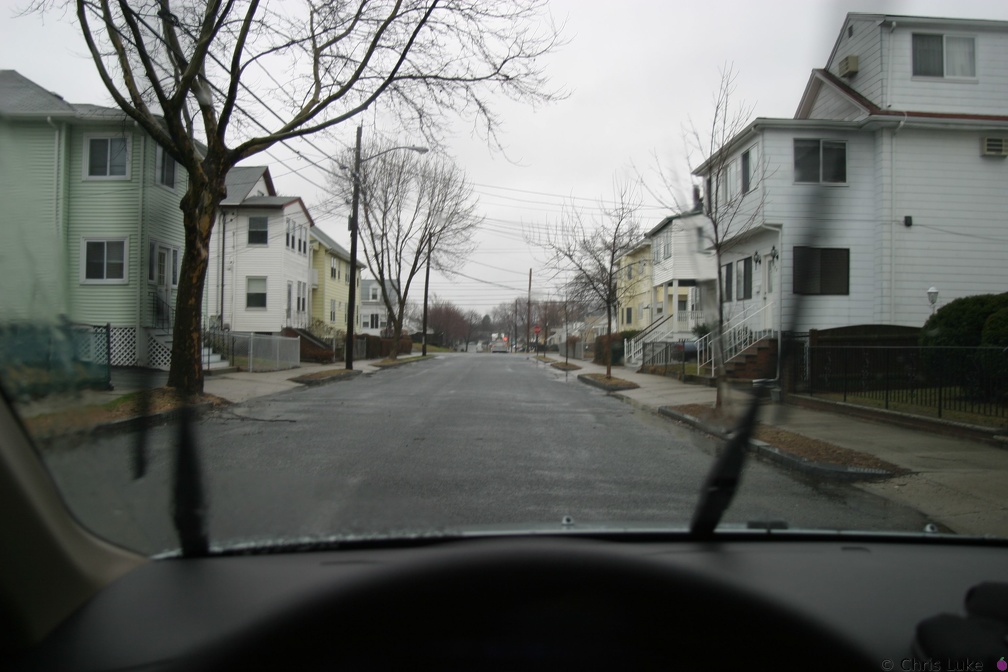 IMG 6846
Tokina 19-35mm An exceptionally rainy day. Picture taken from inside the car!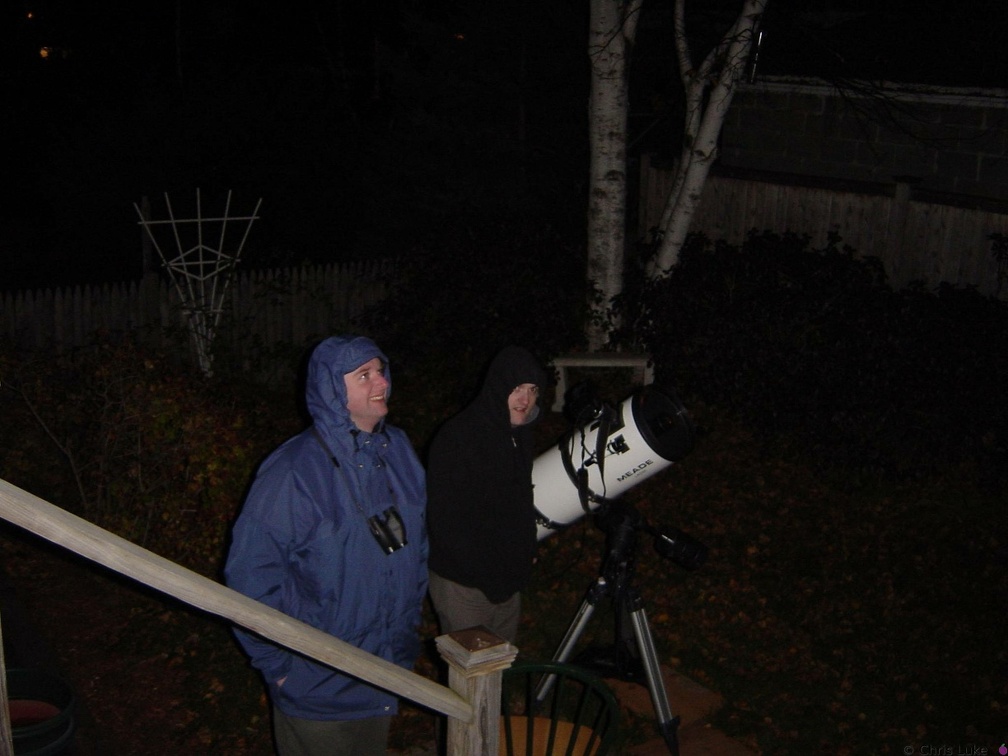 Moon028
 IMG 6331
 IMG 7225
 CRW 6398 RJ
 IMG 6349
 144 4437 RJ
 IMG 6850
Tokina 19-35mm An exceptionally rainy day. Picture taken from inside the car! IMG 6318
 IMG 6351
 IMG 6353
 IMG 6848
Tokina 19-35mm An exceptionally rainy day. Picture taken from inside the car! IMG 6325
 144 4441 RJ
 154 5413
 144 4412 RJ
 IMG 6333
 IMG 6294
Aperture f/1.4 IMG 6352
 IMG 6324
 IMG 6335
 IMG 6845
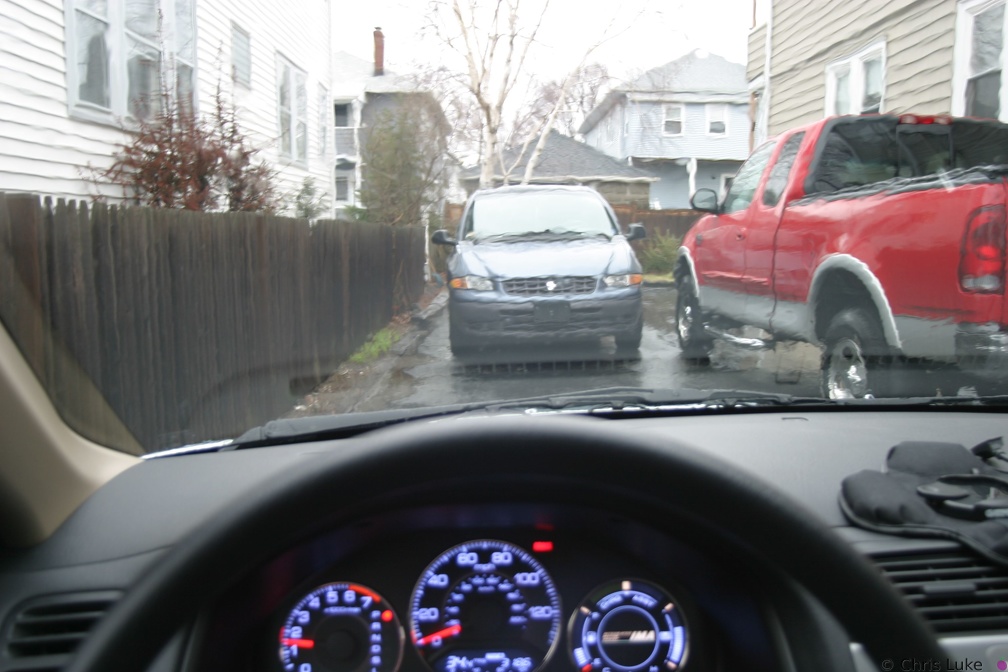
Tokina 19-35mm An exceptionally rainy day. Picture taken from inside the car! IMG 6291
Aperture f/1.4 IMG 6304
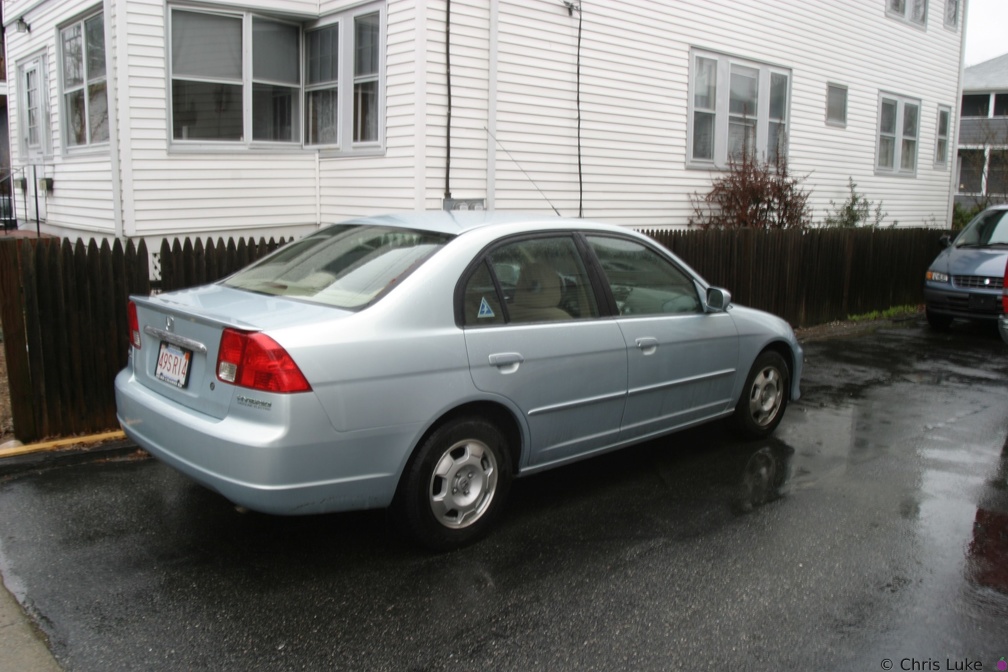 IMG 6841
Tokina 19-35mm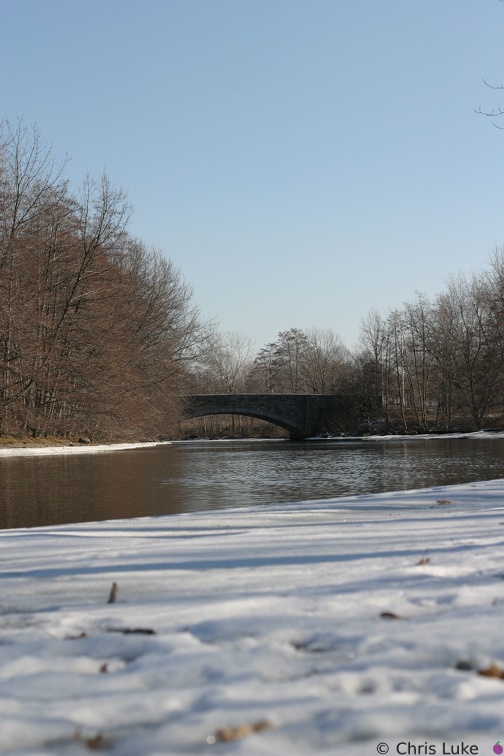 IMG 6323
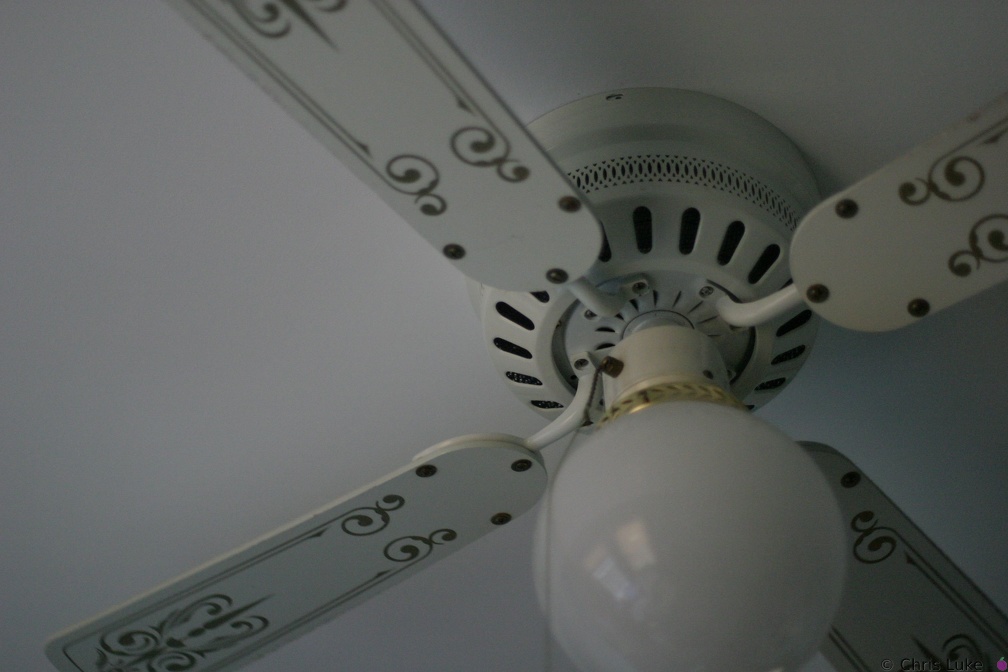 IMG 6292
Aperture f/1.4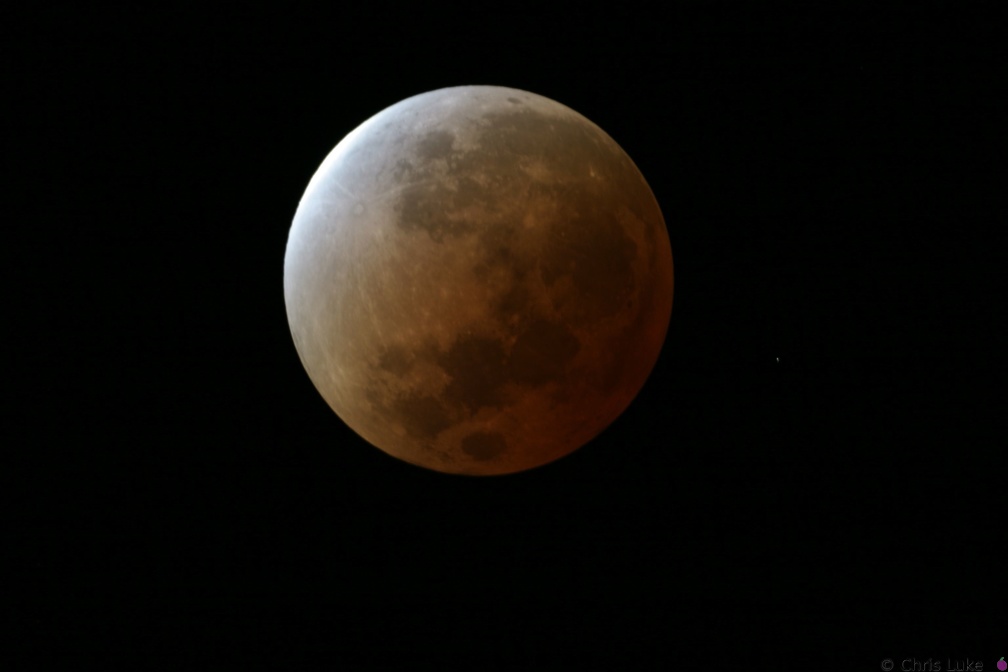 145 4529 RJ
 IMG 6847
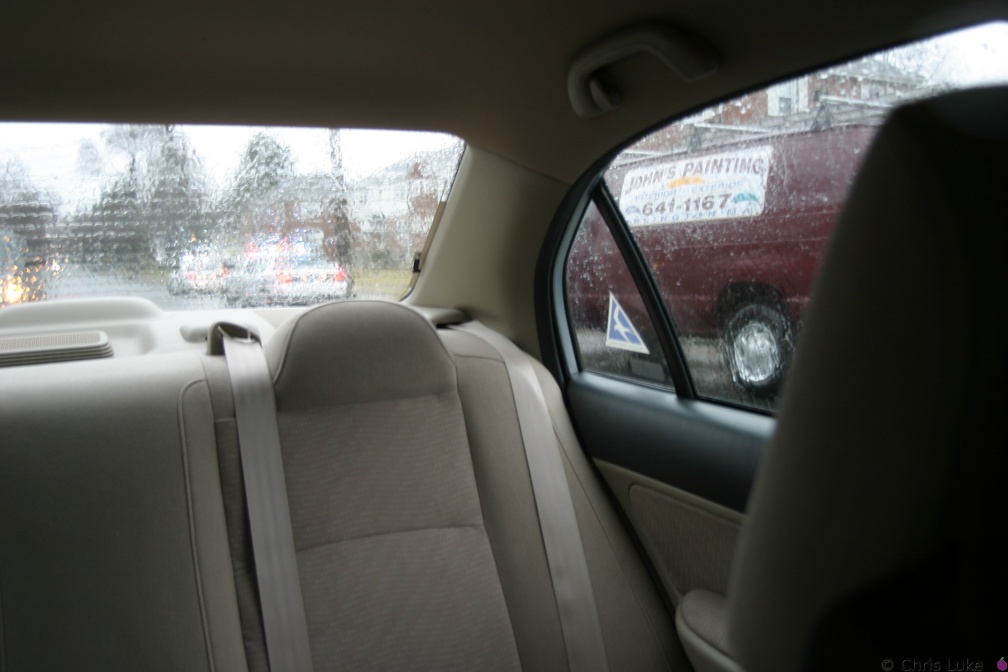
Tokina 19-35mm An exceptionally rainy day. Picture taken from inside the car! IMG 6334
 IMG 6305
 IMG 6315
 IMG 6309
 IMG 6322
 IMG 6320
 IMG 6306
 IMG 6856
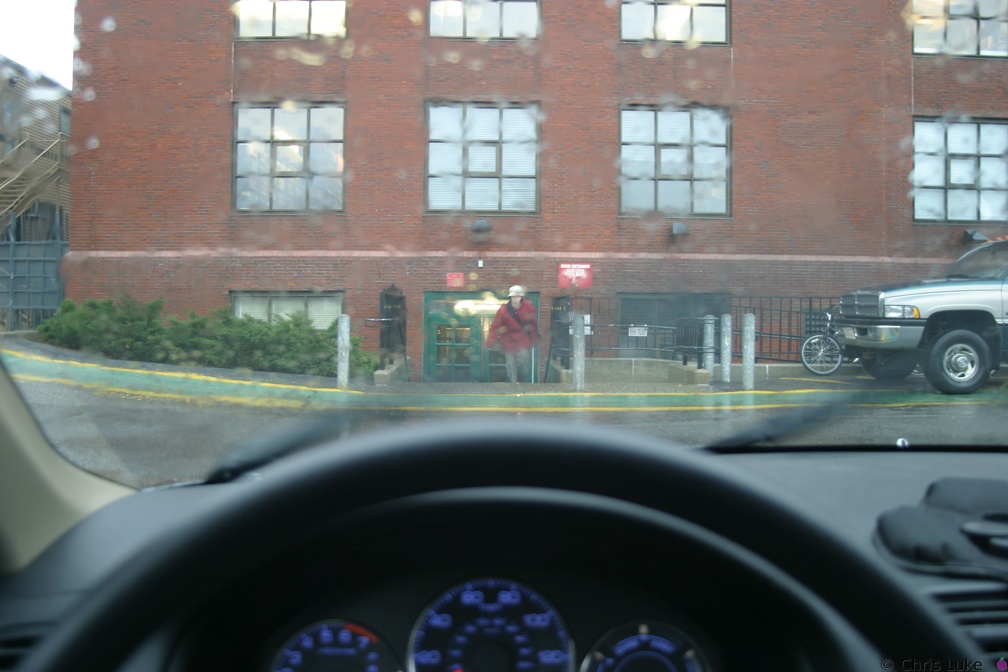
Tokina 19-35mm An exceptionally rainy day. Picture taken from inside the car! IMG 6319
 144 4450 RJ
 IMG 6853
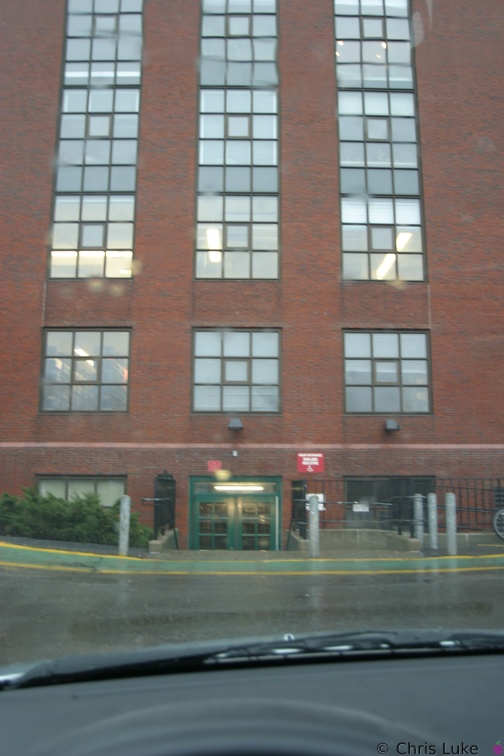
Tokina 19-35mm An exceptionally rainy day. Picture taken from inside the car! IMG 6313
 IMG 6307
 144 4442 RJ
 144 4490 RJ
 IMG 6855
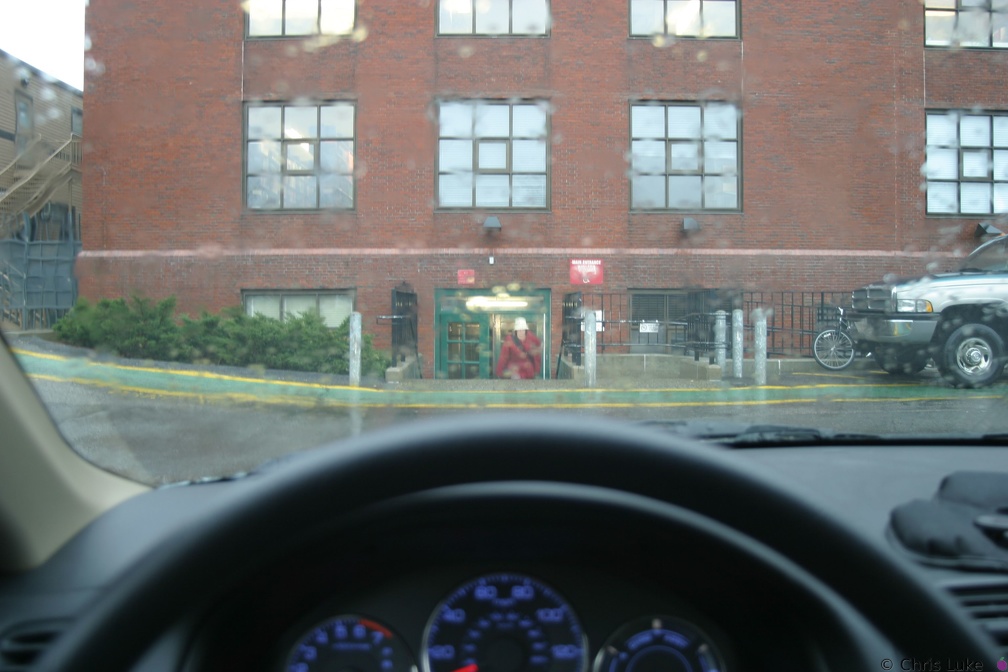
Tokina 19-35mm An exceptionally rainy day. Picture taken from inside the car! IMG 6290
Aperture f/1.4 144 4465 RJ
 145 4530 RJ
 145 4534 RJ
 IMG 6852
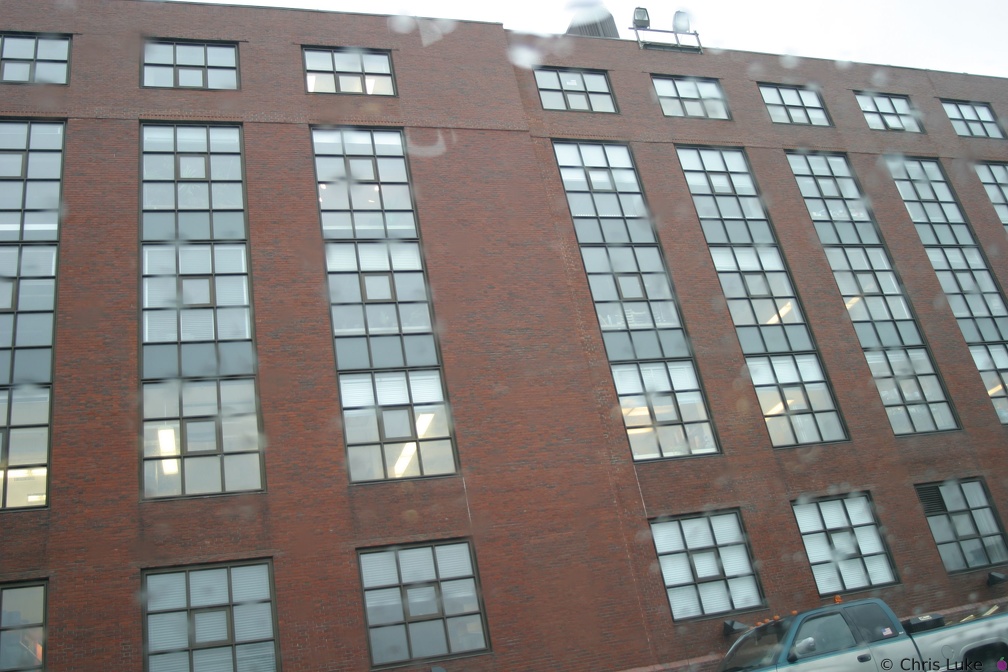
Tokina 19-35mm An exceptionally rainy day. Picture taken from inside the car!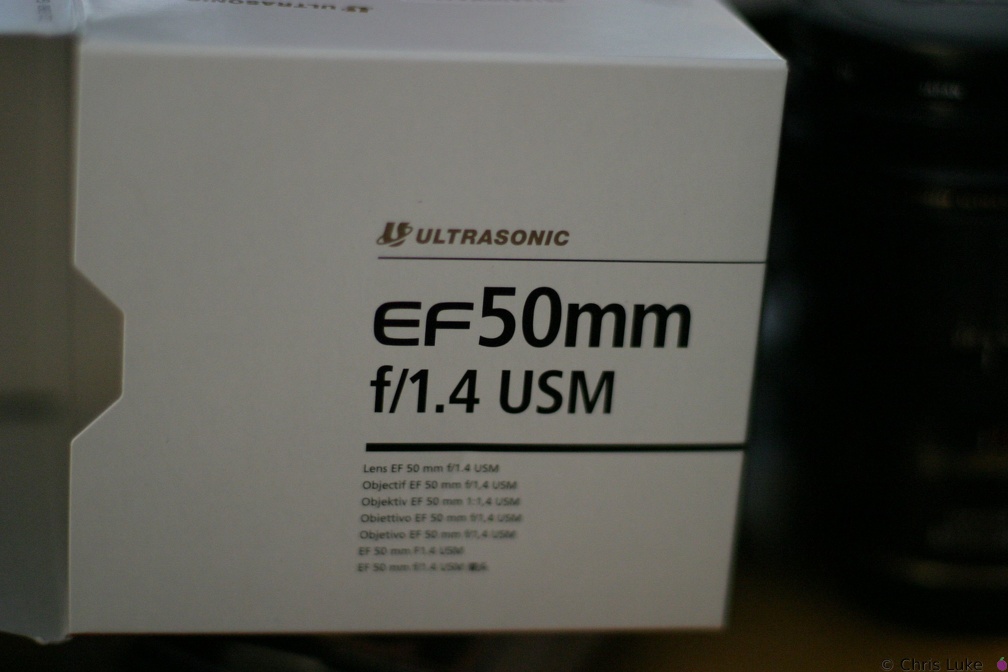 IMG 6293
Aperture f/1.4