« Saturday

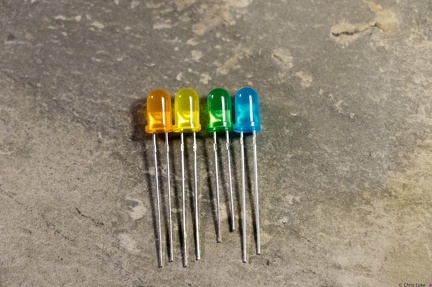 Stockton STEM Badge LEDs
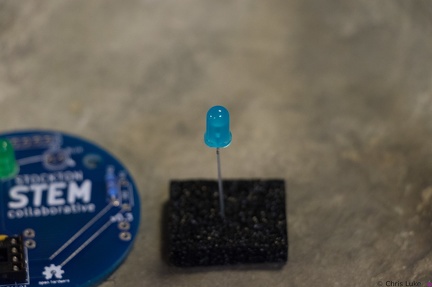 Stockton STEM Badge LEDs
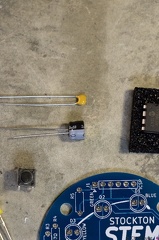 Stockton STEM Badge capacitors
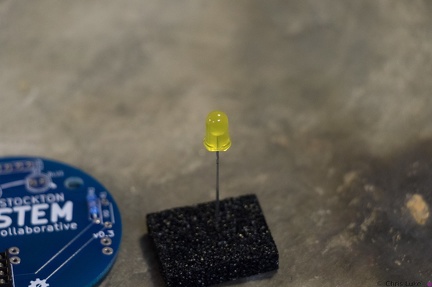 Stockton STEM Badge LEDs
 Stockton STEM Badge components
 Stockton STEM Badge LEDs
 Stockton STEM Badge completed
 Stockton STEM Badge resistors
 Stockton STEM Badge LEDs
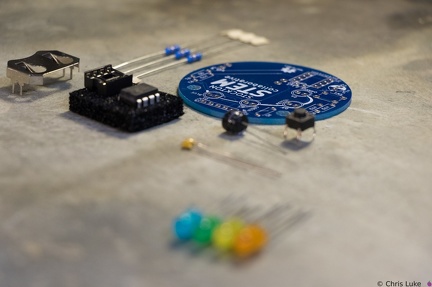 Stockton STEM Badge components
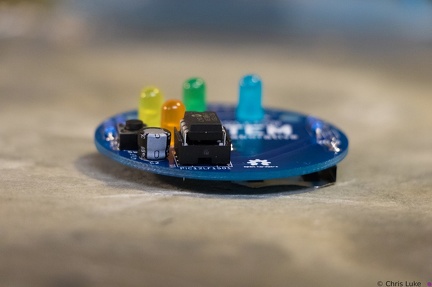 Stockton STEM Badge IC
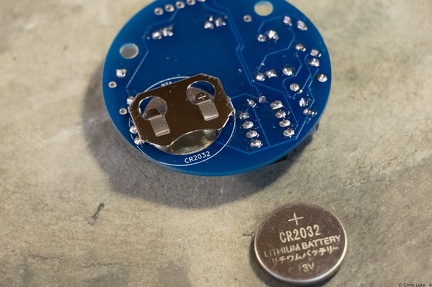 Stockton STEM Badge battery
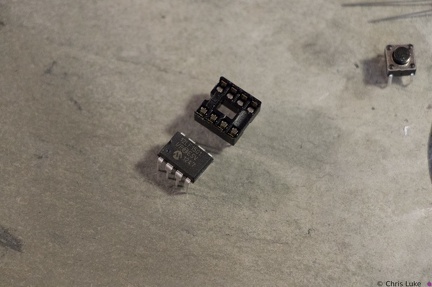 Stockton STEM Badge IC and socket
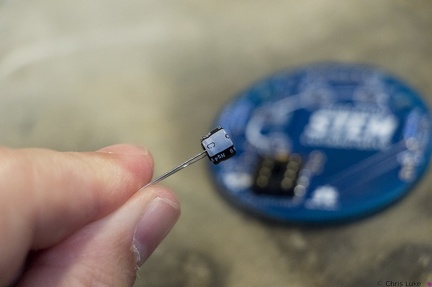 Stockton STEM Badge electrolytic capacitor
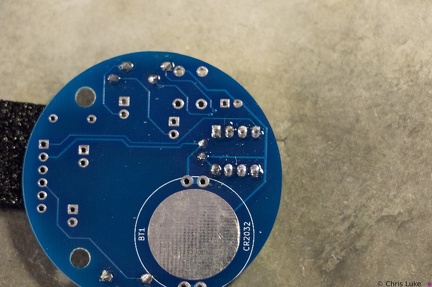 Stockton STEM Badge IC socket
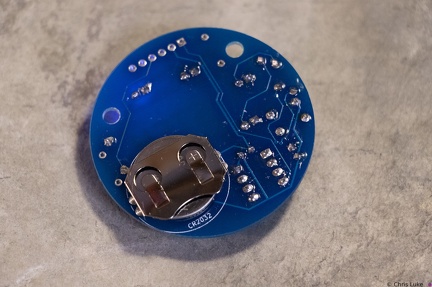 Stockton STEM Badge battery
 Stockton STEM Badge LEDs and button
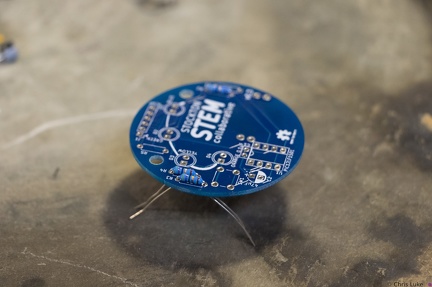 Stockton STEM Badge resistor legs
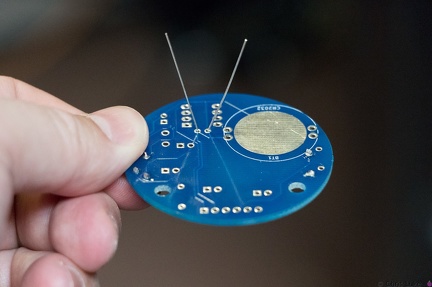 Stockton STEM Badge decoupling capacitor
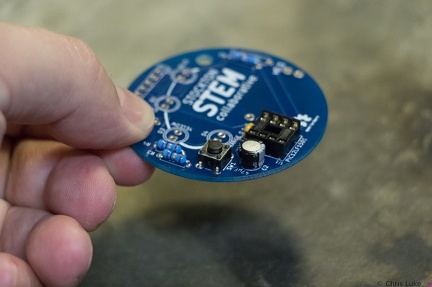 Stockton STEM Badge button
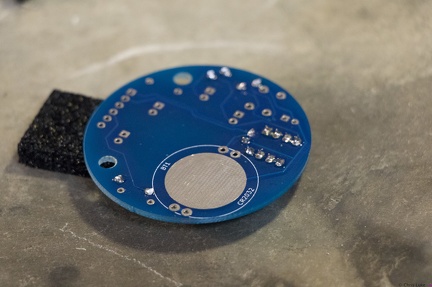 Stockton STEM Badge IC socket
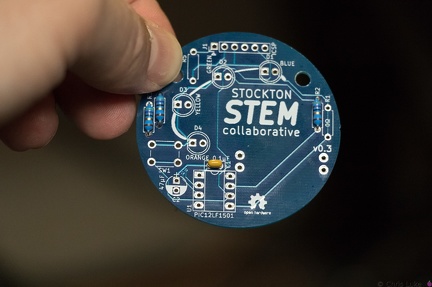 Stockton STEM Badge decoupling capacitor
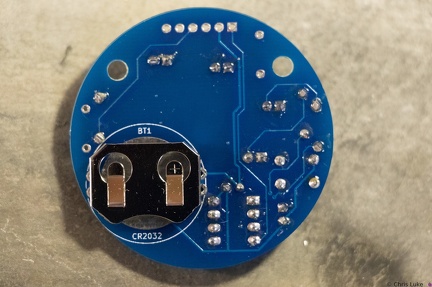 Stockton STEM Badge battery
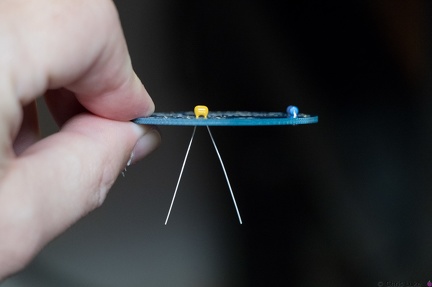 Stockton STEM Badge decoupling capacitor
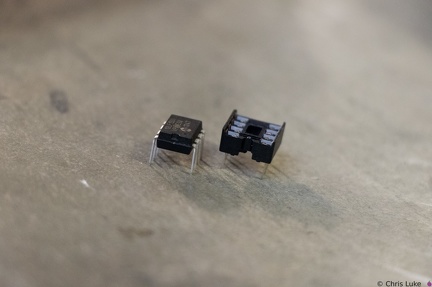 Stockton STEM Badge IC and socket
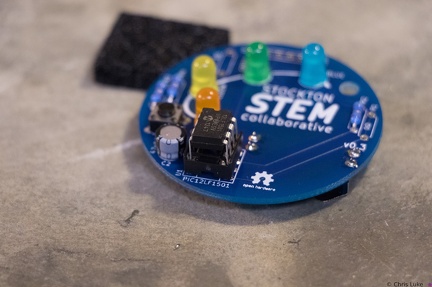 Stockton STEM Badge IC
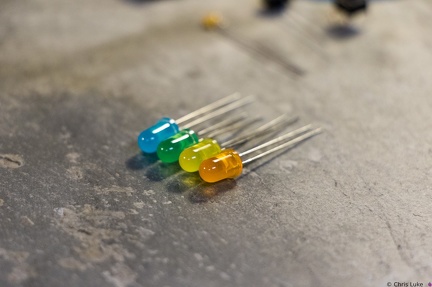 Stockton STEM Badge LEDs
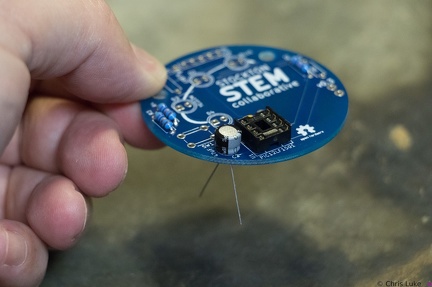 Stockton STEM Badge electrolytic capacitor
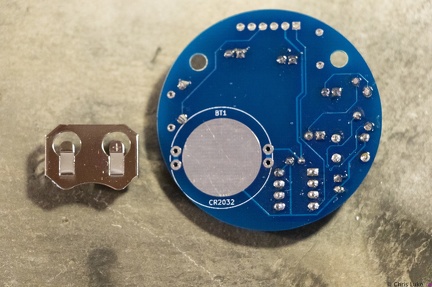 Stockton STEM Badge battery
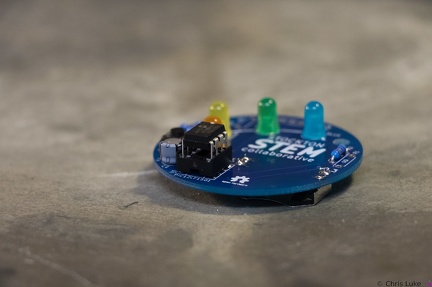 Stockton STEM Badge IC
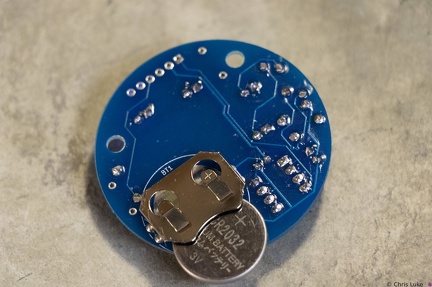 Stockton STEM Badge battery
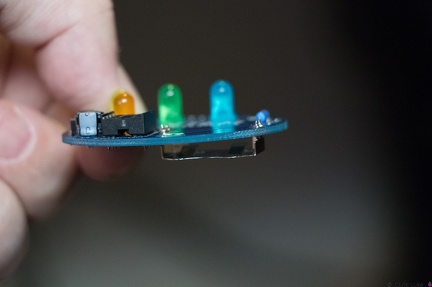 Stockton STEM Badge battery
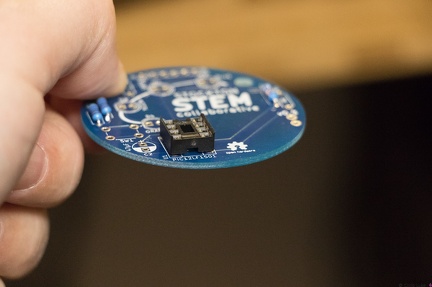 Stockton STEM Badge IC socket
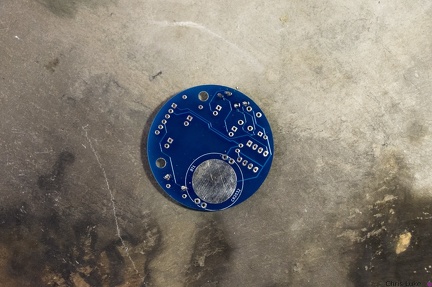 Stockton STEM Badge resistor legs
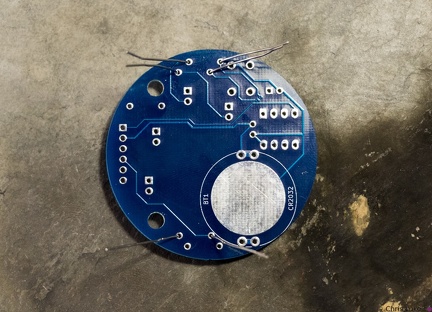 Stockton STEM Badge resistor legs
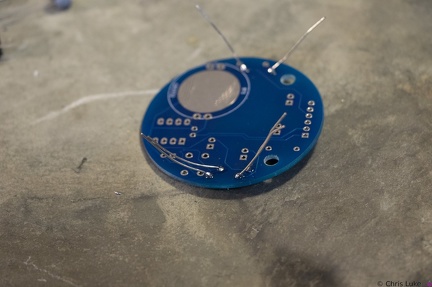 Stockton STEM Badge resistor legs
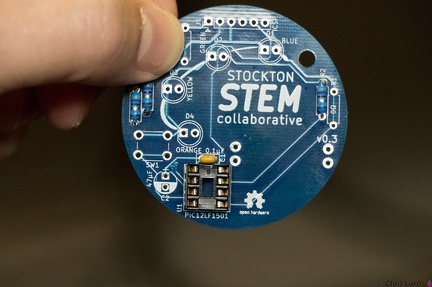 Stockton STEM Badge IC socket
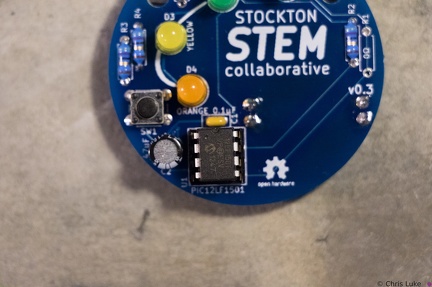 Stockton STEM Badge IC
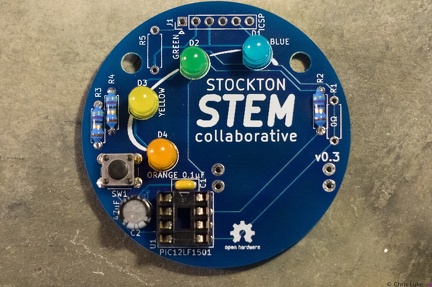 Stockton STEM Badge LEDs
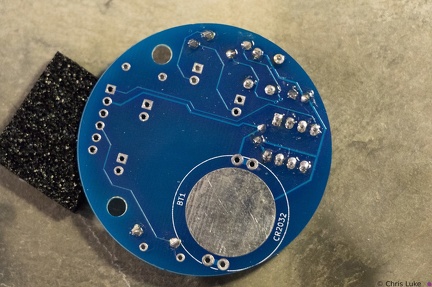 Stockton STEM Badge button
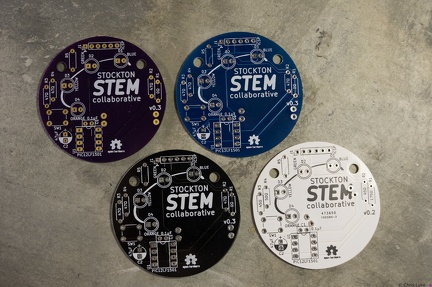 Stockton STEM Badge boards
 Stockton STEM Badge LEDs
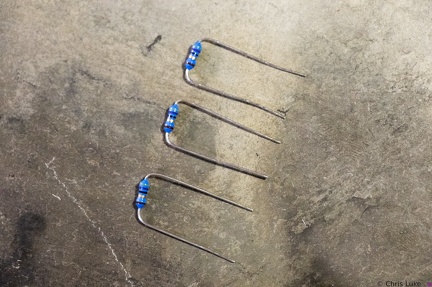 Stockton STEM Badge resistor legs
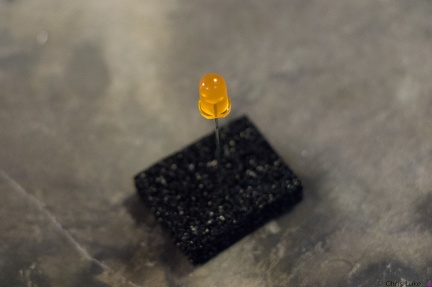 Stockton STEM Badge LEDs
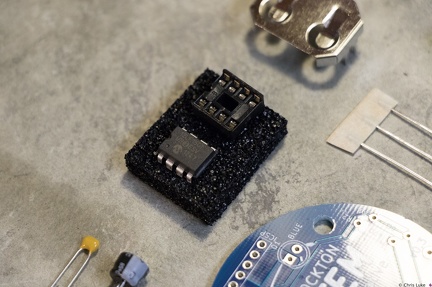 Stockton STEM Badge microcontroller
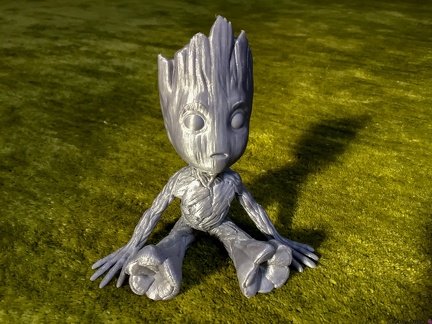 Baby Groot
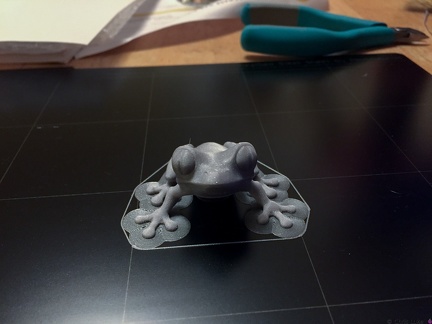 Treefrog
 Cables everywhere
 Hotend fan
 X and Z axis
 Z-axis motor mounts
 Print head cables
 Testing the slide of the bed
 Taking shape
 Y-axle idler pulley
 Z-axis motor mounts
 First print in progress
 Printhead rear
 Printhead front
 The cables have to go somewhere
 114 1486
 114 1492
 IMG 5927
 114 1487
 114 1491
 114 1493
 IMG 5932
 114 1488
 IMG 5926
 114 1494
 IMG 5931
 IMG 5933
 IMG 5879
 IMG 5937
 114 1490
 IMG 5859
 IMG 5928
 IMG 5922
 IMG 5862
 2015-01-27 004
 IMG 5860
 IMG 5853
 114 1489
 IMG 5925
 IMG 5907
 IMG 5904
 IMG 5873
 IMG 5871
 114 1495
 grbl
grbl 2015-01-27 003
 IMG 5921
 IMG 5875
 2015-02-02 001
 IMG 5915
 IMG 5936
 IMG 5854
 IMG 5924
 IMG 5876
 2015-01-27 002
 2015-02-01 010
 IMG 5869
 2015-01-27 001
 2015-01-25 011
 2015-01-25 009
 IMG 5880
 IMG 5891
 IMG 5909
 IMG 5882
 IMG 5919
 2015-02-02 002
 IMG 5935
 IMG 5883
 3C2A3239
 2015-01-25 012
 IMG 5923
 2015-01-25 007
 IMG 5914
 2015-01-25 010
 IMG 5934
 IMG 5874
 IMG 5944
 114 1496
 2015-02-01 009
 IMG 5910
 IMG 5938
 IMG 5939
 IMG 5881
 IMG 5865
 2015-01-25 005
 IMG 5884
 IMG 5943
 IMG 5892
 2015-01-25 001
 IMG 5946
 2015-01-27 005
 2015-01-25 006
 2015-02-01 007
 2015-01-25 004
 IMG 5888
 2015-01-26 017
 IMG 5890
 2015-02-04 001
 3C2A3306
 2015-01-25 013
 IMG 5917
 IMG 5940
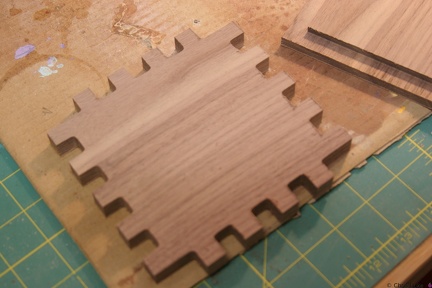 IMG 5945
 IMG 5908
 2015-02-02 003
 2015-01-17 016
 IMG 5912
 3C2A3294
 2015-02-06 005
 2015-01-26 002
 3C2A3318
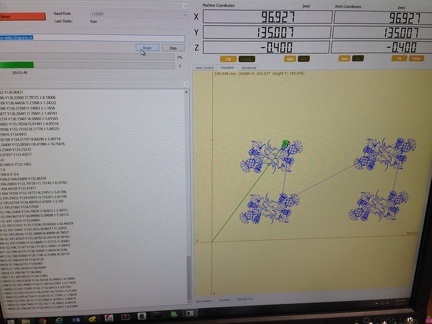 2015-01-26 001
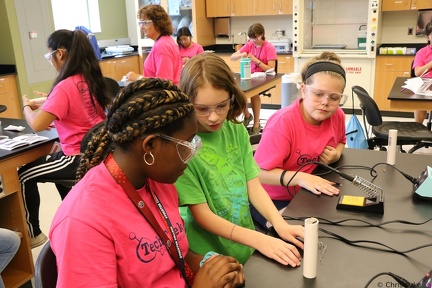 3C2A3279
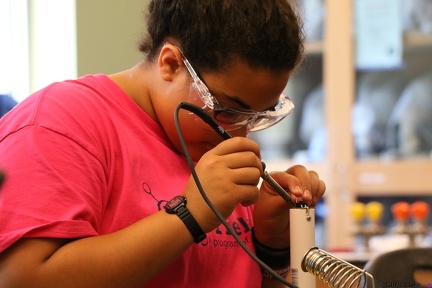 3C2A3309
 2015-01-17 015
 2015-02-01 006
 2015-01-17 011
 2015-02-01 008
 2015-01-25 003
 2015-01-26 012
 3C2A3266
 2015-01-25 021
 2015-01-27 006
 2015-01-27 007
 2015-02-01 005
 IMG 5941
 2015-02-01 003
 2015-02-06 003
 2015-02-05 004
 2015-01-26 016
 2015-02-06 006
 2015-02-02 004
 2015-01-25 002
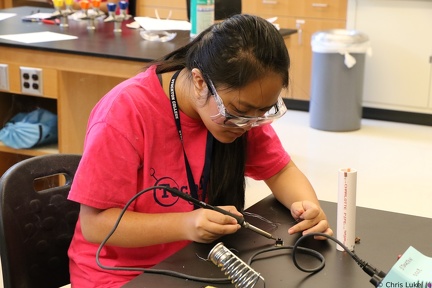 3C2A3300
 2015-01-17 010
 2015-01-17 007
 2015-01-27 009
 2015-01-17 017
 2015-01-26 015
 2015-01-17 008
 IMG 6000
 2015-02-05 001
 2015-01-27 008
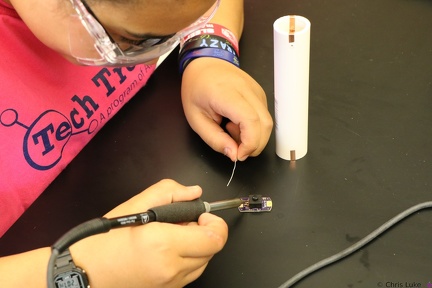 3C2A3295
 2015-01-26 009
 3C2A3249
 2015-01-25 014
 2015-01-17 005
 2015-01-26 003
 3C2A3282
 2015-02-05 002
 2015-01-26 007
 2015-02-06 001
 2015-01-17 001
 3C2A3261
 3C2A3290
 2015-01-25 015
 2015-01-17 006
 2015-01-17 009
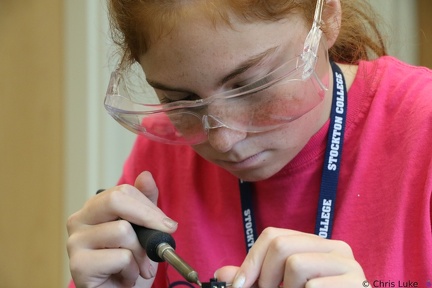 3C2A3324
 2015-01-26 008
 2015-01-25 020
 2015-01-26 011
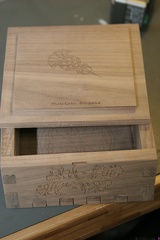 IMG 6002
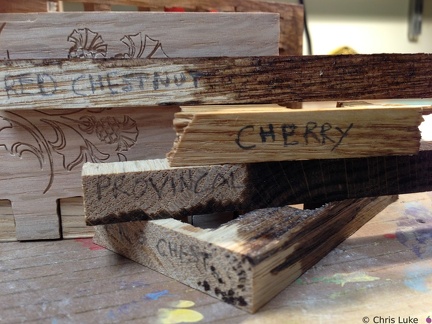 2015-02-01 004
 3C2A3297
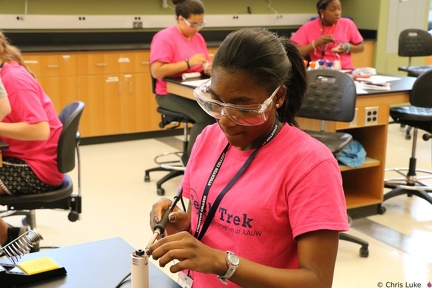 3C2A3304
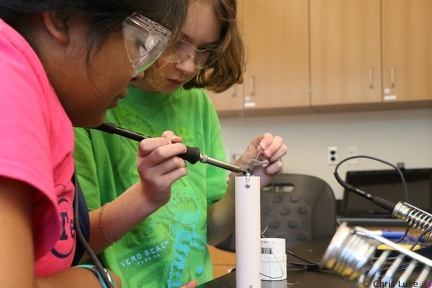 3C2A3330
 3C2A3331
 2015-01-17 003
 2015-01-26 006
 2015-01-27 010
 3C2A3292
 2015-01-17 004
 IMG 6001
 2015-01-26 010
 3C2A3251
 2015-01-27 011
 2015-01-26 005
 2015-01-25 019
 3C2A3332
 2015-01-27 012
 2015-01-26 014
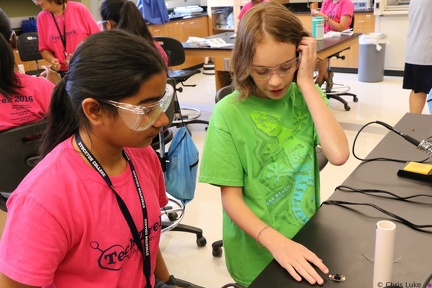 3C2A3284
 3C2A3341
 2015-01-26 004
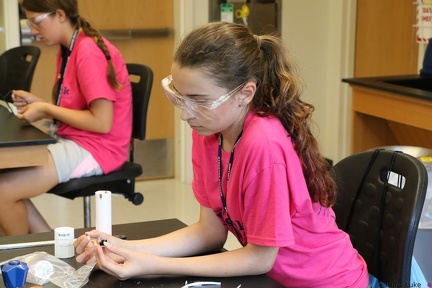 3C2A3288
 2015-01-17 002
 2015-01-25 016
 2015-01-25 017
 2015-01-25 018
 2015-01-26 013