Home / Radio Control 306
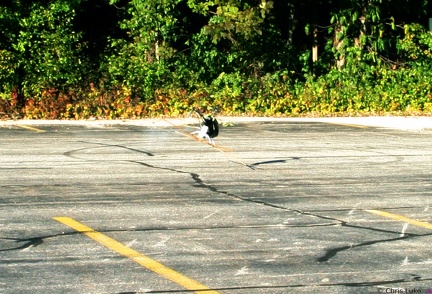
Radio Controlled models and such. Not much in this category just yet.

 heli 1
 heli 2
 150 5057
 150 5050
 150 5059
 150 5046
 150 5060
 150 5039
 150 5038
 150 5032
 147 4741
 150 5067
 150 5024
 147 4745
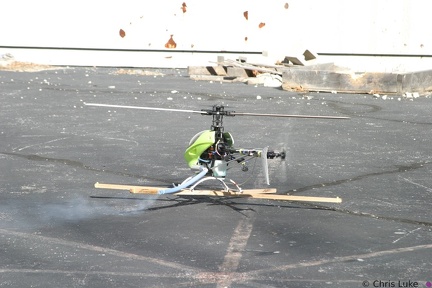 147 4764
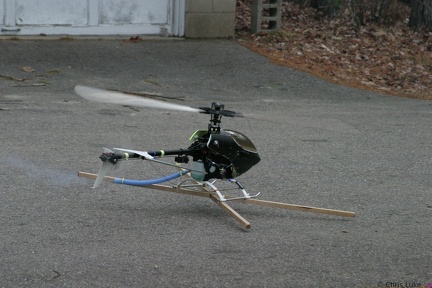 150 5029
 147 4749
 150 5048
 150 5068
 150 5065
 147 4763
 133 3361
 150 5047
 150 5042
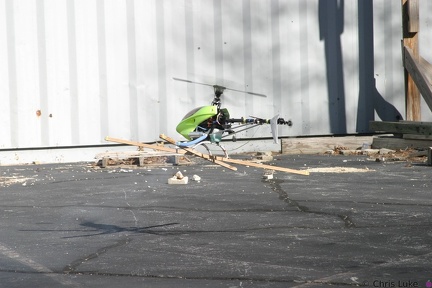 147 4747
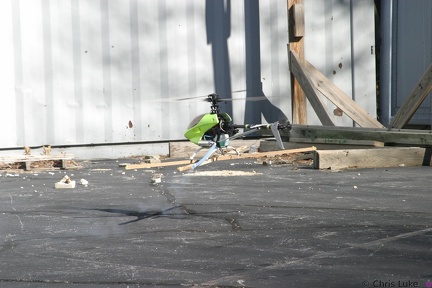 147 4746
 150 5025
 150 5064
 150 5018
 147 4742
 148 4801
 150 5028
 150 5045
 147 4732
 150 5036
 150 5030
 147 4798
 150 5021
 147 4728
 150 5061
 147 4744
 147 4731
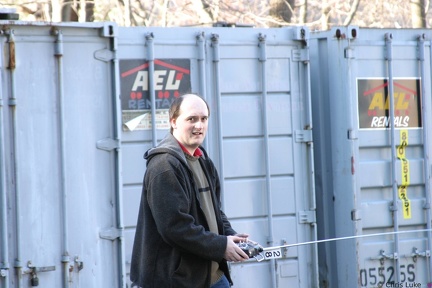 147 4787
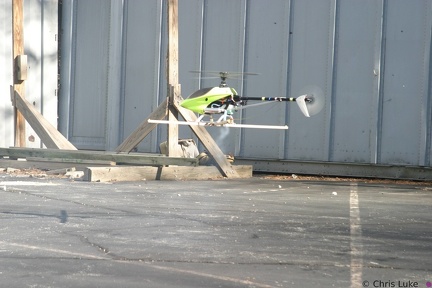 147 4736
 150 5041
 150 5044
 147 4748
 147 4770
 133 3358
 147 4743
 147 4726
 150 5033
 147 4793
 147 4762
 150 5062
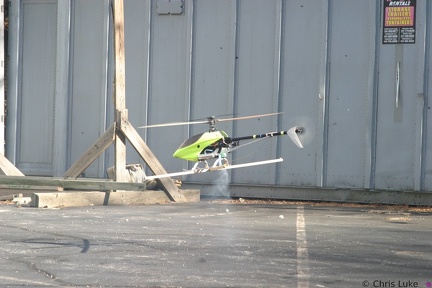 147 4735
 147 4761
 147 4799
 133 3360
 133 3366
 150 5069
 148 4802
 147 4754
 147 4730
 147 4733
 IMG 7762
 147 4768
 133 3362
 147 4727
 150 5066
 147 4737
 147 4784
 150 5017
 147 4740
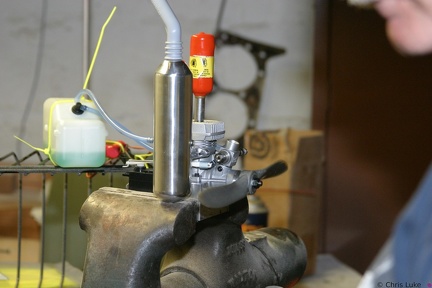 133 3359
 150 5063
 147 4786
 150 5015
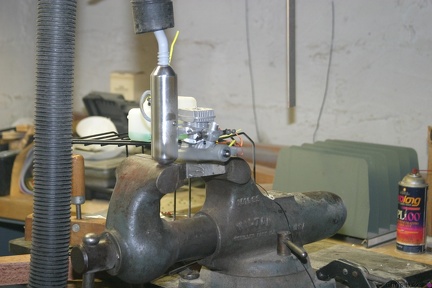 133 3365
 147 4769
 133 3363
 147 4781
 147 4739
 147 4729
 147 4750
 150 5043
 147 4734
 147 4753
 147 4796
 147 4800
 IMG 8843
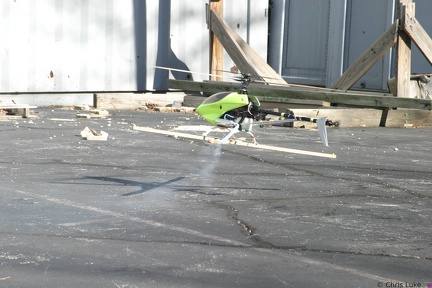 147 4774
 147 4771
 147 4751
 147 4773
 150 5040
 150 5022
 147 4738
 147 4756
 150 5049
 150 5035
 150 5023
 147 4789
 150 5014
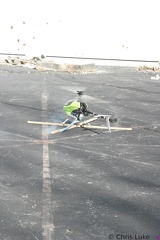 147 4760
 150 5016
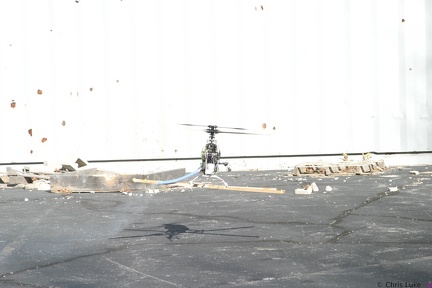 147 4783
 133 3357
 IMG 8844
 147 4779
 IMG 8842
 147 4777
 147 4752
 IMG 8845
 147 4785
 150 5019
 150 5020
 147 4791
 147 4797
 148 4803
 147 4780
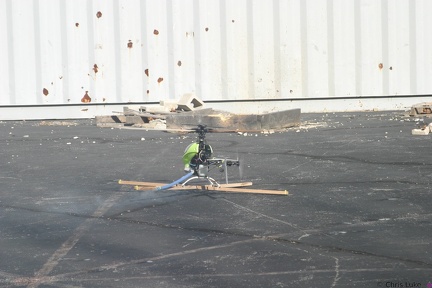 147 4782
 147 4755
 147 4725
 133 3364
 150 5013
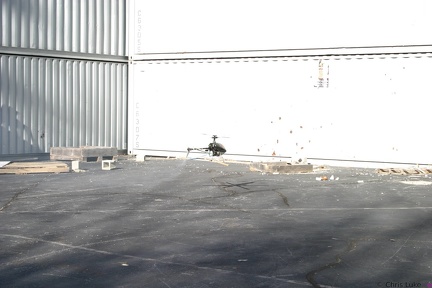 147 4790
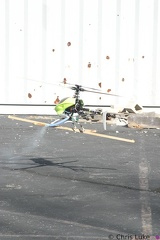 147 4757
 147 4724
 147 4792
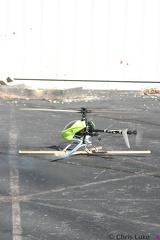 147 4758
 133 3367
 147 4775
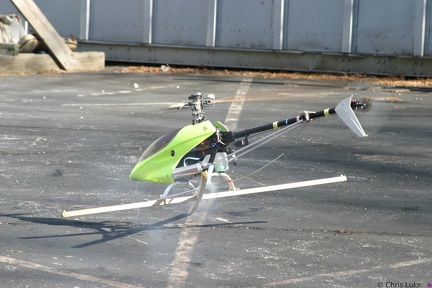 147 4776
 IMG 8834
 IMG 8836
 IMG 8833
 150 5070
 IMG 8837
 IMG 8835
 IMG 8833
 IMG 8839
 IMG 8838
 147 4759
 IMG 7798
 133 3334
 150 5071
 IMG 8846
 IMG 8840
 133 3333
 IMG 8182
 IMG 7797
 IMG 7789
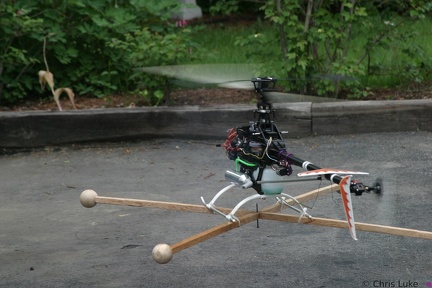 IMG 8180
 IMG 7804
 IMG 9565
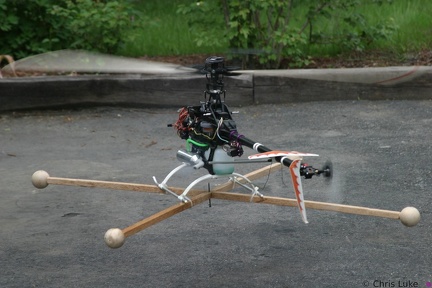 IMG 8179
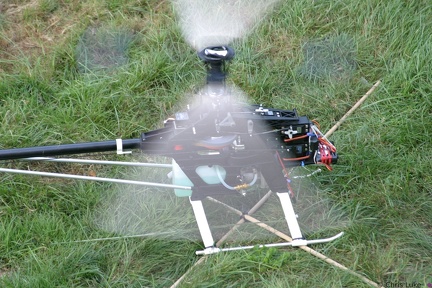 133 3343
 IMG 7868
 133 3368
 IMG 7922
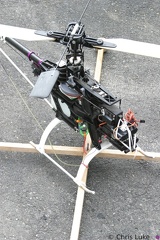 IMG 8196
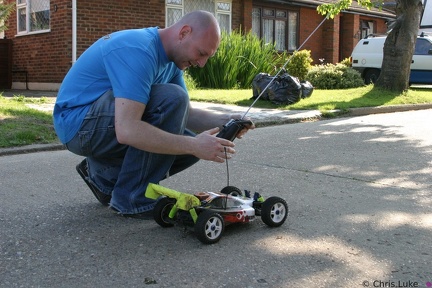 IMG 7894
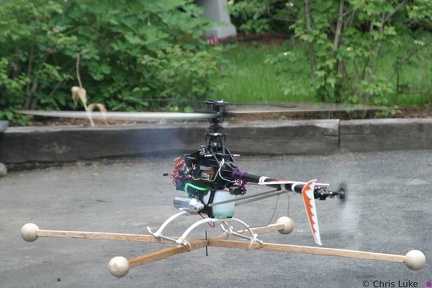 IMG 8186
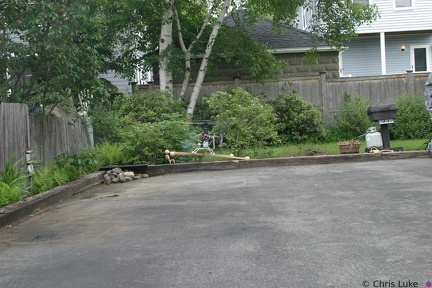 IMG 8194
 IMG 7820
 IMG 7891
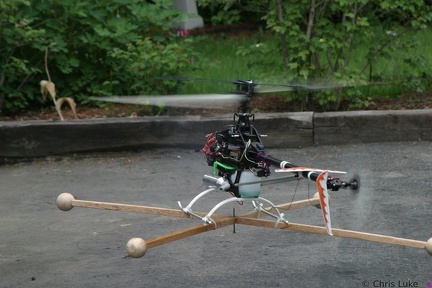 IMG 8181
 IMG 7924
 IMG 7923
 133 3342
 IMG 7906
 IMG 7821
 134 3462
 IMG 9564
 133 3341
 133 3332
 IMG 8178
 IMG 8168
 IMG 8153
 IMG 8184
 136 3613
 133 3327
 IMG 8177
 IMG 8151
 IMG 8185
 133 3328
 IMG 8170
 136 3614
 IMG 8193
 IMG 8163
 IMG 8154
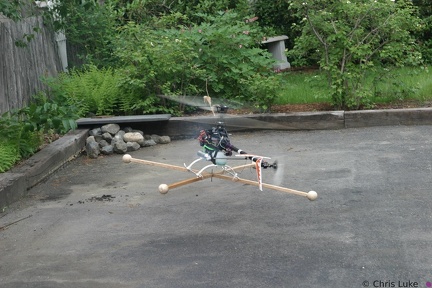 IMG 8192
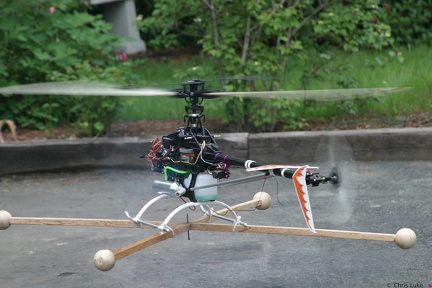 IMG 8191
 IMG 8195
 IMG 8165
 133 3338
 IMG 8190
 IMG 8188
 133 3329
 IMG 8158
 IMG 8155
 IMG 8176
 IMG 8187
 IMG 8156
 150 5072
 IMG 8189
 IMG 9566
 132 3275
 IMG 8160
 IMG 8183
 134 3464
 136 3612
 IMG 8152
 136 3611
 133 3337
 IMG 8166
 133 3335
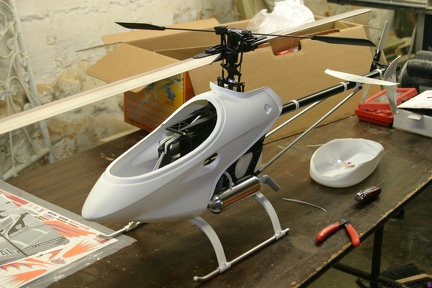 133 3331
 IMG 8169
 IMG 8167
 IMG 8159
 133 3336
 133 3326
 132 3276
 IMG 8175
 IMG 9556
 133 3330
 136 3616
 IMG 8162
 IMG 8164
 136 3617
 IMG 8157
 136 3615
 132 3278
 136 3621
 137 3751
 136 3610
 IMG 8172
 IMG 9563
 IMG 9554
 IMG 8174
 IMG 8161
 133 3339
 136 3609
 132 3274
 136 3618
 134 3463
 IMG 8171
 137 3753
 132 3277
 IMG 9557
 136 3622
 136 3623
 136 3619
 IMG 9555
 133 3340
 IMG 8173
 136 3620
 137 3756
 IMG 9553
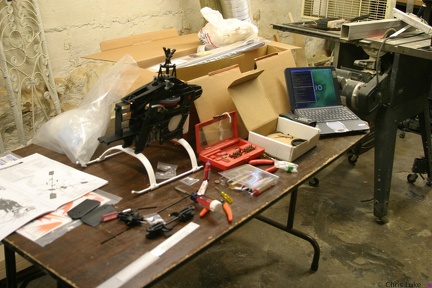 132 3286
 132 3283
 132 3288
 132 3273
 136 3608
 133 3306
 132 3290
 132 3281
 IMG 8958
 132 3282
 133 3305
 132 3279
 136 3607
 132 3287
 IMG 8946
 IMG 8957
 132 3280
 IMG 8951
 133 3304
 IMG 8954
 IMG 8944
 137 3749
 132 3294
 IMG 8945
 132 3291
 132 3295
 IMG 8959
 IMG 8943
 IMG 8955
 IMG 8947
 132 3292
 132 3285
 133 3303
 IMG 8938
 IMG 8934
 IMG 8942
 IMG 8932
 IMG 8933
 IMG 8956
 IMG 8939
 IMG 8931
 IMG 8935
 IMG 8937
 IMG 8941
 IMG 8936