
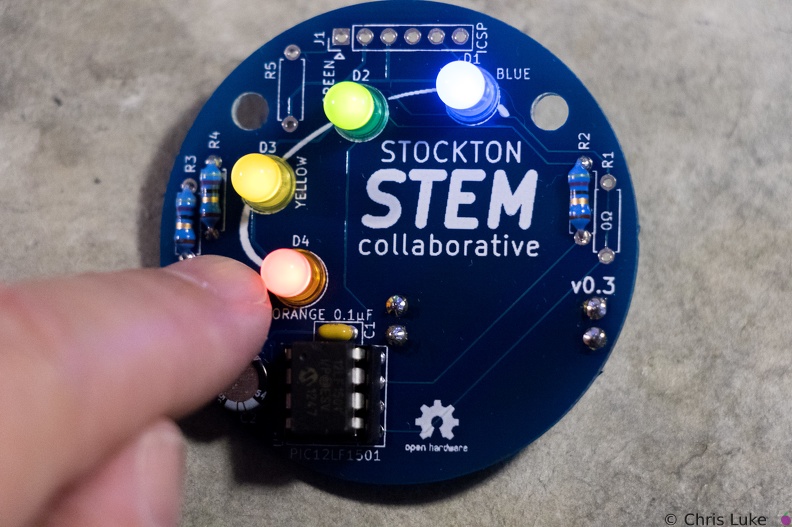
 Stockton STEM Badge completed
Press the button to start the lights!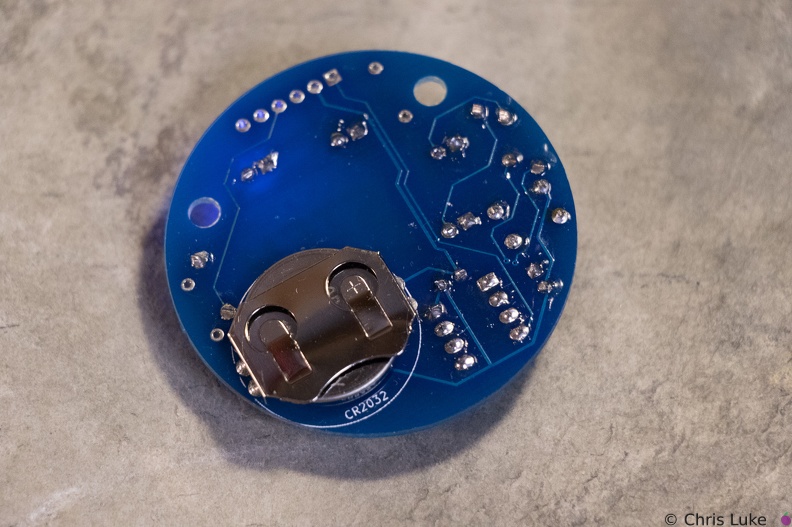 Stockton STEM Badge battery
The battery should sit snugly under the holder.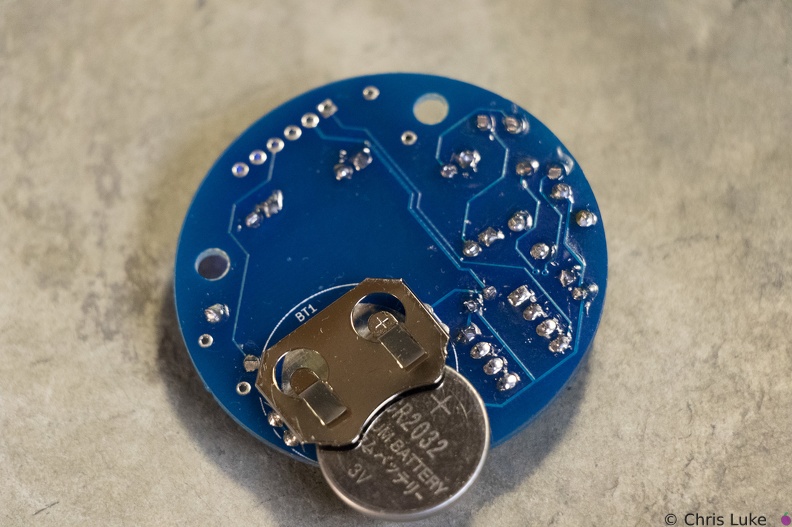 Stockton STEM Badge battery
Note the orientation of the battery. The "+" side contacts the battery holder.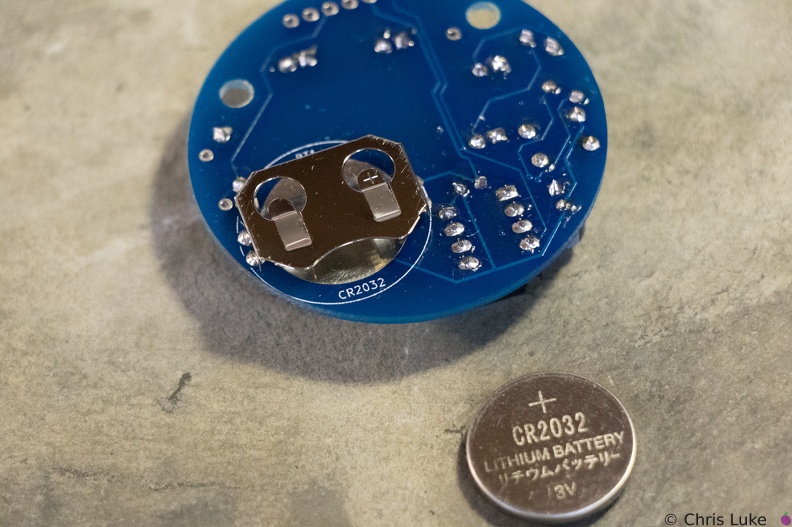 Stockton STEM Badge battery
The battery is a typical CR2032 button cell. Notice which side the "+" is on.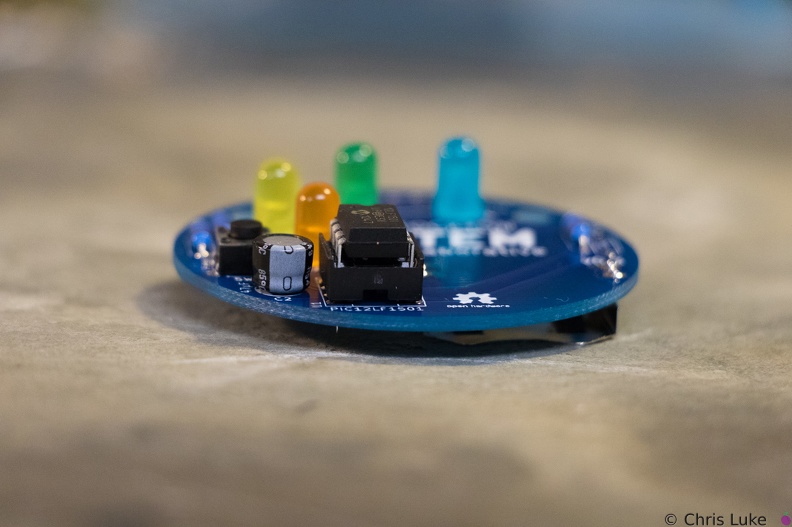 Stockton STEM Badge IC
Once pushed all the way in, the IC may sit above the socket, but it will be parallel to it.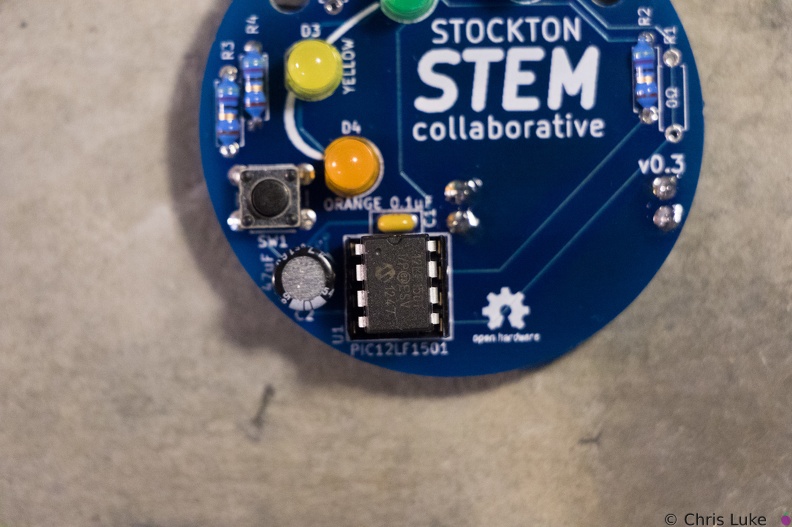 Stockton STEM Badge IC
Make sure the IC is correctly aligned before pushing it in.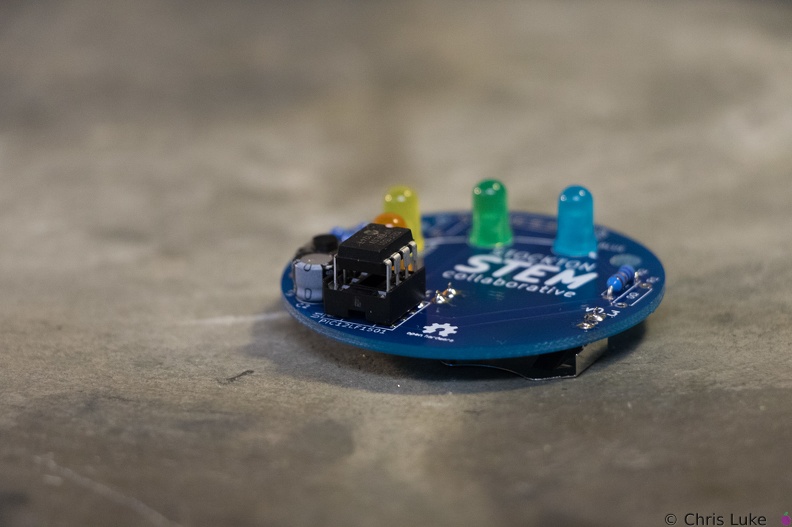 Stockton STEM Badge IC
When inserting the IC, firm but controlled pressure is needed to avoid bending the pins.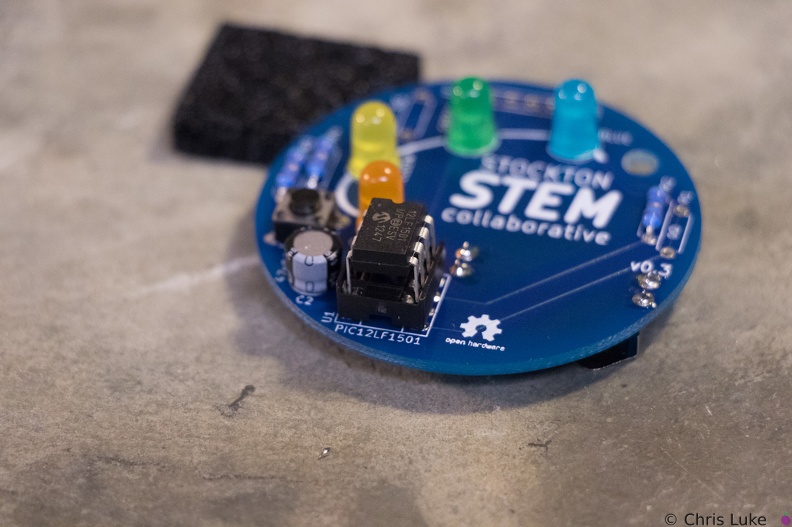 Stockton STEM Badge IC
The IC pins need to be straight and line up with their receptacles in the socket.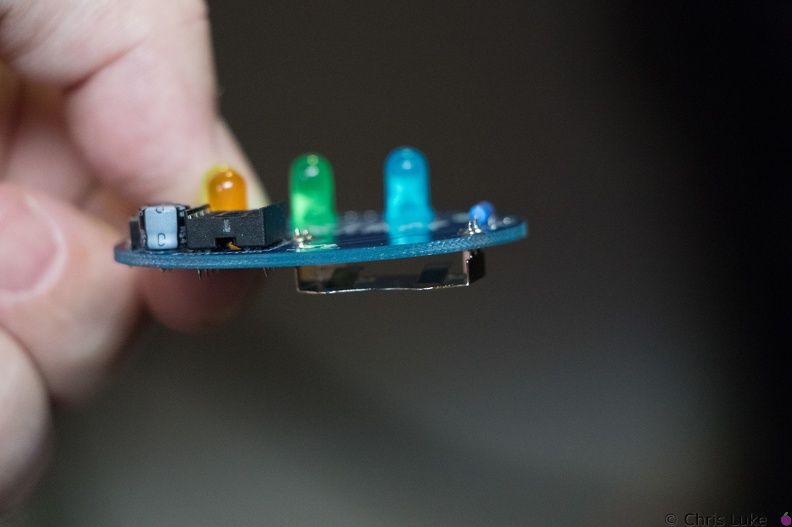 Stockton STEM Badge battery
It is possible for the holder to become hot during soldering; be careful when handling immediately after soldering.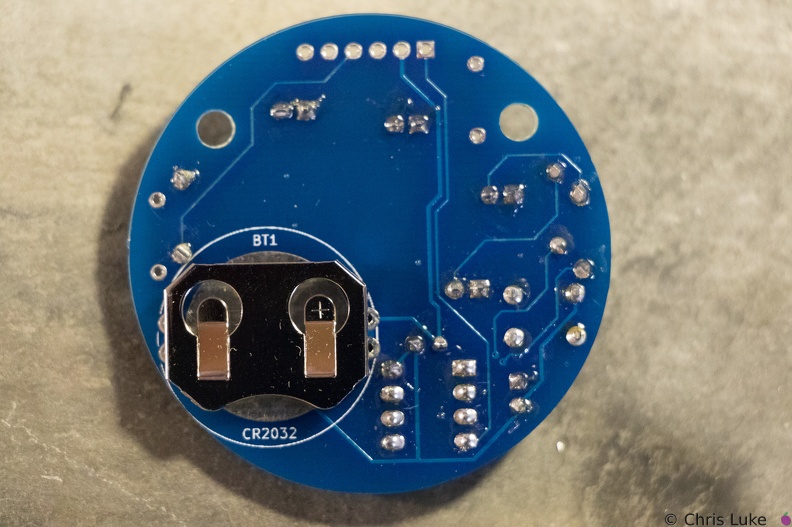 Stockton STEM Badge battery
Note the orientation of the holder; reversing it will make it difficult to insert the battery later.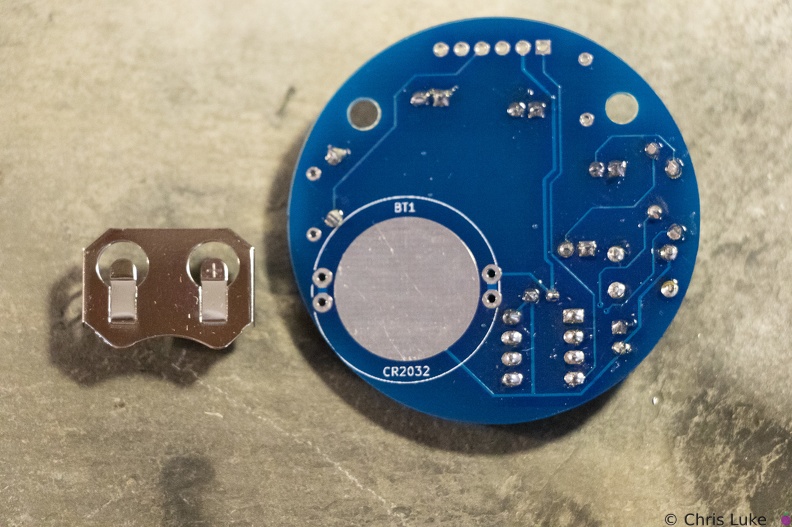 Stockton STEM Badge battery
The battery holder is a simple metal cage that solders to the underside of the board.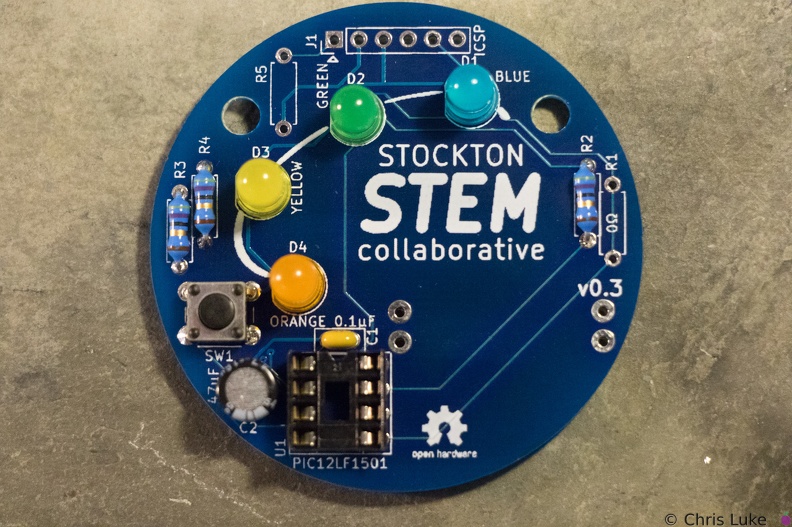 Stockton STEM Badge LEDs
All the LEDs have been soldered. Notice that they all have the same orientation; the flat edge is to the left.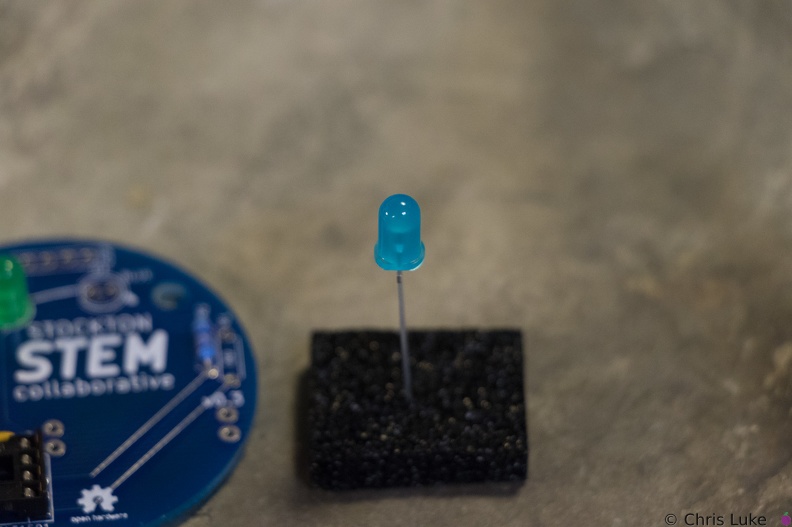 Stockton STEM Badge LEDs
The case of an LED can crack if the legs are bent too close to it; even after placing the LED on the board, only bend the legs slightly to hold it in place.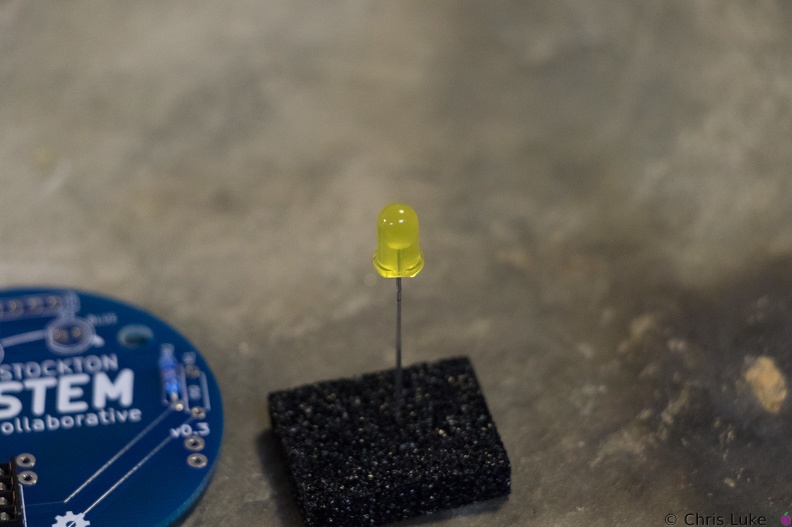 Stockton STEM Badge LEDs
While all components can be destroyed with an excess of heat during soldering, LEDs are especially susceptible to this.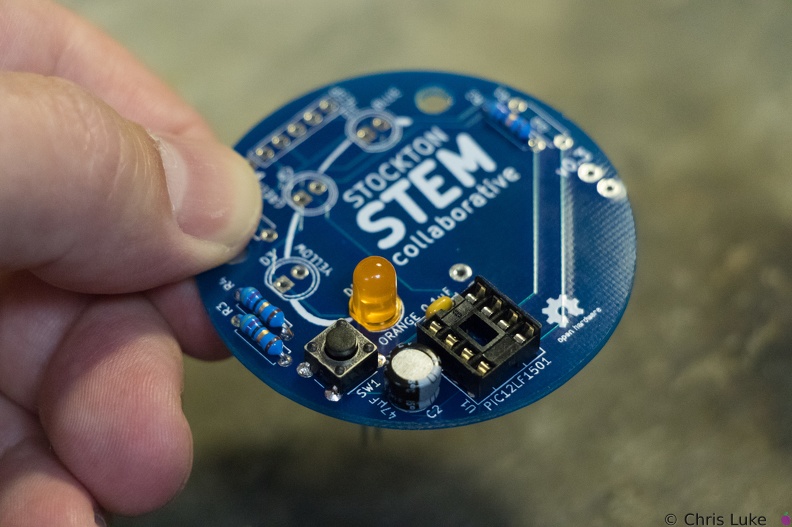 Stockton STEM Badge LEDs
The footprint for the LEDs also shows a flat edge; orientation of the LEDs needs to match that of the board.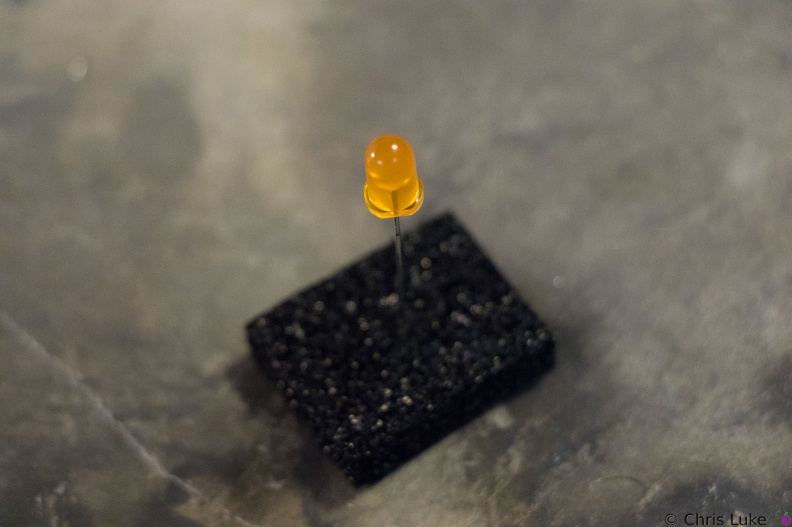 Stockton STEM Badge LEDs
LEDs have a flat edge on one side of their case.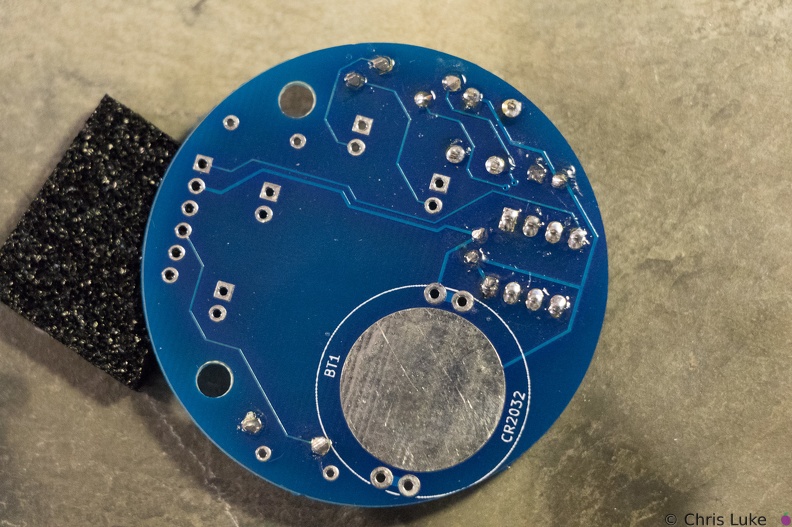 Stockton STEM Badge button
As with the IC socket, soldering one leg first and verifying component alignment will help prevent easy mistakes.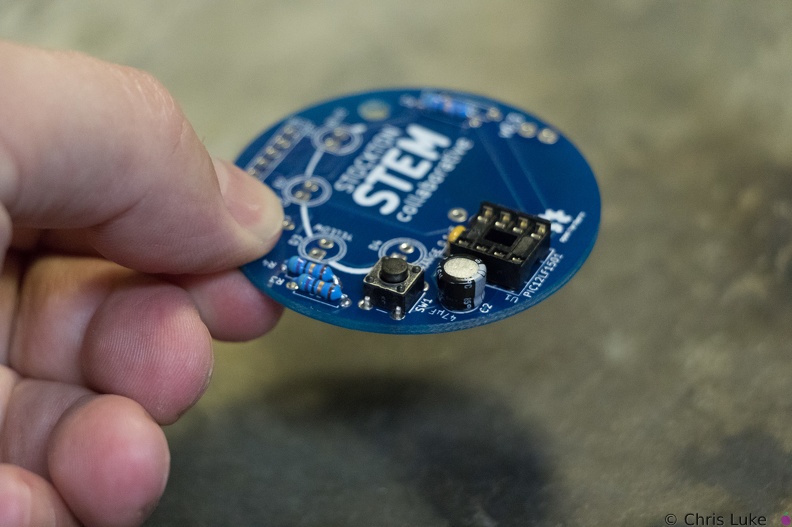 Stockton STEM Badge button
The push-button switch will fit two ways. Orientation does not matter.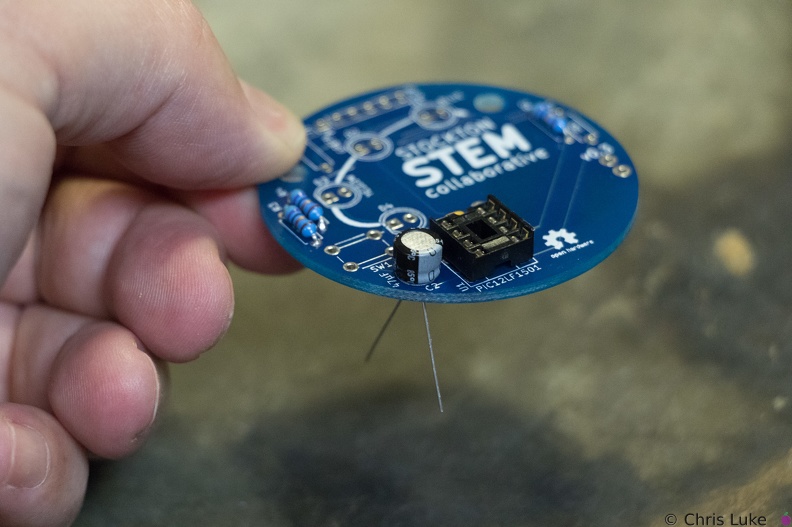 Stockton STEM Badge electrolytic capacitor
Orientation of this capacitor is important. There is a "+" symbol in the footprint of the component printed on the board; the "-" of the capacitor should be on the opposite side.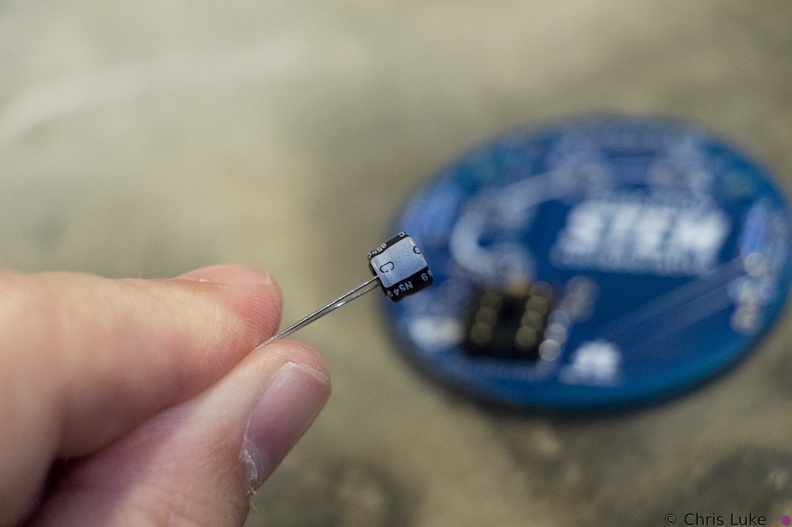 Stockton STEM Badge electrolytic capacitor
Electrolytic capacitors are polarity sensitive; note the "-" symbol on one side of the capacitor package. These capacitors typically have a larger capacity than their ceramic counterparts and are used for bulk storage; this one is used to assist the battery when the LEDs turn on. This is necessary because button cell batteries are not designed to provide as much power as the LEDs can demand.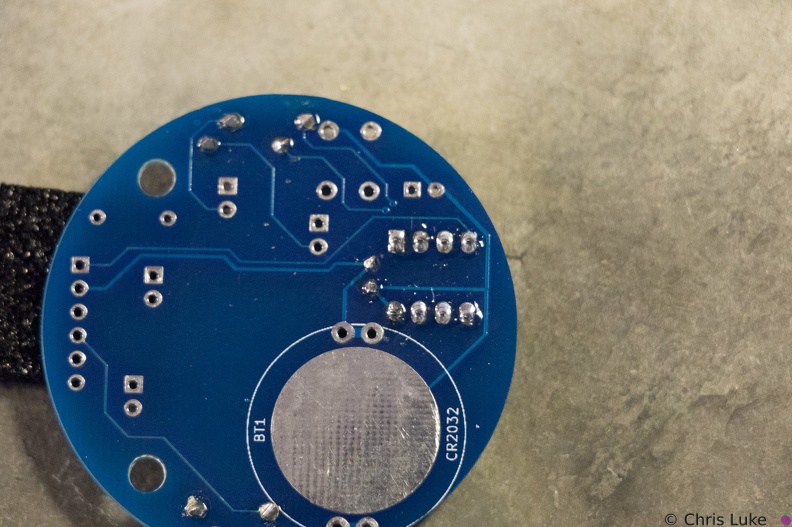 Stockton STEM Badge IC socket
Soldered legs.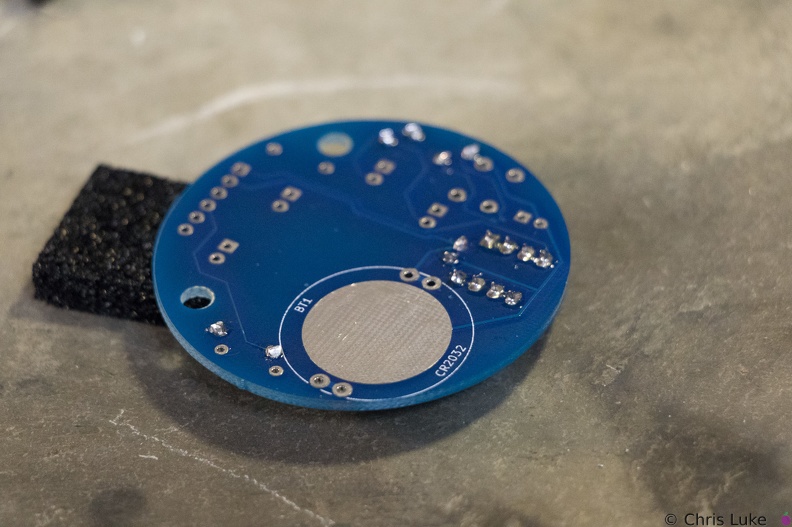 Stockton STEM Badge IC socket
Soldering one leg first and checking that the socket is flat against the board avoids a simple mistake. If it is not flat, or otherwise misaligned simply re-heating the leg will help correct the issue. Once orientation and alignment is verified, solder the remaining legs. Sometimes a small shim, such as the black foam here, can help keep the board level and simplifies the task.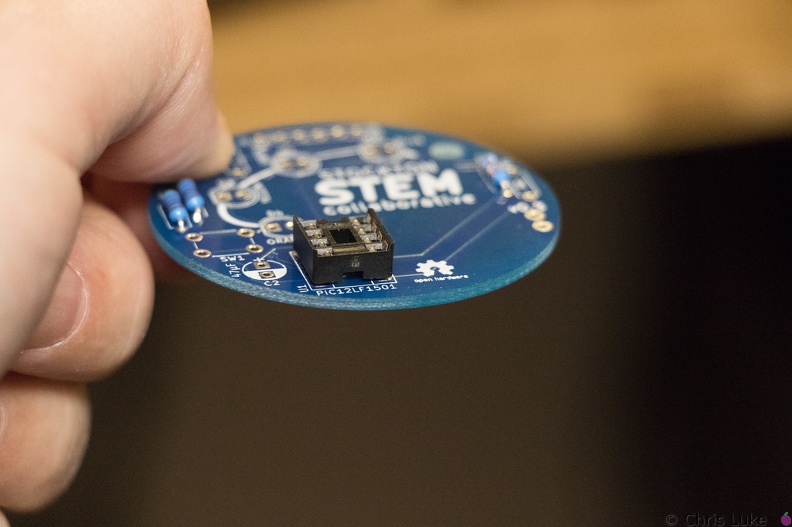 Stockton STEM Badge IC socket
The IC socket should lay flat against the board.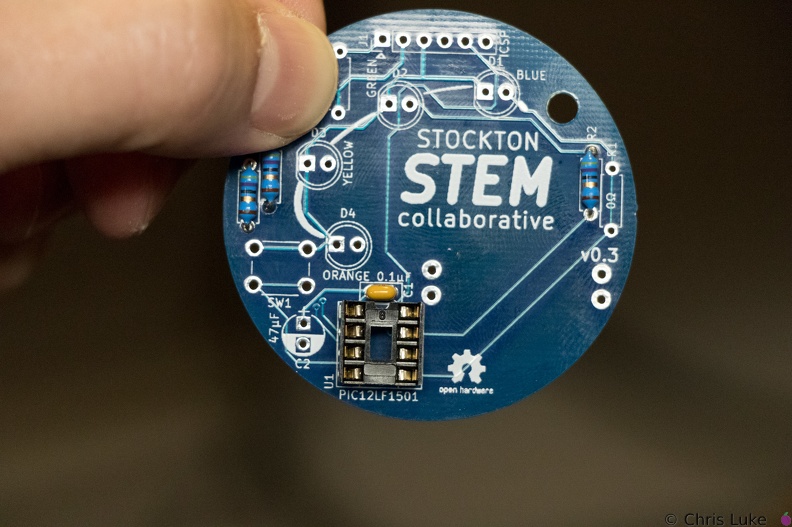 Stockton STEM Badge IC socket
Note the orientation of the indent at the upper edge of the IC socket.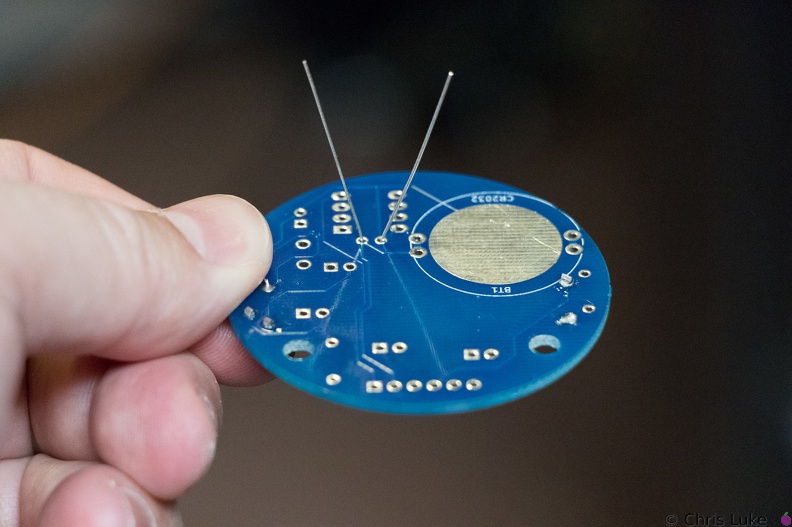 Stockton STEM Badge decoupling capacitor
As with the resistors, the legs should be splayed a little to help hold it in place for soldering.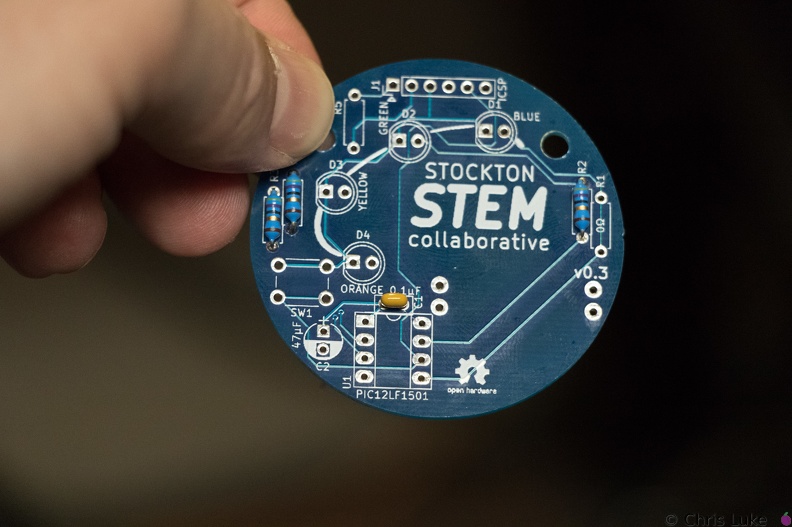 Stockton STEM Badge decoupling capacitor
The capacitor should sit flush with the board.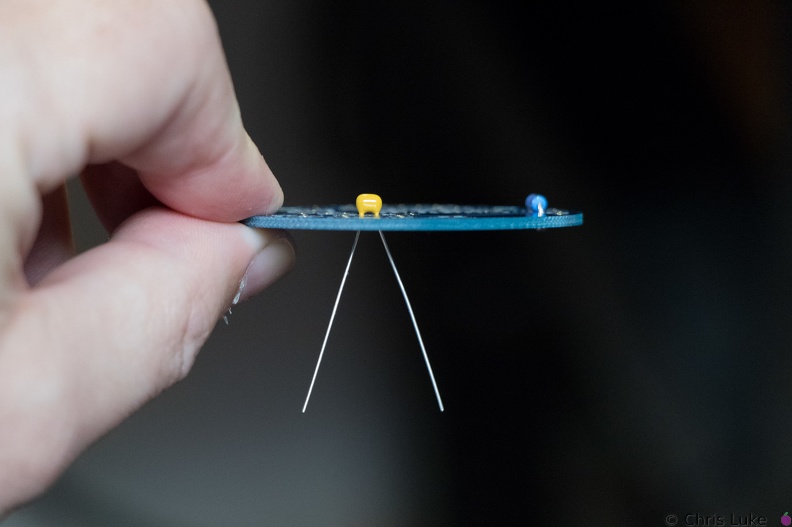 Stockton STEM Badge decoupling capacitor
This ceramic capacitor is not orientation sensitive. Decoupling means it absorbs electrical noise and is used to filter the power feeding the microcontroller.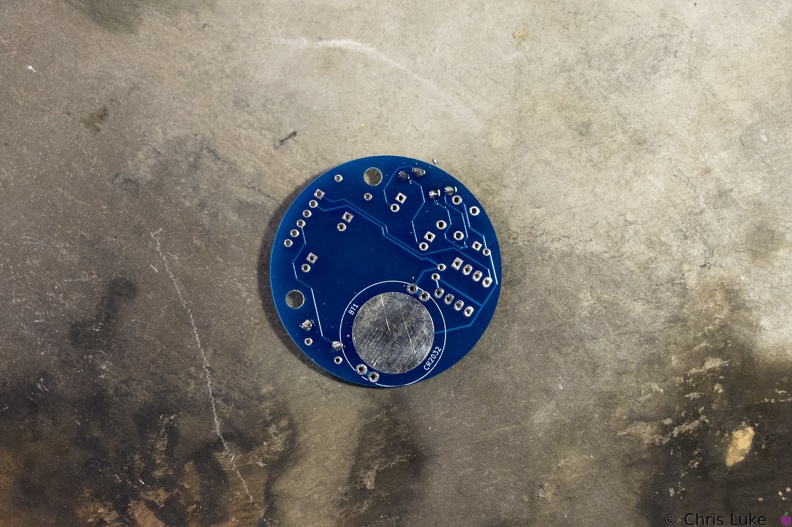 Stockton STEM Badge resistor legs
The legs are trimmed, the excess removed with side-cutters.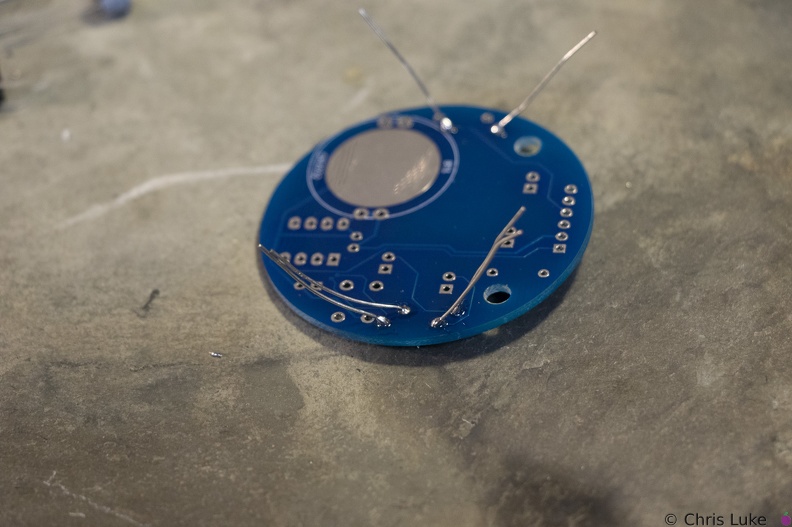 Stockton STEM Badge resistor legs
Soldered legs; only a small amount of solder is needed and it heat should be applied only briefly.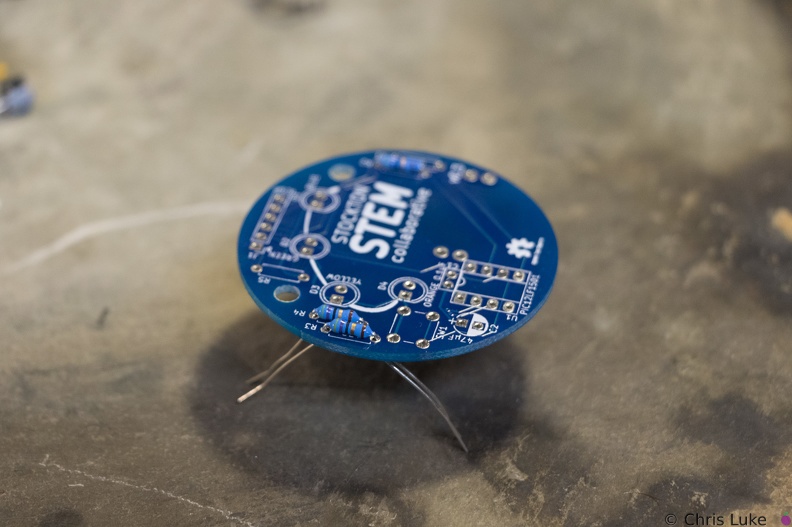 Stockton STEM Badge resistor legs
The legs are then carefully bent to about 45 degrees to hold the resistor in place for soldering.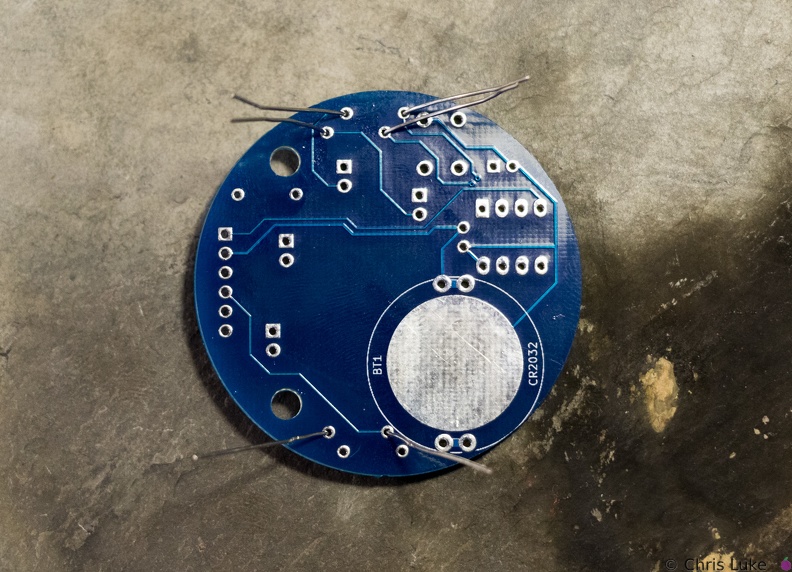 Stockton STEM Badge resistor legs
The legs are passed through the board holes; they may need pulling firmly, but not too firmly, with pliers to pull the resistor body flush with the board.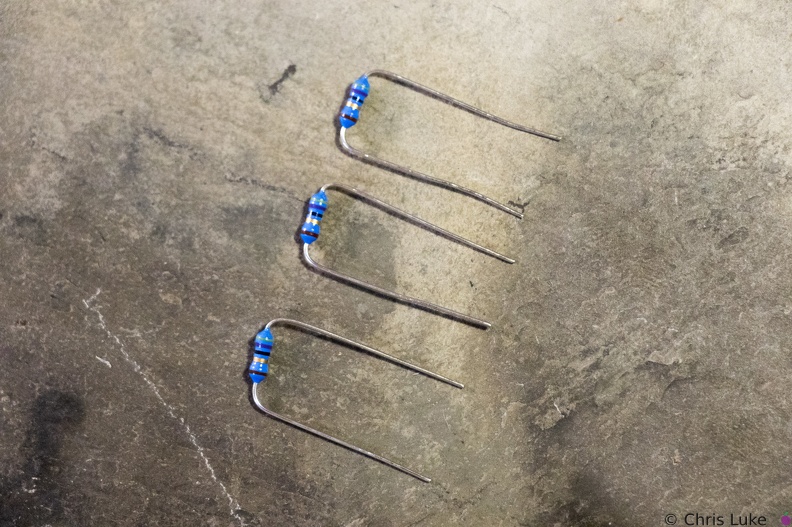 Stockton STEM Badge resistor legs
The resistor legs need to be bent in order to insert them into the board.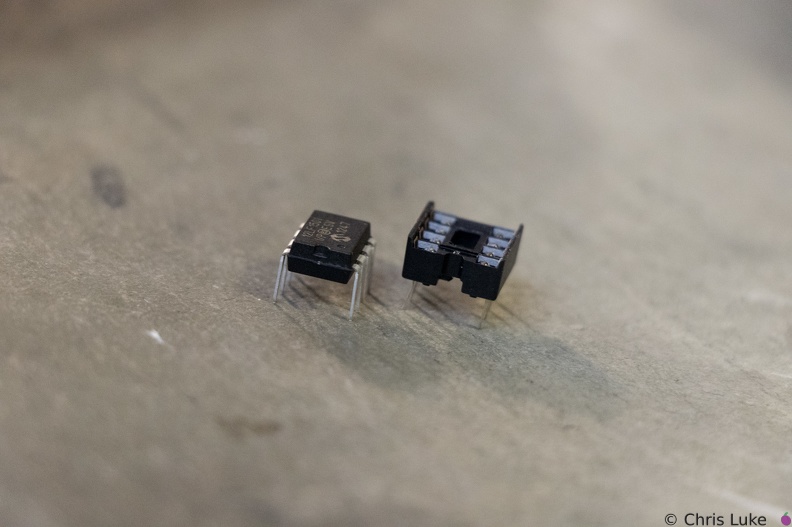 Stockton STEM Badge IC and socket
The legs of the chip need to be straight otherwise they will not properly insert into their positions in the socket. It is easy to bend or break the legs if care is not taken.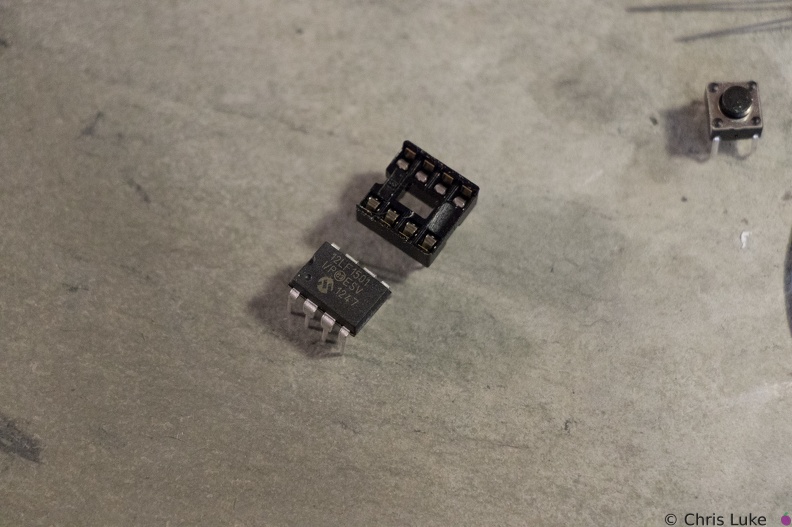 Stockton STEM Badge IC and socket
The chip, an integrated circuit, or IC, must also be used the correct way round. Both the chip and its socket have a notch at one end to identify its orientation.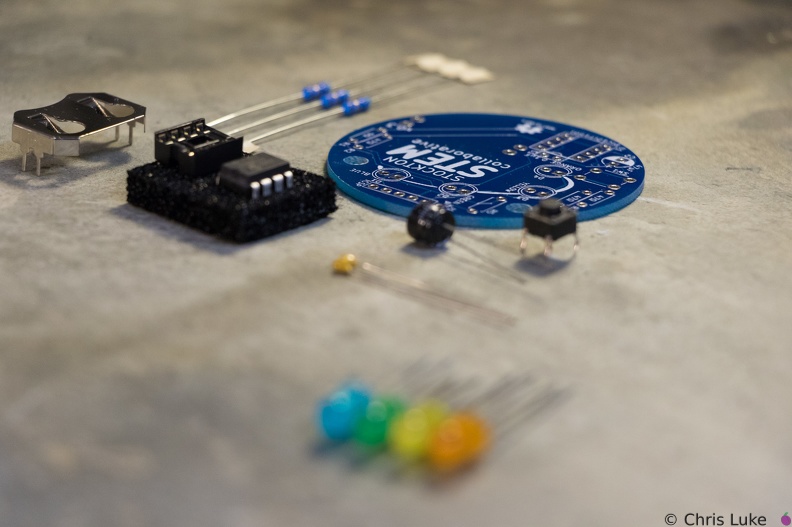 Stockton STEM Badge components
 Stockton STEM Badge LEDs
 Stockton STEM Badge LEDs
 Stockton STEM Badge LEDs
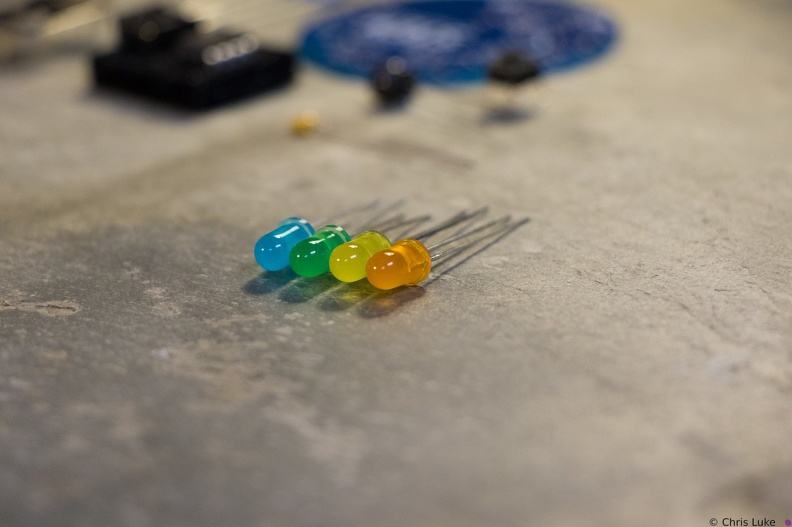
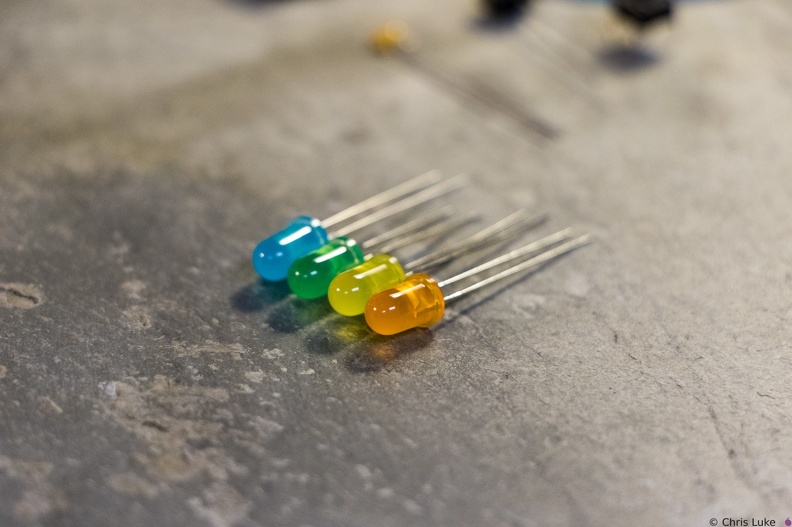
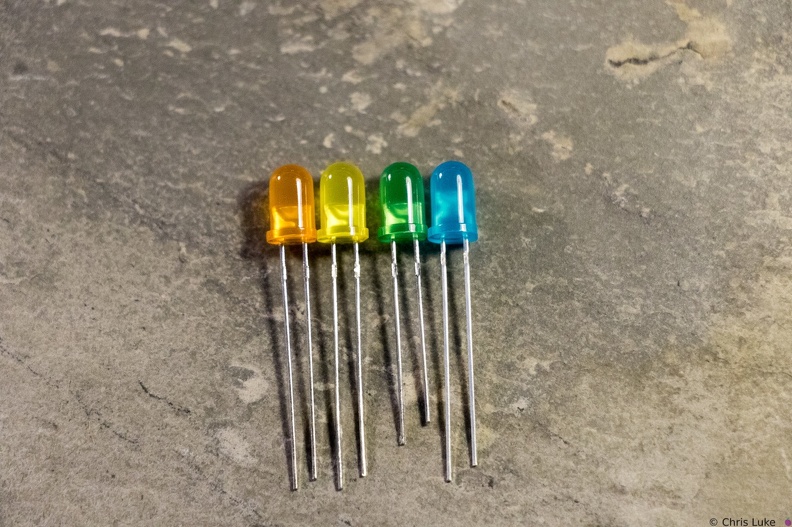
Notice how the LEDs typically have one leg longer than the other; this is called the "anode". The colored case also has one flat side, opposite the longer leg; the leg on this side is called the "cathode". Also, note the distinctive shape of what is inside the colored case; this can also be used to help determine its orientation. The gap at the top of the metal surface is always on the anode side. LEDs can only be used the right way round so determining orientation is important.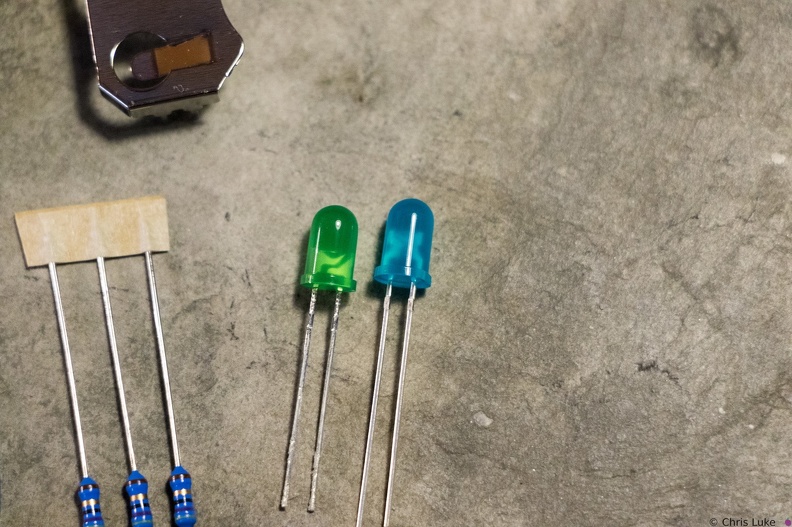 Stockton STEM Badge LEDs
Green and blue LEDs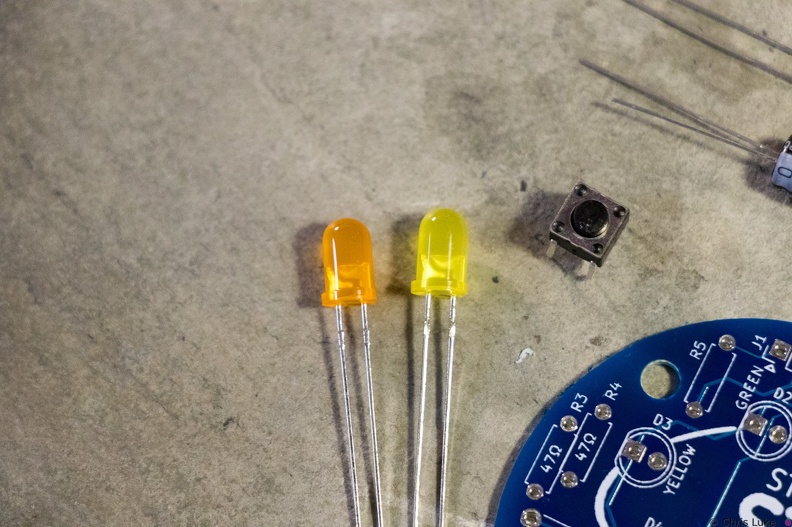 Stockton STEM Badge LEDs and button
Orange and yellow LEDS. The pushbutton switch allows a person to control the badge.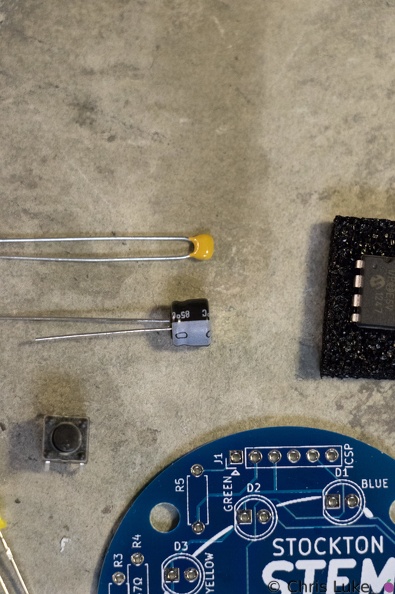 Stockton STEM Badge capacitors
The capacitors smooth the power on the badge. The top capacitor, is not polarity sensitive; that is, it can be used either way round. The other capacitor must be used only the correct way round; the case has a "-" symbol printed on it.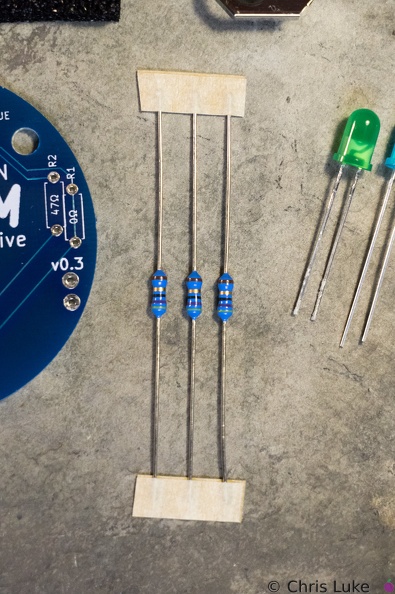 Stockton STEM Badge resistors
These are 47 ohm resistors; they limit the current supplied to the orange, yellow and green LEDs. The blue LED does not require one.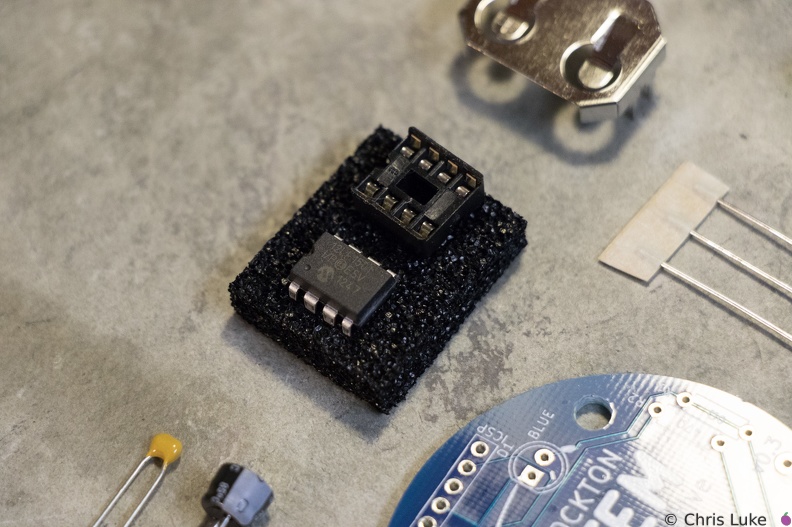 Stockton STEM Badge microcontroller
The chip is an inexpensive "PIC" microcontroller; this runs a program that controls the LEDs.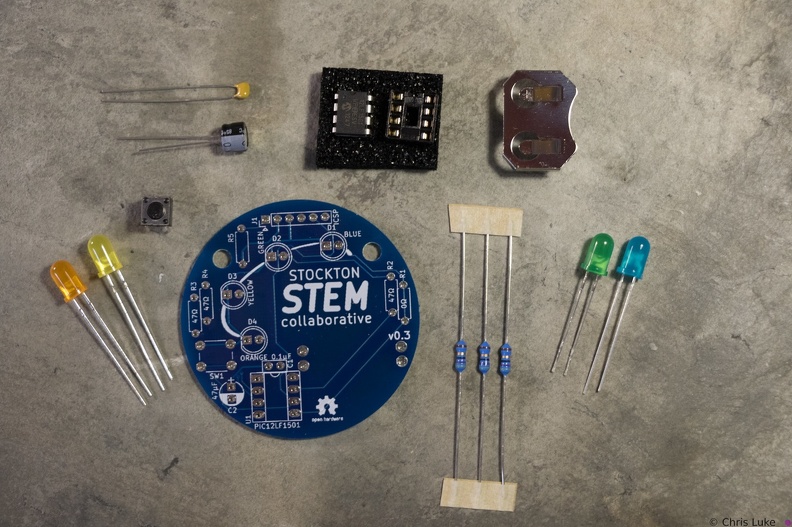 Stockton STEM Badge components
The badge consists of a handful of electronic components. Components R1, R5 and J1 are not normally populated.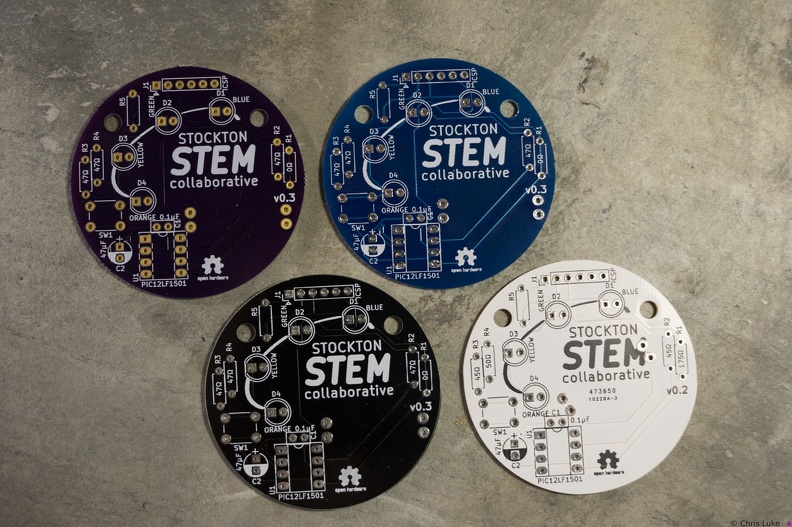 Stockton STEM Badge boards
The badge printed circuit board (PCB) comes in several colors.- IMG 5997
- IMG 5996
- IMG 5995
- IMG 5994
- IMG 5993
- IMG 5992
- IMG 5991
- IMG 5990
- IMG 5989
- IMG 5988
- IMG 5987
- IMG 5985
- IMG 5986
- IMG 5984
- IMG 5982
- IMG 5983
- IMG 5980
- IMG 5981
- IMG 5979
- IMG 5978
- IMG 5977
- IMG 5976
- IMG 5974
- IMG 5973
- IMG 5970
- IMG 5969
- IMG 5967
- IMG 5966
- IMG 5964
- IMG 5963
- IMG 5962
- IMG 5960
- IMG 5958
- IMG 5957
- IMG 5956
- IMG 5955
- IMG 5954
- IMG 5953
- IMG 5952
- IMG 5951
- IMG 5950
- IMG 5949
- IMG 5948
- IMG 5947
- IMG 1809
- IMG 1808
- IMG 1807
- IMG 1806
- IMG 1805
- IMG 1804
- IMG 1803
- IMG 1802
- IMG 1801
- IMG 1800
- IMG 1799
- IMG 1798
- IMG 1797
- IMG 1796
- IMG 1795
- IMG 1794
- IMG 1793
- IMG 1792
- IMG 1791
- IMG 1790
- IMG 1789
- IMG 1788
- IMG 1787
- IMG 1786
- IMG 1785
- IMG 1784
- IMG 1783
- IMG 1782
- IMG 1781
- IMG 1780
- IMG 1779
- IMG 1778
- IMG 1777
- IMG 1776
- 133 3368
- 133 3367
- 133 3366
- 133 3365
- 133 3364
- 133 3363
- 133 3362
- 133 3361
- 133 3360
- 133 3359
- 133 3358
- 133 3357
- 132 3219
- 132 3218
- 132 3217
- 132 3216
- 132 3215
- 132 3213
- 132 3212
- 132 3211
- 132 3210
- 132 3209
- 132 3208
- 132 3207
- 132 3206
- 132 3205
- 132 3204
- 132 3203
- 132 3202
- 119 1939
- DSC00112
- DSC00111
- DSC00110
- DSC00109
- DSC00108
- DSC00107
- DSC00106
- DSC00105
- DSC00104