
- kt ruth wed 0169
- kt ruth wed 0170
- kt ruth wed 0171
- kt ruth wed 0172
- kt ruth wed 0173
- kt ruth wed 0174
- kt ruth wed 0175
- kt ruth wed 0176
- kt ruth wed 0177
- kt ruth wed 0178
- kt ruth wed 0179
- kt ruth wed 0180
- kt ruth wed 0181
- kt ruth wed 0182
- kt ruth wed 0183
- kt ruth wed 0184
- kt ruth wed 0185
- kt ruth wed 0186
- kt ruth wed 0187
- kt ruth wed 0188
- kt ruth wed 0189
- kt ruth wed 0190
- kt ruth wed 0191
- kt ruth wed 0192
- kt ruth wed 0193
- kt ruth wed 0194
- kt ruth wed 0195
- kt ruth wed 0196
- kt ruth wed 0197
- kt ruth wed 0198
- kt ruth wed 0199
- kt ruth wed 0200
- kt ruth wed 0201
- kt ruth wed 0202
- kt ruth wed 0203
- kt ruth wed 0204
- kt ruth wed 0205
- kt ruth wed 0206
- kt ruth wed 0207
- kt ruth wed 0208
- kt ruth wed 0209
- kt ruth wed 0210
- kt ruth wed 0211
- kt ruth wed 0212
- kt ruth wed 0213
- kt ruth wed 0214
- kt ruth wed 0215
- kt ruth wed 0216
- kt ruth wed 0217
- kt ruth wed 0218
- kt ruth wed 0219
- kt ruth wed 0220
- kt ruth wed 0221
- kt ruth wed 0222
- kt ruth wed 0223
- kt ruth wed 0224
- kt ruth wed 0225
- kt ruth wed 0226
- kt ruth wed 0227
- kt ruth wed 0228
- kt ruth wed 0229
- kt ruth wed 0230
- kt ruth wed 0231
- kt ruth wed 0232
- kt ruth wed 0233
- kt ruth wed 0234
- kt ruth wed 0235
- kt ruth wed 0236
- kt ruth wed 0237
- kt ruth wed 0238
- kt ruth wed 0239
- kt ruth wed 0240
- kt ruth wed 0241
- kt ruth wed 0242
- kt ruth wed 0243
- kt ruth wed 0244
- kt ruth wed 0245
- kt ruth wed 0246
- kt ruth wed 0247
- kt ruth wed 0248
- kt ruth wed 0249
- kt ruth wed 0250
- kt ruth wed 0251
- kt ruth wed 0252
- kt ruth wed 0253
- kt ruth wed 0254
- kt ruth wed 0255
- kt ruth wed 0256
- kt ruth wed 0257
- kt ruth wed 0258
- kt ruth wed 0259
- kt ruth wed 0260
- kt ruth wed 0261
- kt ruth wed 0262
- kt ruth wed 0263
- kt ruth wed 0264
- kt ruth wed 0265
- kt ruth wed 0266
- kt ruth wed 0267
- kt ruth wed 0268
- kt ruth wed 0269
- kt ruth wed 0270
- kt ruth wed 0271
- kt ruth wed 0272
- kt ruth wed 0273
- kt ruth wed 0274
- kt ruth wed 0275
- kt ruth wed 0276
- kt ruth wed 0277
- kt ruth wed 0278
- kt ruth wed 0279
- kt ruth wed 0280
- kt ruth wed 0281
- kt ruth wed 0282
- kt ruth wed 0283
- kt ruth wed 0284
- kt ruth wed 0285
- kt ruth wed 0286
- kt ruth wed 0287
- kt ruth wed 0288
- kt ruth wed 0289
- kt ruth wed 0290
- kt ruth wed 0291
- kt ruth wed 0292
- kt ruth wed 0293
- kt ruth wed 0294
- kt ruth wed 0295
- kt ruth wed 0296
- kt ruth wed 0297
- kt ruth wed 0298
- kt ruth wed 0299
- kt ruth wed 0300
- kt ruth wed 0301
- kt ruth wed 0302
- kt ruth wed 0303
- kt ruth wed 0304
- kt ruth wed 0305
- kt ruth wed 0306
- kt ruth wed 0307
- kt ruth wed 0308
- kt ruth wed 0309
- kt ruth wed 0310
- kt ruth wed 0311
- kt ruth wed 0312
- kt ruth wed 0313
- kt ruth wed 0314
- kt ruth wed 0315
- kt ruth wed 0316
- kt ruth wed 0317
- kt ruth wed 0318
- kt ruth wed 0319
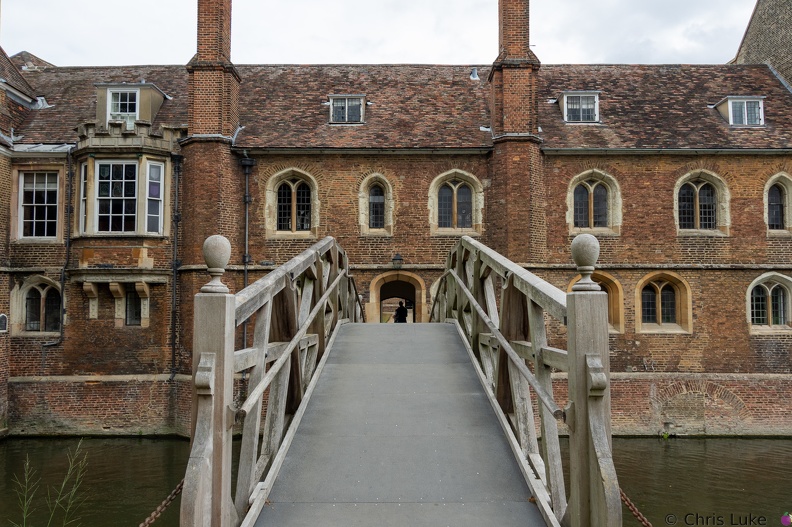 Mathematical Bridge
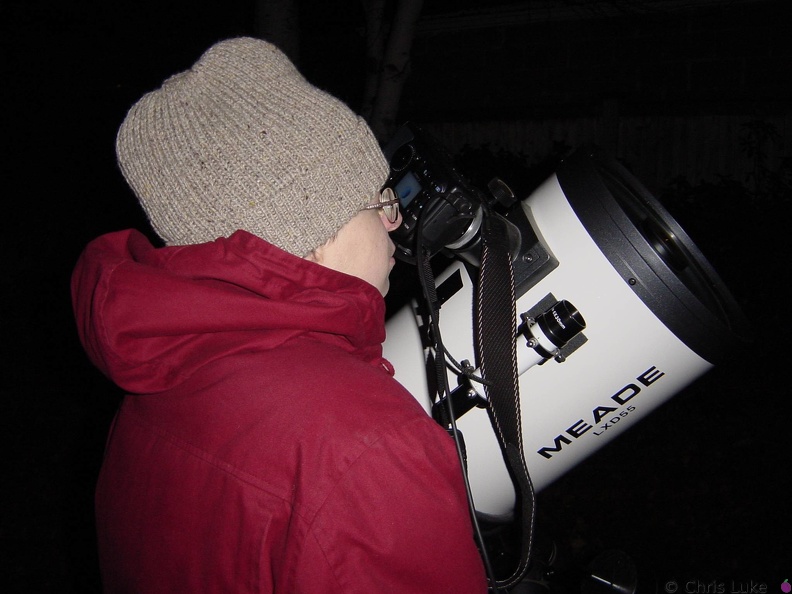
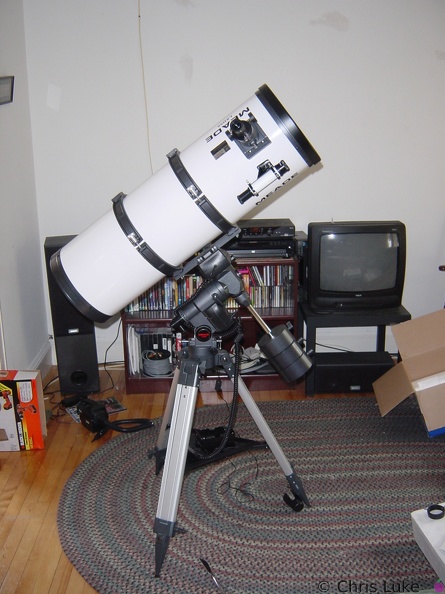 Meade LDX55 10inch Schidt-Newtonian
Meade LDX55 10" telescope The Meade LDX55 10" Schmidt-Newtonian reflecting telescope, setup in my living room (to make sure all the bits are there!)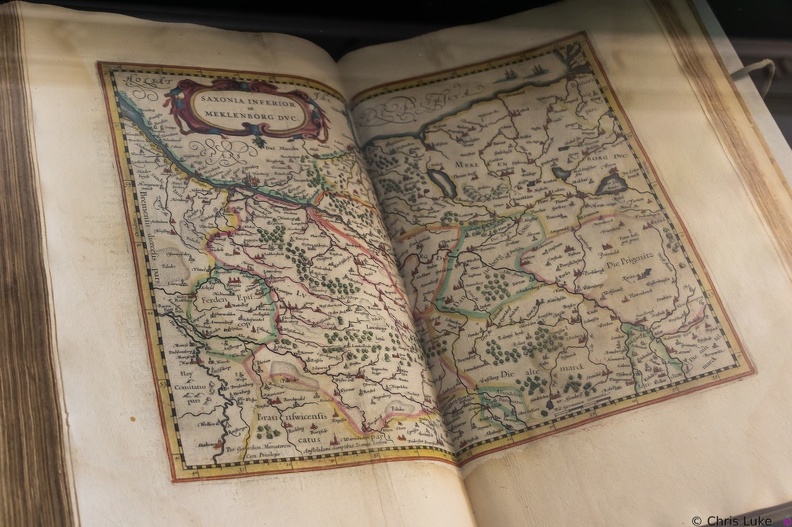 Mercator's Atlas
 Merlin
 Merlin's Cave
 Moon028
 Moon029
 Moon039
 Moon040
 MOV00230
- P0000001
- P0000002
- P0000003
- P0000004
- P0000005
- P0000006
- P0000007
- P0000008
- P0000009
- P0000010
- P0000011
- P0000012
- P0000013
- P0000014
- P0000015
- P0000016
- P0000017
- P0000018
- P0000019
- P0000020
- P0000021
- P0000022
- P0000023
- P0000024
- P0000025
- P0000026
- P0000027
- P0000028
- P0000029
- P0000030
- P0000031
- P0000032
- P0000033
- P0000034
- P0000035
- P0000036
- P0000037
- P0000038
- P0000039
- P0000040
- P0000041
- P0000042
- P0000043
- P0000044
- P0000045
- P0000046
- P0000047
- P0000048
- P0000049
- P0000050
- P0000051
- P0000052
- P0000053
- P0000054
- P0000055
- P0000056
- P0000057
- P0000058
- P0000059
- P0000060
- P0000061
- P0000062
- P0000063
- P0000064
- P0000065
- P0000066
- P0000067
- P0000068
- P0000069
- P0000070
- P0000071
- P0000072
- P0000073
- P0000074
- P0000075
- P0000076
- P0000077
- P0000078
- P0000079
- P0000080
- P0000081
- P0000082
- P0000083
- P0000084
- P0000085
- P0000086
- P0000087
- P0000088
- P0000089
- P0000090
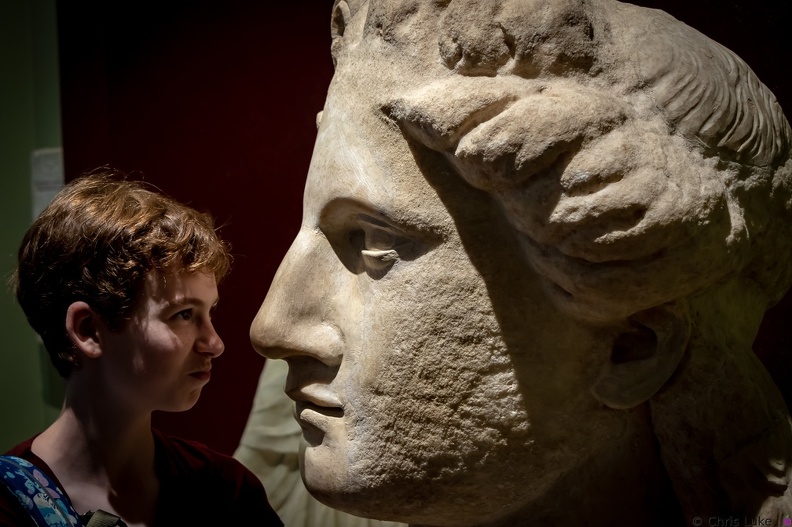 Piper vs. Apollo
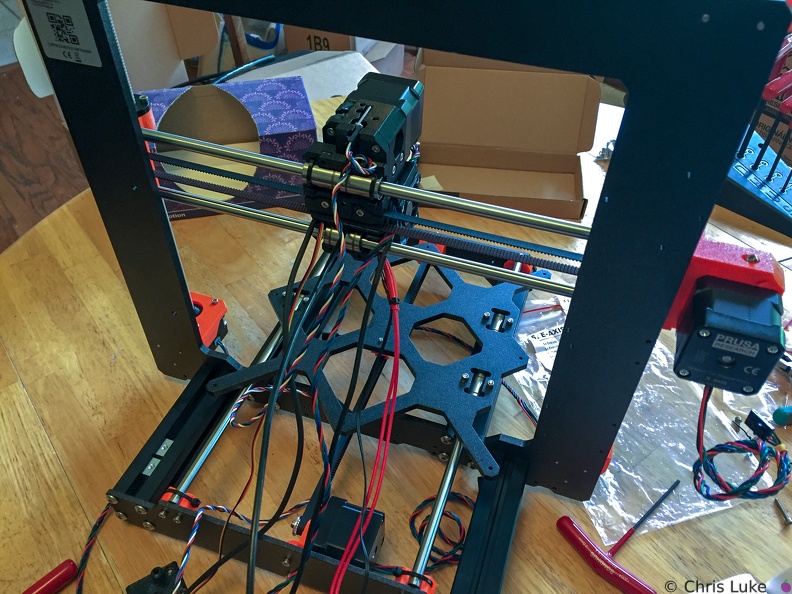 Print head cables
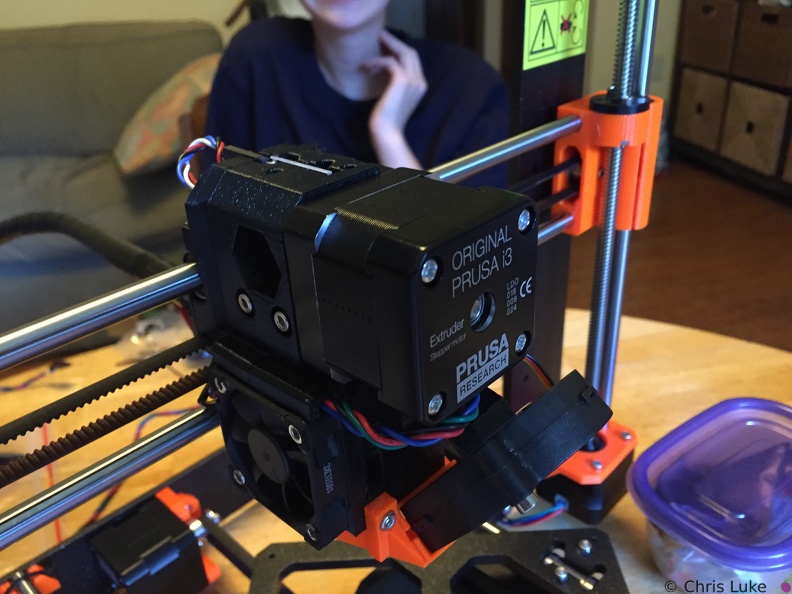 Printhead front
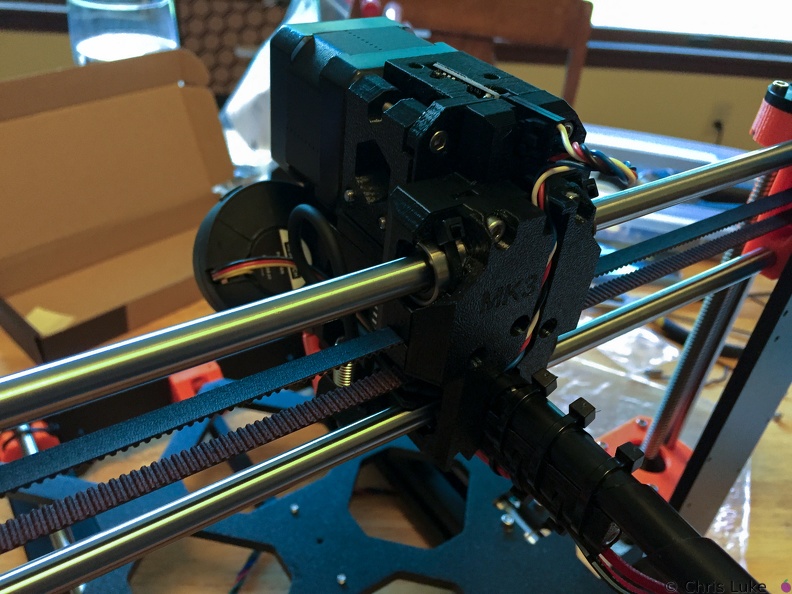 Printhead rear
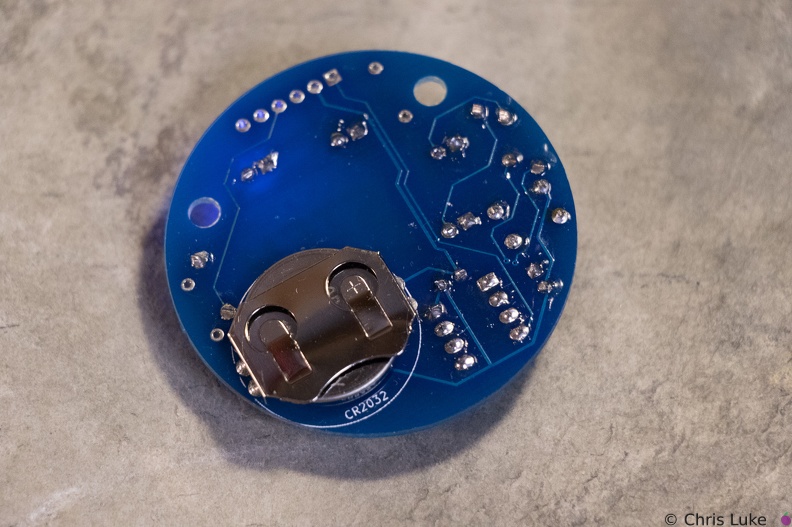 Stockton STEM Badge battery
The battery should sit snugly under the holder.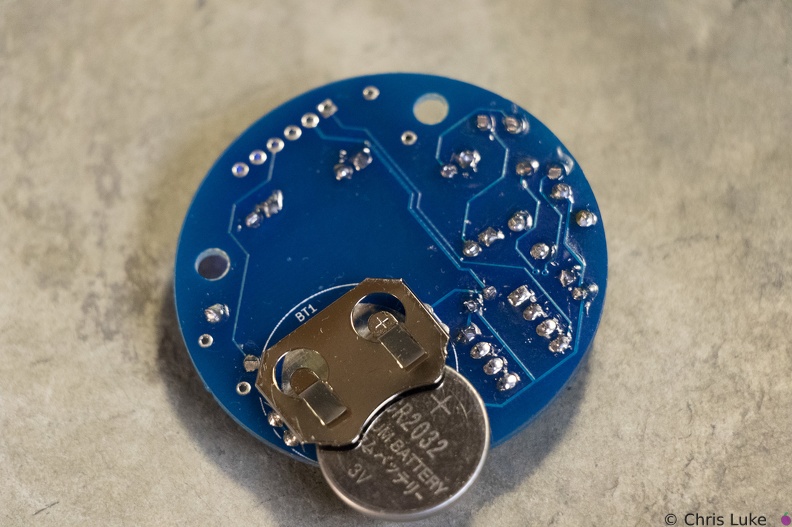 Stockton STEM Badge battery
Note the orientation of the battery. The "+" side contacts the battery holder.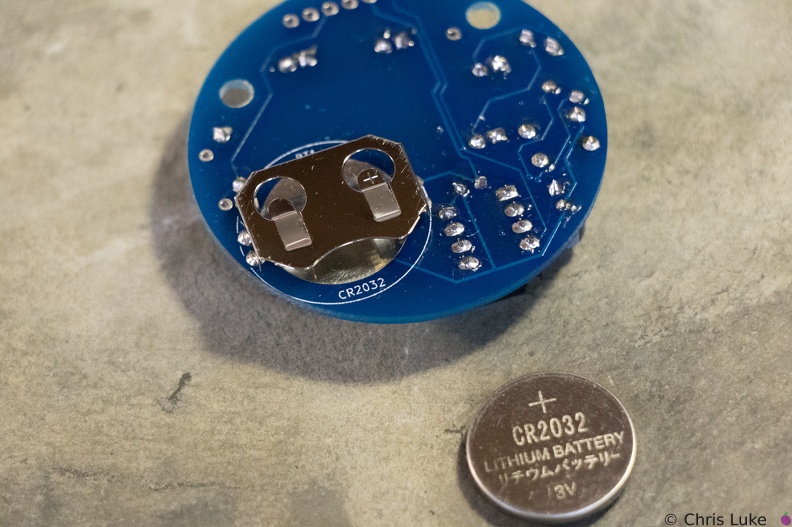 Stockton STEM Badge battery
The battery is a typical CR2032 button cell. Notice which side the "+" is on.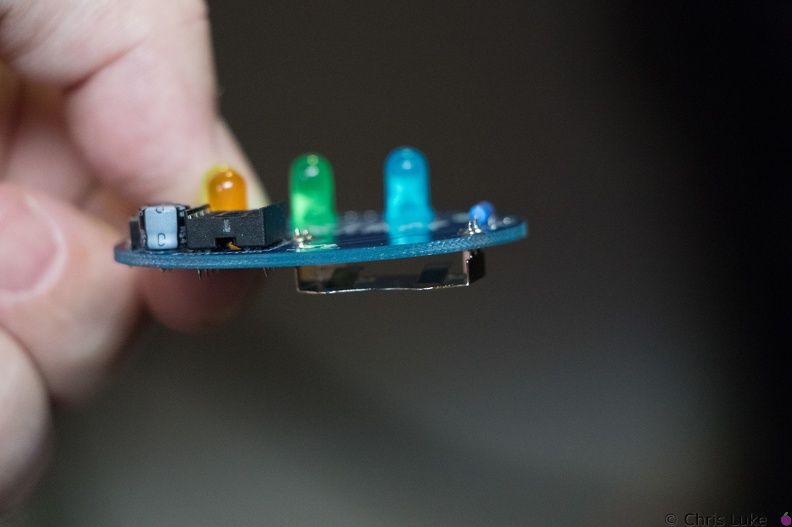 Stockton STEM Badge battery
It is possible for the holder to become hot during soldering; be careful when handling immediately after soldering.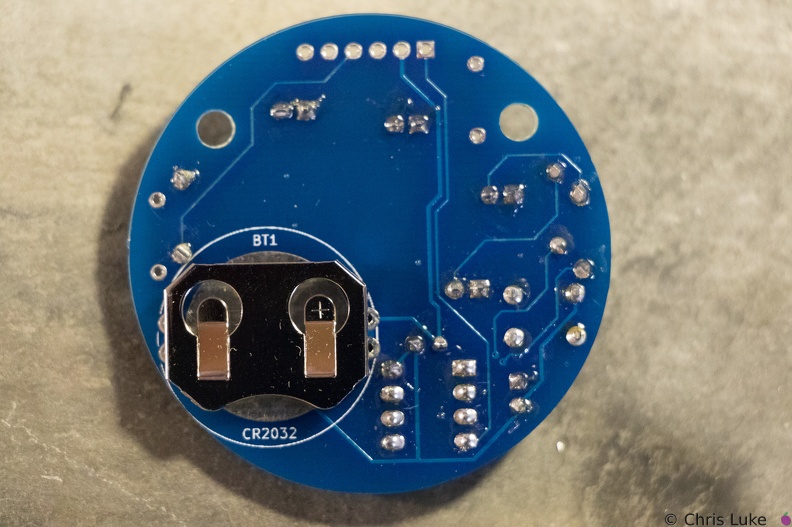 Stockton STEM Badge battery
Note the orientation of the holder; reversing it will make it difficult to insert the battery later.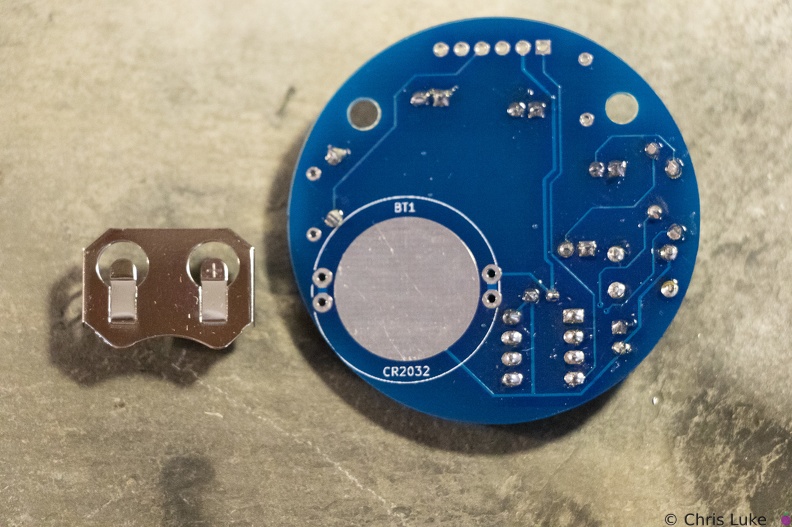 Stockton STEM Badge battery
The battery holder is a simple metal cage that solders to the underside of the board.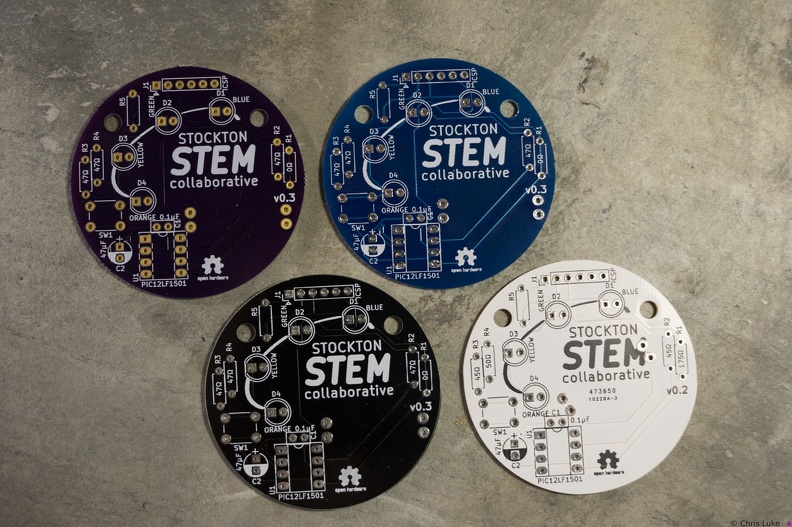 Stockton STEM Badge boards
The badge printed circuit board (PCB) comes in several colors.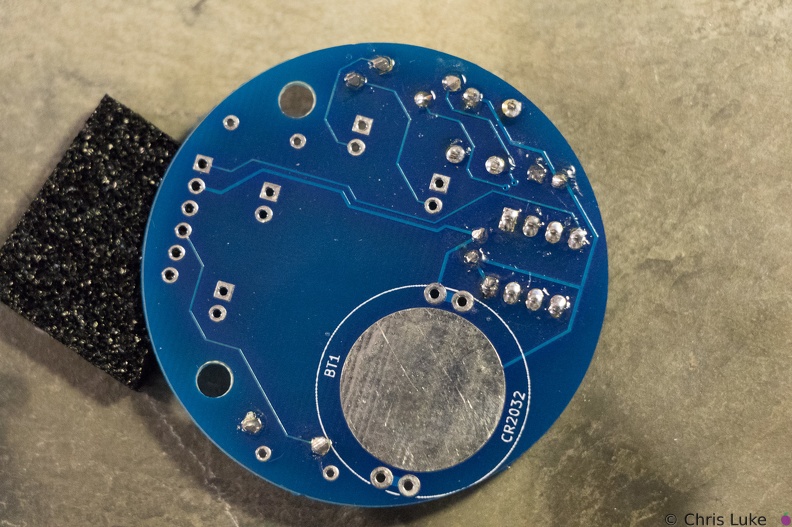 Stockton STEM Badge button
As with the IC socket, soldering one leg first and verifying component alignment will help prevent easy mistakes.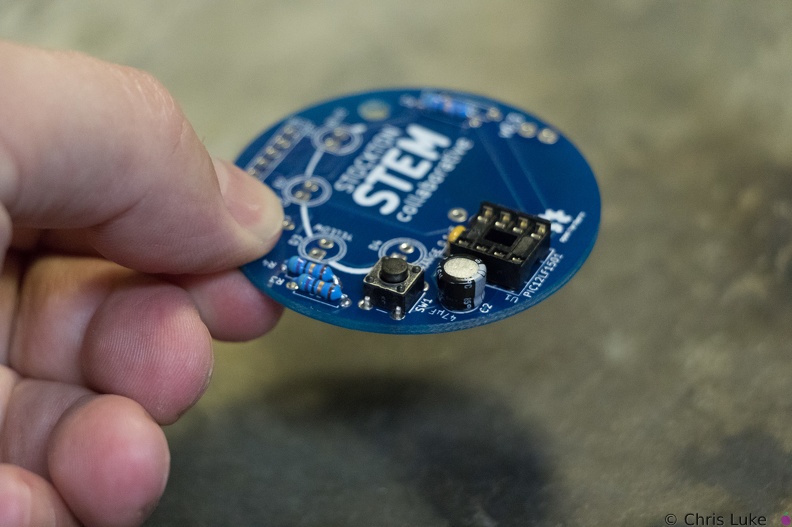 Stockton STEM Badge button
The push-button switch will fit two ways. Orientation does not matter.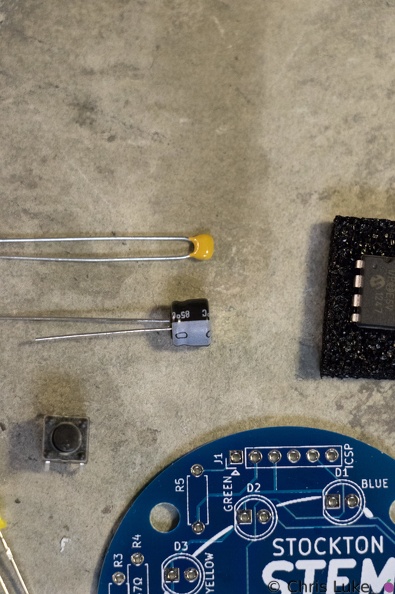 Stockton STEM Badge capacitors
The capacitors smooth the power on the badge. The top capacitor, is not polarity sensitive; that is, it can be used either way round. The other capacitor must be used only the correct way round; the case has a "-" symbol printed on it.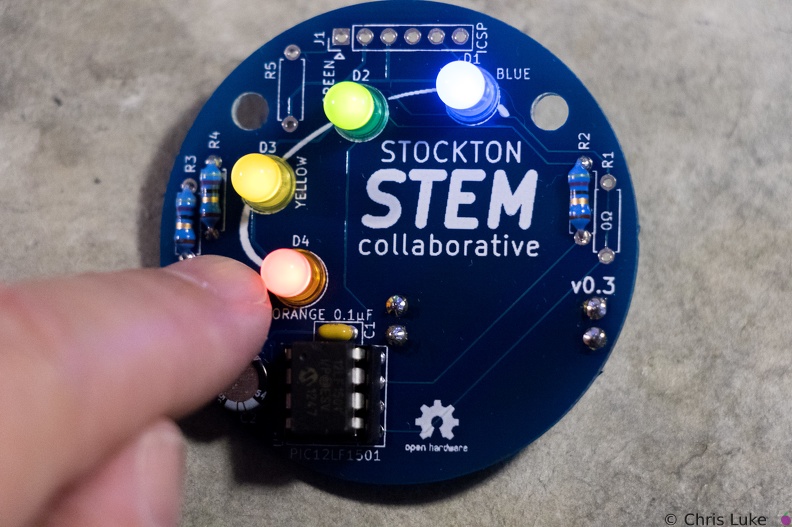 Stockton STEM Badge completed
Press the button to start the lights!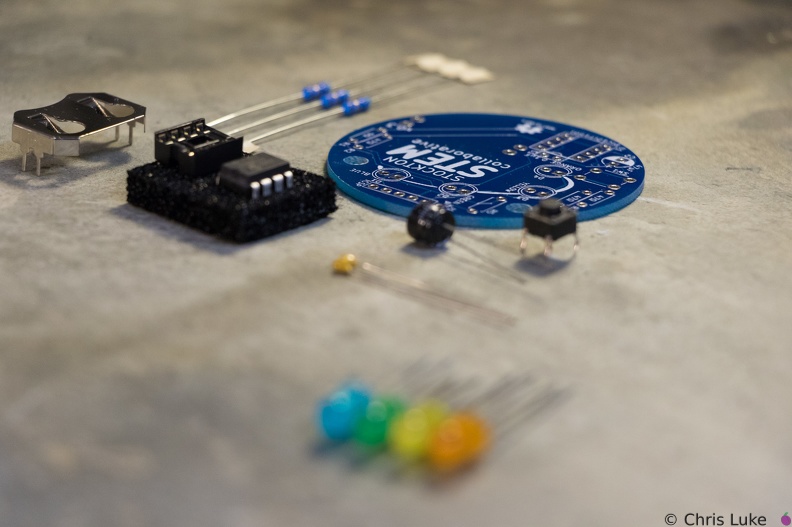 Stockton STEM Badge components
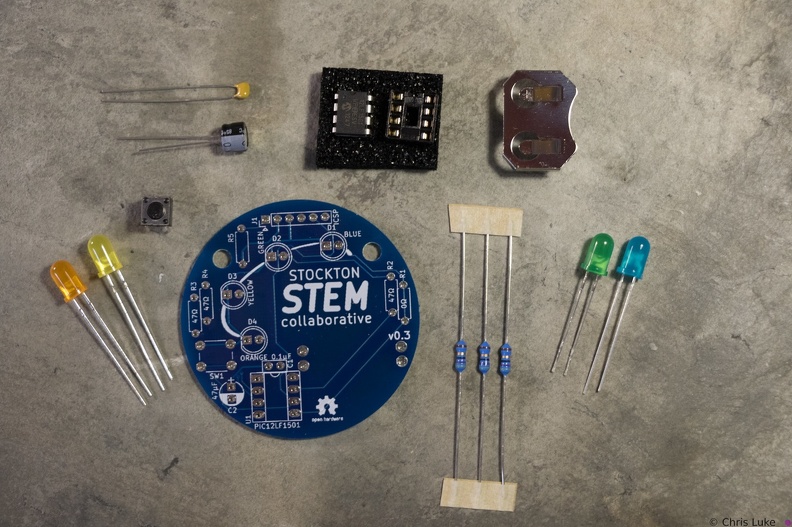 Stockton STEM Badge components
The badge consists of a handful of electronic components. Components R1, R5 and J1 are not normally populated.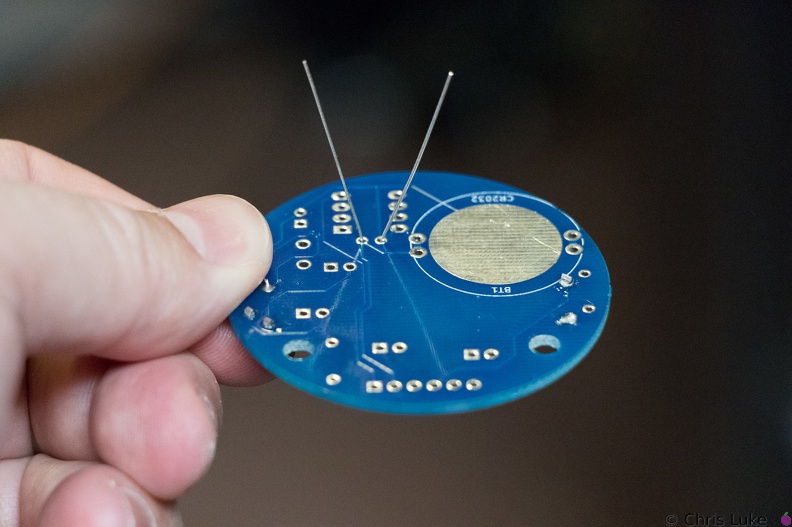 Stockton STEM Badge decoupling capacitor
As with the resistors, the legs should be splayed a little to help hold it in place for soldering.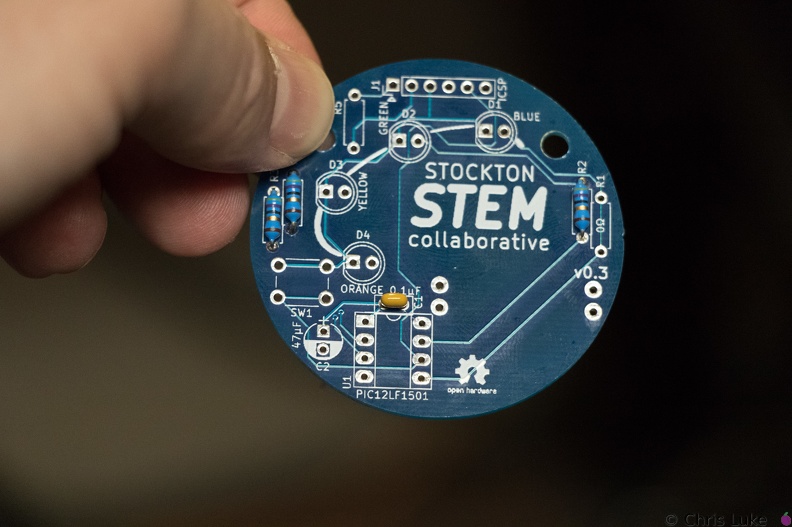 Stockton STEM Badge decoupling capacitor
The capacitor should sit flush with the board.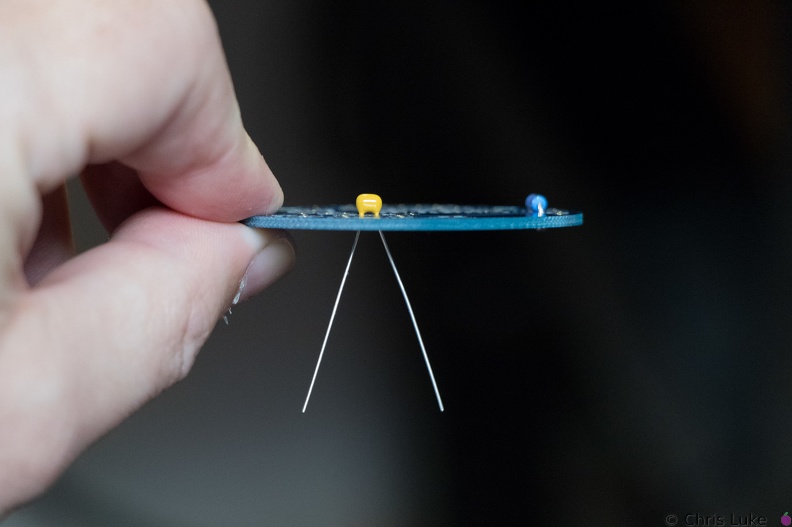 Stockton STEM Badge decoupling capacitor
This ceramic capacitor is not orientation sensitive. Decoupling means it absorbs electrical noise and is used to filter the power feeding the microcontroller.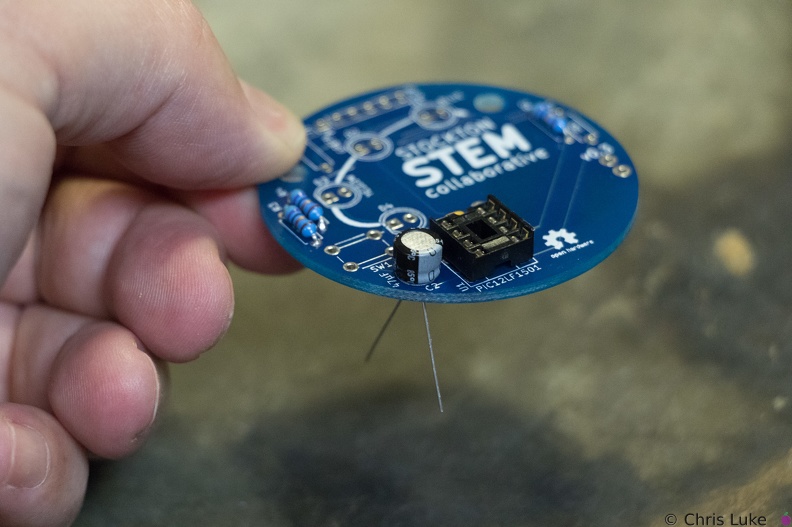 Stockton STEM Badge electrolytic capacitor
Orientation of this capacitor is important. There is a "+" symbol in the footprint of the component printed on the board; the "-" of the capacitor should be on the opposite side.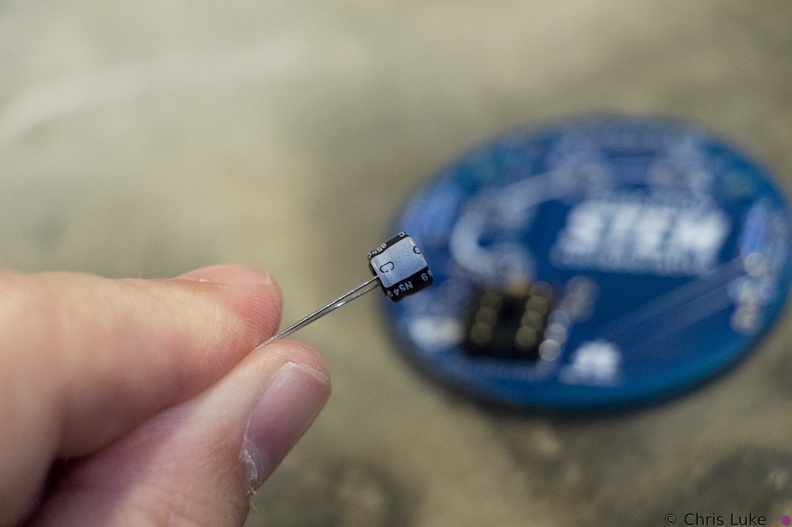 Stockton STEM Badge electrolytic capacitor
Electrolytic capacitors are polarity sensitive; note the "-" symbol on one side of the capacitor package. These capacitors typically have a larger capacity than their ceramic counterparts and are used for bulk storage; this one is used to assist the battery when the LEDs turn on. This is necessary because button cell batteries are not designed to provide as much power as the LEDs can demand.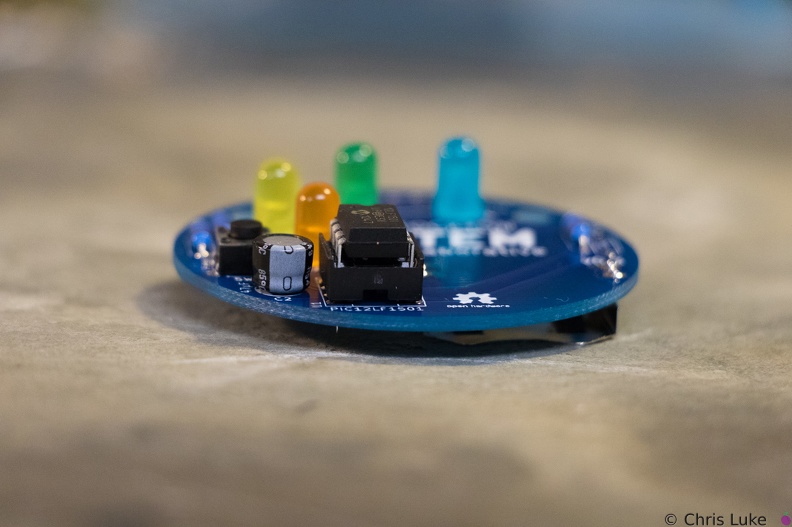 Stockton STEM Badge IC
Once pushed all the way in, the IC may sit above the socket, but it will be parallel to it.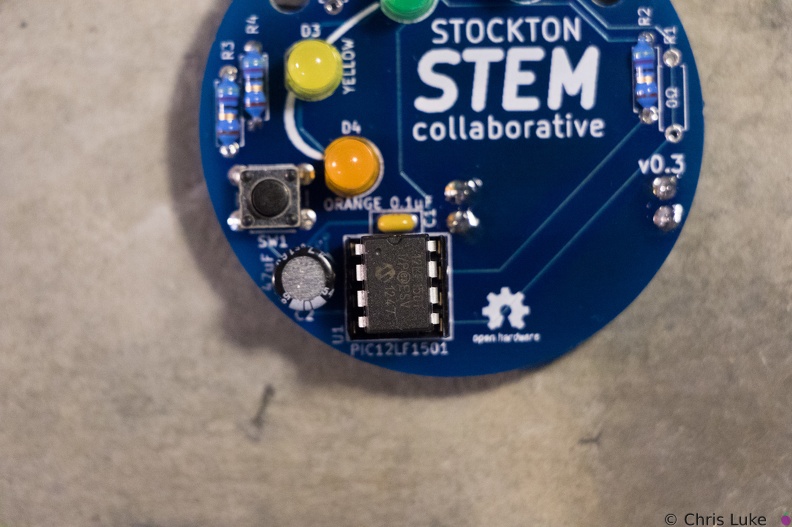 Stockton STEM Badge IC
Make sure the IC is correctly aligned before pushing it in.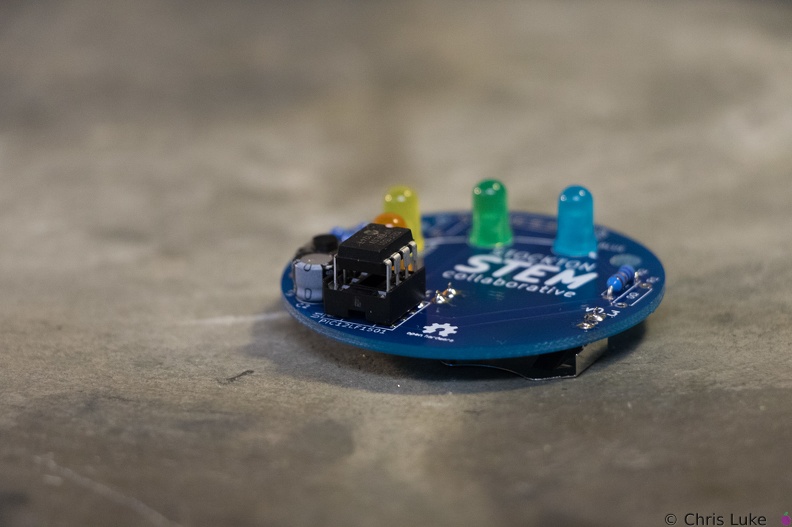 Stockton STEM Badge IC
When inserting the IC, firm but controlled pressure is needed to avoid bending the pins.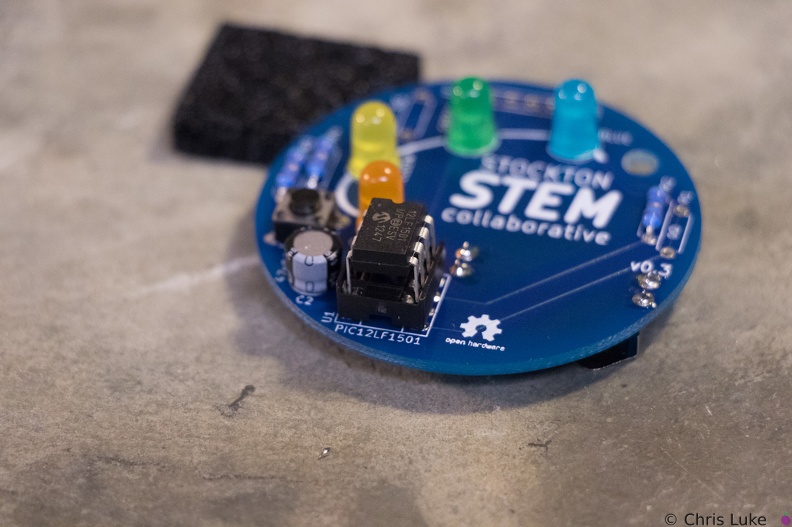 Stockton STEM Badge IC
The IC pins need to be straight and line up with their receptacles in the socket.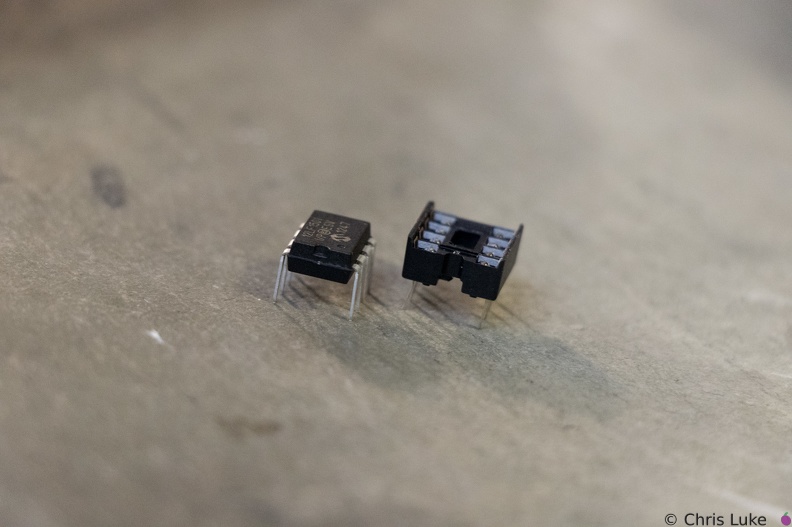 Stockton STEM Badge IC and socket
The legs of the chip need to be straight otherwise they will not properly insert into their positions in the socket. It is easy to bend or break the legs if care is not taken.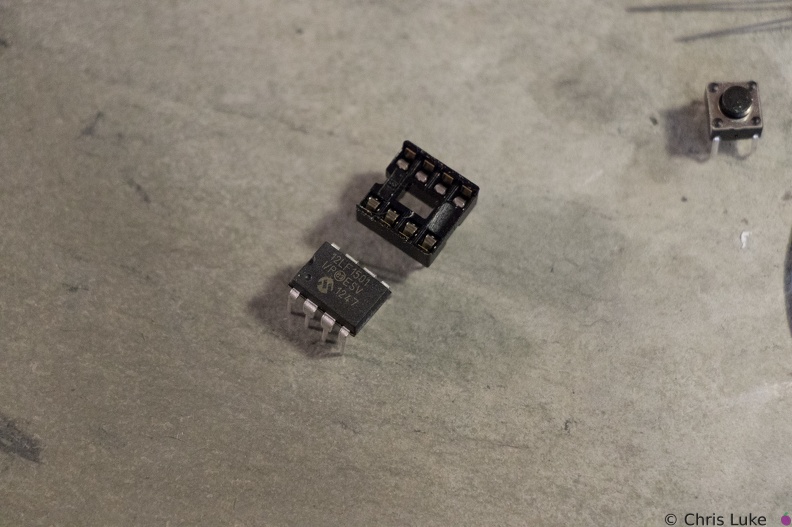 Stockton STEM Badge IC and socket
The chip, an integrated circuit, or IC, must also be used the correct way round. Both the chip and its socket have a notch at one end to identify its orientation.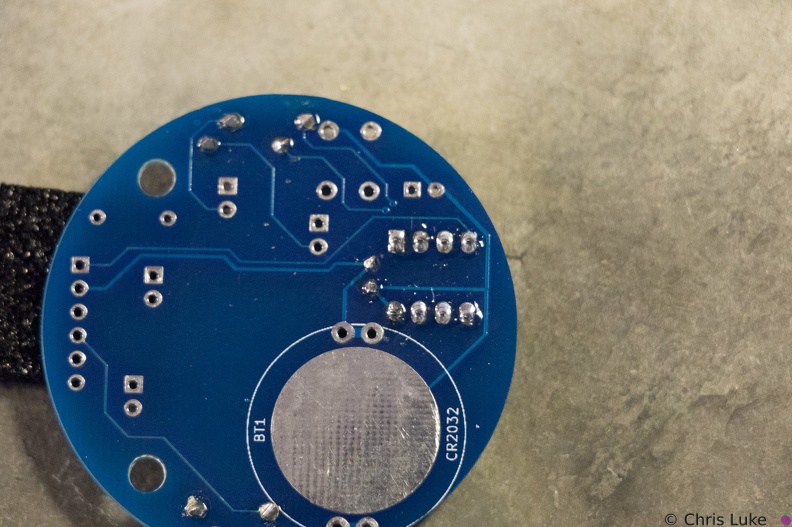 Stockton STEM Badge IC socket
Soldered legs.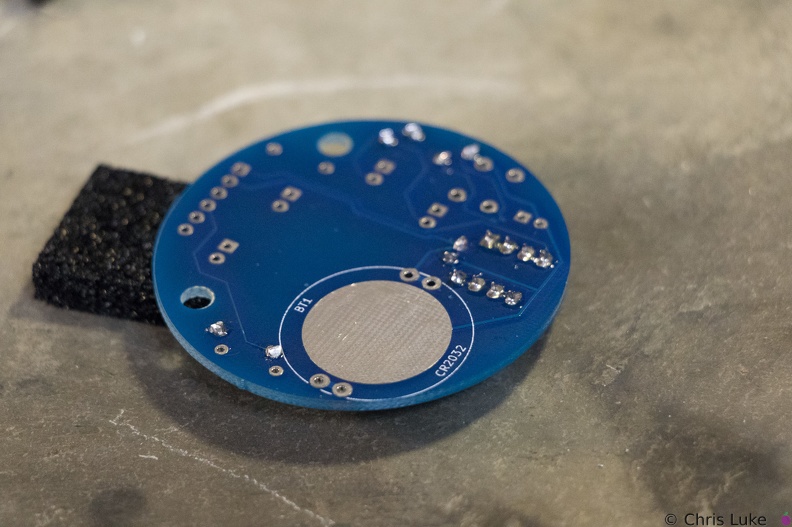 Stockton STEM Badge IC socket
Soldering one leg first and checking that the socket is flat against the board avoids a simple mistake. If it is not flat, or otherwise misaligned simply re-heating the leg will help correct the issue. Once orientation and alignment is verified, solder the remaining legs. Sometimes a small shim, such as the black foam here, can help keep the board level and simplifies the task.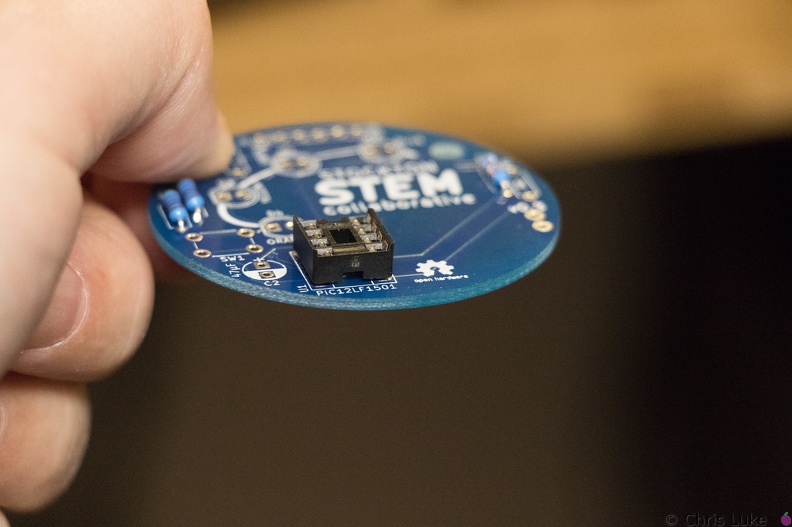 Stockton STEM Badge IC socket
The IC socket should lay flat against the board.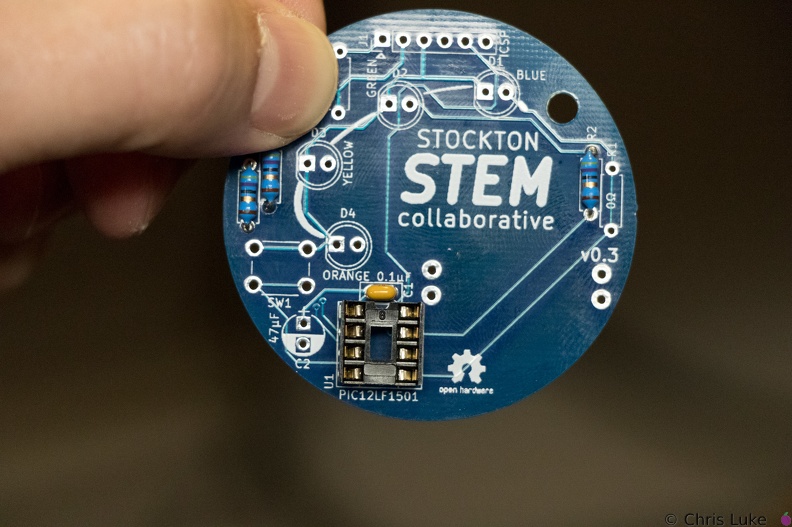 Stockton STEM Badge IC socket
Note the orientation of the indent at the upper edge of the IC socket.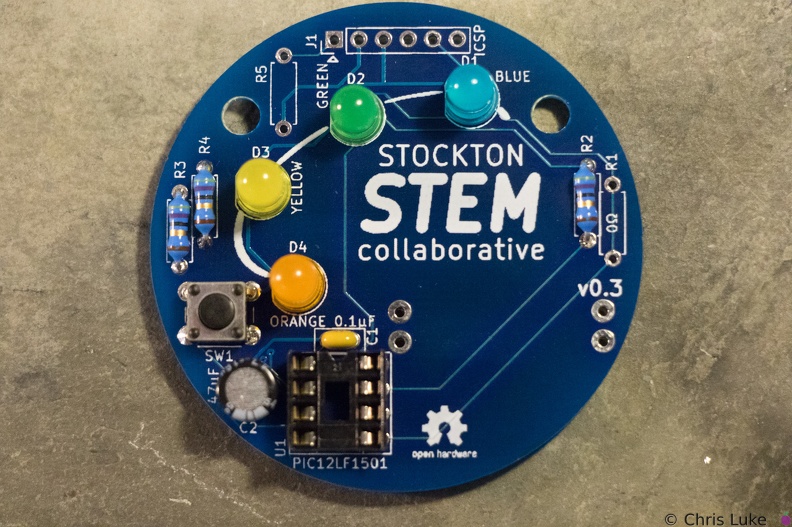 Stockton STEM Badge LEDs
All the LEDs have been soldered. Notice that they all have the same orientation; the flat edge is to the left.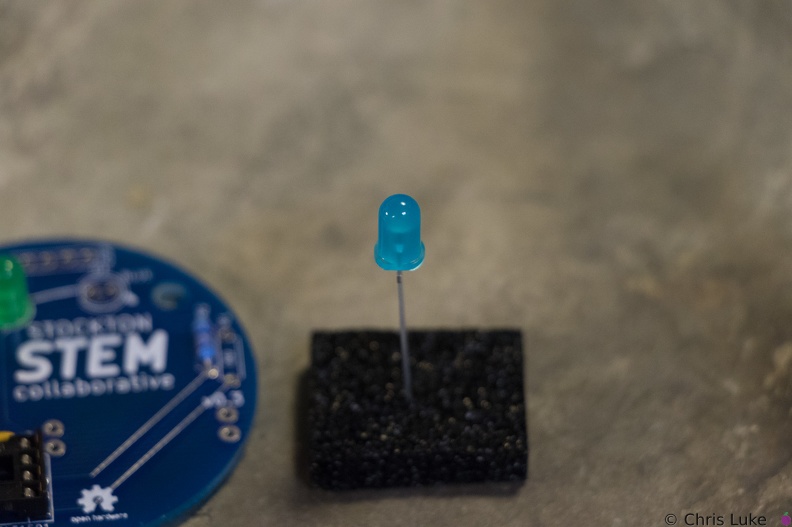 Stockton STEM Badge LEDs
The case of an LED can crack if the legs are bent too close to it; even after placing the LED on the board, only bend the legs slightly to hold it in place.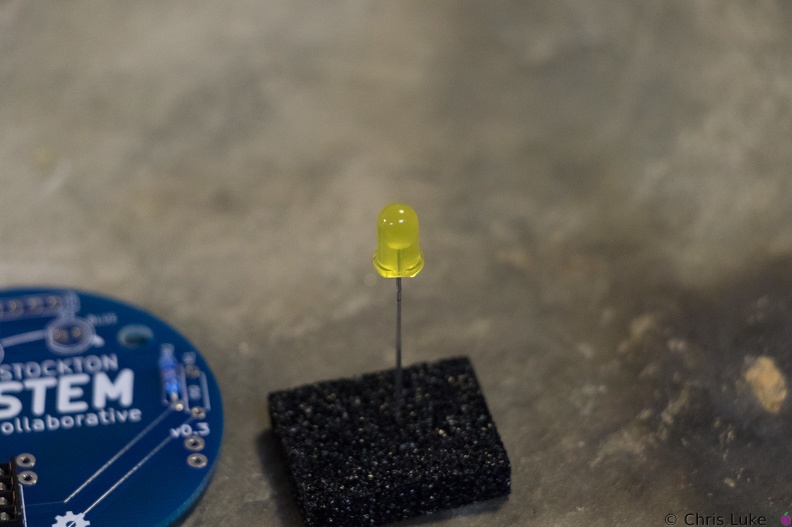 Stockton STEM Badge LEDs
While all components can be destroyed with an excess of heat during soldering, LEDs are especially susceptible to this.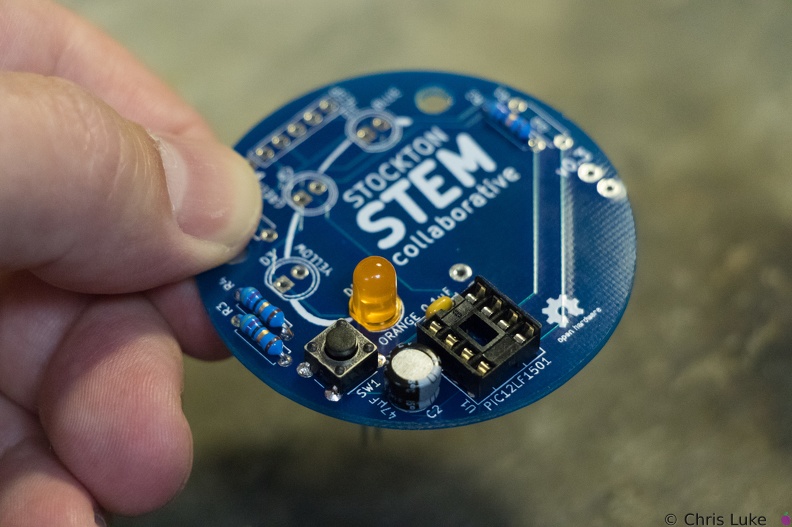 Stockton STEM Badge LEDs
The footprint for the LEDs also shows a flat edge; orientation of the LEDs needs to match that of the board.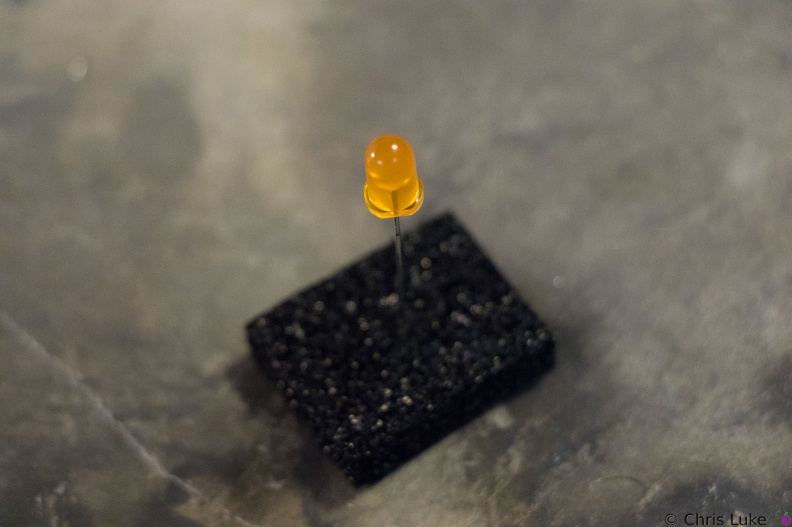 Stockton STEM Badge LEDs
LEDs have a flat edge on one side of their case.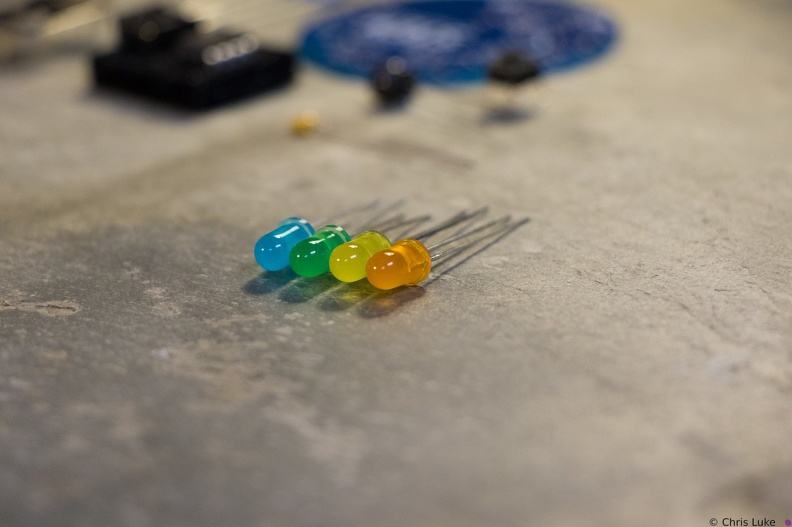 Stockton STEM Badge LEDs
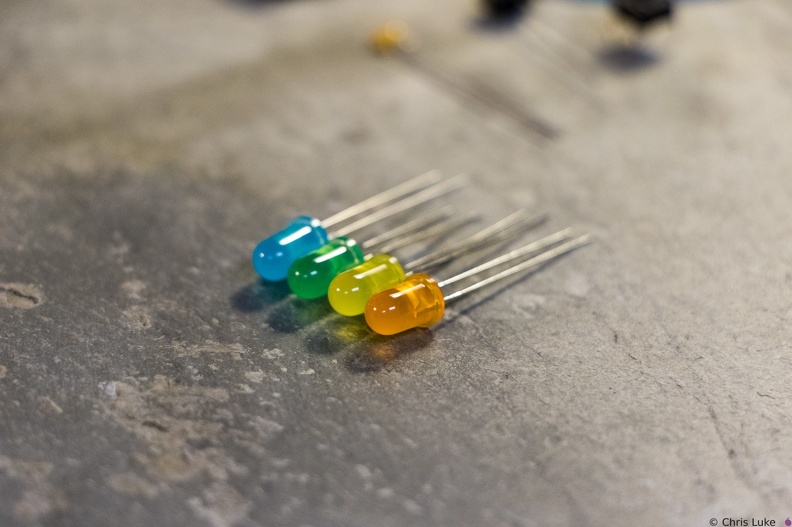 Stockton STEM Badge LEDs
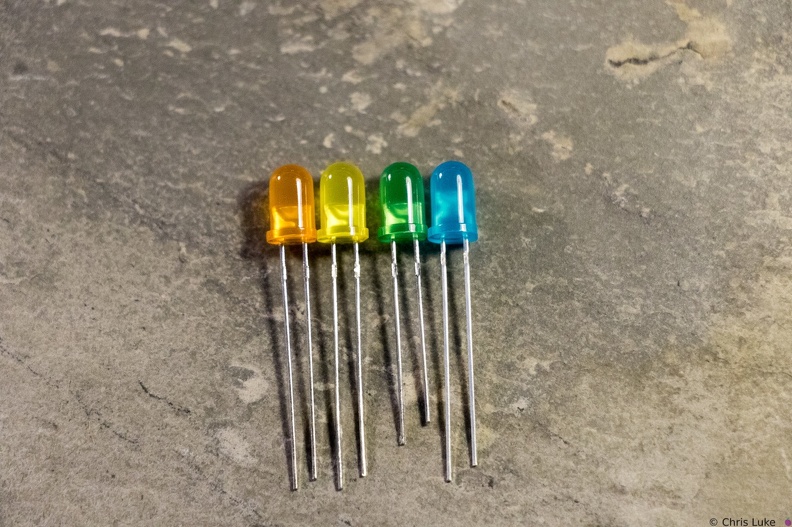 Stockton STEM Badge LEDs
Notice how the LEDs typically have one leg longer than the other; this is called the "anode". The colored case also has one flat side, opposite the longer leg; the leg on this side is called the "cathode". Also, note the distinctive shape of what is inside the colored case; this can also be used to help determine its orientation. The gap at the top of the metal surface is always on the anode side. LEDs can only be used the right way round so determining orientation is important.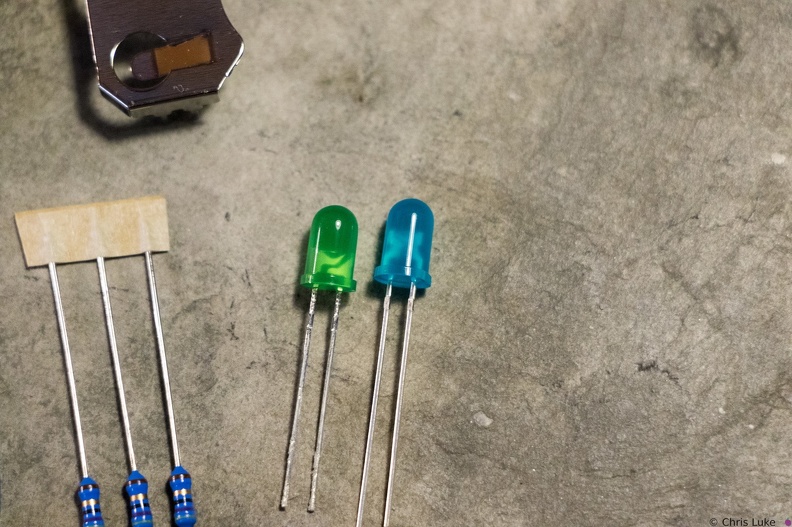 Stockton STEM Badge LEDs
Green and blue LEDs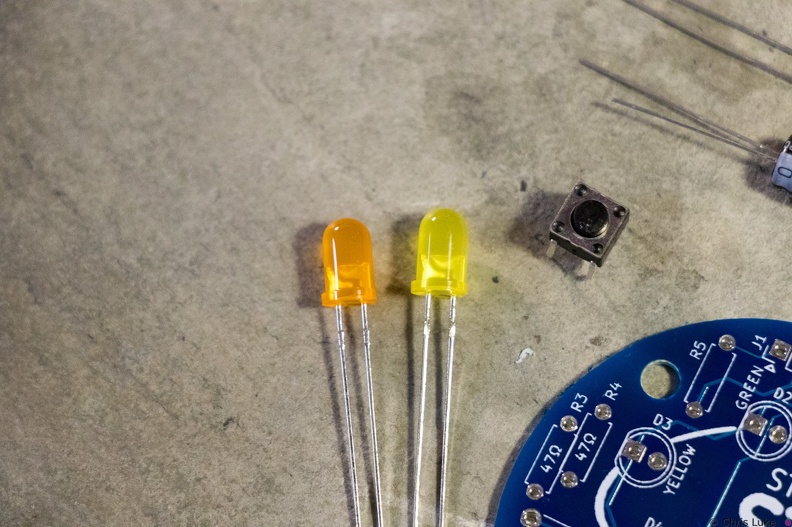 Stockton STEM Badge LEDs and button
Orange and yellow LEDS. The pushbutton switch allows a person to control the badge.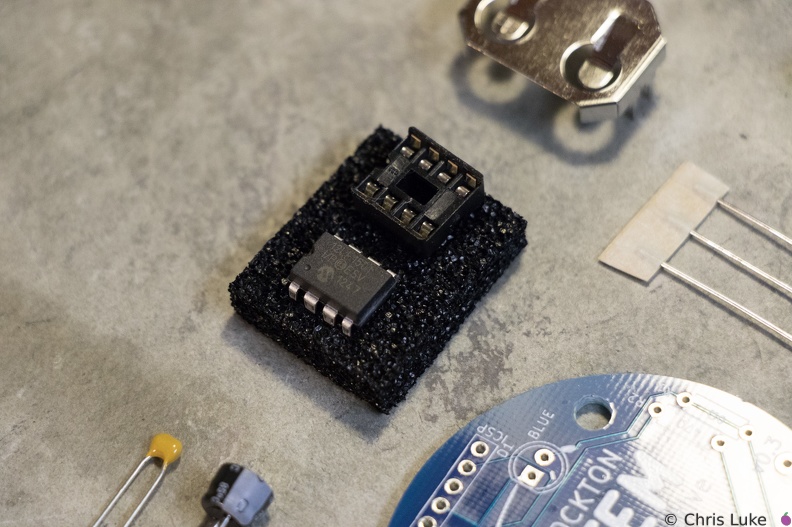 Stockton STEM Badge microcontroller
The chip is an inexpensive "PIC" microcontroller; this runs a program that controls the LEDs.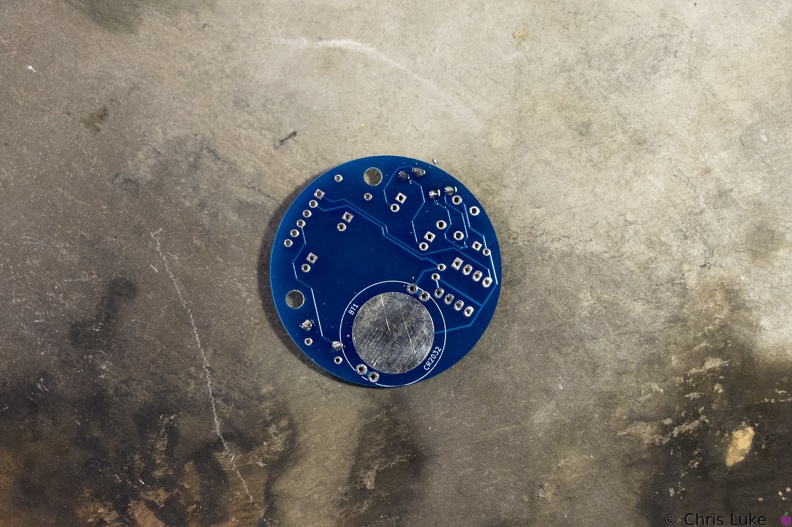 Stockton STEM Badge resistor legs
The legs are trimmed, the excess removed with side-cutters.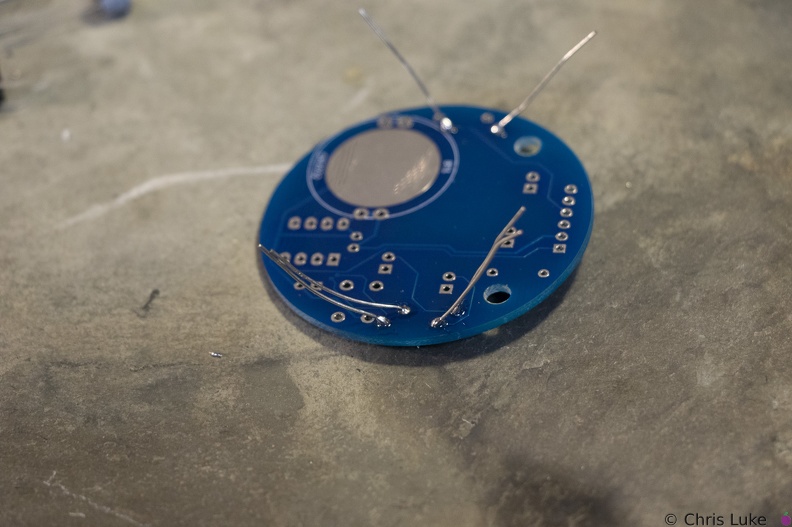 Stockton STEM Badge resistor legs
Soldered legs; only a small amount of solder is needed and it heat should be applied only briefly.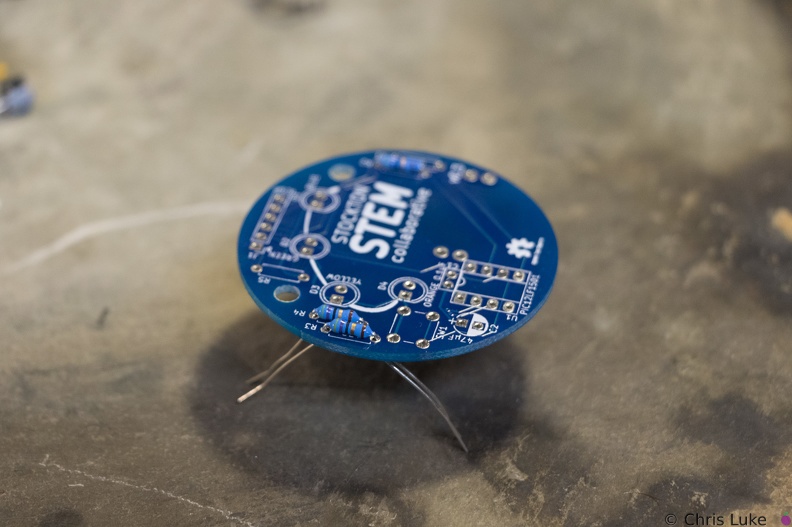 Stockton STEM Badge resistor legs
The legs are then carefully bent to about 45 degrees to hold the resistor in place for soldering.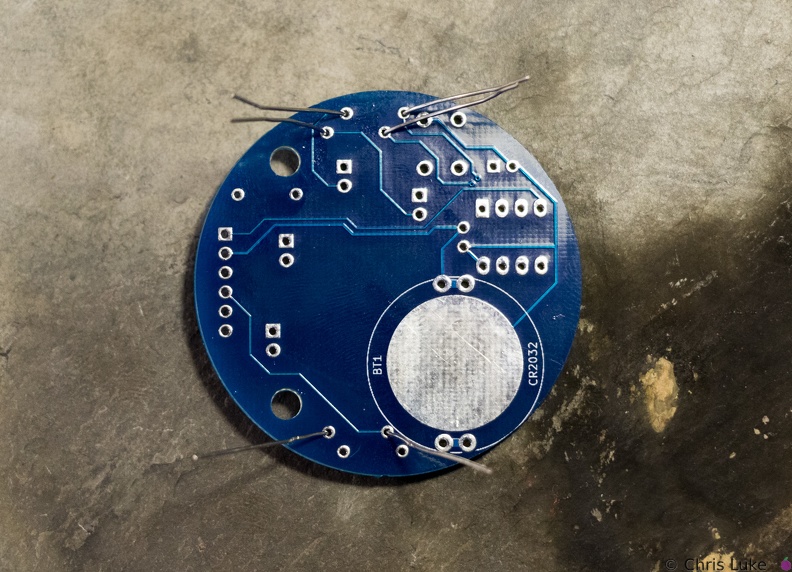 Stockton STEM Badge resistor legs
The legs are passed through the board holes; they may need pulling firmly, but not too firmly, with pliers to pull the resistor body flush with the board.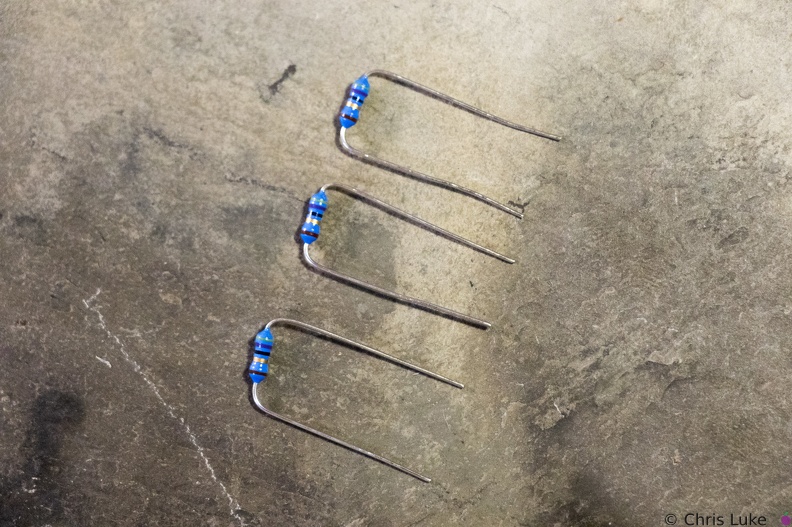 Stockton STEM Badge resistor legs
The resistor legs need to be bent in order to insert them into the board.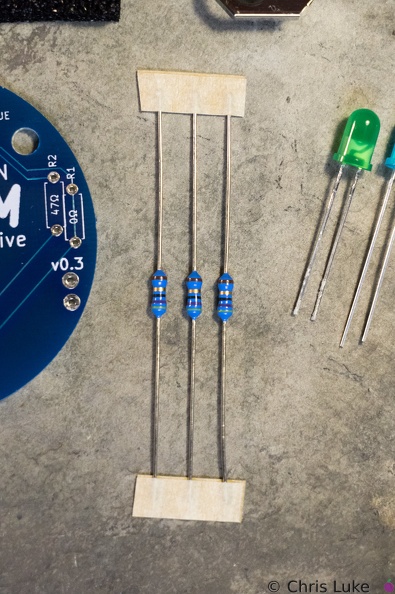 Stockton STEM Badge resistors
These are 47 ohm resistors; they limit the current supplied to the orange, yellow and green LEDs. The blue LED does not require one.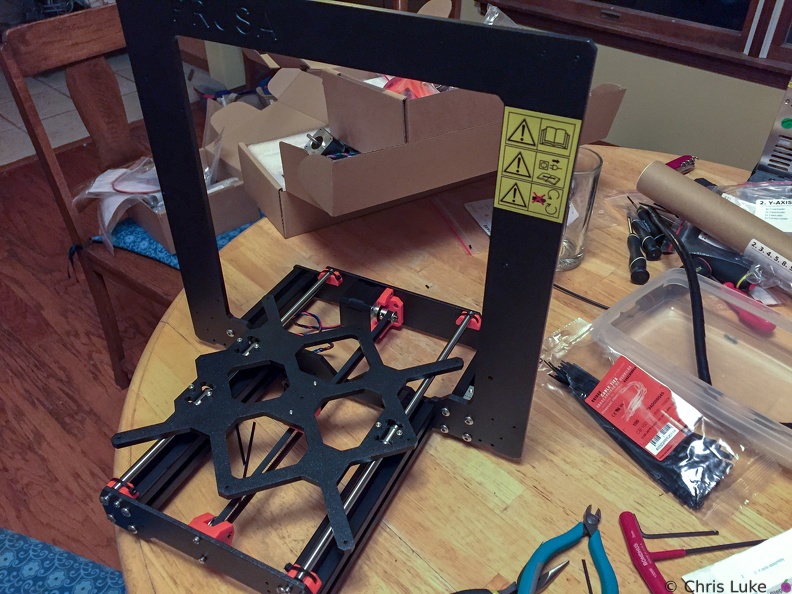 Taking shape
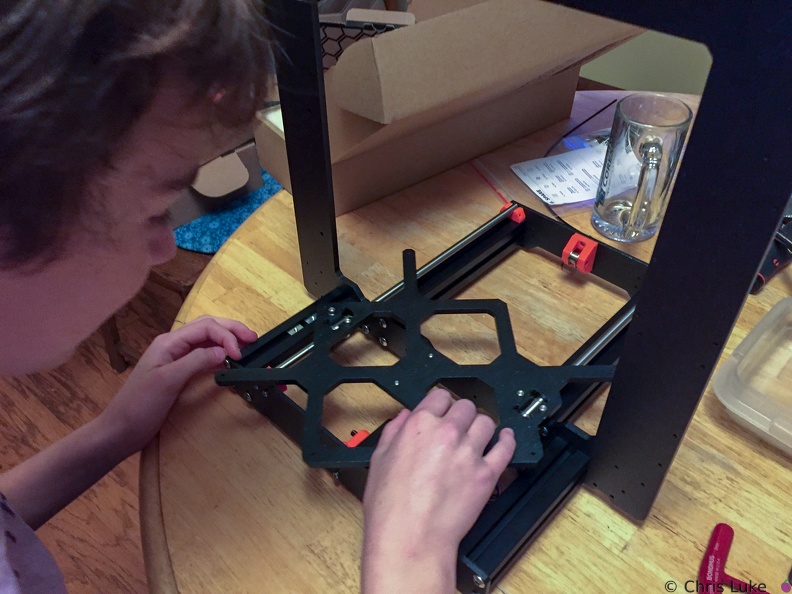 Testing the slide of the bed
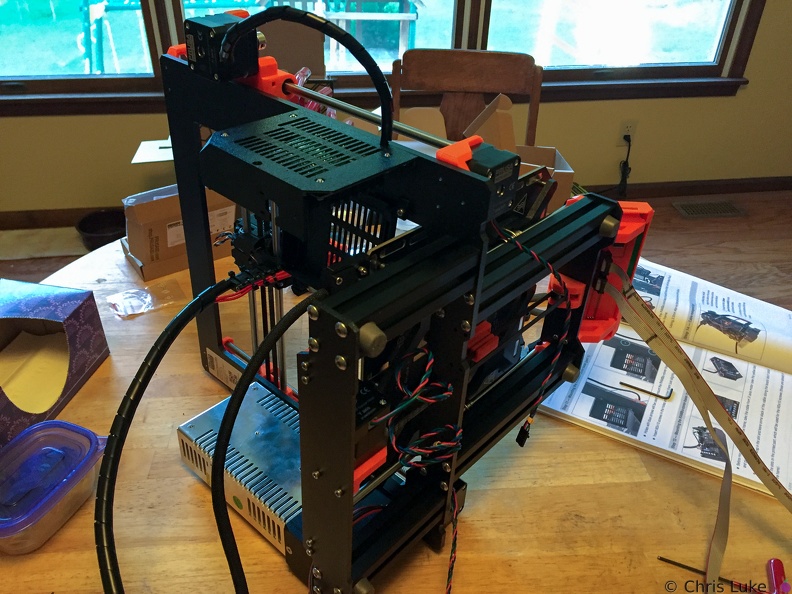 The cables have to go somewhere
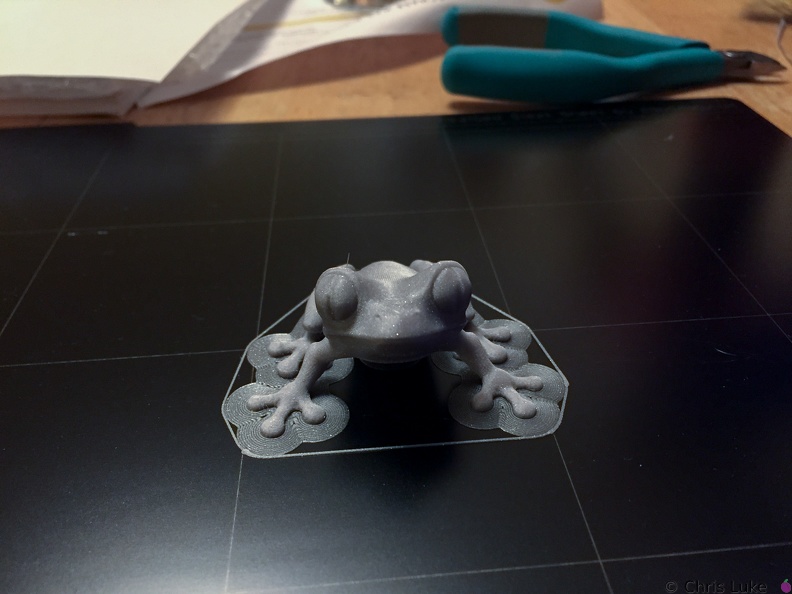 Treefrog
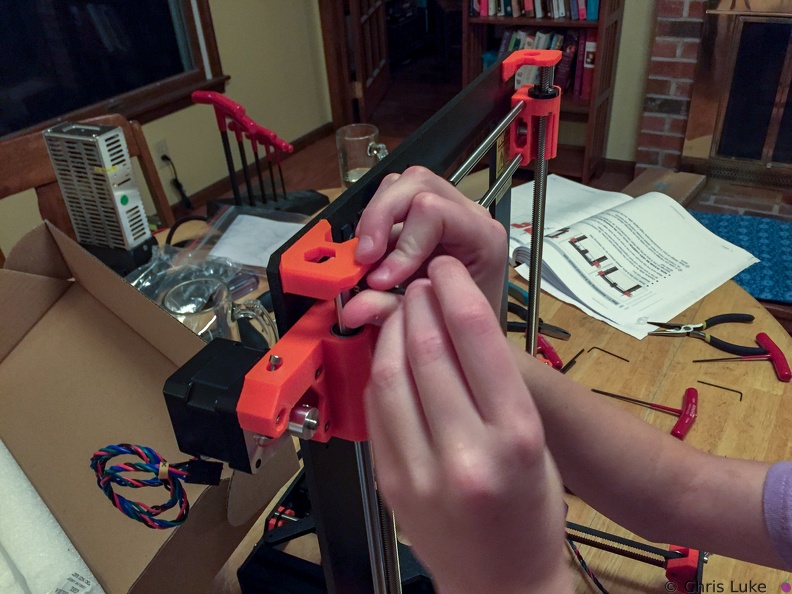 X and Z axis
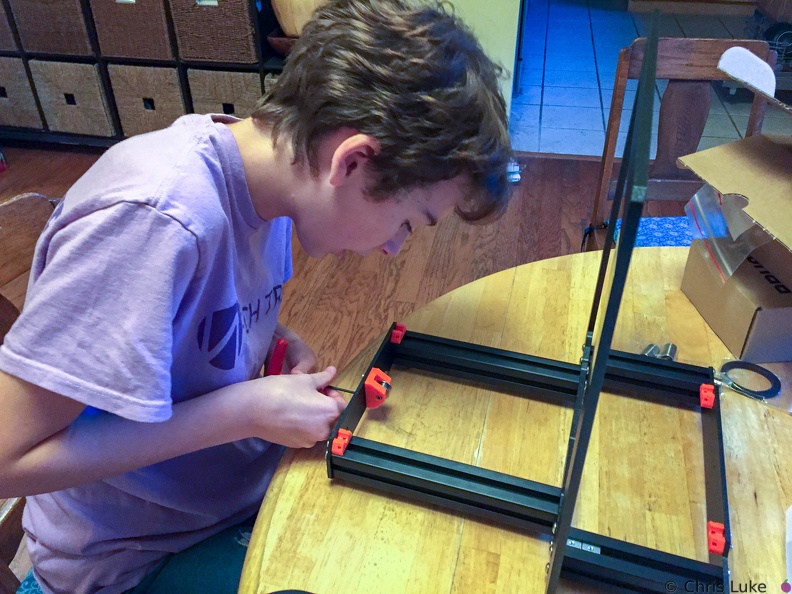 Y-axle idler pulley
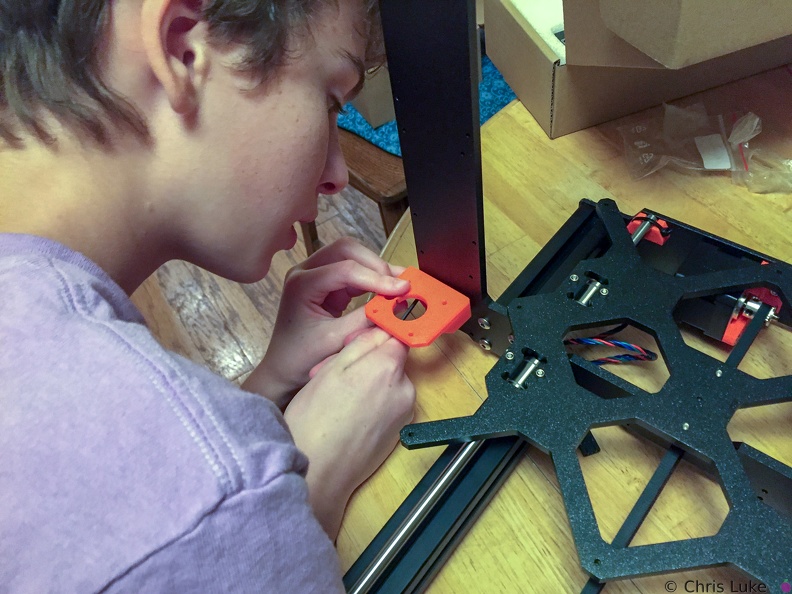 Z-axis motor mounts
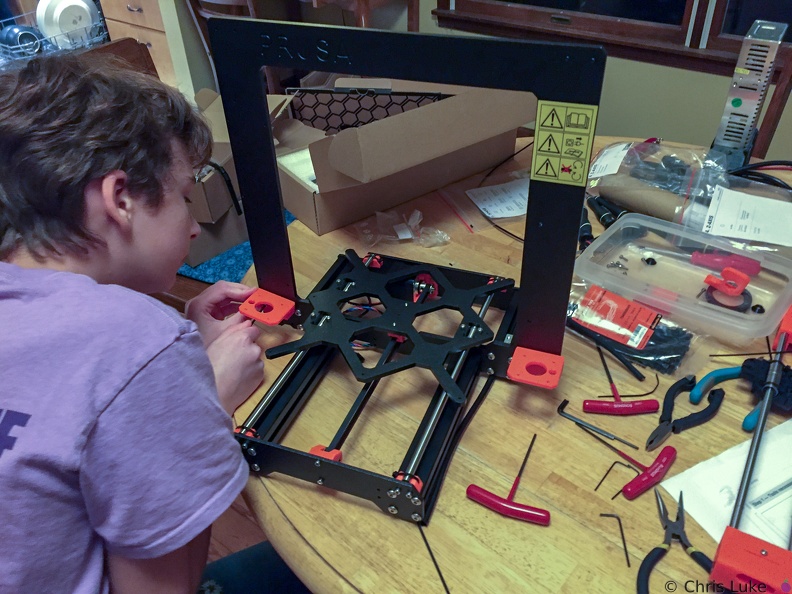 Z-axis motor mounts